debian 安装后需做的几件事
debian 安装后需做的几件事
安装环境:X86 >> Debian 9 Linux/GNU

apt源更新
注意连上有线网络
刚安装好的debian系统中,/etc/apt/sources.list包含了本地软件仓库的源,可以预先下载好官方的所有DVD光盘数据,安装好后自己根据网络教程搭建本地仓库安装/更新软件。这里以使用网络源为实例,说明在能连接网络的情况下安装/更新软件包。
注释原来的源信息,添加debain 9的源。
gedit /etc/apt/sources.list # 复制下边的仓库源到文件并保存# 163
deb http://mirrors.163.com/debian/ stretch main
deb http://mirrors.163.com/debian/ stretch-updates main non-free contrib
deb-src http://mirrors.163.com/debian/ stretch-updates main non-free contrib
deb http://mirrors.163.com/debian-security/ stretch/updates main non-free contrib更新软件
# apt-get update && apt-get install aptitude

# aptitude update && aptitude dist-upgrade

# apt-get install apt-transport-https ca-certificates       #  add support for https apt sources by installing a couple of packages

# apt-get install build-essential                                     # 安装基本开发工具

# apt-get install linux-headers-$(uname -r)                  # 安装内核头文件
时间同步/时区更改/本地化
# apt-get install ntpdate -y    # 安装时间同步软件

# ntpdate time.windows.com      # 同步时间

# dpkg-reconfigure tzdata       # 更改时区

# apt-get install locales

# dpkg-reconfigure locales      # 本地化设置
参考 Debian时间同步
vim vim-gtk
# apt-get install vim vim-gtk输入法fcitx
安装
# apt-get install fcitx fcitx-tools fcitx-config* fcitx-frontend* fcitx-module* fcitx-ui-* presage

# apt-get remove fcitx-module-kimpanel    # 移除多余的组件

# apt-get install fcitx-pinyin            # 拼音

# apt-get install fcitx-sunpinyin         # sun拼音

# apt-get install fcitx-googlepinyin      # google拼音

# apt-get install fcitx-table-wubi-large  # 五笔
配置
创建文件:/etc/X11/Xsession.d/95im_init(文件名95im_init貌似可以随意)
export LANG=en_US.UTF-8

export LC_CTYPE=en_US.UTF-8

export XMODIFIERS=@im=fcitx

fcitx &注意:这里的变量LANG与参考中的有些区别,主要是设置成中文翻译有些翻译看上去不是很好.

gnome-tweak-tool桌面管理工具
控制桌面窗口/鼠标等的特性,给你一个更美更人性化的桌面体验。
请参考Debian 桌面美化
# apt-get install gnome-tweak-tool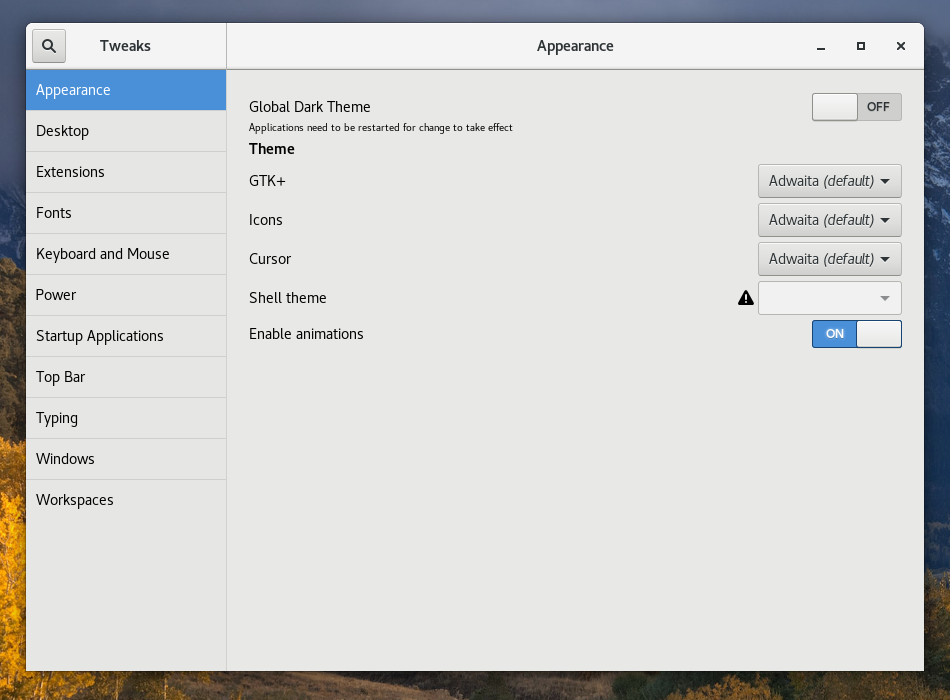
音乐软件
网易云音乐

视频播放器
# apt-get install mpv mplayer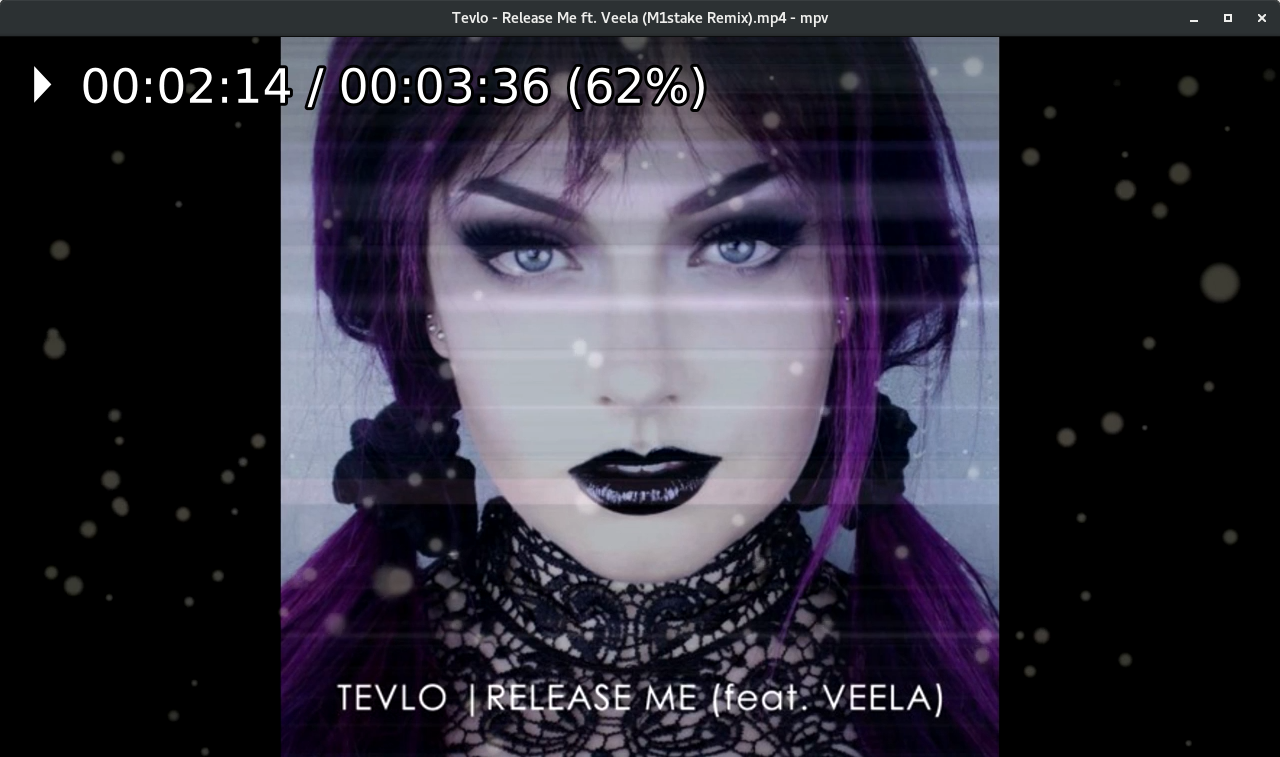
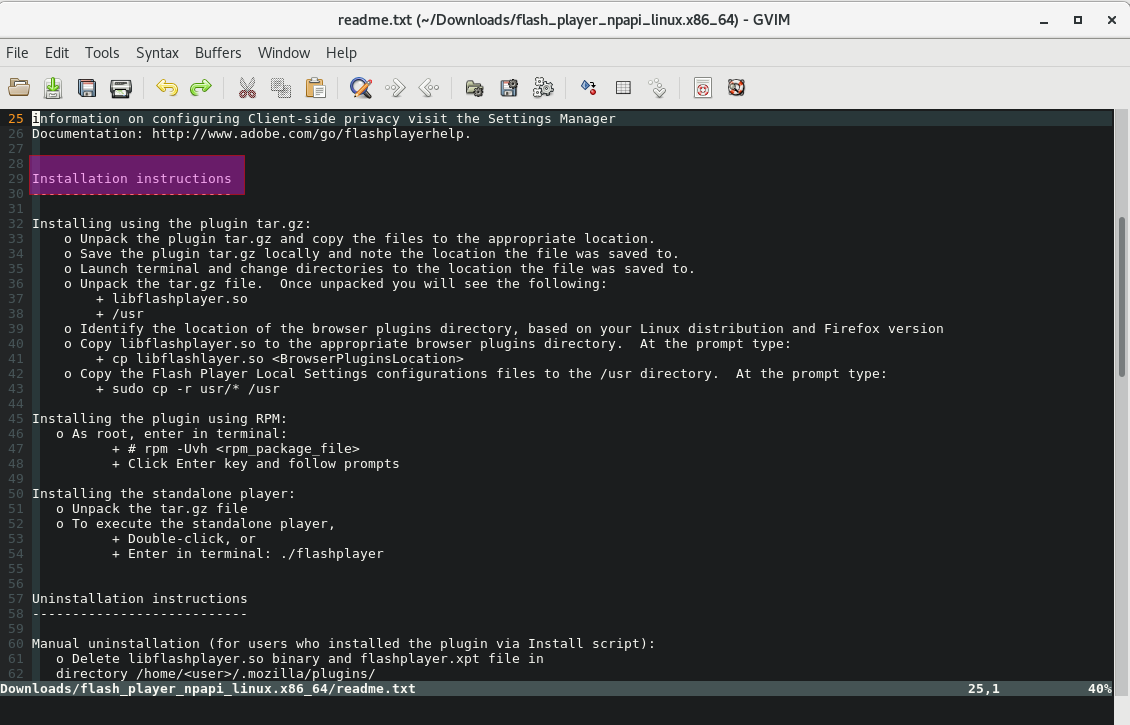
firefox浏览器flashplayer安装

根据解压的readme.tex安装软件
视频录制软件
kazam
apt-get install kazam截图软件 shutter
# apt-get install shutterBT/迅雷下载工具
# apt-get install uget qbittorrent -ylatex
方便编辑文本文档,然后生成PDF
TeX Live 下载及安装说明
texlive2015-6安装
conky
用于显示磁盘监控信息,不错的美化工具。
安装
# apt-get install conky配置
~/.conkyrc
conky.config = {

alignment = 'top_right',

background = true,

update_interval=1,

double_buffer=true,

draw_shades=false,

draw_outline=false,

draw_borders = false,

draw_graph_borders = false,

show_graph_scale = false,

show_graph_range = false,

minimum_height = 620,

minimum_width = 268,

own_window = true,

own_window_class = 'Conky',

own_window_type = 'normal',

own_window_transparent=true,

own_window_hints="undecorated,below,sticky,skip_taskbar,skip_pager",

own_window_argb_visual=true,

own_window_argb_value=0,

border_inner_margin=0,

border_outer_margin=0,

use_xft = true,

xftalpha=0.8,

font = 'DejaVu Sans Mono:size=12',

text_buffer_size=256,

short_units=true,

short_units=true,

pad_percents=2,

top_name_width=7,

    alignment = 'top_left',

    border_width = 1,

    cpu_avg_samples = 2,

    default_color = 'white',

    gap_x = 5,

    gap_y = 60,

    net_avg_samples = 2,

    no_buffers = true,

    out_to_console = false,

    out_to_stderr = false,

    extra_newline = false,

    stippled_borders = 0,

    update_interval = 1.0,

    uppercase = false,

    use_spacer = 'none',

}

conky.text = [[

${scroll 16 $nodename - $sysname $kernel on $machine | }

$hr

${color grey}Uptime:$color $uptime

${color grey}Frequency (in MHz):$color $freq

${color grey}Frequency (in GHz):$color $freq_g

${color grey}RAM Usage:$color $mem/$memmax - $memperc% ${membar 4}

${color grey}Swap Usage:$color $swap/$swapmax - $swapperc% ${swapbar 4}

${color grey}CPU Usage:$color $cpu% ${cpubar 4}

${color grey}Processes:$color $processes  ${color grey}Running:$color $running_processes

$hr

${color grey}File systems:

 / $color${fs_used /}/${fs_size /} ${fs_bar 6 /}

${color grey}Networking:

Up:$color ${upspeed wlp2s0} ${color grey} - Down:$color ${downspeed wlp2s0}

$hr

${color grey}Name              PID   CPU%   MEM%

${color lightgrey} ${top name 1} ${top pid 1} ${top cpu 1} ${top mem 1}

${color lightgrey} ${top name 2} ${top pid 2} ${top cpu 2} ${top mem 2}

${color lightgrey} ${top name 3} ${top pid 3} ${top cpu 3} ${top mem 3}

${color lightgrey} ${top name 4} ${top pid 4} ${top cpu 4} ${top mem 4}

${color lightgrey} ${top name 5} ${top pid 5} ${top cpu 5} ${top mem 5}

${color lightgrey} ${top name 6} ${top pid 6} ${top cpu 6} ${top mem 6}

${color lightgrey} ${top name 7} ${top pid 7} ${top cpu 7} ${top mem 7}

${color lightgrey} ${top name 8} ${top pid 8} ${top cpu 8} ${top mem 8}

${color lightgrey} ${top name 9} ${top pid 9} ${top cpu 9} ${top mem 9}

]]
VirtualBox
虚拟windows操作系统,便于测试或者使用一些小工具。
ubuntu下virtualbox的安装、卸载
VirtualBox Download

Rdesktop & VNC Viewer
方便远程连接windows/Linux
# apt-get install rdesktop FTP工具
aptitude search filezilla

aptitude install filezilla
samba
方便访问windows共享盘
安装
# apt-get install samba-client配置:使用
share_space.sh脚本连接windows共享盘
#!/bin/bash

# file name: share_space.sh

mount -t cifs -o username=login_win_user,password=yourpasswd,vers=2.0 //192.168.1.22/Public  /mnt/Exchange/

# //192.168.1.22/Public 为共享盘网络路径

# /mnt/Exchange/        为挂载的位置
绘图工具dia(取代visio)
强大的绘图功能
# apt-get install dia
固定IP地址
修改IP配置
查看网卡名字
# apt-get install libnet-ifconfig-wrapper-perl    # 安装工具,若没有 ifconfig 命令

# ifconfig                                                         # 查看网卡信息
上图可以看出,网卡名为enp2s0
接下来,修改/etc/network/interfaces,添加如下内容(注意,不要添加中文注释,有可能影响启动)
auto enp2s0

iface enp2s0 inet static

address 192.168.100.38

netmask 255.255.255.0

gateway 192.168.100.1 
修改DNS
apt-get install resolvconf编辑 /etc/resolvconf/resolv.conf.d/base
nameserver 8.8.8.8

nameserver 8.8.4.4
重载
resolvconf -u重启网卡
/etc/init.d/networking restartRAR文件解压
OpenVPN
Zoom会议
参考资料
[1].Ubuntu安装Fcitx以及Fcitx输入中文不显示候选词框的解决办法
[2].texlive2015-6安装
[3].ubuntu下virtualbox的安装、卸载
[4].Linux怎样访问Windows共享文件和文件夹
[5].Debian时间同步
[6].Debian中文输入法fcitx总结
[7].Debian 桌面美化
[8].Debian DNS resolv.conf 重启失效/复写
debian 安装后需做的几件事的更多相关文章
- debian 9 安装后需做的几件事
debian 9 安装后需做的几件事 安装环境:X86 >> Debian 9 Linux/GNU apt源更新 注意连上有线网络 刚安装好的debian系统中,/etc/apt/sour ...
- RHEL/CentOS 7最小化安装后需做的30件事情
导读 CentOS是一个工业标准的Linux发行版,是红帽企业版 Linux 的衍生版本.你安装完后马上就可以使用,但是为了更好地使用你的系统,你需要进行一些升级.安装新的软件包.配置特定服务和应用程 ...
- MyEclipse 2013安装后要做的几件事
一.Myeclipse 2013修改字体 MyEclipse 2013是基于Eclipse3.7内核,但在Eclipse的Preferences-〉general-〉 Appearance->C ...
- 安装 Kali Linux 后需要做的 20 件事
安装 Kali Linux 后需要做的 20 件事 本文含有我觉得有用的每一件事情.本文分为三大部分: 专门针对Kali用户 Kali Linux是来自Debian的一个特殊版本,Kali Linux ...
- 安装 CentOS 7 后必做的七件事
原文 安装 CentOS 7 后必做的七件事 CentOS 是最多人用来运行服务器的 Linux 版本,最新版本是 CentOS 7.当你兴趣勃勃地在一台主机或 VPS 上安装 CentOS 7 后, ...
- 安装Ubuntu 13.04后要做的六件事
2013-05-07 09:23 最新版本的Ubuntu已经新鲜出炉:Ubuntu 13.04,代号为Raring Ringtail.作为幕后开发Ubuntu Linux的公司,Canonica ...
- Ubuntu装完后要做的几件事
Ubuntu装完后要做的几件事 改hosts 无论哪里,改hosts都是第一件事,没hosts咋google.没google咋活.在终端输入命令 sudo gedit /etc/hosts在# The ...
- 安装Kali Linux 后需要做的 20 件事 - 51CTO.COM
我在本文中整理出了安装一份全新的Kali Linux后总是要做的若干件事情.由于我有多台笔记本电脑和工作站,所以尽量扩大下列操作步骤的适用范围,以满足每个人的需求.这是我在安装Kali Linux后做 ...
- 安装完CentOS 7 后必做的七件事
CentOS是最多人用来运行服务器的 Linux 版本,最新版本是 CentOS 7.当你兴趣勃勃地在一台主机或 VPS 上安装 CentOS 7 后,首要的工作肯定是加强它的安全性,以下列出的七件事 ...
- 安装完CentOS 7 后必做的七件事[转]
CentOS是最多人用来运行服务器的 Linux 版本,最新版本是 CentOS 7.当你兴趣勃勃地在一台主机或 VPS 上安装 CentOS 7 后,首要的工作肯定是加强它的安全性,以下列出的七件事 ...
随机推荐
- ts 的 declare 用途
declare namespace API { /** 新增数据集合 */ type CreateDataSet = { createdAt: string; dname: string; headI ...
- C#的类和对象,继承
/// 类与对象 /// 类和对象是面向编程的两个核心概念 /// 类:类是对一群具有相同特征的或者行为事物的统称 类 是图纸 /// 对象是由类创造出来的一个具体存在 可以直接使用 对象是图纸造出来 ...
- Android复习(三)清单文件中的元素——>action、activity-alias、category、compatible-screens、data
<action> 语法: <action android:name="string" /> 包含于: <intent-filter> 说明: ...
- CMDB实践指南:项目规划与实施策略解析
随着现代企业IT系统的日益复杂,如何有效管理这些庞大的IT资产和资源,成为每个企业必须面对的重要问题.CMDB应运而生,帮助企业集中管理IT资源,维护系统的稳定性,并支持故障排查与决策制定.本文将深入 ...
- npoi2.3+泛型+反射 根据配置统一解析excel数据到实体的基础方法
解析方法: /// <summary> /// excel数据解析到实体 /// </summary> /// <typeparam name="T" ...
- 2024SHCTF--Crypto--Week1&Week2--WP
2024SHCTF 注:针对2024SHCTF赛事,写下自己的解题思路以及个别赛题赛后复现对于题目而产生的理解. Week1 d_known task: from Crypto.Util.number ...
- Spark Web UI 监控详解
Spark集群环境配置 我们有2个节点,每个节点是一个worker,每个worker上启动一个Executor,其中Driver也跑在master上.每个Executor可使用的核数为2,可用的内存为 ...
- 2021“MINIEYE杯”(1)
Start Time : 2021-07-20 12:10:00 End Time : 2021-07-20 17:10:00 1001-Mod, Or and Everything 真正的签到题 题 ...
- 【Playwright + Python】系列(十)利用 Playwright 完美处理 Dialogs 对话框
哈喽,大家好,我是六哥!今天我来给大家分享一下如何使用playwight处理Dialogs对话框,面向对象为功能测试及零基础小白,这里我尽量用大白话的方式举例讲解,力求所有人都能看懂,建议大家先**收 ...
- 异步编程在ArkTS中具体怎么实现?
大家好,我是 V 哥,很好奇,在ArkTS中实现异步编程是怎样的,今天的内容来聊聊这个问题,总结了一些学习笔记,分享给大家,在 ArkTS中实现异步编程主要可以通过以下几种方式: 1. 使用async ...