vue - blog开发学习3
1、添加less 和less-loader支持
npm install less less-loader --save-dev
2、新建main.less,将这个样式添加到home.vue中的content标签上(添加之后页面可滚动)
.content-wrapper{

  padding: 18px;

  height: ~"calc(100% - 80px)";

  overflow: auto;

}
3、main.less需要在home.vue中引入
import '../main.less'
4、添加富文本编辑
https://liubing.me/vue-tinymce-5.html
npm install @tinymce/tinymce-vue -S

npm install tinymce -S
5、创建edit-post.vue
<template>

  <div class="editor">

    <TinymceEditor ref="editor" v-model="content" :disabled="disabled" @onClick="onClick"></TinymceEditor>

  </div>

</template>

<script>

  import TinymceEditor from '@/components/tinymce-editor'

  export default {

    name: "EidtPost",

    components: {

      TinymceEditor

    },

    data() {

      return {

        content: 'Welcome to Use Tinymce Editor',

        disabled: false

      }

    },

    methods: {

      // 鼠标单击的事件

      onClick(e, editor) {

        console.log('Element clicked')

        console.log(e)

        console.log(editor)

      },

      // 清空内容

      clear() {

        this.$refs.editor.clear()

      }

    }

  }

</script>

<style scoped>

  .editor {

    padding: 20px;

    height: 100%;

    margin-left: 10%;

    margin-right: 10%;

  }

</style>
6、创建tinymce-editor.vue
<template>

  <div class="tinymce-editor">

    <editor v-model="myValue" :init="init" :disabled="disabled" @onClick="onClick">

    </editor>

  </div>

</template>

<script>

  import tinymce from 'tinymce/tinymce'

  import Editor from '@tinymce/tinymce-vue'

  import 'tinymce/themes/silver'

  // 编辑器插件plugins

  // 更多插件参考:https://www.tiny.cloud/docs/plugins/

  import 'tinymce/plugins/image'// 插入上传图片插件

  import 'tinymce/plugins/media'// 插入视频插件

  import 'tinymce/plugins/table'// 插入表格插件

  import 'tinymce/plugins/lists'// 列表插件

  import 'tinymce/plugins/wordcount'// 字数统计插件

  export default {

    components: {

      Editor

    },

    props: {

      value: {

        type: String,

        default: ''

      },

      disabled: {

        type: Boolean,

        default: false

      },

      plugins: {

        type: [String, Array],

        default: 'lists image media table wordcount autoresize'

      },

      toolbar: {

        type: [String, Array],

        default: 'undo redo |  formatselect | bold italic forecolor backcolor | alignleft aligncenter alignright alignjustify | bullist numlist outdent indent | lists image media table | removeformat'

      }

    },

    data () {

      return {

        init: {

          language_url: '/static/tinymce/langs/zh_CN.js',

          language: 'zh_CN',

          skin_url: '/static/tinymce/skins/ui/oxide',

          // skin_url: '/tinymce/skins/ui/oxide',//暗色系

          height: document.body.clientHeight * 0.8,

          plugins: this.plugins,

          toolbar: this.toolbar,

          branding: false,

          menubar: false,

          // 此处为图片上传处理函数,这个直接用了base64的图片形式上传图片,

          // 如需ajax上传可参考https://www.tiny.cloud/docs/configure/file-image-upload/#images_upload_handler

          images_upload_handler: (blobInfo, success, failure) => {

            const img = 'data:image/jpeg;base64,' + blobInfo.base64()

            success(img)

          }

        },

        myValue: this.value

      }

    },

    mounted () {

      tinymce.init({})

    },

    methods: {

      // 添加相关的事件,可用的事件参照文档=> https://github.com/tinymce/tinymce-vue => All available events

      // 需要什么事件可以自己增加

      onClick (e) {

        this.$emit('onClick', e, tinymce)

      },

      // 可以添加一些自己的自定义事件,如清空内容

      clear () {

        this.myValue = ''

      }

    },

    watch: {

      value (newValue) {

        this.myValue = newValue

      },

      myValue (newValue) {

        this.$emit('input', newValue)

      }

    }

  }

</script>

<style scoped>

  .editor {

    padding: 20px;

    height: 100%;

    margin-left: 10%;

    margin-right: 10%;

  }

</style>
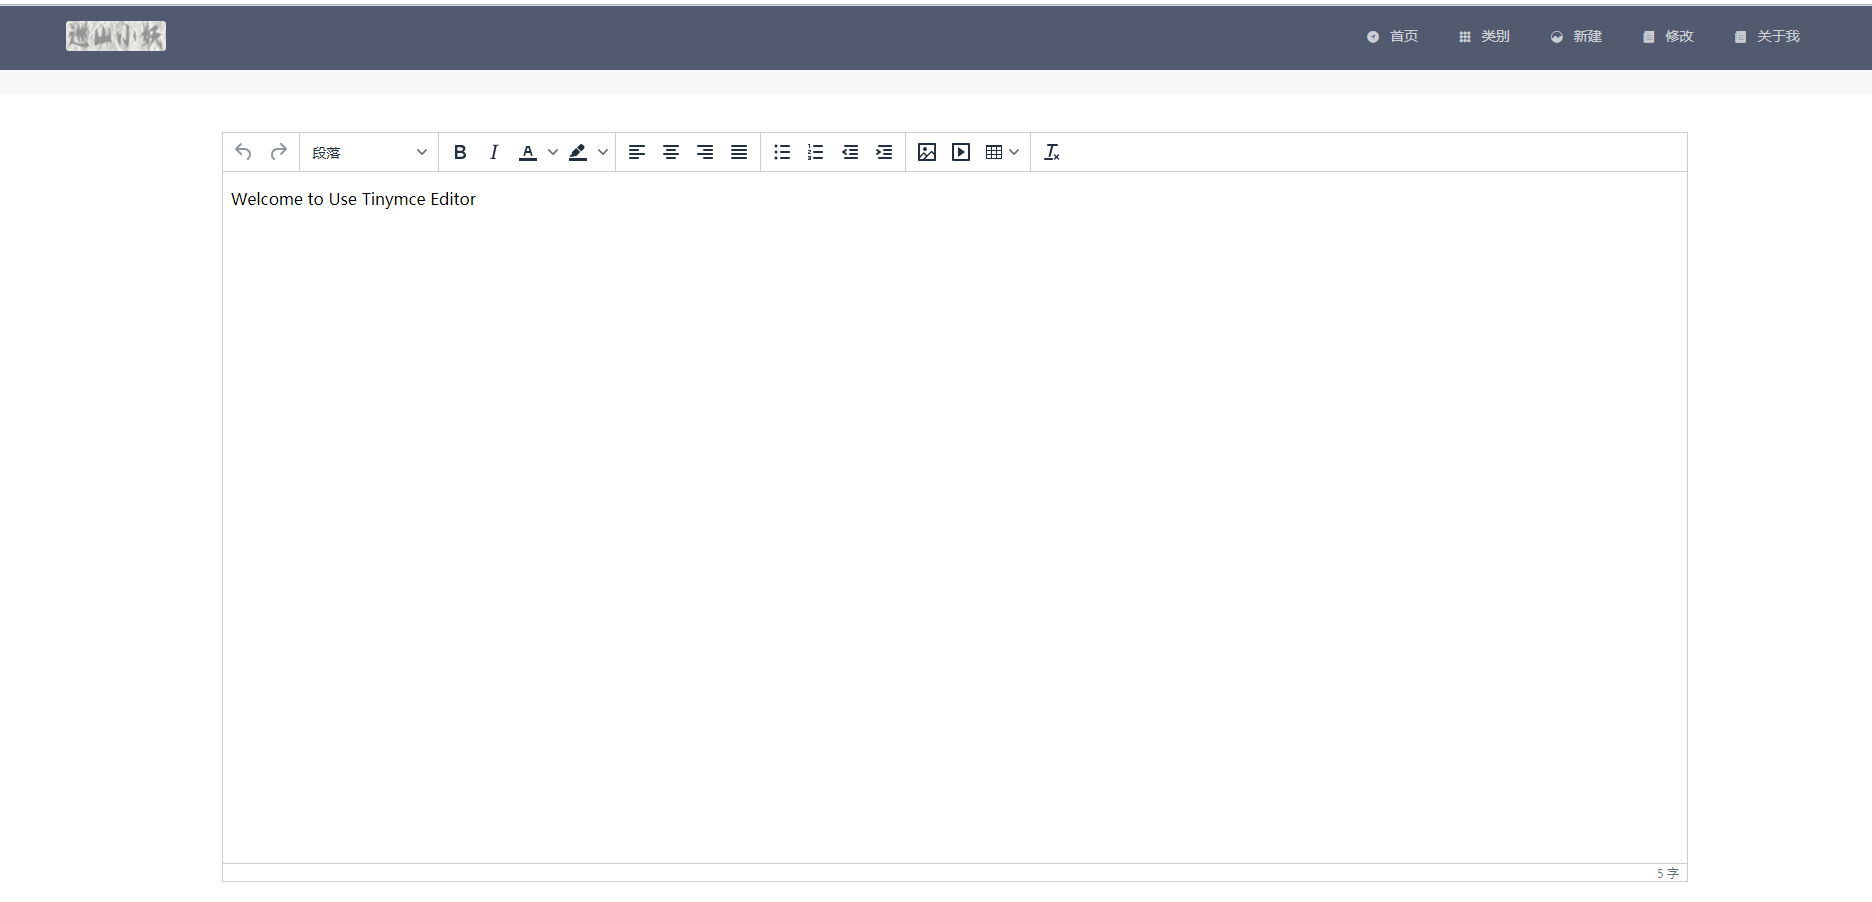
页面显示:
下一篇:https://www.cnblogs.com/nxzblogs/p/10923014.html
vue - blog开发学习3的更多相关文章
- vue - blog开发学习5
基本功能和后台联调 1.首页的所有博客 因为是前后台都是本地开发,所以前端vue需要设置proxy:修改/config/index.js中的这个proxyTable proxyTable: { '/a ...
- vue - blog开发学习2
首页博客列表的开发 1.修改index.vue,使能够支持列表功能 <template> <div> <PostList v-for="(item,index) ...
- vue - blog开发学习1
1.安装vue-cli vue intall -g vue-cli 2.创建项目 vue init webpack nblog 3.按提示要求配置项目 ? Project name nblog ? P ...
- vue - blog开发学习6
1.问题,如下图,使用iviewui中的card导致页面不能出现滚动条(不太会弄,在网上查了一个vue组件vuescroll,因此使用这个做滚动条) 2.安装vuescroll cnpm instal ...
- vue - blog开发学习4
1.新建页面的修改,集成富文本编辑 edit-post.vue(新建和修改都用该组件) <template> <div class="editor"> &l ...
- vue - blog开发学7
将基本的项目部署到linux上(前后台只是实现了基本的功能,本次只是记录一些基本的开发流程,完善,等后续) 1.linux环境准备(我用的是阿里云服务器) ①jre.mysql,Nginx基本上这些就 ...
- Vue学习笔记-Vue.js-2.X 学习(二)===>组件化开发
===重点重点开始 ========================== (三) 组件化开发 1.创建组件构造器: Vue.extends() 2.注册组件: Vue.component() 3.使用 ...
- 前端开发 Vue -1windows环境搭建Vue Node开发环境
解决几个疑问: 想学习下vue.js,我理解的它是一个前端的框架,主要作用是对数据的处理,和juqery类似,所以不太理解为什么要在nodejs中npm install vue呢?在html文件中引入 ...
- Android开发学习路线图
Android开发学习方法: Android是一个比较庞大的体系,从底层的Linux内核到上层的应用层,各部分的内容跨度也比较大.因此,一个好的学习方法对我们学习Android开发很重要. 在此建议, ...
随机推荐
- Purfer序列
我们经常干的一件事是把数变为关于图的问题来解决,那么久了未免不会有这个疑问:能不能把图变成数来解决问题? 所以有了这个purfer数列. 介绍一下这个数列有什么用(或者说有什么性质): 能够将一棵无根 ...
- 在Linux上搭建私有git仓库
最近在学Linux,顺便将自己的服务器用起来,不然又得废弃一年.这次是跟着网上的教程做一个简单的git私有仓库,复杂完整的git系统还需使用gitlib系统. 首先在linux上安装git yum i ...
- 面试题:实现call、apply、bind
面试题:实现call.apply.bind 实现bind module.exports = function(Tcontext, ...args) { let globalThis = typeof ...
- shell使用reposync同步仓库
- Nginx Web 基础入门
目录 Nginx Web 基础入门 Nginx快速安装 两种方式部署Nginx 如何升级nginx或者添加功能 使用systemd管理nginx nginx相关配置文件 nginx的配置文件详解 虚拟 ...
- 解决VMwave下卡死的办法
在VMwave路径下找到vmwave.log文件: 如上图所示:在资源监视器中找到name = vmwave-vmx.exe ,pid = 5940的进程,然后杀死.
- 一次goldengate故障引发的操作系统hang起,HA自动切换
现场: 跑着数据库的主机A报警应用连接不上数据库,我们无法ssh到主机.第一反应是通过telnet到远程控制口,发现数据库资源和硬件资源在被切换到HA架构的主机B(备机,通常性能比主机A的差,抗不住应 ...
- 【串线篇】SpringMVC九大组件
SpringMVC中的Servlet一共有三个层次,分别是HttpServletBean.FrameworkServlet和 DispatcherServlet. HttpServletBean直接继 ...
- 集成swagger
1.看官方文档 https://docs.microsoft.com/zh-cn/aspnet/core/tutorials/getting-started-with-swashbuckle?view ...
- 【Bootstrapt】offset、push、pull
实现方式的区别: col-md-offset-*,是利用margin-left实现的,col-md-push-*/col-md-pull-*是利用相对定位实现的. 效果的区别: col-md-offs ...