webapp 增加 springmvc框架 支持
1.通过maven创建一个webapp项目,并在IDEA 中增加smart tomcat的插件.
2.然后在pom文件中添加springmvc的依赖


<!-- ServletAPI -->

<dependency>

<groupId>javax.servlet</groupId>

<artifactId>javax.servlet-api</artifactId>

<version>3.1.0</version>

<scope>provided</scope>

</dependency>

<!-- SpringMVC -->

<dependency>

<groupId>org.springframework</groupId>

<artifactId>spring-webmvc</artifactId>

<version>5.3.1</version>

</dependency>

<!-- Spring5和Thymeleaf整合包 -->

<dependency>

<groupId>org.thymeleaf</groupId>

<artifactId>thymeleaf-spring5</artifactId>

<version>3.0.12.RELEASE</version>

</dependency>

<!-- 日志 -->

<dependency>

<groupId>ch.qos.logback</groupId>

<artifactId>logback-classic</artifactId>

<version>1.2.3</version>

</dependency>

<!--    json 解析-->

<dependency>

<groupId>com.fasterxml.jackson.core</groupId>

<artifactId>jackson-databind</artifactId>

<version>2.12.1</version>

</dependency>
3.在web.xml文件夹中添加spring 的 filter 和 servlet
<!DOCTYPE web-app PUBLIC
"-//Sun Microsystems, Inc.//DTD Web Application 2.3//EN"
"http://java.sun.com/dtd/web-app_2_3.dtd" > <web-app>
<display-name>Archetype Created Web Application</display-name>
<!-- 配置SpringMVC的前端控制器,对浏览器发送的请求统一进行处理 -->
<filter>
<filter-name>HiddenHttpMethodFilter</filter-name>
<filter-class>org.springframework.web.filter.HiddenHttpMethodFilter</filter-class>
</filter>
<filter-mapping>
<filter-name>HiddenHttpMethodFilter</filter-name>
<url-pattern>/*</url-pattern>
</filter-mapping> <servlet>
<servlet-name>springMVC</servlet-name>
<servlet-class>org.springframework.web.servlet.DispatcherServlet</servlet-class>
<!-- 通过初始化参数指定SpringMVC配置文件的位置和名称 -->
<!-- <init-param>-->
<!-- <!– contextConfigLocation为固定值 –>-->
<!-- <param-name>contextConfigLocation</param-name>-->
<!-- <!– 使用classpath:表示从类路径查找配置文件,例如maven工程中的src/main/resources –>-->
<!-- <param-value>classpath:springMVC-servlet.xml</param-value>-->
<!-- </init-param>-->
<!--
作为框架的核心组件,在启动过程中有大量的初始化操作要做
而这些操作放在第一次请求时才执行会严重影响访问速度
因此需要通过此标签将启动控制DispatcherServlet的初始化时间提前到服务器启动时
-->
<load-on-startup>1</load-on-startup>
</servlet> <servlet-mapping>
<servlet-name>springMVC</servlet-name>
<!--
设置springMVC的核心控制器所能处理的请求的请求路径
/所匹配的请求可以是/login或.html或.js或.css方式的请求路径
但是/不能匹配.jsp请求路径的请求
-->
<url-pattern>/</url-pattern>
</servlet-mapping> <servlet-mapping>
<servlet-name>default</servlet-name>
<url-pattern>*.js</url-pattern>
<url-pattern>*.css</url-pattern>
<url-pattern>/assets/*"</url-pattern>
<url-pattern>/images/*</url-pattern>
</servlet-mapping> </web-app>
4.添加springMVC-servlet.xml文件
<?xml version="1.0" encoding="utf-8" ?>

<beans xmlns="http://www.springframework.org/schema/beans"

       xmlns:xsi="http://www.w3.org/2001/XMLSchema-instance"

       xmlns:context="http://www.springframework.org/schema/context"

       xmlns:jdbc="http://www.springframework.org/schema/jdbc"

       xmlns:jee="http://www.springframework.org/schema/jee"

       xmlns:tx="http://www.springframework.org/schema/tx"

       xmlns:aop="http://www.springframework.org/schema/aop"

       xmlns:mvc="http://www.springframework.org/schema/mvc"

       xmlns:util="http://www.springframework.org/schema/util"

       xmlns:jpa="http://www.springframework.org/schema/data/jpa"

       xsi:schemaLocation="

        http://www.springframework.org/schema/beans http://www.springframework.org/schema/beans/spring-beans-3.2.xsd

        http://www.springframework.org/schema/context http://www.springframework.org/schema/context/spring-context-3.2.xsd

        http://www.springframework.org/schema/jdbc http://www.springframework.org/schema/jdbc/spring-jdbc-3.2.xsd

        http://www.springframework.org/schema/jee http://www.springframework.org/schema/jee/spring-jee-3.2.xsd

        http://www.springframework.org/schema/tx http://www.springframework.org/schema/tx/spring-tx-3.2.xsd

        http://www.springframework.org/schema/data/jpa http://www.springframework.org/schema/data/jpa/spring-jpa-1.3.xsd

        http://www.springframework.org/schema/aop http://www.springframework.org/schema/aop/spring-aop-3.2.xsd

        http://www.springframework.org/schema/mvc http://www.springframework.org/schema/mvc/spring-mvc-3.2.xsd

        http://www.springframework.org/schema/util http://www.springframework.org/schema/util/spring-util-3.2.xsd">

    <!-- 配置controller包所在的位置,需要按项目调整 -->

    <context:component-scan base-package="com.demo.controller"/>

    <!-- 配置Thymeleaf视图解析器 -->

    <bean id="viewResolver" class="org.thymeleaf.spring5.view.ThymeleafViewResolver">

        <property name="order" value="1"/>

        <property name="characterEncoding" value="UTF-8"/>

        <property name="templateEngine">

            <bean class="org.thymeleaf.spring5.SpringTemplateEngine">

                <property name="templateResolver">

                    <bean class="org.thymeleaf.spring5.templateresolver.SpringResourceTemplateResolver">

                        <!-- 视图前缀 -->

                        <property name="prefix" value="/WEB-INF/templates/"/>

                        <!-- 视图后缀 -->

                        <property name="suffix" value=".html"/>

                        <property name="templateMode" value="HTML5"/>

                        <property name="characterEncoding" value="UTF-8" />

                    </bean>

                </property>

            </bean>

        </property>

    </bean>

    <!-- 开启mvc注解驱动 -->

    <mvc:annotation-driven>

        <mvc:message-converters>

            <!-- 处理响应中文内容乱码 -->

            <bean class="org.springframework.http.converter.StringHttpMessageConverter">

                <property name="defaultCharset" value="UTF-8" />

                <property name="supportedMediaTypes">

                    <list>

                        <value>text/html</value>

                        <value>application/json</value>

                    </list>

                </property>

            </bean>

        </mvc:message-converters>

    </mvc:annotation-driven>

    <mvc:view-controller path="/" view-name="index" />

    <mvc:view-controller path="/adduser" view-name="adduser" />

    <!--

           处理静态资源,例如html、js、css、jpg

          若只设置该标签,则只能访问静态资源,其他请求则无法访问

          此时必须设置<mvc:annotation-driven/>解决问题

    -->

    <mvc:default-servlet-handler/>

    <!--    开启MVC注解渠道-->

    <mvc:annotation-driven />

</beans>
5.添加一个controller的包,并在springMVC-servlet.xml中配置component-scan标签,把包的位置填入。
写一个 controller和requestmap
package com.demo.controller;

import org.springframework.stereotype.Controller;

import org.springframework.web.bind.annotation.RequestMapping;

@Controller

public class User {

    @RequestMapping("/index")

    public String getUser(){

        System.out.print("this is get user!");

        return "getUser";

    }

}
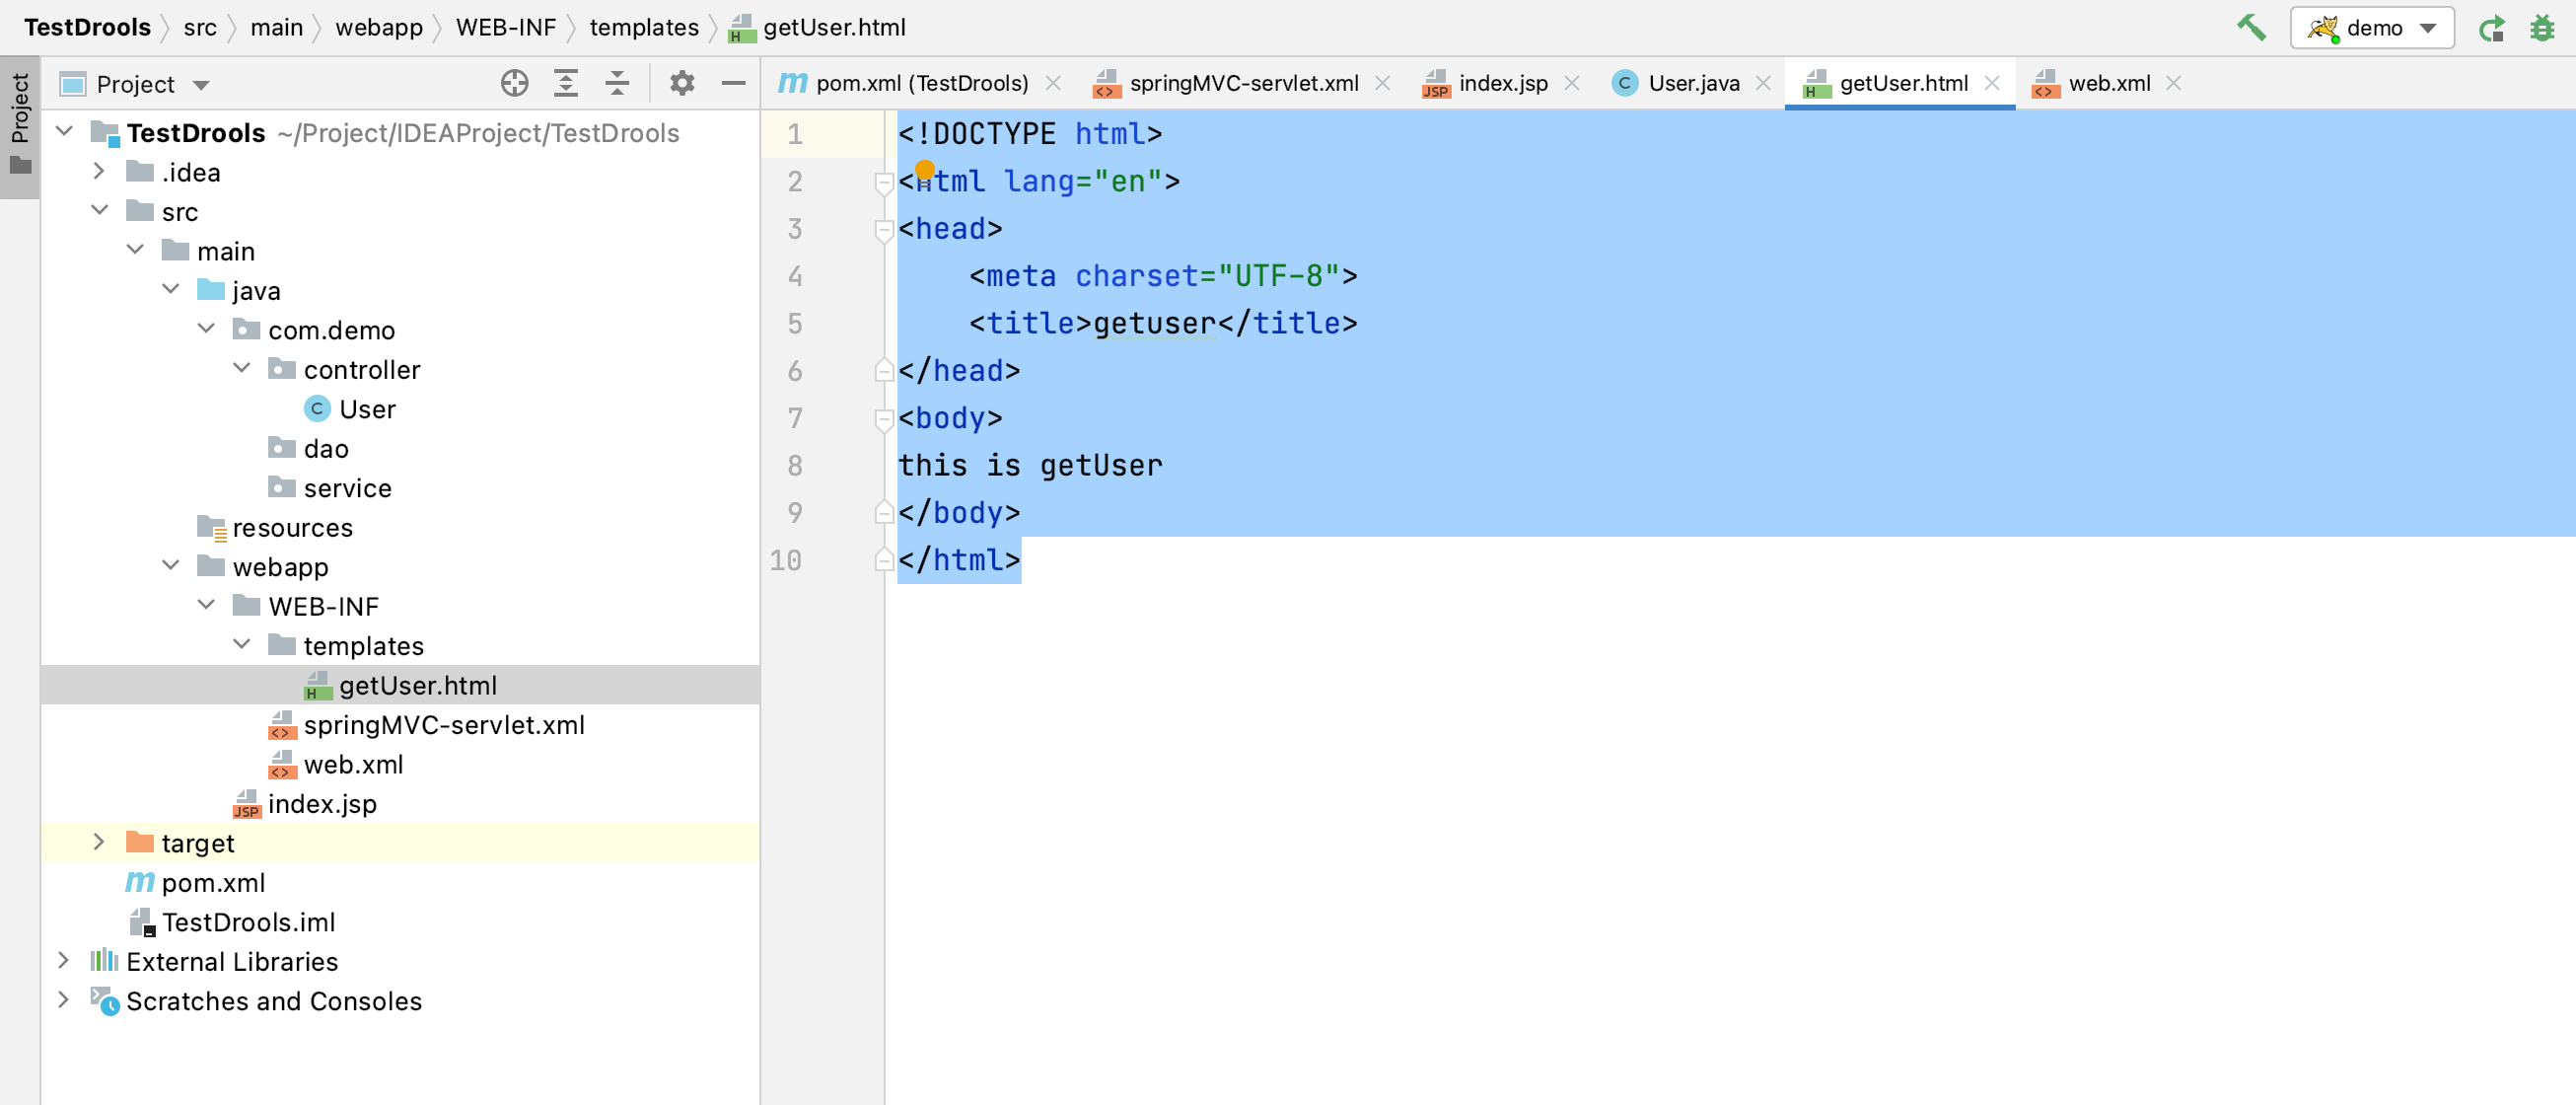
然后对应增加一个webapp/WEB-INF/templates/getUser.html
<!DOCTYPE html>

<html lang="en">

<head>

    <meta charset="UTF-8">

    <title>getuser</title>

</head>

<body>

this is getUser

</body>

</html>
6.最后的结构:
7.使用tomcat即可本地运行
http://localhost:8080/TestDrools/index
webapp 增加 springmvc框架 支持的更多相关文章
- SpringMVC框架之第二篇
6.参数绑定(重点) Springmvc作为表现层框架,是连接页面和service层的桥梁,它负责所有请求的中转.怎么从请求中接收参数是重点,这也体现了我们刚开始说的Springmvc的第一个作用:“ ...
- 自己实现一个简化版的SpringMVC框架
废话不多说,我们进入今天的正题,在Web应用程序设计中,MVC模式已经被广泛使用.SpringMVC以DispatcherServlet为核心,负责协调和组织不同组件以完成请求处理并返回响应的工作,实 ...
- SpringMVC框架应用
SSMSpringMVC框架 1. MVC设计模式:模型.视图.控制器: 视图:负责格式化数据并把他们呈现给用户,包括数据展示.用户交互.数据验证.界面设计等功能.对应组件:JSP或者HTML ...
- 【Spring系列】自己手写一个 SpringMVC 框架
参考文章 一.了解SpringMVC运行流程及九大组件 1.SpringMVC的运行流程 1)用户发送请求至前端控制器DispatcherServlet 2)DispatcherServlet收到请求 ...
- 自己手写一个SpringMVC 框架
一.了解SpringMVC运行流程及九大组件 1.SpringMVC 的运行流程 · 用户发送请求至前端控制器DispatcherServlet · DispatcherServlet收到请求调用 ...
- SpringMvc框架MockMvc单元测试注解及其原理分析
来源:https://www.yoodb.com/ 首先简单介绍一下Spring,它是一个轻量级开源框架,简单的来说,Spring是一个分层的JavaSE/EEfull-stack(一站式) 轻量级开 ...
- SpringMVC框架简介
1.简介 SpringMVC也叫Spring Web mvc,属于表现层的框架.Spring MVC是Spring框架的一部分,是在Spring3.0后发布的 01.Spring mvc的优缺点 M ...
- 自己手写一个SpringMVC框架
前端框架很多,但没有一个框架称霸,后端框架现在Spring已经完成大一统.所以学习Spring是Java程序员的必修课. Spring框架对于Java后端程序员来说再熟悉不过了,以前只知道它用的反射实 ...
- IDEA02 利用Maven创建Web项目、为Web应用添加Spring框架支持、bean的创建于获取、利用注解配置Bean、自动装配Bean、MVC配置
1 环境版本说明 Jdk : 1.8 Maven : 3.5 IDEA : 专业版 2017.2 2 环境准备 2.1 Maven安装及其配置 2.2 Tomcat安装及其配置 3 详细步骤 3.1 ...
- (二)springMvc原理和手写springMvc框架
我们从两个方面了解springmvc执行原理,首先我们去熟悉springmvc执行的过程,然后知道原理后通过手写springmvc去深入了解代码中执行过程. (一)SpringMVC流程图 (二)Sp ...
随机推荐
- openfoam 智能指针探索
前言 今天看到一个程序,用到了智能指针, virtual tmp<volScalarField> rho() const; 借此机会把有关智能指针的知识体系重新梳理一遍 智能指针autoP ...
- 【故障公告】Kubernetes 集群节点宕机造成博客站点故障
非常抱歉!今天 18:40-18:55 左右 Kubernetes 集群一台高配节点突然宕机,造成博客站点故障,访问时出现 502 Bad Gateway,由此给您带来麻烦麻烦,请您谅解. 发现故障并 ...
- linux 信号 未决信号集和屏蔽信号集
有的地方,将屏蔽又叫阻塞? 在虚拟地址空间中,内核区的PCB中 有两个64位的值(集合),分别表示64个信号的未决状态(未被处理)和屏蔽与否 kill -l 可以查看linux中的所有信号,共64个 ...
- pytorch 衣服等
衣服 pytorch BP神经网路 猫狗
- Django基础(1)
一.开发模式 MVC模式: model:数据库 view:前端展示 controller:逻辑控制 MTV模式(Django): model:数据库 view:逻辑控制 template:前端展示(模 ...
- python使用pysimplegui简单制作一个exe程序
一.安装打包程序 控制台输入: pip install pysimplegui-exemaker -- 安装exe制作库 pip install PySimpleGUI -- 安装图形化界面编辑库 二 ...
- Less 1-3
LESS-1 首先确认一下是否存在注入,加上?id=1,能够显示数据,然后加一个',出现报错,这样就说明存在注入点.接下来进行报错注入. 输入 ' and updatexml(1,concat(0x7 ...
- Monstache的安装和使用
一.什么是Monstache Monstache 是Golang语言实现的基于MongoDB的oplog实现实时数据同步及订阅的插件,支持MongoDB与ES之间的数据同步.其中MongoDB需要搭建 ...
- appium:appium上手
记录一下appium上手,如果用过selenium,appium就可以在一天上手. 准备: 1.去网上下载一个安卓sdk 2.通过android sdk中aapt dump badging xx.ap ...
- Mac安装Nvm Node开发环境
1.什么是nvm? nvm 是 Mac 下的 node 管理工具,可以在同一台电脑上安装多个Node.js版本灵活切换. 2.安装前的准备 a. 卸载已安装到全局的 node/npm 如果之前是在官 ...