小tips:怎样实现简单的前端hash与history路由方式?
前端路由实现方式,主要有两种,分别是history和hash模式。
hash模式
不同路由对应的hash是不一样的,如何能够监听到URL中关于hash部分发生的变化?浏览器已经暴露给我们一个现成的方法hashchange,在hash改变的时候,触发该事件。
实现示例代码:
<!DOCTYPE html>

<html>

<head>

	<meta charset="UTF-8">

	<meta name="viewport" content="width=device-width, initial-scale=1.0">

	<title></title>

</head>

<style>

* {

	margin: 0;

	padding: 0;

	box-sizing:border-box;

}

html,body {

	height: 100%;

}

#content {

	height: calc(100% - 50px);

	display: flex;

	align-items: center;

	justify-content: center;

	font-size: 30px;

}

#nav {

	width: 100%;

	height: 50px;

	position: fixed;

	bottom: 0;

	left: 0;

	display: flex;

}

#nav a {

	width: 25%;

	display: flex;

	align-items: center;

	justify-content: center;

	border: 1px solid black;

}

#nav a:not(:last-of-type) {

	border-right: none;

}

</style>

<body>

<div id="content">内容区域</div>

<div id="nav">

	<a href="#/">首页</a>

	<a href="#/new-product">新品</a>

	<a href="#/shopping-cart">购物车</a>

	<a href="#/my">我的</a>

</div>

<script type="text/javascript">

class VueRouter {

	constructor(routes = []) {

		this.routes = routes;

		this.currentHash = ''; // 当前hash值

		window.addEventListener('load',this.refresh.bind(this),false);

		window.addEventListener('hashchange',this.refresh.bind(this),false);

	}

	// 获取hash

	getHash(url) {

		return url.indexOf('#') !== -1 ? url.slice(url.indexOf('#') + 1) : '/'

	}

	refresh(event) {

		let newHash = '';

		if(event.newURL) {

			newHash = this.getHash(event.newURL || '');

		} else {

			newHash = this.getHash(window.location.href);

		}

		this.currentHash = newHash;

		this.matchComponentCon();

	}

	// 匹配hash组件内容

	matchComponentCon() {

		let curRoute = this.routes.find(route => route.path === this.currentHash);

		if(!curRoute) {

			curRoute = this.routes.find(route => route.path === '/');

		}

		const { component } = curRoute;

		document.querySelector('#content').innerHTML = component;

	}

}

const router = new VueRouter([

	{path: '/',name: 'home',component: '<div>首页内容</div>'},

	{path: '/new-product',name: 'new-product',component: '<div>新品内容</div>'},

	{path: '/shopping-cart',name: 'shopping-cart',component: '<div>购物车内容</div>'},

	{path: '/my',name: 'my',component: '<div>我的内容</div>'}

])

</script>

</body>

</html>
效果如图所示:
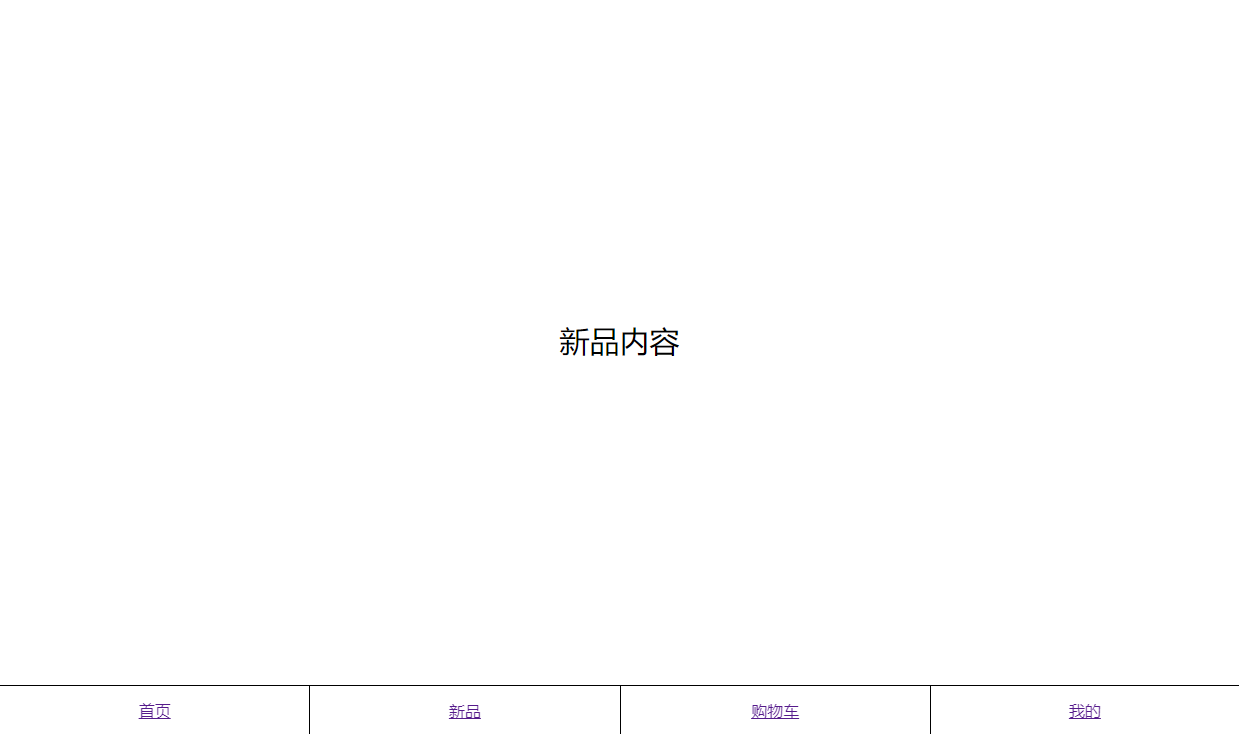
当点击底部不同的菜单,中间区域显示对应菜单的内容。
history模式
HTML5提供的一个history全局对象,这个对象包含了关于我们访问网页(历史会话)的一些信息,history路由的实现要归功于它。
history它还暴露了一些方法,如:
- window.history.go: 可以跳转到浏览器会话历史中的指定的某一个记录页
- window.history.forward: 指向浏览器会话历史中的下一页,跟浏览器的前进按钮相同
- window.history.back: 返回浏览器会话历史中的上一页,跟浏览器的回退按钮功能相同
- window.history.pushState: 可以将给定的数据压入到浏览器会话历史栈中
- window.history.replaceState: 将当前的会话页面的url替换成指定的数据
而history路由的实现,主要就是依靠于pushState与replaceState实现的。这两个方法的特点:
- 改变当前页面的URL,不会刷新页面;
- 调用
pushState方法会把当前的URL压入到浏览器的会话历史栈中,会让history.length加1,而replaceState是替换当前的这条会话历史,不会增加history.length;
我们是否可以通过pushState或replaceState能够监听URL变化这个动作,就可以实现不同路由页面的渲染处理,我们需要了解下事件处理程序popState,官网参考地址:https://developer.mozilla.org/zh-CN/docs/Web/API/Window/popstate_event
每当激活同一文档中不同的历史记录条目时,popstate 事件就会在对应的window对象上触发。如果当前处于激活状态的历史记录条目是由history.pushState()方法创建的或者是由 history.replaceState() 方法修改的,则 popstate 事件的 state 属性包含了这个历史记录条目的 state 对象的一个拷贝。
备注: 调用
history.pushState()或者history.replaceState()不会触发popstate事件。popstate事件只会在浏览器某些行为下触发,比如点击后退按钮(或者在 JavaScript 中调用history.back()方法)。即,在同一文档的两个历史记录条目之间导航会触发该事件。
从官网描述看,总结如下:
history.pushState和history.replaceState方法不会触发popstate事件- 浏览器的某些行为会导致
popstate事件,比如go、back、forward popstate事件对象中的state属性,可以理解是我们在通过history.pushState或history.replaceState方法时,传入的指定的数据
结论就是popstate无法监听history.pushState和history.replaceState方法,既然不支持,那么我们重新写下这个history.pushState和history.replaceState方法。在这个方法中,也能够暴露出自定义的全局事件,然后再监听自定义的事件
就行了。
let _wr = function(type) {

	let orig = history[type];

	return function() {

		orig.apply(this,arguments);

		let e = new Event(type);

		e.arguments = arguments;

		window.dispatchEvent(e);

	}

}

history.pushState = _wr('pushState');

history.replaceState = _wr('replaceState');
执行上面的方法,相当于自定义了同名的pushState和replaceState自定义事件的触发绑定到了window上面,即是可以通过pushSate或者replaceState来执行自定义的事件,同时还执行了浏览器的history.pushState或者history.replaceState方法。
简单实现:
<!DOCTYPE html>

<html>

<head>

	<meta charset="UTF-8">

	<meta name="viewport" content="width=device-width, initial-scale=1.0">

	<title></title>

</head>

<style>

* {

	margin: 0;

	padding: 0;

	box-sizing:border-box;

}

html,body {

	height: 100%;

}

#content {

	height: calc(100% - 50px);

	display: flex;

	align-items: center;

	justify-content: center;

	font-size: 30px;

}

</style>

<body>

<div id="content">内容区域</div>

<button id="button1">首页</button>

<button id="button2">新品</button>

<button id="button3">购物车</button>

<button id="button4">我的</button>

<script type="text/javascript">

const button1 = document.querySelector('#button1');

const button2 = document.querySelector('#button2');

const button3 = document.querySelector('#button3');

const button4 = document.querySelector('#button4');

let _wr = function(type) {

	let orig = history[type];

	return function() {

		orig.apply(this,arguments);

		let e = new Event(type);

		e.arguments = arguments;

		window.dispatchEvent(e);

	}

}

history.pushState = _wr('pushState');

history.replaceState = _wr('replaceState');

button1.addEventListener('click',() => {

	const path = './home';

	const title = '首页';

	history.pushState({ path,title },title, path);

})

button2.addEventListener('click',() => {

	const path = './new-product';

	const title = '新品';

	history.pushState({ path,title },title, path);

})

button3.addEventListener('click',() => {

	const path = './shopping-cart';

	const title = '购物车';

	history.pushState({ path,title },title, path);

})

button4.addEventListener('click',() => {

	const path = './my';

	const title = '我的';

	history.pushState({ path,title },title, path);

})

class VueRouter {

	constructor(routes = []) {

		this.routes = routes;

		this.currentUrl = '';

		this.matchComponentCon();

		window.addEventListener('pushState', e => {

			console.log(e)

			this.currentUrl = e.arguments[2] && e.arguments[2].slice(e.arguments[2].indexOf('.') + 1);

			window.document.title = e.arguments[1];

			this.matchComponentCon();

		},false)

		// 监听浏览器的back、forward、go事件

		window.addEventListener('popstate', e => {

			const { path = '/', title } = e.state || {};

 			console.log(e)

			this.currentUrl = path.slice(path.indexOf('.') + 1);

			window.document.title = title;

			this.matchComponentCon();

		},false)

	}

	// 匹配路由页面内容

	matchComponentCon() {

		let curRoute = this.routes.find(route => route.path === this.currentUrl);

		if(!curRoute) {

			curRoute = this.routes.find(route => route.path === '/');

		}

		const { component } = curRoute;

		document.querySelector('#content').innerHTML = component;

	}

}

const router = new VueRouter([

	{path: '/',name: 'home',component: '<div>首页内容</div>'},

	{path: '/new-product',name: 'new-product',component: '<div>新品内容</div>'},

	{path: '/shopping-cart',name: 'shopping-cart',component: '<div>购物车内容</div>'},

	{path: '/my',name: 'my',component: '<div>我的内容</div>'}

])

</script>

</body>

</html>
history模式需要后端配合解决刷新页面404的问题。nginx配置如下:
location / {

  try_files $uri $uri/ /index.html;

}
小tips:怎样实现简单的前端hash与history路由方式?的更多相关文章
- hash和history路由的区别
在了解路由模式前,我们先看下 什么是单页面应用,vue-router 的实现原理是怎样的,这样更容易理解路由. SPA与前端路由 SPA(单页面应用,全程为:Single-page Web appl ...
- 简单的基于hash和hashchange的前端路由
hash定义 hash这个玩意是地址栏上#及后面部分,代表网页中的一个位置,#后面部分为位置标识符.页面打开后,会自动滚动到指定位置处. 位置标识符 ,一是使用锚点,比如<a name=&quo ...
- 前端路由hash、history原理及简单的实践下
阅读目录 一:什么是路由?前端有哪些路由?他们有哪些特性? 二:如何实现简单的hash路由? 三:如何实现简单的history路由? 四:hash和history路由一起实现 回到顶部 一:什么是路由 ...
- 前端必备,5大mock省时提效小tips,用了提前下班一小时
一.一些为难前端的业务场景 在我的工作经历里,需要等待后端童鞋配合我的情形大概有以下几种: a.我们跟外部有项目合作,需要调用到第三方接口. 一般这种情况下,商务那边谈合同,走流程,等第三方审核, ...
- 前端防错以及好用小tips指南总结
@前端防錯以及好用小tips指南總結 1.一般情況下我們接收到的都是對象格式,某些情況下,需要接到後端傳過來的奇怪的字符串格式的JSON,需要解析成對象,但是有時候他們傳過來的格式有問題,會報錯 解決 ...
- Windows7驱动调试小Tips
v:* { } o:* { } w:* { } .shape { }p.MsoNormal,li.MsoNormal,div.MsoNormal { margin: 0cm; margin-botto ...
- 你不知道的JavaScript--Item17 循环与prototype最后的几点小tips
1.优先使用数组而不是Object类型来表示有顺序的集合 ECMAScript标准并没有规定对JavaScript的Object类型中的属性的存储顺序. 但是在使用for..in循环对Object中的 ...
- 微信小程序web-view的简单思考和实践
微信小程序的组件web-view推出有一段时间了,这个组件的推出可以说是微信小程序开发的一个重要事件,让微信小程序不会只束缚在微信圈子里了,打开了一个口子,这个口子或许还比较小,但未来有无限可能. 简 ...
- 整理一些《纸书科学计算器》的小Tips
本文最开始是在2016年的文章 Win10应用<纸书科学计算器>更新啦! 发表之后撰写的,当时那篇文章收到了不少人点赞,应用在国内市场的日下载量也突然上涨,让我感到受宠若惊,这里要感谢Wp ...
- 小tips: zoom和transform:scale的区别
小tips: zoom和transform:scale的区别 转自 张鑫旭 前端大神 by zhangxinxu from http://www.zhangxinxu.com本文地址:http://w ...
随机推荐
- 使用gzexe加密shell脚本
使用 gzexe 加密 shell 脚本是一个相对简单的过程.以下是具体的步骤: 编写你的 shell 脚本:首先,你需要有一个 shell 脚本文件,比如 myscript.sh. 确保脚本可执行: ...
- 【JavaScript高级01】JavaScript基础深入
1,数据类型 JavaScript将数据分为六大类型,分别为数值类型(number).字符串类型(string).布尔类型(boolean).undefined(定义未赋值).null(赋值为空值). ...
- C# 网络编程:.NET 开发者的核心技能
前言 数字化时代,网络编程已成为软件开发中不可或缺的一环,尤其对于 .NET 开发者而言,掌握 C# 中的网络编程技巧是迈向更高层次的必经之路.无论是构建高性能的 Web 应用,还是实现复杂的分布式系 ...
- 常用ffmpeg命令集合(收藏吧,帮你省一个录屏软件的会员费)
录制屏幕: 全屏的话用screen-capture-recoder下载地址:https://github.com/rdp/screen-capture-recorder-to-video-window ...
- DASCTF 2023 & 0X401七月暑期挑战赛【PWN】(FileEditor篇)
DASCTF 2023 & 0X401七月暑期挑战赛[PWN](FileEditor篇) 题目保护情况(保护全家桶) 64位ida逆向 模拟了一个类似vim的功能,有打开文件,打印内容,插入行 ...
- 写写Redis十大类型hyperloglog(基数统计)的常用命令
hyperloglog处理问题的关键所在和bitmap差不多,都是为了减少对sql的写操作,提高性能,用于基数统计的算法.基数就是一种数据集,用于收集去重后内容的数量.会有0.81%的误差 hyper ...
- Microsoft Dynamics CRM 高级查找不能搜索实体的解决方案(浏览器插件)
背景 我们搜索某个实体的记录的时候,一般会去对应的视图"可用的XXX",但是视图自带的条件过滤了一些数据,或者缺少了我们所需要的列,或者不能查询关联实体.这时候我们需要用到高级查找 ...
- springMvc使用自定义View生成Excel表格
1:通过自定义的View视图可以让请求直接到一个Excel表去. 2:自定义的视图必须继承 AbstractXlsView /AbstractXlsxView / AbstractXlsxStrea ...
- kimchi – kvm虚拟机网页管理
参考: https://mangolassi.it/topic/15882/kimchi-kvm-updated-and-better-and-easy-guide-for-kvm-beginners ...
- 《Python数据可视化之matplotlib实践》 源码 第四篇 扩展 第十一章
图 11.2 import matplotlib.pyplot as plt import matplotlib as mpl import numpy as np plt.axes([0.1, ...