【基因组学】maker的安装和注释
本文默认读者有一定的生信基础,没有基础的可以阅读以前的笔记内容。
maker作为比较受人认可的基因组注释软件,其流程较为清晰简单。
不知何故,我的conda无法安装maker,故而采用手动安装方式。
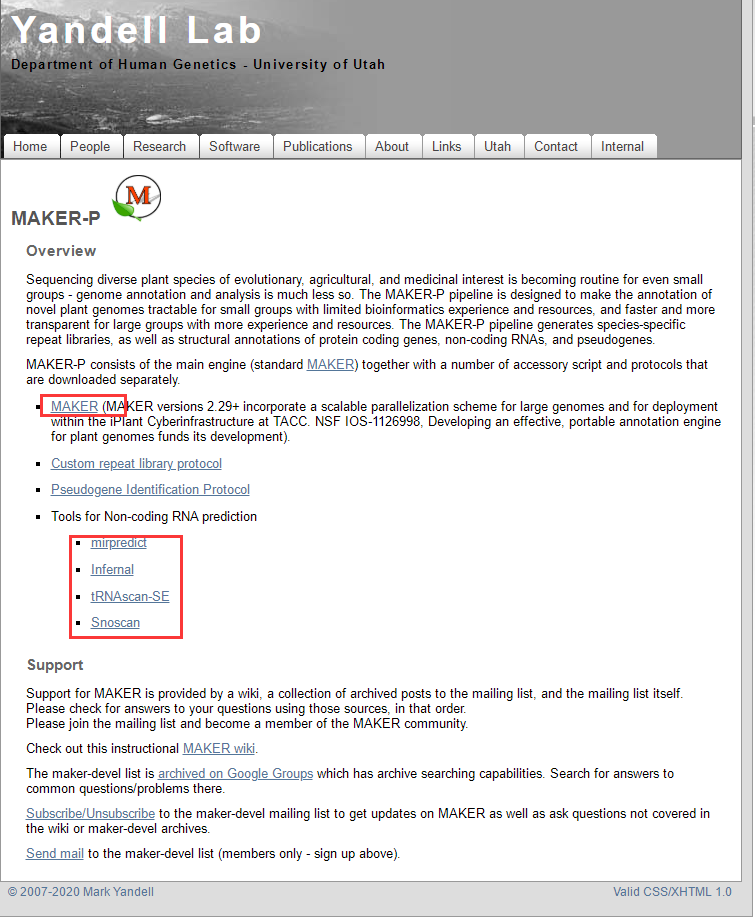
maker软件官网:http://www.yandell-lab.org/software/index.html。
植物基因组注释使用maker-p,包含了maker主程序和其他依赖:
mkdir /abyss/soft/maker # 新建流程文件夹
植物基因组注释包含了一些东西:
#maker 主脚本
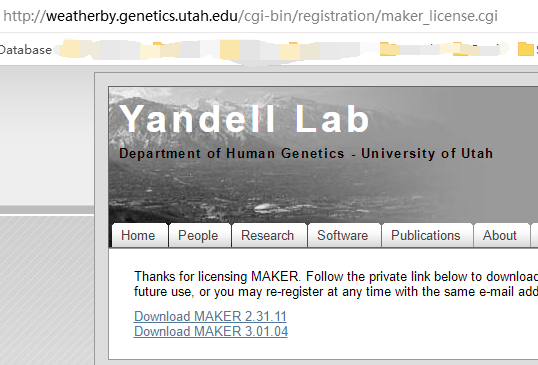
wget http://weatherby.genetics.utah.edu/maker_downloads/FE0E/32C6/D9E1/C6A833335CBB30251819ED8F50F8/maker-3.01.04.tgz
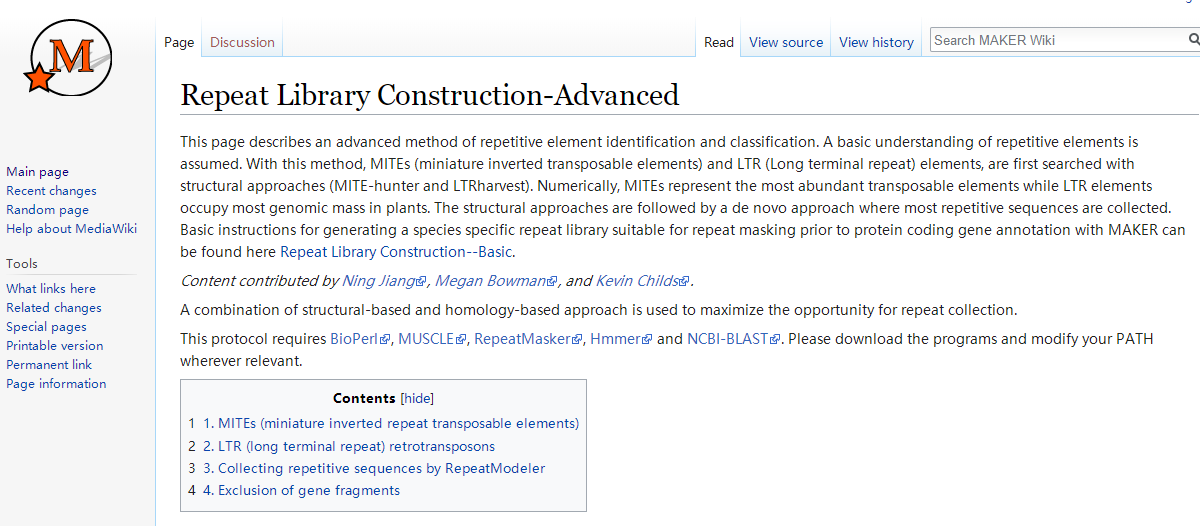
# repaet 库构建
http://weatherby.genetics.utah.edu/MAKER/wiki/index.php/Repeat_Library_Construction-Advanced
挺复杂的,直接按提示装依赖吧。
来,我们一起读安装文件。
**EASY INSTALL
1. Go to the .../maker/src/ directory and run 'perl Build.PL' to configure.
2. Accept default configuration options by just pressing enter. See MPI INSTALL
in next section if you decide to configure for MPI.
3. type './Build install' to complete the installation.
4. If anything fails, either use the ./Build file commands to retry the failed
section (i.e. './Build installdeps' and './Build installexes') or follow the
detailed install instructions in the next section to manually install missing
modules or programs. Use ./Build status to see available commands.
./Build status #Shows a status menu
./Build installdeps #installs missing PERL dependencies
./Build installexes #installs missing external programs
./Build install #installs MAKER
Note: You do not need to be root. Just say 'yes' to 'local install' when
running './Build installdeps' and dependencies will be installed under
.../maker/perl/lib, also missing external tools will be installed under
.../maker/exe when running './Build installexes'.
Note: For failed auto-download of external tools, when using the command
'./Build installexes', the .../maker/src/locations file is used to identify
download URLs. You can edit this file to point to any alternate locations.
简单安装似乎贼简单。
$ ./Build install
Building MAKER
* MISSING MAKER PREREQUISITES - CANNOT CONTINUE!!
依赖不全,不给用。
STATUS MAKER v3.1.4
==============================================================================
PERL Dependencies: MISSING
! Perl::Unsafe::Signals
! forks::shared
! Bit::Vector
! forks
! IO::All
! Bio::Root::Version
! Inline::C
! DBD::SQLite
! Want
External Programs: MISSING
! RepeatMasker
! SNAP
! Exonerate
不偷懒了,老老实实的。
**DETAILED INSTALL (for installing prerequisites manually)
1. You need to have perl 5.8.0 or higher installed. You can verify this by
typing perl -v on the command line in a terminal.
You will also need to install the following perl modules from CPAN.
*DBI
*DBD::SQLite
*forks
*forks::shared
*File::Which
*Perl::Unsafe::Signals
*Bit::Vector
*Inline::C
*IO::All
*IO::Prompt
a. Type 'perl -MCPAN -e shell' to access the CPAN shell. You may
have to answer some configuration questions if this is your first time
starting CPAN. You can normally just hit enter to accept CPAN defaults.
You may have to be logged in as 'root' or use sudo to install modules
via CPAN. If you don't have root access, then install local::lib from
http://www.cpan.org using the bootstrap method to setup a non-root CPAN
install location.
b. Type 'install DBI' in CPAN to install the first module, then type
'install DBD::SQLite' to install the next one, and so on.
c. Alternatively you can download moadules from http://www.cpan.org/.
Just follow the instructions that come with each module to install.
肯定有懒王不喜欢看那么多字,我直接将代码贴上:
# 安装perl 模块
perl -MCPAN -e shell # 进入cpan环境
install DBI
install DBD::SQLite
install forks
install forks::shared
install File::Which
install Perl::Unsafe::Signals
install Bit::Vector
install Inline::C
install IO::All
install IO::Prompt
# 安装bioperl
2. Install BioPerl 1.6 or higher. Download the Core Package from
http://www.bioperl.org
-quick and dirty installation-
(with this option, not all of bioperl will work, but what MAKER uses will)
a. Download and unpack the most recent BioPerl package to a directory of your
choice, or use Git to access the most current version of BioPerl. See
http://www.bioperl.org for details on how to download using Git.
You will then need to set PERL5LIB in your .bash_profile to the location
of bioperl (i.e. export PERL5LIB="/usr/local/bioperl-live:$PERL5LIB").
-full BioPerl instalation via CPAN-
(you will need sudo privileges, root access, or CPAN configured for local
installation to continue with this option)
a. Type perl -MCPAN -e shell into the command line to set up CPAN on your
computer before installing bioperl (CPAN helps install perl dependencies
needed to run bioperl). For the most part just accept any default options
by hitting enter during setup.
b. Type install Bundle::CPAN on the cpan command line. Once again just press
enter to accept default installation options.
c. Type install Module::Build on the cpan command line. Once again just
press enter to accept default installation options.
d. Type install Bundle::BioPerl on the cpan command line. Once again press
enter to accept default installation options.
-full BioPerl instalation from download-
a. Unpack the downloaded bioperl tar file to the directory of your choice or
use Git to get the most up to date version. Then use the terminal
to find the directory and type perl Build.PL in the command line, then
type ./Build test, then if all tests pass, type ./Build install. This
will install BioPerl where perl is installed. Press enter to accept all
defaults.
perl -MCPAN -e shell
install Bundle::CPAN
install Module::Build
install Bundle::BioPerl
$ git clone https://github.com/bioperl/bioperl-live.git
cpanm IO::Socket::SSL # 安装一半之后退出产生的报错处理
安装依赖:
3. Install either WuBlast or NCBI-BLAST using instruction in 3a and 3b #先忽略
3a. Install WuBlast 2.0 or higher (Alternatively install NCBI-BLAST in 3b)
(WuBlast has become AB-Blast and is no longer freely available, so if you
are not lucky enough to have an existing copy of WuBlast, you can use NCBI
BLAST or BLAST+ instead)
a. Unpack the tar file into the directory of your choice (i.e. /usr/local).
b. Add the following in your .bash_profile (value depend on where you chose
to install wublast):
export WUBLASTFILTER="/usr/local/wublast/filter"
export WUBLASTMAT="/usr/local/wublast/matrix"
c. Add the location where you installed WuBlast to your PATH variable in
.bash_profile (i.e. PATH="/usr/local/wublast:$PATH").
3b. Install NCBI-BLAST 2.2.X or higher (Alternatively install WuBlast in 3a)
a. Unpack the tar file into the directory of your choice (i.e. /usr/local).
b. Add the location where you installed NCBI-BLAST to your PATH variable in
.bash_profile (i.e. PATH="/usr/local/ncbi-blast:$PATH").
4. Install SNAP. Download from http://korflab.ucdavis.edu/software.html
a. Unpack the SNAP tar file into the directory of your choice (ie /usr/local)
b. Add the following to your .bash_profile file (value depends on where you
choose to install snap): export ZOE="/usr/local/snap/Zoe"
c. Navigate to the directory where snap was unpacked (i.e. /usr/local/snap)
and type make
d. Add the location where you installed SNAP to your PATH variable in
.bash_profile (i.e. export PATH="/usr/local/snap:$PATH").
http://korflab.ucdavis.edu/Software/snap-2013-11-29.tar.gz
5. Install RepeatMasker. Download from http://www.repeatmasker.org
a. The most current version of RepeatMasker requires a program called TRF.
This can be downloaded from http://tandem.bu.edu/trf/trf.html
b. The TRF download will contain a single executable file. You will need to
rename the file from whatever it is to just 'trf' (all lower case).
c. Make TRF executable by typing chmod a+x trf. You can then move this file
wherever you want. I just put it in the .../RepeatMasker directory.
d. Unpack RepeatMasker to the directory of your choice (i.e. /usr/local).
e. If you do not have WuBlast installed, you will need to install RMBlast.
We do not recomend using cross_match, as RepeatMasker performance will suffer.
f. Now in the RepeatMasker directory type perl ./configure in the command
line. You will be asked to identify the location of perl, rmblast/wublast,
and trf. The script expects the paths to the folders containing the
executables (because you are pointing to a folder the path must end in a
'/' character or the configuration script throws a fit).
g. Add the location where you installed RepeatMasker to your PATH variable in
.bash_profile (i.e. export PATH="/usr/local/RepeatMasker:$PATH").
h. You must register at http://www.girinst.org and download the Repbase
repeat database, Repeat Masker edition, for RepeatMasker to work.
i. Unpack the contents of the RepBase tarball into the RepeatMasker/Libraries
directory.
https://github.com/Benson-Genomics-Lab/TRF.git
WARNING: 'aclocal-1.16' is missing on your system.
6. Install Exonerate 2.2. Download from http://www.ebi.ac.uk/~guy/exonerate
a. Exonerate has pre-comiled binaries for many systems; however, for Mac OS-X
you will have to download the source code and complile it yourself by
following steps b though d.
b. You need to have Glib 2.0 installed. The easiest way to do this on a Mac
is to install fink and then type 'fink install glib2-dev' in the terminal.
c. Change to the directory containing the Exonerate package to be compiled.
d. To install exonerate in the directory /usr/local/exonerate, type:
./configure -prefix=/usr/local/exonerate -> then type make -> then type
make install
e. Add the location where you installed exonerate to your PATH variable in
.bash_profile (i.e. export PATH="/usr/local/exonerate/bin:$PATH").
wget https://www.cpan.org/src/5.0/perl-5.26.1.tar.gz
/Configure -de -Dprefix=/abyss/app/maker
太难玩了,一堆乱七八糟的报错,明天再继续。
【基因组学】maker的安装和注释的更多相关文章
- Python语言——基础01-环境安装、注释、变量
开篇导言: 今天开始进行python学习的笔记更新,以后我都用截图的方式更新,方便不麻烦,界面美观,今天学习更新的python学习内容是环境安装.注释.变量的内容 关注我博客的童鞋从现在开始也可以跟着 ...
- Python基础-1 python由来 Python安装入门 注释 pyc文件 python变量 获取用户输入 流程控制if while
1.Python由来 Python前世今生 python的创始人为吉多·范罗苏姆(Guido van Rossum).1989年的圣诞节期间,吉多·范罗苏姆为了在阿姆斯特丹打发时间,决心开发一个新的脚 ...
- sublime安装DocBlockr注释插件
点击sublime的菜单栏 view->show console :现在打开了控制台, 这个控制台有上下两栏, 上面一栏会实时显示sublime执行了什么插件,输出执行结果, 如果你安装的某个插 ...
- Sublime 插件安装、常用配置
安装:sublime + 插件 安装Sublime: 官网:http://www.sublimetext.com/ 安装package control组件,之后我们会使用该组件给Sublime安装常用 ...
- Squid正向代理(编译安装)
编译安装 版本为squid-3.5.27 系统为Centos6.5 依赖环境 yum install -y perl gcc*autoconf automake make sudo wget libx ...
- centos7 安装 jdk1.8
首先是Linux的不同版本的额系统自带的配置是不一样的,比如centos6上有的自带的jdk环境的话要装1.8的就要进行卸载或者马上进行更改 jdk是java程序依赖的环境 首先查看你的系统下是否有j ...
- linux如何安装和启动mongdb
1.下载安装包 下载地址: https://www.mongodb.com/dr/fastdl.mongodb.org/linux/mongodb-linux-x86_64-4.0.9.tgz/dow ...
- -Linux下的虚拟机安装与管理
一.虚拟机安装 首先安转之前,要提前下载一个镜像,这里是:rhel-server-7.0-x86_64-dvd.iso 1)图形化方法 [1]在本机打开终端,切换到超级用户下.输入命令:virt-ma ...
- Moodle安装图解
Moodle安装图解 一. Moodle运行环境搭建 Moodle主要是在Linux上使用Apache, PostgreSQL/MySQL/MariaDB及 PHP 开发(LAMP平台). 1. ...
随机推荐
- 1、Redis简介
一.NOSQL 1.什么是NOSQL? NoSQL(NoSQL = Not Only SQL ),意即"不仅仅是SQL". 指的是非关系型的数据库.NoSQL有时也称作Not On ...
- NOAA数据下载方法
NOAA OneStop https://data.noaa.gov/onestop/about NOAA 数据搜索平台,在一个地方同时搜索NOAA的 Geophysical, oceans, coa ...
- CF615A Bulbs 题解
Content 有 \(n\) 个灯,一开始它们都是关着的.有 \(m\) 个按钮,每个按钮可以开 \(k\) 盏灯.求能否通过这 \(m\) 个按钮使得所有灯全部都开着. 数据范围:\(1\leqs ...
- CF469A I Wanna Be the Guy 题解
Content 小 A 和小 B 正在玩一个游戏,游戏一共有 \(n\) 关,而两个人各只能通过 \(p_A,p_B\) 个关卡.问他们能否通过合作通关这个游戏. 数据范围:\(1\leqslant ...
- ffmpeg 系列博客
https://www.ffmpeg.org/download.html#build-macffmpeg 系列博文https://me.csdn.net/blog/leixiaohua1020http ...
- Add File as a Link on Visual Studio
https://stackoverflow.com/questions/18963750/add-file-as-a-link-on-visual-studio-debug-vs-publish Ev ...
- 经验:使用mysqlimport快速导入csv文件
mysqlimport 工具实际上也只是"load data infile"命令的一个包装实现.常用选项:--fields-terminated-by=字符串:设置字符串为字段之间 ...
- 复杂SQL案例:用户退款信息查询
供参考: select t3.course_id 课程id, t3.user_id 用户ID, u.user_full_name 姓名, -- u.phone, concat(u.company,' ...
- JAVA使用经纬度通过腾讯地图API获取详细地址
官方文档:https://lbs.qq.com/service/webService/webServiceGuide/webServiceGcoder package com.weixin.map; ...
- UDP&串口调试助手用法(2)
通道的是创建.删除.编辑.链接.断开 通道创建 通道删除 先选择要删除的通道,再点击删除通道即可 通道参数编辑 双击创建的通道 即可编辑通道 通道链接 通道创建成功,提示 点击链接即可链接通道 通道断 ...