vue - blog开发学习1
1、安装vue-cli
vue intall -g vue-cli
2、创建项目
vue init webpack nblog
3、按提示要求配置项目
? Project name nblog

? Project description 学习bolg开发

? Author nxzJIA <@qq.com>

? Vue build standalone

? Install vue-router? Yes

? Use ESLint to lint your code? Yes

? Pick an ESLint preset Standard

? Set up unit tests No

? Setup e2e tests with Nightwatch? No

? Should we run `npm install` for you after the project has been created? (recommended) npm

   vue-cli · Generated "nblog".
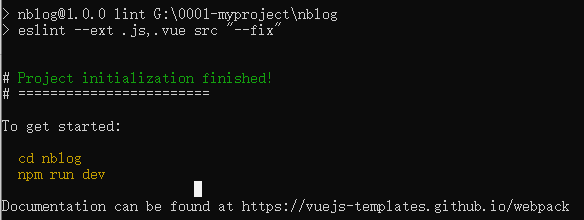
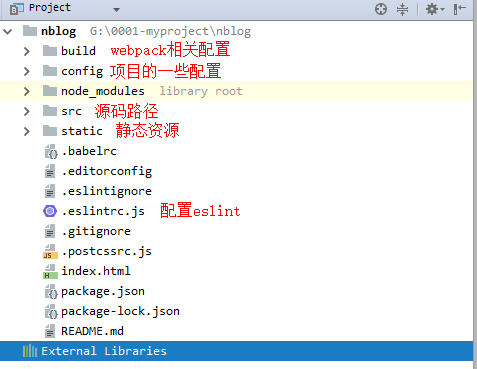
4、创建完成之后,用webstorm导入项目,如下图
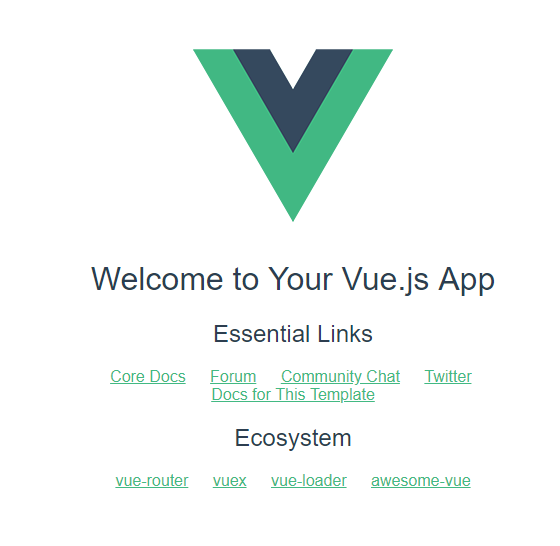
5、启动项目,项目默认的主页
6、为了方便开发,会使用iviewui
需要在main.js中添加:
import iView from 'iview'

Vue.use(iView)
7、改造项目
创建自己的主页路由home.vue(顶级路由,其他所有路由的内容都要渲染到该路由)
在src/components下创建home.vue
home.vue中布局:上中下布局使用iview的Layout标签,上侧显示为菜单(固定上侧不动)、中(内容显示区域)、下(待定)
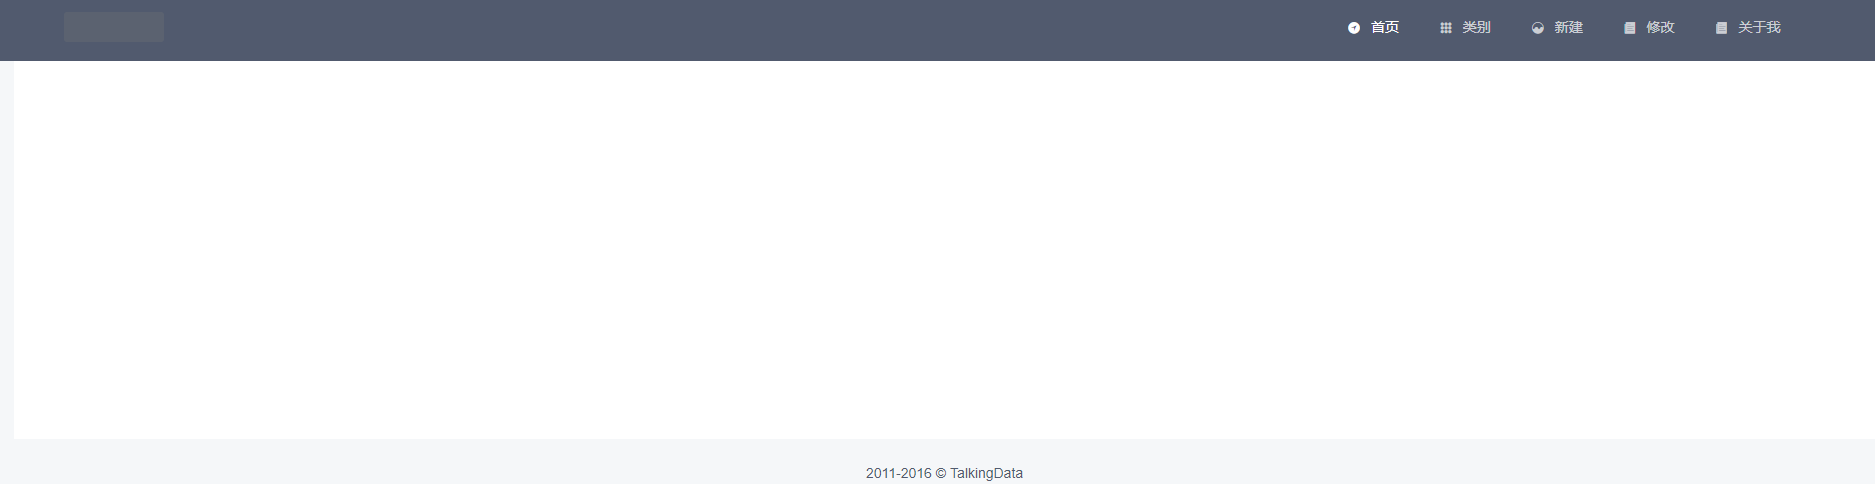
8、顶部菜单路由,采用最简单的形式,点击手也是,主体部分会心事相应的内容
import Vue from 'vue'

import Router from 'vue-router'

import Home from '@/components/home'

import Index from '@/components/index'

import Create from '@/components/create'

import Edit from '@/components/edit'

import PostClass from '@/components/post-class'

import AboutMe from '@/components/about-me'

Vue.use(Router)

export default new Router({

  mode:'history',

  routes: [

    {

      path: '/',

      name: 'Home',

      component: Home,

      children:[

        {

          path: '/index',

          name: 'Index',

          alias:'/',

          component: Index

        },

        {

          path: '/create',

          name: 'Create',

          component: Create

        },

        {

          path: '/edit',

          name: 'Edit',

          component: Edit

        },

        {

          path: '/postClass',

          name: 'PostClass',

          component: PostClass

        },

        {

          path: '/aboutMe',

          name: 'AboutMe',

          component: AboutMe

        },

      ]

    },

  ]

})
home.vue
<template>
<div class="layout">
<Layout>
<Header :style="{position: 'fixed', width: '100%'}">
<Menu mode="horizontal" theme="dark" active-name="1">
<div class="layout-logo">
<img src="static/img/logo.png" alt="">
</div>
<div class="layout-nav">
<MenuItem name="1" to="index">
<Icon type="ios-navigate"></Icon>
首页
</MenuItem>
<MenuItem name="2" to="postClass">
<Icon type="ios-keypad"></Icon>
类别
</MenuItem>
<MenuItem name="3" to="create">
<Icon type="ios-analytics"></Icon>
新建
</MenuItem>
<MenuItem name="4" to="edit">
<Icon type="ios-paper"></Icon>
修改
</MenuItem>
<MenuItem name="5" to="aboutMe">
<Icon type="ios-paper"></Icon>
关于我
</MenuItem>
</div>
</Menu>
</Header> <Content :style="{margin: '88px 20px 0', background: '#fff', minHeight: '500px'}">
<router-view></router-view>
</Content>
<Footer class="layout-footer-center">2011-2016 © TalkingData</Footer>
</Layout>
</div>
</template> <script>
export default {
name: "home"
}
</script> <style scoped>
@import "../static/css/home.css"; </style>
index.vue
<template>

<div>

  index

</div>

</template>

<script>

    export default {

        name: "index"

    }

</script>

<style scoped>

</style>
其他的也类似(一开始就是个简单的布局,后序内容陆续添加)
这样页面的基本功能添加完毕
下一篇 :https://www.cnblogs.com/nxzblogs/p/10923014.html
vue - blog开发学习1的更多相关文章
- vue - blog开发学习5
基本功能和后台联调 1.首页的所有博客 因为是前后台都是本地开发,所以前端vue需要设置proxy:修改/config/index.js中的这个proxyTable proxyTable: { '/a ...
- vue - blog开发学习2
首页博客列表的开发 1.修改index.vue,使能够支持列表功能 <template> <div> <PostList v-for="(item,index) ...
- vue - blog开发学习6
1.问题,如下图,使用iviewui中的card导致页面不能出现滚动条(不太会弄,在网上查了一个vue组件vuescroll,因此使用这个做滚动条) 2.安装vuescroll cnpm instal ...
- vue - blog开发学习4
1.新建页面的修改,集成富文本编辑 edit-post.vue(新建和修改都用该组件) <template> <div class="editor"> &l ...
- vue - blog开发学习3
1.添加less 和less-loader支持 npm install less less-loader --save-dev 2.新建main.less,将这个样式添加到home.vue中的cont ...
- vue - blog开发学7
将基本的项目部署到linux上(前后台只是实现了基本的功能,本次只是记录一些基本的开发流程,完善,等后续) 1.linux环境准备(我用的是阿里云服务器) ①jre.mysql,Nginx基本上这些就 ...
- Vue学习笔记-Vue.js-2.X 学习(二)===>组件化开发
===重点重点开始 ========================== (三) 组件化开发 1.创建组件构造器: Vue.extends() 2.注册组件: Vue.component() 3.使用 ...
- 前端开发 Vue -1windows环境搭建Vue Node开发环境
解决几个疑问: 想学习下vue.js,我理解的它是一个前端的框架,主要作用是对数据的处理,和juqery类似,所以不太理解为什么要在nodejs中npm install vue呢?在html文件中引入 ...
- Android开发学习路线图
Android开发学习方法: Android是一个比较庞大的体系,从底层的Linux内核到上层的应用层,各部分的内容跨度也比较大.因此,一个好的学习方法对我们学习Android开发很重要. 在此建议, ...
随机推荐
- rope(平衡二叉树)
题目描述: 链接:https://www.nowcoder.com/acm/contest/141/C来源:牛客网 Eddy likes to play cards game since there ...
- MySQL 基础 20191025
1.MySQL(绿色软件)的安装后: (老师课件中的) 要设置字符集不然会报 1344 错误码,有两种: 为上面的还有一种为: set names 'utf8'; 2.MySQL管理 创建数据库 CR ...
- springmvc 异常统一处理的三种方式详解
1 描述 在J2EE项目的开发中,不管是对底层的数据库操作过程,还是业务层的处理过程,还是控制层的处理过程,都不可避免会遇到各种可预知的.不可预知的异常需要处理.每个过程都单独处理异常,系统的代码耦 ...
- jQuery遍历之向下遍历
html <!DOCTYPE html> <html> <head> <meta charset="utf-8" /> <ti ...
- 利用Python语言Appium启动ios app
首先配置好电脑环境,主要是appium太难配了,不多说 然后,分两步 第一步:启动appium服务器 有三种方法,1.下载appium-desk-top(桌面客户端),启动 2.终端启动:appium ...
- 进程调试--进程启动VS自动附加
程序启动VS自动附加到进程调试 1. 打开注册表regedit 2. HKEY_LOCAL_MACHINE\Software\Microsoft\Windows NT\currentversion\i ...
- Django框架的学习
目前 Django 1.6.x 以上版本已经完全兼容 Python 3.x. 1. 指定django版本的安装 pip install django =1.11
- Python+Unittest+Requests+PyMysql+HTMLReport 多线程并发接口化框架
整体框架使用的是:Python+Unittest+Requests+PyMysql+HTMLReport 多线程并发模式 主要依赖模块 Unittest.Requests.PyMysql.HTMLRe ...
- 03-树2 List Leaves(25 分)
Given a tree, you are supposed to list all the leaves in the order of top down, and left to right. I ...
- BN和正则化一起使用的后果
就是因为 batch norm 过后, weight 影响没那么重了,所以 l2 weight decay 的效果就不明显了. 证明了L2正则化与归一化相结合时没有正则化效应.相反,正则化会影响权重的 ...