使用YOLOv2进行图像检测
- 基本配置信息
tensorflow (1.4.0)
tensorflow-tensorboard (0.4.0)
Keras (2.1.5)
Python (3.6.0)
Anaconda 4.3.1 (64-bit)
Windows 7
- darknet链接
https://github.com/pjreddie/darknet
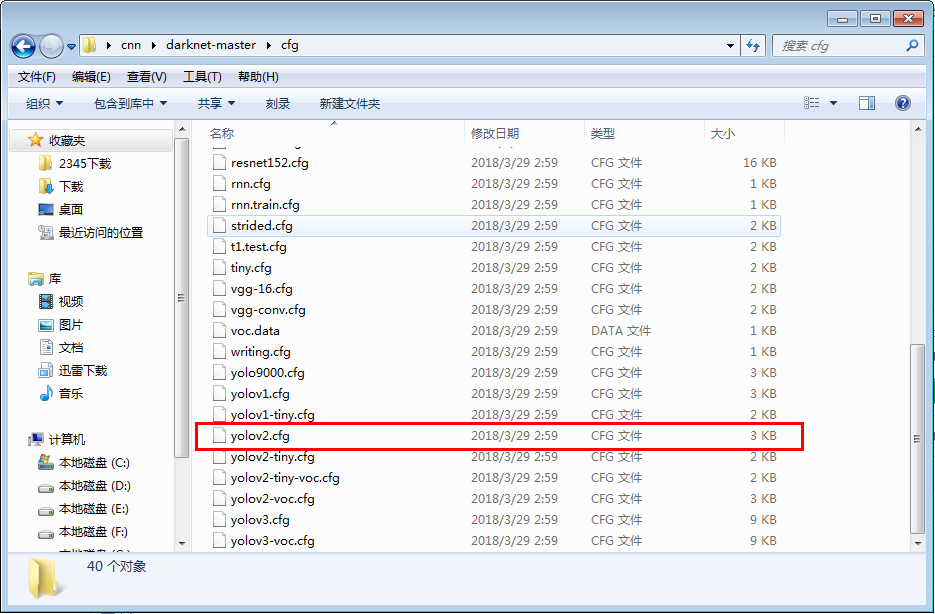
下载后在cfg文件夹下找到yolov2的配置文件yolov2.cfg
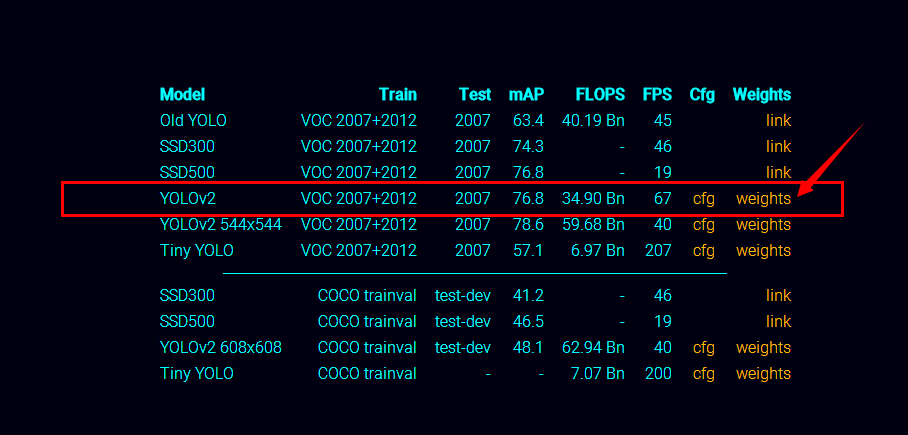
- yolov2权重文件链接
https://pjreddie.com/darknet/yolov2/
在页面中选择YOLOV2 weights下载
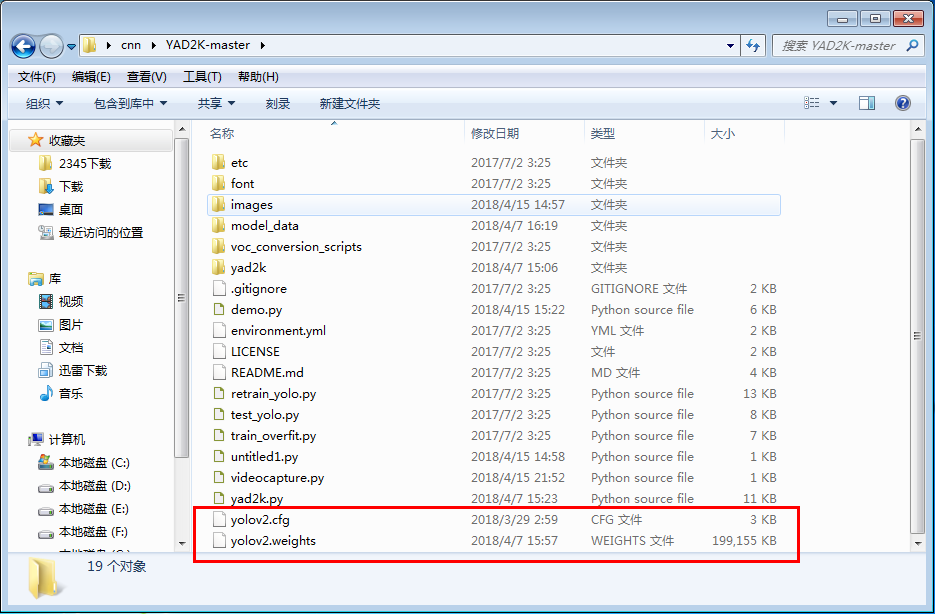
- yad2k 链接
https://github.com/allanzelener/YAD2K
下载完成后将之前下载好的yolov2.cfg文件,YOLOV2 weights文件拷贝到yad2k目录下
- 使用spyder 运行yad2k目录下的yad2k.py文件
在运行配置里设置运行时所需的参数信息
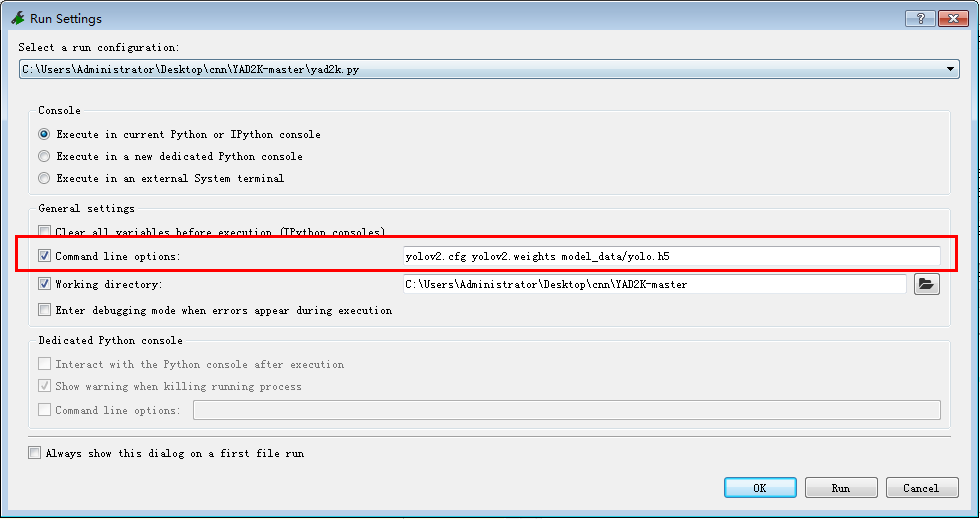
或使用命令行运行yad2k.py
python yad2k.py yolov2.cfg yolov2.weights model_data/yolo.h5
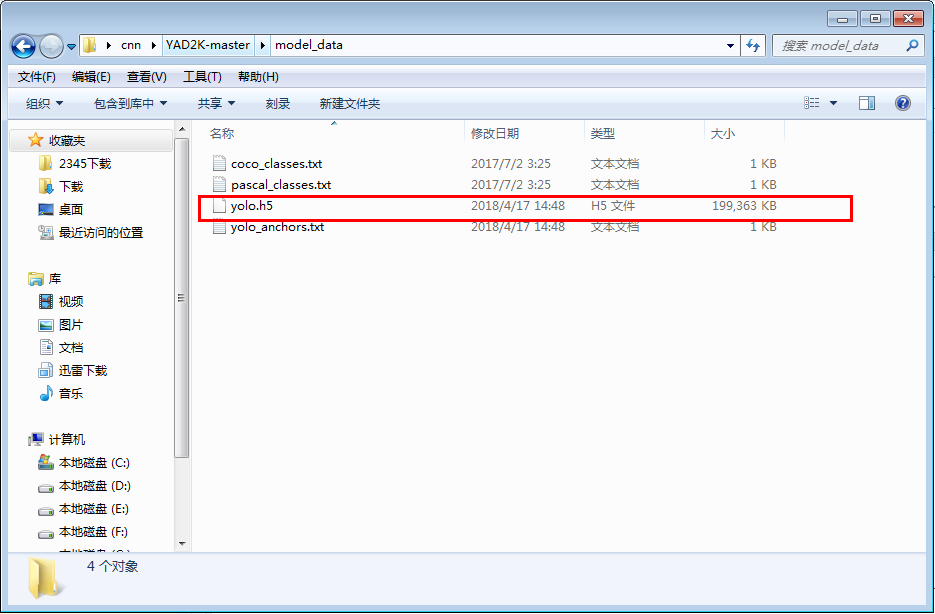
运行结果如图所示

生成的yolo.h5文件在model_data文件夹内
- 利用生成的权重信息,进行图像检测
使用opencv调用电脑摄像头,进行视频图像信息的检测
opencv版本
opencv-python (3.2.0)
在yad2k目录下创建自己的demo,参考https://www.jianshu.com/p/3e77cefeb49b
 import cv2

 import os

 import time

 import numpy as np

 from keras import backend as K

 from keras.models import load_model

 from yad2k.models.keras_yolo import yolo_eval, yolo_head

 class YOLO(object):

     def __init__(self):

         self.model_path = 'model_data/yolo.h5'

         self.anchors_path = 'model_data/yolo_anchors.txt'

         self.classes_path = 'model_data/coco_classes.txt'

         self.score = 0.3

         self.iou = 0.5

         self.class_names = self._get_class()

         self.anchors = self._get_anchors()

         self.sess = K.get_session()

         self.boxes, self.scores, self.classes = self.generate()

     def _get_class(self):

         classes_path = os.path.expanduser(self.classes_path)

         with open(classes_path) as f:

             class_names = f.readlines()

         class_names = [c.strip() for c in class_names]

         return class_names

     def _get_anchors(self):

         anchors_path = os.path.expanduser(self.anchors_path)

         with open(anchors_path) as f:

             anchors = f.readline()

             anchors = [float(x) for x in anchors.split(',')]

             anchors = np.array(anchors).reshape(-1, 2)

         return anchors

     def generate(self):

         model_path = os.path.expanduser(self.model_path)

         assert model_path.endswith('.h5'), 'Keras model must be a .h5 file.'

         self.yolo_model = load_model(model_path)

         # Verify model, anchors, and classes are compatible

         num_classes = len(self.class_names)

         num_anchors = len(self.anchors)

         # TODO: Assumes dim ordering is channel last

         model_output_channels = self.yolo_model.layers[-1].output_shape[-1]

         assert model_output_channels == num_anchors * (num_classes + 5), \

             'Mismatch between model and given anchor and class sizes'

         print('{} model, anchors, and classes loaded.'.format(model_path))

         # Check if model is fully convolutional, assuming channel last order.

         self.model_image_size = self.yolo_model.layers[0].input_shape[1:3]

         self.is_fixed_size = self.model_image_size != (None, None)

         # Generate output tensor targets for filtered bounding boxes.

         # TODO: Wrap these backend operations with Keras layers.

         yolo_outputs = yolo_head(self.yolo_model.output, self.anchors, len(self.class_names))

         self.input_image_shape = K.placeholder(shape=(2, ))

         boxes, scores, classes = yolo_eval(yolo_outputs, self.input_image_shape, score_threshold=self.score, iou_threshold=self.iou)

         return boxes, scores, classes

     def detect_image(self, image):

         start = time.time()

         #image = cv2.imread(image)

         #cv2.imshow('image',image)

         y, x, _ = image.shape

         if self.is_fixed_size:  # TODO: When resizing we can use minibatch input.

             resized_image = cv2.resize(image, tuple(reversed(self.model_image_size)), interpolation=cv2.INTER_CUBIC)

             image_data = np.array(resized_image, dtype='float32')

         else:

             image_data = np.array(image, dtype='float32')

         image_data /= 255.

         image_data = np.expand_dims(image_data, 0)  # Add batch dimension.

         out_boxes, out_scores, out_classes = self.sess.run(

             [self.boxes, self.scores, self.classes],

             feed_dict={

                 self.yolo_model.input: image_data,

                 self.input_image_shape: [image.shape[0], image.shape[1]],

                 K.learning_phase(): 0

             })

         print('Found {} boxes for {}'.format(len(out_boxes), 'img'))

         for i, c in reversed(list(enumerate(out_classes))):

             predicted_class = self.class_names[c]

             box = out_boxes[i]

             score = out_scores[i]

             label = '{} {:.2f}'.format(predicted_class, score)

             top, left, bottom, right = box

             top = max(0, np.floor(top + 0.5).astype('int32'))

             left = max(0, np.floor(left + 0.5).astype('int32'))

             bottom = min(y, np.floor(bottom + 0.5).astype('int32'))

             right = min(x, np.floor(right + 0.5).astype('int32'))

             print(label, (left, top), (right, bottom))

             cv2.rectangle(image, (left, top), (right, bottom), (255, 0, 0), 2)

             cv2.putText(image, label, (left, int(top - 4)), cv2.FONT_HERSHEY_SIMPLEX, 0.5, (0, 0, 255), 1, cv2.LINE_AA)

         end = time.time()

         print(end - start)

         return image

     def close_session(self):

         self.sess.close()

 def detect_vedio(yolo):

     camera = cv2.VideoCapture(0)

     while True:

         res, frame = camera.read()

         if not res:

             break

         image = yolo.detect_image(frame)

         cv2.imshow("detection", image)

         if cv2.waitKey(1) & 0xFF == ord('q'):

             break

     yolo.close_session()

 def detect_img(img, yolo):

     image = cv2.imread(img)

     r_image = yolo.detect_image(image)

     cv2.namedWindow("detection")

     while True:

         cv2.imshow("detection", r_image)

         if cv2.waitKey(110) & 0xff == 27:

                 break

     yolo.close_session()

 if __name__ == '__main__':

     yolo = YOLO()

     detect_vedio(yolo)
使用YOLOv2进行图像检测的更多相关文章
- 『科学计算』图像检测微型demo
这里是课上老师给出的一个示例程序,演示图像检测的过程,本来以为是传统的滑窗检测,但实际上引入了selectivesearch来选择候选窗,所以看思路应该是RCNN的范畴,蛮有意思的,由于老师的注释写的 ...
- 第五讲_图像识别之图像检测Image Detection
第五讲_图像识别之图像检测Image Detection 目录 物体检测 ILSVRC竞赛200类(每个图片多个标签):输出类别+Bounding Box(x,y,w,h) PASCAL VOC 20 ...
- 图像检测之sift and surf---sift中的DOG图 surf hessian
http://www.cnblogs.com/tornadomeet/archive/2012/08/17/2644903.html http://www.cnblogs.com/slysky/arc ...
- [1] YOLO 图像检测 及训练
YOLO(You only look once)是流行的目标检测模型之一, 原版 Darknet 使用纯 C 编写,不需要安装额外的依赖包,直接编译即可. CPU环境搭建 (ubuntu 18.04) ...
- C#图像检测开源项目
AForge.NET AForge.NET is an open source C# framework designed for developers and researchers in the ...
- 基于YOLO-V2的行人检测(自训练)附pytorch安装方法
声明:本文是别人发表在github上的项目,并非个人原创,因为那个项目直接下载后出现了一些版本不兼容的问题,故写此文帮助解决.(本人争取在今年有空的时间,自己实现基于YOLO-V4的行人检测) 项目链 ...
- 图像检测算法Halcon 10的使用
安装完成HALCON之后,在VS项目中添加动态链接库配置项目,并修改此项目属性的包含目录.库目录和链接器.
- 使用CNN做电影评论的负面检测——本质上感觉和ngram或者LSTM同,因为CNN里图像检测卷积一般是3x3,而文本分类的话是直接是一维的3、4、5
代码如下: from __future__ import division, print_function, absolute_import import tensorflow as tf impor ...
- 一文带你学会使用YOLO及Opencv完成图像及视频流目标检测(上)|附源码
计算机视觉领域中,目标检测一直是工业应用上比较热门且成熟的应用领域,比如人脸识别.行人检测等,国内的旷视科技.商汤科技等公司在该领域占据行业领先地位.相对于图像分类任务而言,目标检测会更加复杂一些,不 ...
随机推荐
- 大数据 --> CAP原理和最终一致性
CAP原理和最终一致性 CAP原理和最终一致性(Eventually Consistency)
- CAS 之 Https And Database Authentication(三)
CAS 之 Https And Database Authentication(三) 标签(空格分隔): CAS sso-examples-guides源码 Intro(介绍) 由上节可知Apereo ...
- centos7 用工具nmtui更改网卡设置
1.[root@cjh-db ~ 15:13:59]#nmtui
- js浮点数运算的坑,多少同学有碰到过?
javascript中的数字都是双精度的浮点数. JavaScript中的整数并不是一个独立的数据类型,而是浮点数的一个子集. 浮点数的坑我们看下面的例子 在浏览器的console 控制台上我们分别进 ...
- Java基础学习笔记十 Java基础语法之final、static、匿名对象、内部类
final关键字 继承的出现提高了代码的复用性,并方便开发.但随之也有问题,有些类在描述完之后,不想被继承,或者有些类中的部分方法功能是固定的,不想让子类重写.可是当子类继承了这些特殊类之后,就可以对 ...
- Java虚拟机之性能监控
一.jstat:虚拟机统计信息监控工具监视虚拟机各种运行状态 图中,S0.S1(Survivor0.Survivor1)代表两个Survivor区,其中一个值为57.60%.另一个为0.E(Eden) ...
- java 中的JDK封装的数据结构和算法解析(集合类)----链表 List 之 Vector (向量)
Vector 看JDK解释(中文翻译)吧: Vector 类可以实现可增长的对象数组.与数组一样,它包含可以使用整数索引进行访问的组件.但是,Vector 的大小可以根据需要增大或缩小,以适应创建 ...
- Win7(64Bit旗舰版) 安装 PL/SQL Developer图解说明
Win7逐渐成为现行主流的windows操作系统,其32和64位系统平分秋色.然而当下还没有64位的PL/SQL Developer问世,直接用32位的PL/SQL Developer连接Win7(6 ...
- 《团队-OldNote-项目总结》
我们小组做的是手机便签的app---OldNote 最开始我们想解决普通手机便签无法进行语音和照片的备忘这一问题,但是由于没有做过拍照和录音的经验怕由于技术原因无法达成目的,就没敢写在需求分析中.当完 ...
- 项目Alpha冲刺Day1
一.会议照片 二.项目进展 1.今日安排 讨论完成项目的详细设计,并完成数据库的设计,学习powerDesigner的使用 2.问题困难 powerDesigner导出sql语句因为问题无法导入,特别 ...