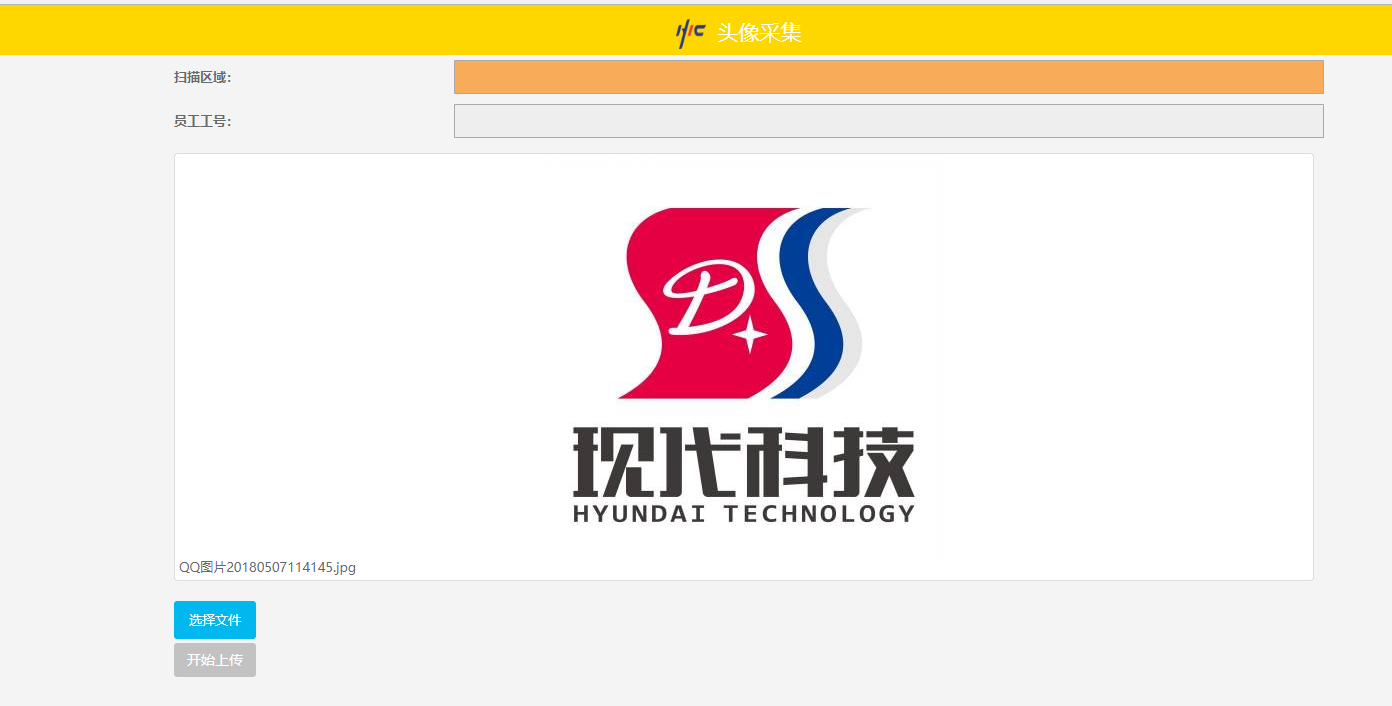
WebUploader实现采集图片的功能
项目最开始用百度团队的文件上传组件做了个物料照片采集的功能,后来做员工头像采集时竟然不知道怎么使用了。
参照官方Demo:
http://fex.baidu.com/webuploader/getting-started.html
前端代码:
@{

    ViewBag.Title = "头像采集";

    Layout = "~/Views/P2Mobile/P2MB_LayoutPage.cshtml";

}

<link href="~/Themes/P2Mobile/css/webuploader.css" rel="stylesheet" />

<script src="~/Themes/P2Mobile/js/webuploader.min.js"></script>

<script src="~/Themes/Scripts/layui/layui.all.js"></script>

<link href="~/Themes/Scripts/layui/css/layui.css" rel="stylesheet" />

<script type="text/javascript">

    function DeleteImg(fileid) {

        //页面层

        //layer.open({

        //    type: 1

        //     , anim: 2

        //    , style: 'position:fixed; bottom:0; left:0; width: 100%; height: 40px; padding:10px 0; border:none;color:red;'

        //              , shadeClose: true //开启遮罩关闭

        //              //,skin: 'layui-layer-demo', //样式类名

        //    ,closeBtn: 1 //显示关闭按钮

        //  , content: '<div class="row list-group"><div class="list-group-item font15" style="text-align:center"  id="cp_img_jian" data-picid="' + fileid + '"><p  style="display:inline-block;">删除</p></div></div>'

        //});

        layer.msg('你确定你很帅么?', {

            time: 0 //不自动关闭

            , content: '<div class="row list-group" ><div class="list-group-item font15" style="text-align:center"  id="cp_img_jian" data-picid="' + fileid + '"><p  style="display:inline-block;">移除</p></div></div>'

        });

    }

    $(document).ready(function () {

        $(document).on("click", "#cp_img_jian", function () {

            var pic = document.getElementById("cp_img_jian");

            var Id = pic.getAttribute('data-picid');

            uploader.removeFile(uploader.getFile(Id, true));

            $('#' + Id).remove();

            layer.closeAll();

        });

        var $list = $('#fileList'),

       // 优化retina, 在retina下这个值是2

       ratio = window.devicePixelRatio || 1,

       // 缩略图大小

       thumbnailWidth = 400 * ratio,

       thumbnailHeight = 400 * ratio,

       serverURL = '/FRUBarCodeOtherMobile/FRU_UploadAvatarImages?JobNum=',

        uploader;

        // 初始化Web Uploader

        uploader = WebUploader.create({

            // 自动上传。

            auto: false,

            // swf文件路径

            swf: '../../Themes/P2Mobile/js/Uploader.swf',

            // 文件接收服务端。

            server: "/FRUBarCodeOtherMobile/FRU_UploadAvatarImages",

            // 选择文件的按钮。可选。

            // 内部根据当前运行是创建,可能是input元素,也可能是flash.

            pick: '#filePicker',

            fileNumLimit: 1,//限制上传最多10张图片

            // 不压缩image, 默认如果是jpeg,文件上传前会压缩一把再上传!

            accept: {

                title: 'Images',

                extensions: 'gif,jpg,jpeg,bmp,png',

                mimeTypes: 'image/*'

            }

        });

        // 当有文件添加进来的时候

        uploader.on('fileQueued', function (file) {

            var $li = $(

                    '<div id="' + file.id + '" class="file-item thumbnail" onclick="DeleteImg(\'' + file.id + '\')">' +

                        '<img>' +

                        '<div class="info">' + file.name + '</div>' +

                    '</div>'

                    ),

                $img = $li.find('img');

            // $list为容器jQuery实例

            $list.append($li);

            // 创建缩略图

            // 如果为非图片文件,可以不用调用此方法。

            // thumbnailWidth x thumbnailHeight 为 100 x 100

            uploader.makeThumb(file, function (error, src) {

                if (error) {

                    $img.replaceWith('<span>不能预览</span>');

                    return;

                }

                $img.attr('src', src);

            }, thumbnailWidth, thumbnailHeight);

        });

        // 文件上传过程中创建进度条实时显示。

        uploader.on('uploadProgress', function (file, percentage) {

            var $li = $('#' + file.id),

                $percent = $li.find('.progress span');

            // 避免重复创建

            if (!$percent.length) {

                $percent = $('<p class="progress"><span></span></p>')

                        .appendTo($li)

                        .find('span');

            }

            $percent.css('width', percentage * 100 + '%');

        });

        // 文件上传成功,给item添加成功class, 用样式标记上传成功。

        uploader.on('uploadSuccess', function (file, response) {

            $('#' + file.id).addClass('upload-state-done');

        });

        // 文件上传失败,显示上传出错。

        uploader.on('uploadError', function (file) {

            var $li = $('#' + file.id),

                $error = $li.find('div.error');

            // 避免重复创建

            if (!$error.length) {

                $error = $('<div class="error"></div>').appendTo($li);

            }

            $error.text('上传失败');

        });

        // 完成上传完了,成功或者失败,先删除进度条。

        uploader.on('uploadComplete', function (file) {

            $('#' + file.id).find('.progress').remove();

        });

        //所有文件上传完毕

        uploader.on("uploadFinished", function () {

            var ststs = uploader.getStats();

            //提交表单

            alert("成功上传" + ststs.successNum + "张图片。");

            window.location.reload();//刷新页面

        });

        //执行上传

        $("#ctlBtn").click(function () {

            var str_JobNum = $("#txt_str_JobNum").val();

            if (str_JobNum.replace(/(^s*)|(s*$)/g, "").length == 0)

            { layer.alert('提交前请输入员工工号哦!', { icon: 6 }); }

            else

            {

                uploader.options.formData.JobNum = str_JobNum;

                uploader.upload();

            }

        });

        //扫描框验证

        $("#txt_scanarea").focus();

        $("#txt_scanarea").focus(function () {

            this.select();

        });

        //扫描框enter验证

        $("#txt_scanarea").keydown(function (e) {

            var scantext = $("#txt_scanarea").val();//获取扫描内容

            var keyCode = e.which;

            if (keyCode == 13 || keyCode == 115) {

                if (scantext) {

                    $.ajax({

                        url: "/FRUBarCodeOtherMobile/FRU_UploadScanCheckJobNum",

                        type: "post",

                        data: { 'ScanText': scantext },

                        datatype: "json",

                        success: function (data) {

                            //扫描成功

                            if (data.msgType == "success") {

                                if (data.type == "ScanJobNumSuccess") {

                                    $("#txt_scanarea").val("");

                                    $("#txt_str_JobNum").val(data.JobNum);

                                }

                                $("#txt_scanarea").focus();

                            }

                            //扫描失败

                            if (data.msgType == "error") {

                                layer.open({

                                    content: data.msg,

                                    skin: 'msg',

                                    time: 3

                                });

                                $("#txt_scanarea").focus();

                            }

                        },

                        error: function (XMLHttpRequest, textStatus, errorThrown) {

                            if (textStatus == "timeout") {

                                layer.open({

                                    content: '连接已超时'

                                     , skin: 'msg'

                                    , time: 3 //3秒后自动关闭

                                });

                            }

                            else {

                                layer.open({

                                    content: '服务器错误,请联系管理员'

                                 , skin: 'msg'

                                , time: 3 //3秒后自动关闭

                                });

                            }

                        }

                    })

                }

                else {

                    layer.open({

                        content: '扫描区域不能为空'

                      , skin: 'msg'

                     , time: 2 //3秒后自动关闭

                    });

                    $("#txt_scanarea").focus();

                }

            }

        });

    })

</script>

<div style="padding: 5px;">

    <div class="row" style="margin-bottom: 5px;">

        <div class="col-xs-3" style="padding: 0; line-height: 34px; font-size: 1em">

            <label style="margin-left: 10px;">

                扫描区域:

            </label>

        </div>

        <div class="col-xs-9" style="padding: 0;">

            <input type="text" class="form-control" id="txt_scanarea" name="txt_scanarea" style="background-color: #f8ac59" />

        </div>

    </div>

    <div class="row" style="margin-bottom: 5px;">

        <div class="col-xs-3" style="padding: 0; line-height: 34px; font-size: 1em">

            <label style="margin-left: 10px;">

                员工工号:

            </label>

        </div>

        <div class="col-xs-9" style="padding: 0;">

            <input type="text" class="form-control" id="txt_str_JobNum" name="txt_str_JobNum" readonly />

        </div>

    </div>

</div>

<div id="uploader" class="wu-example">

    <!--用来存放文件信息-->

    <div id="fileList" class="uploader-list"></div>

    <div class="btns">

        <div id="filePicker">选择文件</div>

        <button id="ctlBtn" class="btn btn-default">开始上传</button>

    </div>

</div>

在点击了选择文件后,创建缩略图并追加上去
后台处理
  public ActionResult FRU_UploadAvatarImages(string id, string name, string type, string lastModifiedDate, int size, HttpPostedFileBase file, string JobNum)

        {

            LogHelper lh = new LogHelper();

            if (user != null)

            {

                DBConn = user.DBConn.ToString();

            }

            else

            {

                return RedirectToAction("Login", "P2Mobile");

            }

            try

            {

                string str_JobNum = "";

                str_JobNum = JobNum;

                string filePathName = string.Empty;

                string localPath = Path.Combine(HttpRuntime.AppDomainAppPath, "AvatarPhotos");

                localPath = Path.Combine(localPath, str_JobNum);

                if (Request.Files.Count == 0)

                {

                    return Json(new { jsonrpc = 2.0, error = new { code = 102, message = "保存失败" }, id = "id" });

                }

                string ex = Path.GetExtension(file.FileName);

                filePathName = Guid.NewGuid().ToString("N") + ex;

                if (!System.IO.Directory.Exists(localPath))

                {

                    System.IO.Directory.CreateDirectory(localPath);

                }

                file.SaveAs(Path.Combine(localPath, filePathName));

                //插日志

                string UrlLog = Path.Combine("AvatarPhotos", str_JobNum, filePathName);

                P2Mobile_InventoryBarCodeiBLL.ExecSql(string.Format(@" INSERT INTO dbo.WMS_AvatarPhotos

                                                                                ( Account, PhotoName, Url, CreateBy )

                                                                         VALUES ( '{0}', '{1}', '{2}', '{3}' )", str_JobNum, filePathName, UrlLog, user.Account), DBConn);

                return Json(new

                {

                    jsonrpc = "2.0",

                    id = id,

                    filePath = "/Upload/" + filePathName

                });

            }

            catch (Exception e)

            {

                lh.WriteLog(e.ToString() + "\n+-+-+-+-+-+-+-+-+-+-+-+-+操作人【" + user.Account + "】+-+-+-+-+-+-+-+-+-+-+-+-+");

                return Json(new { msgType = JsonMsgType.Error, msg = e.ToString() });

            }

        }
WebUploader实现采集图片的功能的更多相关文章
- 使用file_get_content系列函数和使用curl系列函数采集图片的性能对比
由于公司的一个汽车网站的后台的汽车内容都是主要是来自与汽车之家的,编辑的同事们必须天天手动去对着汽车之家来添加汽车,实在是太蛋疼了.于是乎,为了改变这种状况,作为一个开发码农,我的任务就来了...那就 ...
- php正则获取html图片标签信息(采集图片)
php获取html图片标签信息(采集图片),实现图片采集及其他功能,带代码如下: <?php $str="<img src='./a.jpg'/>111111<img ...
- Linux 下V4l2摄像头采集图片,实现yuyv转RGB,RGB转BMP,RGB伸缩,jpeglib 库实现压缩RGB到内存中,JPEG经UDP发送功(转)
./configure CC=arm-linux-gnueabihf-gcc LD=arm-linux-gnueabihf-ld --host=arm-linux --prefix=/usr/loca ...
- iOS开发UI篇—UIScrollView控件实现图片缩放功能
iOS开发UI篇—UIScrollView控件实现图片缩放功能 一.缩放 1.简单说明: 有些时候,我们可能要对某些内容进行手势缩放,如下图所示 UIScrollView不仅能滚动显示大量内容,还能对 ...
- C# 图片盖章功能实现,支持拖拽-旋转-放缩-保存
实现图片盖章功能,在图片上点击,增加“图章”小图片,可以拖拽“图章”到任意位置,也可以点击图章右下角园框,令图片跟着鼠标旋转和放缩. 操作方法:1.点击增加“图章”2.选中移动图标3.点中右下角放缩旋 ...
- 杂谈SharpDx中的WIC组件——我们需要WIC的图片编码功能么?
在前文 SharpDX之Direct2D教程II——加载位图文件和保存位图文件 中,发现在VB2010中不能很好的运用SharpDx中的WIC组件进行图片的编码工作.可能是我的设置问题,也可能是Sha ...
- jQuery.YesShow - 图片轮播插件(带图片放大功能)
jQuery.YesShow - 图片轮播插件(带图片放大功能) 使用简单,原文件只要这样就可以了:<div id="yes"> <ul> ...
- Python查询MySQL进行远程采集图片实例
这是四五年以前做小说站采集图片时写过唯一一次 Python 代码 #!/usr/bin/python #-*-coding:utf-8-*- import MySQLdb, os, socket, t ...
- 纯JS实现图片验证码功能并兼容IE6-8
最近要搞一个图片验证码功能,但是又不想自己写后台代码.于是自己准备搞一个纯前端的验证码功能,于是网上搜索了一下,找到一个插件gVerify.js,简单好用,实现完美.不过后面接到说要兼容IE8,想想也 ...
随机推荐
- windows配置换行符
CR.LF.CR/LF为不同操作系统上使用的换行符: Windows/DOS系统:采用CR/LF表示下一行: Unix/Linux系统:采用LF表示下一行: Mac OS系统:采用CR表示下一行: M ...
- OpenStack基础知识-virtualenv工具详解
1.virtualenv介绍 virtualenv通过创建一个单独的虚拟化python运行环境,将我们所需的依赖安装进去,不同项目之间相互不干扰,从而解决不同的项目之间依赖不同,造成的冲突问题 2.安 ...
- c++第五次实验
part 1 两个问题: 1.派生类中出现与基类同名成员,通过对象名.成员名的方式,即代码中base2.display(),访问的成员是派生类中的成员 2.通过基类指针访问派生类对象时,在ex1_1. ...
- C#报算术运算导致溢出的错误
如果是在fill datatable时报这个错,是因为所查询的数据中有在数据库中为NUMBER类型的字段,这种类型C#中不能识别,需TO_CHAR转换成字符型,就不会再报这个错了. e.g. SELE ...
- spark sql 导出数据
如果用户希望在spark sql 中,执行某个sql 后,将其结果集保存到本地,并且指定csv 或者 json 格式,在 beeline 中,实现起来很麻烦.通常的做法是将其create table ...
- P3369 【模板】普通平衡树
纯板子.... 题意: 插入 xx 数 删除 xx 数(若有多个相同的数,因只删除一个) 查询 xx 数的排名(排名定义为比当前数小的数的个数 +1+1 .若有多个相同的数,因输出最小的排名) 查询排 ...
- Datatable 转换 Dictionary
DataTable dt = new DataTable(); dt.Columns.Add("姓名"); dt.Columns.Add("学号"); dt.R ...
- JMeter - 实时结果 - InfluxDB和Grafana - 第1部分 - 基本设置
概述: 在本文中,我将解释如何使用JMeter + InfluxDB + Grafana获得实时性能测试结果. 请注意,此主题太大,无法涵盖一篇文章中的所有内容.所以,我试图提供与TestAutoma ...
- python_魔法方法(五):描述符和定制序列
描述符(property的原理) 描述符(descripto),用一句话来解释,描述符就是某种特殊的类的实例指派给另一个类的属性.那么什么是特殊类型的类呢?就是至少要在这个类中定义__get__(). ...
- 15-----jQuery补充
jquery除了咱们上面讲解的常用知识点之外,还有jquery 插件.jqueryUI知识点 jqueryUI 官网: https://jqueryui.com/ jqueryUI 中文网: http ...