Word 脚本 (自用)
打开开发工具
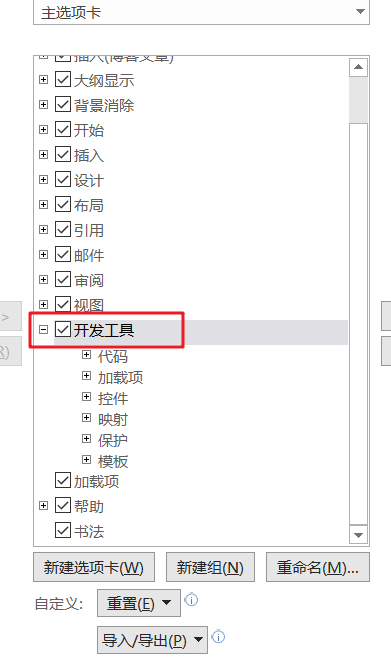
右击功能区->自定义功能区
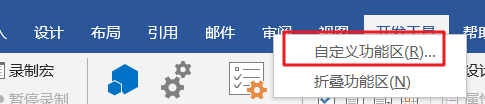
勾选开发工具->确定
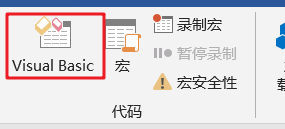
导入代码
开发工具选项卡->Visual Basic
右击Normal->插入->模块
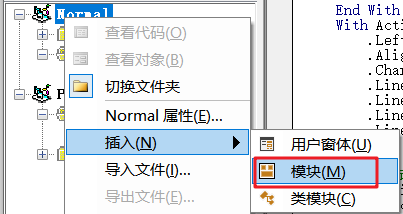
粘贴代码->ctrl+s 保存
Sub 修改样式()

    ' 八号磅值5

    ' 七号磅值5.5

    ' 小六磅值6.5 六号磅值7.5

    ' 小五磅值9 五号磅值10.5

    ' 小四磅值12 四号磅值14

    ' 小三磅值15 三号磅值16

    ' 小二磅值18 二号磅值22

    ' 小一磅值24 一号磅值26

    ' 小初磅值36 初号磅值42

    ' 删除用户所有自定义样式

    For Each sty In ActiveDocument.Styles

     If sty.BuiltIn = False Then sty.Delete

    Next sty

    '标题1样式

    With ActiveDocument.Styles(wdStyleHeading1).Font

        .Color = wdColorAutomatic

        .NameFarEast = "宋体"

        .NameAscii = "Times New Roman"

        .Size = 16  '字号,请输入对应数字

        .Bold = 1 '加粗为1,不加粗为0

    End With

    With ActiveDocument.Styles(wdStyleHeading1).ParagraphFormat

        .LeftIndent = CentimetersToPoints(0)

        .Alignment = wdAlignParagraphCenter ' 居中对齐

        .CharacterUnitFirstLineIndent = 0

        .LineUnitBefore = 0.5  '段前为0.5行

        .LineUnitAfter = 0.5 '段后为0.5行

        .LineSpacingRule = wdLineSpaceExactly

        .LineSpacing = 23

    End With

    '标题2样式

    With ActiveDocument.Styles(wdStyleHeading2).Font

        .Color = wdColorAutomatic

        .NameFarEast = "宋体"

        .NameAscii = "Times New Roman"

        .Size = 14  '字号,请输入对应数字

        .Bold = 1 '加粗为1,不加粗为0

    End With

    With ActiveDocument.Styles(wdStyleHeading2).ParagraphFormat

        .LeftIndent = CentimetersToPoints(0)

        .Alignment = wdAlignParagraphJustify

        .CharacterUnitFirstLineIndent = 0  ' 首行缩进0字符

        .LineUnitBefore = 0.5

        .LineUnitAfter = 0.5

        .LineSpacingRule = wdLineSpaceExactly

        .LineSpacing = 23

    End With

    '标题3样式

    With ActiveDocument.Styles(wdStyleHeading3).Font

        .Color = wdColorAutomatic

        .NameFarEast = "宋体"

        .NameAscii = "Times New Roman"

        .Size = 14  '字号,请输入对应数字

        .Bold = 1 '加粗为1,不加粗为0

    End With

    With ActiveDocument.Styles(wdStyleHeading3).ParagraphFormat

        .LeftIndent = CentimetersToPoints(0)

        .Alignment = wdAlignParagraphJustify

        .CharacterUnitFirstLineIndent = 0

        .LineUnitBefore = 0

        .LineUnitAfter = 0

        .LineSpacingRule = wdLineSpaceExactly

        .LineSpacing = 23

    End With

    '标题4样式

    With ActiveDocument.Styles(wdStyleHeading4).Font

        .Color = wdColorAutomatic

        .NameFarEast = "宋体"

        .NameAscii = "Times New Roman"

        .Size = 14  '字号,请输入对应数字

        .Bold = 1 '加粗为1,不加粗为0

    End With

    With ActiveDocument.Styles(wdStyleHeading4).ParagraphFormat

        .LeftIndent = CentimetersToPoints(0)

        .Alignment = wdAlignParagraphJustify

        .CharacterUnitFirstLineIndent = 0

        .LineUnitBefore = 0

        .LineUnitAfter = 0

        .LineSpacingRule = wdLineSpaceExactly

        .LineSpacing = 23

    End With

    '标题5样式

    With ActiveDocument.Styles(wdStyleHeading5).Font

        .Color = wdColorAutomatic

        .NameFarEast = "宋体"

        .NameAscii = "Times New Roman"

        .Size = 14  '字号,请输入对应数字

        .Bold = 1 '加粗为1,不加粗为0

    End With

    With ActiveDocument.Styles(wdStyleHeading5).ParagraphFormat

        .LeftIndent = CentimetersToPoints(0)

        .Alignment = wdAlignParagraphJustify

        .CharacterUnitFirstLineIndent = 0

        .LineUnitBefore = 0

        .LineUnitAfter = 0

        .LineSpacingRule = wdLineSpaceExactly

        .LineSpacing = 23

    End With

    ' 正文样式

    With ActiveDocument.Styles("正文").Font

        .Color = wdColorAutomatic

        .NameFarEast = "宋体"

        .NameAscii = "Times New Roman"

        .Size = 12  '字号,请输入对应数字

        .Bold = 0 '加粗为1,不加粗为0

    End With

    With ActiveDocument.Styles("正文").ParagraphFormat

        .LeftIndent = CentimetersToPoints(0)

        .Alignment = wdAlignParagraphJustify

        .CharacterUnitFirstLineIndent = 2

        .LineUnitBefore = 0  '段前为0.8行

        .LineUnitAfter = 0 '段后为0.5行

        .LineSpacingRule = wdLineSpaceExactly

        .LineSpacing = 23

    End With

    ' 图标表

    Application.ScreenUpdating = False '关闭屏幕更新

    ActiveDocument.Styles.Add Name:="图标表", Type:=wdStyleTypeParagraph

    ActiveDocument.Styles("图标表").AutomaticallyUpdate = False

    With ActiveDocument.Styles("图标表").Font

        .Color = wdColorAutomatic

        .NameFarEast = "楷体"

        .NameAscii = "Times New Roman"

        .Size = 10.5  '字号,请输入对应数字

        .Bold = 0 '加粗为1,不加粗为0

    End With

    With ActiveDocument.Styles("图标表").ParagraphFormat

        .LeftIndent = CentimetersToPoints(0)

        .Alignment = wdAlignParagraphCenter

        '.CharacterUnitFirstLineIndent = 0

        .LineUnitBefore = 0.5

        .LineUnitAfter = 0.5

        .OutlineLevel = wdOutlineLevelBodyText ' 大纲级别普通文本

        .LineSpacingRule = wdLineSpaceSingle

    End With

End Sub

Sub 设置图标表()

    Selection.Style = "图标表"

End Sub
自定义功能
右击功能区->自定义功能区
点击开始->新建组->点击刚创建的组->重命名
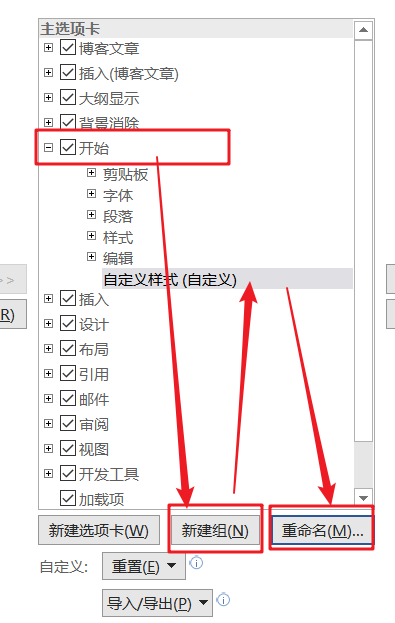
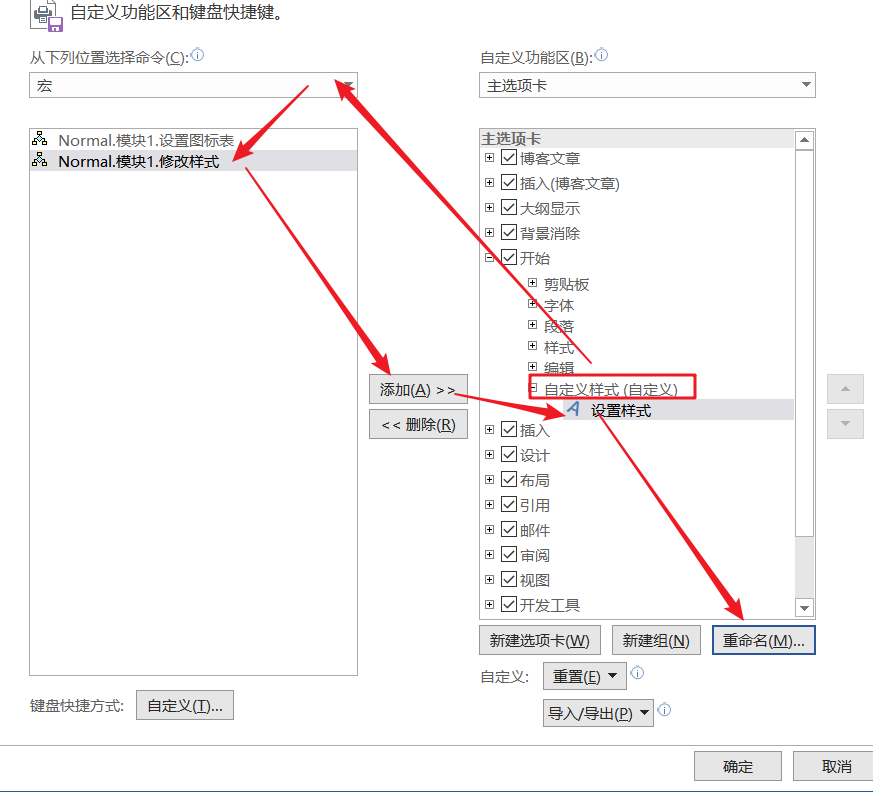
点击自定义样式->选择宏->选择相应的函数->添加->选择刚添加的函数->重命名并设置图标
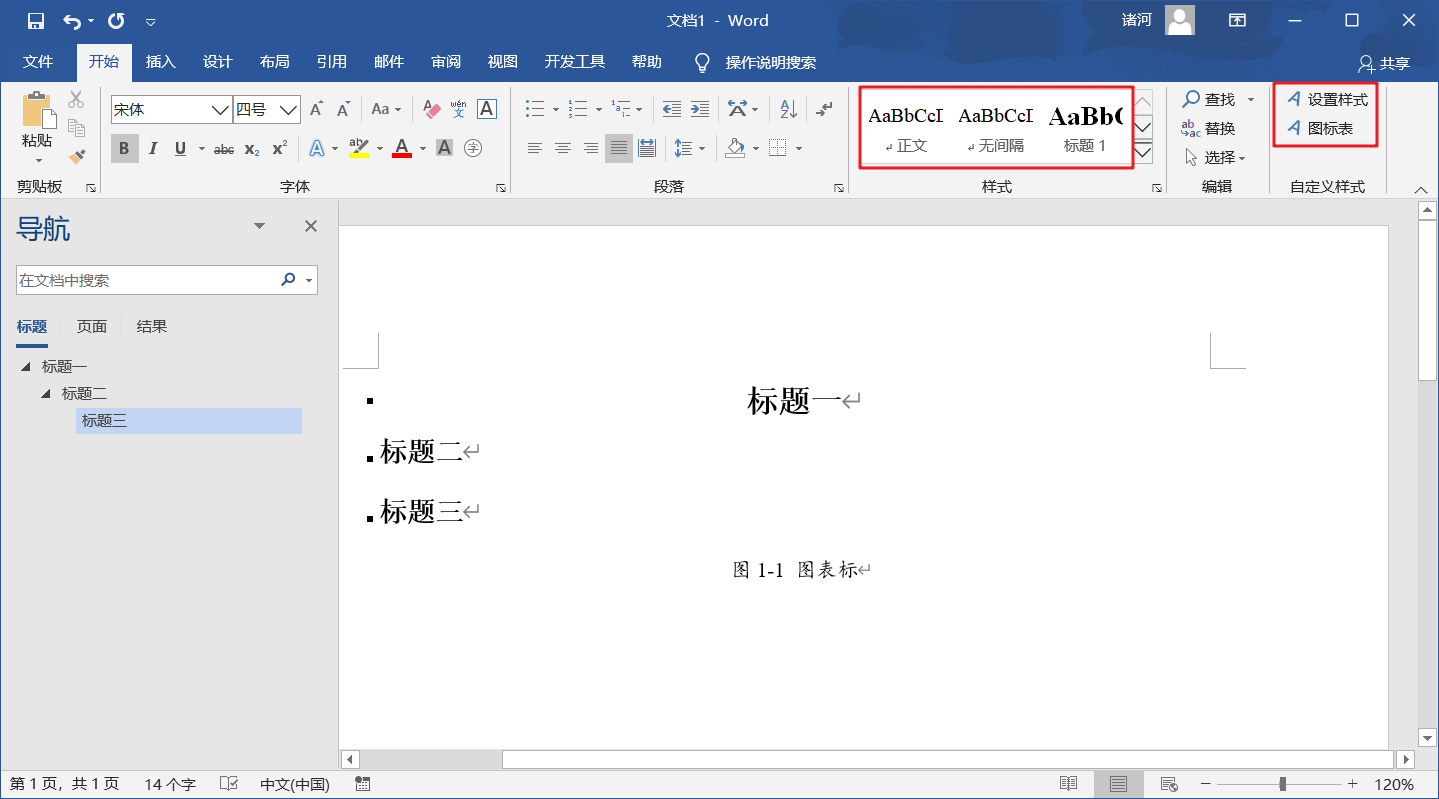
完工
最后点击相应的相应的样式,便可应用及自动产生大纲级别
Word 脚本 (自用)的更多相关文章
- 60天shell脚本计划-5/12-渐入佳境
--作者:飞翔的小胖猪 --创建时间:2021年2月16日 --修改时间:2021年2月20日 说明 每日上传更新一个shell脚本,周期为60天.如有需求的读者可根据自己实际情况选用合适的脚本,也可 ...
- STORM_0007_Multi-Lang protocol of Storm/多语言协议的翻译
原始地址: http://storm.apache.org/releases/1.0.1/Multilang-protocol.html 这个协议试用0.7.1之后的版本 通过ShellBolt和 ...
- 曾Python培训讲师-2年Python开发无包装简历-20191217-可公开
目录 个人介绍 技能介绍 项目经历 自我评价 简历非完整版,需要完整版看下述信息,禁止任何一切私人用途.转发 我生日是27号,那就27元一份,有需求的来购买!只会涨价不会降价,大概卖10份涨1元:曾P ...
- word 宏,脚本编程
'脚本方式新建word 再新建文档,文档中输入字符串"你好" Dim wdapp As Word.Application Dim wddoc As Word.Document Se ...
- Tampermonkey脚本安装问题及自用脚本推荐
对于高手来说,chrome浏览器中即使没有其他任何chrome插件,可能都无关紧要.但是有一个插件必不可少, 那就是Tampermonkey油猴插件.Tampermonkey是Chrome上最流行的用 ...
- 某阅读多word整理自动化脚本
版权声明:本文为博主原创文章,转载 请注明出处:https://blog.csdn.net/sc2079/article/details/101055192 - 写在前面 最近想练习英语,发现电脑磁盘 ...
- doc或docx(word)或image类型文件批量转PDF脚本
doc或docx(word)或image类型文件批量转PDF脚本 1.实际生产环境中遇到文件展示只能适配PDF版本的文件,奈何一万个文件有七千个都是word或者image类型的,由此搞个脚本批量转换下 ...
- 分享一个自用的 Inno Setup 软件打包脚本
此脚本支持打包mysql.安装mysql服务.安装windows服务.操作ini文件.操作注册表.高效压缩文件等功能,基本能满足常用的软件打包需求. ;定义各种常量 #define MyAppName ...
- word vbs脚本 设置所有题注样式为蓝色,下划线
Attribute VB_Name = "题注样式" Sub SetCorssRef() 'Word版,设置所有交叉引用的文本的格式 Dim aField As Word.Fiel ...
随机推荐
- OpenWRT19.07_命令行_重拨wan_重启路由
OpenWRT19.07_命令行_重拨wan_重启路由 转载注明来源: 本文链接 来自osnosn的博客,写于 2020-10-19. 写OpenWRT的脚本时,需要用到一些重启命令 以下的命令中的参 ...
- JAVA原生mvc实现用户信息的增删查改
笔者最近学完jsp和servlet,于是心血来潮的打算写个简单的用户案例 环境准备: 开发工具eclipse jdk-1.8.0_72 tomcat-9.0.5 前端部分: 1.自己手写了一套样式 2 ...
- nginx文件结构与解析,例子
1.nginx文件结构 1 ... #全局块 2 3 events { #events块 4 ... 5 } 6 7 http #http块 8 { 9 ... #http全局块 10 server ...
- 剑指offer之重建二叉树
1.问题描述:输入某二叉树的前序遍历和中序遍历的结果,请重建出该二叉树.假设输入的前序遍历和中序遍历的结果中都不含重复的数字. 例如输入前序遍历序列pre {1,2,4,7,3,5,6, ...
- .NET探索平台条件编译
前言 今天偶然机会,翻了一下大学期间的书籍<C程序设计>,好吧,当我翻着翻着,翻到了符号常量(#define指令)中,是啊,这是一个预处理器指令,记得在Magicodes.IE中针对平台选 ...
- 【Java】变量
变量 文章目录 变量 1.变量的概念 2.变量的三要素 3.变量的使用应该注意什么? 4.变量的声明和赋值.使用的语法格式? 5.code 1.变量的概念 变量的作用:变量用来存储数据. 变量的本质: ...
- Arduino—学习笔记—基础语法
图解 函数具体讲解 pinMode(工作接脚,模式) 工作接脚 工作接脚编号(0--13与A0--A5) 模式 工作模式:INPUT或OUTPUT 例子 将8接口设置为输出模式 pinMode(8,O ...
- 【九阳神功】Nessus 8_VM不限IP及AWVS破解版合体部署
Nessus 8下载地址: https://moehu-my.sharepoint.com/personal/ximcx_moebi_org/_layouts/15/download.aspx?Sou ...
- DOCKER 安装步骤-最靠谱的笔记
一.系统环境规划 服务器名 项目名称 docker 操作系统 CentOS Linux release 7.1.1503 (Core) Docker 版本 17.03.2-ce 二.Docker ...
- Spring入门及IoC的概念
Spring入门 Spring是一个轻量级的Java开发框架,最早由Robd Johnson创建,目的为了解决企业级应用开发的业务逻辑层和其他各层的耦合问题,它是一个分层的JavaSE/EE轻量级开源 ...