跟我一起使用socket.io创建聊天应用
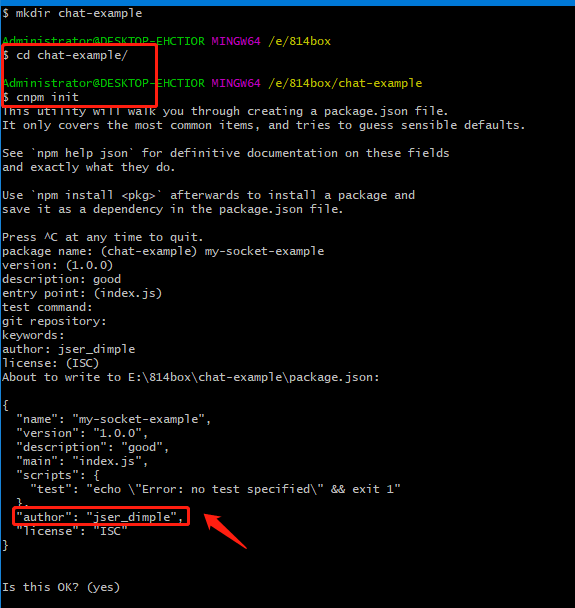
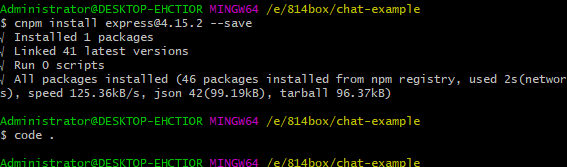
安装express插件
新建index.js
var app = require('express')();

var http = require('http').Server(app);

app.get('/', function(req, res){

  res.send('<h1>Hello world</h1>');

});

http.listen(9000, function(){

  console.log('listening on *:9000');

});
使用node index.js运行
页面中展示
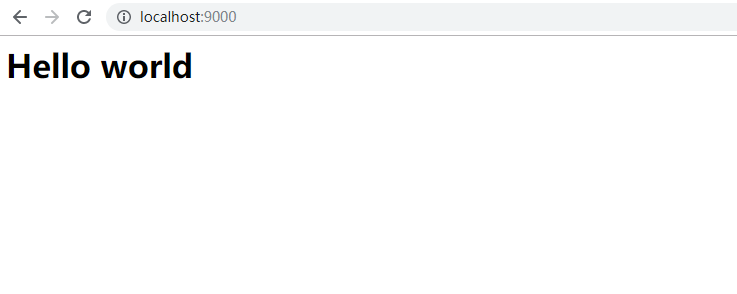
目前在index.js中我们是通过res.send返回一个HTML字符串,如果我们将整个应用的HTML代码都放到应用代码里,代码结构将变得混乱。
替代方法是新建一个index.html作为服务器响应
//index.js

var app = require('express')();

var http = require('http').Server(app);

app.get('/', function(req, res){

//   res.send('<h1>Hello world</h1>');

res.sendFile(__dirname + '/index.html');

});

http.listen(9000, function(){

  console.log('listening on *:9000');

});
index.html中的内容为
<!doctype html>

<html>

  <head>

    <title>Socket.IO chat</title>

    <style>

      * { margin: 0; padding: 0; box-sizing: border-box; }

      body { font: 13px Helvetica, Arial; }

      form { background: #000; padding: 3px; position: fixed; bottom: 0; width: 100%; }

      form input { border: 0; padding: 10px; width: 90%; margin-right: .5%; }

      form button { width: 9%; background: rgb(130, 224, 255); border: none; padding: 10px; }

      #messages { list-style-type: none; margin: 0; padding: 0; }

      #messages li { padding: 5px 10px; }

      #messages li:nth-child(odd) { background: #eee; }

    </style>

  </head>

  <body>

    <ul id="messages"></ul>

    <form action="">

      <input id="m" autocomplete="off" /><button>Send</button>

    </form>

  </body>

</html>
重新运行为

我们发送消息里面什么反应都没有
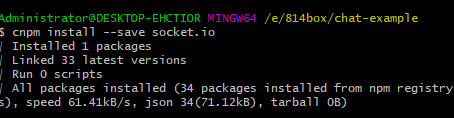
我们在这个里面集成Socket.io
Socket.io由两部分组成:
一个服务端用于集成或挂载到Node.jsHTTP服务器:socket.io
一个加载到浏览器中的客户端:socket.io-client
开发环境下,socket.io会自动提供客户端,安装socket.io
在index.js中添加模块
var app = require('express')();

var http = require('http').Server(app);

var io = require('socket.io')(http);

app.get('/', function(req, res){

  res.sendFile(__dirname + '/index.html');

});

io.on('connection', function(socket){

  console.log('a user connected');

});

http.listen(9000, function(){

  console.log('listening on *:9000');

});
在index.html中添加
  <script src="/socket.io/socket.io.js"></script>

    <script>

    var socket = io();

    </script>
现在index.html为
<!doctype html>

<html>

  <head>

    <title>Socket.IO chat</title>

    <style>

      * { margin: 0; padding: 0; box-sizing: border-box; }

      body { font: 13px Helvetica, Arial; }

      form { background: #000; padding: 3px; position: fixed; bottom: 0; width: 100%; }

      form input { border: 0; padding: 10px; width: 90%; margin-right: .5%; }

      form button { width: 9%; background: rgb(130, 224, 255); border: none; padding: 10px; }

      #messages { list-style-type: none; margin: 0; padding: 0; }

      #messages li { padding: 5px 10px; }

      #messages li:nth-child(odd) { background: #eee; }

    </style>

  </head>

  <body>

    <ul id="messages"></ul>

    <form action="">

      <input id="m" autocomplete="off" /><button>Send</button>

    </form>

    <script src="/socket.io/socket.io.js"></script>

    <script>

    var socket = io();

    </script>

  </body>

</html>
运行效果为

socket.io的核心理念是允许发送,接收任意事件和任意数据,任意能被编码为JSON的对象都可以用于传输,二进制也是支持的
在客户端中,我们捕获 chat message 事件,并将消息添加到页面中。现在客户端代码应该如下:
<!doctype html>

<html>

  <head>

    <title>Socket.IO chat</title>

    <style>

      * { margin: 0; padding: 0; box-sizing: border-box; }

      body { font: 13px Helvetica, Arial; }

      form { background: #000; padding: 3px; position: fixed; bottom: 0; width: 100%; }

      form input { border: 0; padding: 10px; width: 90%; margin-right: .5%; }

      form button { width: 9%; background: rgb(130, 224, 255); border: none; padding: 10px; }

      #messages { list-style-type: none; margin: 0; padding: 0; }

      #messages li { padding: 5px 10px; }

      #messages li:nth-child(odd) { background: #eee; }

    </style>

  </head>

  <body>

    <ul id="messages"></ul>

    <form action="">

      <input id="m" autocomplete="off" /><button>Send</button>

    </form>

    <script src="/socket.io/socket.io.js"></script>

    <script src="https://code.jquery.com/jquery-1.11.1.js"></script>

    <script>

    var socket = io();

    </script>

    <script>

        $(function () {

            var socket = io();

            $('form').submit(function(){

            socket.emit('chat message', $('#m').val());

            $('#m').val('');

            return false;

            });

            socket.on('chat message', function(msg){

            $('#messages').append($('<li>').text(msg));

            });

        });

    </script>

  </body>

</html>
index的代码为
var app = require('express')();

var http = require('http').Server(app);

var io = require('socket.io')(http);

app.get('/', function(req, res){

  res.sendFile(__dirname + '/index.html');

});

io.on('connection', function(socket){

    socket.on('chat message', function(msg){

        io.emit('chat message', msg);

      });

});

http.listen(9000, function(){

  console.log('listening on *:9000');

});
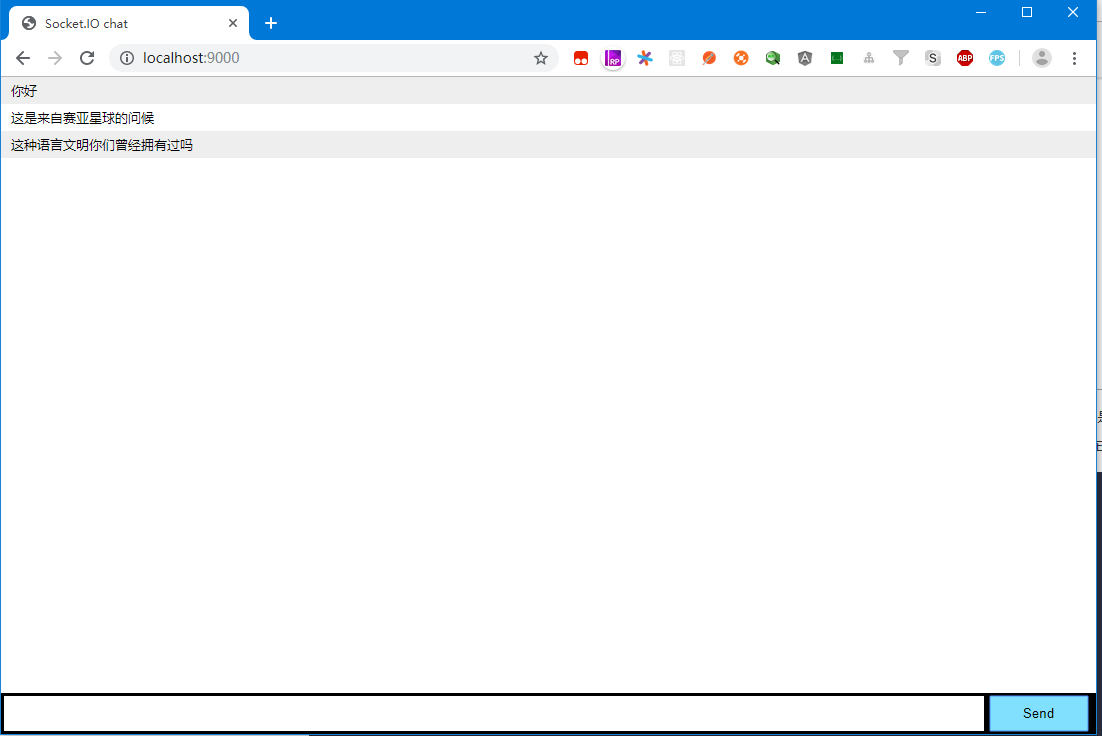
运行项目为
本文学习自:https://www.w3cschool.cn/socket/socket-ulbj2eii.html
跟我一起使用socket.io创建聊天应用的更多相关文章
- 基于Node.js+socket.IO创建的Web聊天室
这段时间进了一个新的项目组,项目是用Appcan来做一个跨平台的移动运维系统,其中前台和后台之间本来是打算用WebSocket来实现的,但写好了示例后发现android不支持WebSocket,大为受 ...
- 使用socket.io搭建聊天室
最近在学习nodejs,需要找一些项目练练手.找来找去发现了一个聊天室的教程,足够简单,也能从中学到一些东西.下面记录我练习过程中待一些笔记. nodeJS模块 共用到了2个模块,express和so ...
- node.js + socket.io实现聊天室一
前段时间,公司打算在社区做一个聊天室.决定让我来做.本小白第一次做聊天类功能,当时还想着通过ajax请求来实现.经过经理提示,说试试当前流行的node.js 和socket.io来做.于是就上网学习研 ...
- 使用 Socket.IO 开发聊天室
前言 Socket.IO 是一个用来实现实时双向通信的框架,其本质是基于 WebSocket 技术. 我们首先来聊聊 WebSocket 技术,先设想这么一个场景: · 用户小A,打开了某个网站的充值 ...
- NodeJS + Socket.io搭建聊天服务器
第一步:安装node git clone https://github.com/joyent/node.git cd node git checkout v0.10.33-release ./conf ...
- 我的学习笔记之node----node.js+socket.io实时聊天(2)
废话不多说,直接贴代码吧.注释很详细了. 服务端代码: /** * Created by LZX on 2015/10/7. */(function () { var d = document, w ...
- 我的学习笔记之node----node.js+socket.io实时聊天(1) (谨此纪念博客开篇)
本想着从hello word开篇,也确实写了相关学习笔记.各种原因吧,现在又着急写出作品,便作罢. 这里将记录一个node.js+socket.io的实时聊天程序.(当然我也是跟着网上各种教程资料学习 ...
- Socket.io在线聊天室
从零开始nodejs系列文章,将介绍如何利Javascript做为服务端脚本,通过Nodejs框架web开发.Nodejs框架是基于V8的引擎,是目前速度最快的Javascript引擎.chrome浏 ...
- nodejs+socket.io即时聊天实例
在这之前你应该先安装好 Node.js,安装过程不再讲解 首先在你的电脑上创建一个新目录,姑且命名为 chat,然后在该目录创建两个文件,分别是 app.js 和 index.html. app.js ...
随机推荐
- jsonp的原理,应用场景,优缺点
在开发测试中,难免会在不同域下进行跨域操作,出于安全性考虑,浏览器中的同源策略阻止从一个域上加载的脚本获取或者操作 另一个域下的文档属性,这时需要进行跨域的方式进行解决,如:使用jsonp ,ifra ...
- mysql数据库分页查询优化
原博:MySQL单表百万数据记录分页性能优化 limit优化 当数据很多需要进行分页查询时:需要先查出第一条数据的id然后根据id查询大于id的数据 limt 一页的数据量 1. 直接用limit ...
- hdu多校第十场 1003 (hdu6693) Valentine's Day 贪心/概率
题意: 有许多物品,每个物品有一定概率让女朋友开心.你想让女朋友开心且只开心一次,让你挑一些物品,使得这个只开心一次的概率最大,求最大概率. 题解: 设物品i让女朋友开心的概率为$p_i$ 若你挑选了 ...
- bash字符串前导美元符号的作用
problem bash内置变量IFS作为内部单词分隔符,其默认值为<space><tab><newline>, 我想设置它仅为\n,于是: OLD_IFS=$IF ...
- (转)sql的group by应用
转载于:http://www.studyofnet.com/news/247.html 本文导读:在实际SQL应用中,经常需要进行分组聚合,即将查询对象按一定条件分组,然后对每一个组进行聚合分析.创建 ...
- A1095 Cars on Campus (30 分)
Zhejiang University has 8 campuses and a lot of gates. From each gate we can collect the in/out time ...
- webAPI(DOM) 2.1 获取页面元素 | 事件1 | 属性操作 | 节点 | 创建元素 | 事件2
js分三个部分: ECMAScript标准:js的基本语法 DOM:Ducument Object Model--->文档对象模型--->操作页面的元素 BOM:Browser Objec ...
- Jmeter----参数化之csv文件
用户编码:一般不用填写,如果有中文的时候,需要填写,填写utf-8就可以 变量名词:是指的把数据保存在什么变量里面,其他的默认就好了 Http请求和用户参数设置的一样
- FILE_OBJECT
https://msdn.microsoft.com/en-us/library/windows/hardware/ff545834(v=vs.85).aspx The FILE_OBJECT str ...
- String 字符串对象
String是什么 String字符串,是一种引用数据类型,并不是基础数据类型. 对于基础数据类型和引用数据类型的区别: 基础数据类型,在创建时直接将值存放在栈内存中. 引用数据类型,在创建时栈内存中 ...