设计标签选择器TitleSwitch
设计标签选择器TitleSwitch
效果如下:
源码如下:
TitleSwitch.h 与 TitleSwitch.m
//
// TitleSwitch.h
// TitleSwitch
//
// Created by YouXianMing on 14/11/4.
// Copyright (c) 2014年 YouXianMing. All rights reserved.
// #import <UIKit/UIKit.h> @protocol TitleSwitchDelegate <NSObject>
@optional
- (void)willSelectIndex:(NSInteger)index;
- (void)didSelectIndex:(NSInteger)index;
@end @interface TitleSwitch : UIView /**
* 协议
*/
@property (nonatomic, assign) id<TitleSwitchDelegate> delegate; /**
* 作为按钮的标题
*/
@property (nonatomic, strong) NSArray *titles; /**
* 线的宽度
*/
@property (nonatomic, assign) CGFloat lineWidth; /**
* 线的颜色
*/
@property (nonatomic, strong) UIColor *lineColor; /**
* 标题字体
*/
@property (nonatomic, strong) UIFont *titleFont; /**
* 普通标题颜色
*/
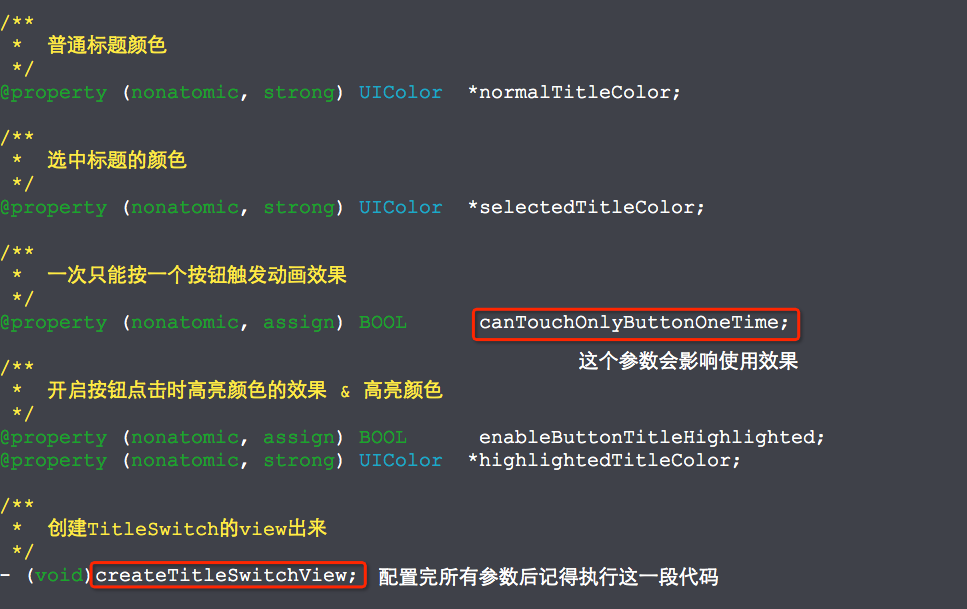
@property (nonatomic, strong) UIColor *normalTitleColor; /**
* 选中标题的颜色
*/
@property (nonatomic, strong) UIColor *selectedTitleColor; /**
* 一次只能按一个按钮触发动画效果
*/
@property (nonatomic, assign) BOOL canTouchOnlyButtonOneTime; /**
* 开启按钮点击时高亮颜色的效果 & 高亮颜色
*/
@property (nonatomic, assign) BOOL enableButtonTitleHighlighted;
@property (nonatomic, strong) UIColor *highlightedTitleColor; /**
* 创建TitleSwitch的view出来
*/
- (void)createTitleSwitchView; @end
//

//  TitleSwitch.m

//  TitleSwitch

//

//  Created by YouXianMing on 14/11/4.

//  Copyright (c) 2014年 YouXianMing. All rights reserved.

//

#import "TitleSwitch.h"

typedef enum : NSUInteger {

    NORMAL_BUTTON = 0x11,

    LINE_VIEW = 0x1122,

} ENUM_VIEWTAG;

@implementation TitleSwitch

- (void)createTitleSwitchView {

    // 如果没有title,则直接返回

    if (_titles.count == ) {

        return;

    }

    // 获取尺寸

    CGFloat frameWidth  = self.bounds.size.width;

    CGFloat frameHeight = self.bounds.size.height;

    // 计算按钮的宽度&高度

    CGFloat buttonWidth      = frameWidth / _titles.count;

    CGFloat buttonHeight     = ;

    CGFloat defaultLineWidth = .f;

    if (_lineWidth == ) {

        buttonHeight = frameHeight - defaultLineWidth; // 默认线条占用一个像素

    } else {

        buttonHeight = frameHeight - _lineWidth;

    }

    // 初始化所有按钮

    for (int i = ; i < _titles.count; i++) {

        UIButton *button = [[UIButton alloc] initWithFrame:CGRectMake(buttonWidth * i,

                                                                      ,

                                                                      buttonWidth,

                                                                      buttonHeight)];

        button.tag       = NORMAL_BUTTON + i;

        [self addSubview:button];

        [button setTitle:_titles[i] forState:UIControlStateNormal];

        // 普通颜色

        if (i == ) {

            [self selectButtonStyle:button];

        } else {

            [self normalButtonStyle:button];

        }

        // 高亮颜色

        if (_enableButtonTitleHighlighted == YES && _highlightedTitleColor) {

            [button setTitleColor:_highlightedTitleColor forState:UIControlStateHighlighted];

        }

        // 添加事件

        [button addTarget:self action:@selector(buttonsEvent:) forControlEvents:UIControlEventTouchUpInside];

        // 设置字体

        if (_titleFont) {

            button.titleLabel.font = _titleFont;

        }

    }

    // 初始化横线view

    UIView *lineView = [[UIView alloc] initWithFrame:CGRectMake(, buttonHeight, buttonWidth,

                                                                (_lineWidth ==  ? defaultLineWidth : _lineWidth))];

    lineView.tag     = LINE_VIEW;

    [self addSubview:lineView];

    if (_lineColor) {

        lineView.backgroundColor = _lineColor;

    } else {

        lineView.backgroundColor = [UIColor redColor];

    }

}

/**

 *  按钮事件

 *

 *  @param button 触摸事件中的按钮

 */

- (void)buttonsEvent:(UIButton *)button {

    // 获取到lineView

    UIView *lineView      = [self viewWithTag:LINE_VIEW];

    // 哪一个button

    NSInteger whichButton = button.tag - NORMAL_BUTTON;

    // 计算按钮的宽度&高度

    CGFloat frameWidth    = self.bounds.size.width;

    CGFloat buttonWidth   = frameWidth / _titles.count;

    [[self subviews] enumerateObjectsUsingBlock:^(id obj, NSUInteger idx, BOOL *stop) {

        UIButton *tmp = (UIButton *)obj;

        if ([tmp isKindOfClass:[UIButton class]]) {

            if (tmp == button) {

                [self selectButtonStyle:tmp];

            } else {

                [self normalButtonStyle:tmp];

            }

        }

    }];

    // 做动画

    if (_canTouchOnlyButtonOneTime == YES) {

        self.userInteractionEnabled = NO;

    }

    if (_delegate && [_delegate respondsToSelector:@selector(willSelectIndex:)]) {

        [_delegate willSelectIndex:whichButton];

    }

    [UIView animateWithDuration:0.25f animations:^{

        CGRect rect    = lineView.frame;

        rect.origin.x  = whichButton * buttonWidth;

        lineView.frame = rect;

    } completion:^(BOOL finished) {

        if (_canTouchOnlyButtonOneTime == YES) {

            self.userInteractionEnabled = YES;

        }

        if (_delegate && [_delegate respondsToSelector:@selector(didSelectIndex:)]) {

            [_delegate didSelectIndex:whichButton];

        }

    }];

}

/**

 *  选中按钮的样式

 *

 *  @param button 按钮

 */

- (void)selectButtonStyle:(UIButton *)button {

    if (_normalTitleColor) {

        [button setTitleColor:_normalTitleColor

                     forState:UIControlStateNormal];

    } else {

        [button setTitleColor:[UIColor redColor]

                     forState:UIControlStateNormal];

    }

}

/**

 *  普通按钮样式

 *

 *  @param button 按钮

 */

- (void)normalButtonStyle:(UIButton *)button {

    if (_selectedTitleColor) {

        [button setTitleColor:_selectedTitleColor

                     forState:UIControlStateNormal];

    } else {

        [button setTitleColor:[UIColor colorWithRed:0.369 green:0.369 blue:0.369 alpha:]

                     forState:UIControlStateNormal];

    }

}

@end
使用:
//

//  ViewController.m

//  TitleSwitch

//

//  Created by YouXianMing on 14/11/4.

//  Copyright (c) 2014年 YouXianMing. All rights reserved.

//

#import "ViewController.h"

#import "TitleSwitch.h"

@interface ViewController ()<TitleSwitchDelegate>

@end

@implementation ViewController

- (void)viewDidLoad {

    [super viewDidLoad];

    TitleSwitch *titleSwitch              = [[TitleSwitch alloc] initWithFrame:CGRectMake(, , , )];

    titleSwitch.titles                    = @[@"YouXianMing", @"NoZuoNoDie", @"BlueShit"];

    titleSwitch.titleFont                 = [UIFont systemFontOfSize:.f];

    titleSwitch.lineWidth                 = .f;

    titleSwitch.canTouchOnlyButtonOneTime = YES;

    titleSwitch.delegate                  = self;

    [titleSwitch createTitleSwitchView];

    [self.view addSubview:titleSwitch];

}

- (void)willSelectIndex:(NSInteger)index {

    NSLog(@"willSelectIndex %ld", (long)index);

}

- (void)didSelectIndex:(NSInteger)index {

    NSLog(@"didSelectIndex %ld", (long)index);

}

@end
注意细节:
设计标签选择器TitleSwitch的更多相关文章
- CSS标签选择器(二)
一.CSS选择器概述 1.1.CSS功能 CSS语言具有两个基本功能:匹配和渲染 当浏览器在解析CSS样式时,首先应该确定哪些元素需要渲染,即匹配哪些HTML元素,这个操作由CSS样式中的选择器负责标 ...
- jQuery标签选择器
$(function() { //alert("hello jquery"); //选择器 //id选择器 $("#bt1").click( function( ...
- css标签选择器
/*标签选择器*/ input[type="text"] { width: 60%; } </style>
- jquery基本选择器:id选择器、class选择器、标签选择器、通配符选择器
全栈工程师开发手册 (作者:栾鹏) jquery系列教程1-选择器全解 jquery基本选择器 jquery基本选择器,包括id选择器.class选择器.标签选择器.通配符选择器,同时配合选择器的空格 ...
- H5 标签选择器
08-标签选择器 我是段落 我是段落 我是段落 我是段落 我是段落 我是标题 <!DOCTYPE html> <html lang="en"> <he ...
- CSS 标签选择器
CSS 标签选择器 再<stype>标签内,通过指定输入标签来配置CSS样式 <html> <head> <!-- style 设置头部标签--> &l ...
- css之标签选择器
标签(空格分隔): 标签选择器 选择器定义: 在一个HTML页面中会有很多很多的元素,不同的元素可能会有不同的样式,某些元素又需要设置相同的样式,选择器就是用来从HTML页面中查找特定元素的,找到元素 ...
- 前端基础之CSS的引入+HTML标签选择器+CSS操作属性
clear:left/ringt属性 CSS:语法形式上由选择器+以及一条或多条声明组成:选择器查找到指定的html标签后,使用css属性设置html标签的样式: ...
- 第三百二十五节,web爬虫,scrapy模块标签选择器下载图片,以及正则匹配标签
第三百二十五节,web爬虫,scrapy模块标签选择器下载图片,以及正则匹配标签 标签选择器对象 HtmlXPathSelector()创建标签选择器对象,参数接收response回调的html对象需 ...
随机推荐
- eclipse中explorer显示方式
不知道是不是上面的描述.做个记录 project explorer 项目资源管理器 这个要打开代码目录需要再点开java resources 还会出现deployment Descriptor项目工程 ...
- 10-hdfs-hdfs搭建
hdfs的优缺点比较: 架构图解分析: nameNode的主要任务: SNameNode的功能: (不是NN的备份, 主要用来合并fsimage) 合并流程: dataNode的主要功能: HDFS上 ...
- 入坑python 自己写的小工具,纪念一下
这个程序的功能是可以从表格中读取某一列数据,传到IDs 这一个参数里,然后在url中获取相应的请求值,并打印 import urllib.request import json import xlrd ...
- vue权限路由实现方式总结
使用全局路由守卫 实现 前端定义好路由,并且在路由上标记相应的权限信息 const routerMap = [ { path: '/permission', component: Layout, re ...
- vue常见知识点整理
什么是 mvvm? MVVM 是 Model-View-ViewModel 的缩写.mvvm 是一种设计思想.Model 层代表数据模型,也可以在 Model 中定义数据修改和操作的业务逻辑:View ...
- SpringBoot集成Jersey
SpringBoot集成Jersey 添加依赖 <dependency> <groupId>org.springframework.boot</groupId> & ...
- 采用DTO和DAO对JDBC程序进行进一步优化
采用DTO和DAO对JDBC程序进行进一步优化 DTO:数据传输对象,主要用于远程调用等需要远程调用对象的地方DAO:数据访问对象,主要实现封装数据库的访问,通过它可以把数据库中的表转换成DTO类 引 ...
- python 软件管理规范
一.背景 软件开发是一个系统工程,当然编码实现是其中尤其重要的一个环节,关乎到功能需求的实现好坏.这个环节中除了编码这一硬功之外,与之相关的编码风格这一柔道,虽然没有直接决定功能的实现与否,但却在很大 ...
- python Django html 一对多数据实例 模态对话框添加数据
- Codeforces 750 F:New Year and Finding Roots
传送门 首先如果一开始就找到了一个叶子,那么暴力去递归找它的父亲,每次随机一个方向(除了已知的儿子)走深度次,如果走到了一个叶子就不是这个方向 (设根的深度为 \(1\))这样子最后到达深度为 \(3 ...