cocoa组件化开发
[转载:http://www.cocoachina.com/ios/20171120/21234.html](http://www.cocoachina.com/ios/20171120/21234.html)

> 做iOS开发的同学对这张图片再熟悉不过了,在使用第三库的时候,cocoapods确实给我们带来了极大的方便。那么,我们如何制作自己的pod呢?下面是之前的实践笔记
[参考资料 https://guides.cocoapods.org/](https://guides.cocoapods.org/)
[ShareUIDemo 链接](https://link.jianshu.com/?t=https://github.com/shiyeli/ShareUIDemo)
Demo中的组件式样:

cocoapods文档提供了两种方法:
方法1 pod lib create YeshifuShareUI
方法2 pod spec create YeshifuShareUI
两种方法之前都尝试过,方法一会帮助你创建一大堆的文件,包括演示demo创建;方法二方便你在现有的项目中提取你需要制作pod的代码。
这里使用方法2。
详细步骤
1 整理代码
随便找一个现有的项目,把里面的一个模块放在同一个文件夹下,我这里放在ShareUI文件夹下面。

图一 项目目录结构
2 创建 YeshifuShareUI.podspec文件
在终端cd 到ShareUIDemo (如图一所示),执行
`pod spec create YeshifuShareUI` ,得到文件YeshifuShareUI.podspec
3 编辑 YeshifuShareUI.podspec
```
#
# Be sure to run `pod spec lint YeshifuShareUI.podspec' to ensure this is a
# valid spec and to remove all comments including this before submitting the spec.
#
# To learn more about Podspec attributes see http://docs.cocoapods.org/specification.html
# To see working Podspecs in the CocoaPods repo see https://github.com/CocoaPods/Specs/
#
Pod::Spec.new do |s|
# ――― Spec Metadata ―――――――――――――――――――――――――――――――――――――――――――――――――――――――――― #
#
# These will help people to find your library, and whilst it
# can feel like a chore to fill in it's definitely to your advantage. The
# summary should be tweet-length, and the description more in depth.
#
s.name = "YeshifuShareUI"
s.version = "0.0.5"
s.summary = "CocoaPods组件化实践"
# This description is used to generate tags and improve search results.
# * Think: What does it do? Why did you write it? What is the focus?
# * Try to keep it short, snappy and to the point.
# * Write the description between the DESC delimiters below.
# * Finally, don't worry about the indent, CocoaPods strips it!
s.description = < "MIT", :file => "FILE_LICENSE" }
# ――― Author Metadata ――――――――――――――――――――――――――――――――――――――――――――――――――――――――― #
#
# Specify the authors of the library, with email addresses. Email addresses
# of the authors are extracted from the SCM log. E.g. $ git log. CocoaPods also
# accepts just a name if you'd rather not provide an email address.
#
# Specify a social_media_url where others can refer to, for example a twitter
# profile URL.
#
s.author = { "叶同学" => "yeli.studio@qq.com" }
# Or just: s.author = "叶同学"
# s.authors = { "叶同学" => "yeli.studio@qq.com" }
s.social_media_url = "http://yeli.studio"
# ――― Platform Specifics ――――――――――――――――――――――――――――――――――――――――――――――――――――――― #
#
# If this Pod runs only on iOS or OS X, then specify the platform and
# the deployment target. You can optionally include the target after the platform.
#
# s.platform = :ios
#s.platform = :ios, "8.0"
s.ios.deployment_target = '8.0' #指定平台和最低支持版本
# When using multiple platforms
# s.ios.deployment_target = "5.0"
# s.osx.deployment_target = "10.7"
# s.watchos.deployment_target = "2.0"
# s.tvos.deployment_target = "9.0"
# ――― Source Location ―――――――――――――――――――――――――――――――――――――――――――――――――――――――――― #
#
# Specify the location from where the source should be retrieved.
# Supports git, hg, bzr, svn and HTTP.
#
s.source = { :git => "https://github.com/shiyeli/ShareUIDemo.git", :tag => "#{s.version}" }
# ――― Source Code ―――――――――――――――――――――――――――――――――――――――――――――――――――――――――――――― #
#
# CocoaPods is smart about how it includes source code. For source files
# giving a folder will include any swift, h, m, mm, c & cpp files.
# For header files it will include any header in the folder.
# Not including the public_header_files will make all headers public.
#
#这里路径需要注意下,是以YeshifuShareUI.podspec为基准。
#如果你的YeshifuShareUI.podspec文件在其他层级处创建的,那么根据自己的情况写。
#ShareUI正是放置组件代码的文件夹
s.source_files = "ShareUIDemo/ShareUIDemo/ShareUI", "ShareUI/**/*.{h,m}"
#s.exclude_files = "Classes/Exclude"
# s.public_header_files = "Classes/**/*.h"
# ――― Resources ―――――――――――――――――――――――――――――――――――――――――――――――――――――――――――――――― #
#
# A list of resources included with the Pod. These are copied into the
# target bundle with a build phase script. Anything else will be cleaned.
# You can preserve files from being cleaned, please don't preserve
# non-essential files like tests, examples and documentation.
#
# s.resource = "icon.png"
# s.resources = "Resources/*.png"
# s.preserve_paths = "FilesToSave", "MoreFilesToSave"
# ――― Project Linking ―――――――――――――――――――――――――――――――――――――――――――――――――――――――――― #
#
# Link your library with frameworks, or libraries. Libraries do not include
# the lib prefix of their name.
#
s.framework = "UIKit"
# s.frameworks = "SomeFramework", "AnotherFramework"
# s.library = "iconv"
# s.libraries = "iconv", "xml2"
# ――― Project Settings ――――――――――――――――――――――――――――――――――――――――――――――――――――――――― #
#
# If your library depends on compiler flags you can set them in the xcconfig hash
# where they will only apply to your library. If you depend on other Podspecs
# you can include multiple dependencies to ensure it works.
s.requires_arc = true
# s.xcconfig = { "HEADER_SEARCH_PATHS" => "$(SDKROOT)/usr/include/libxml2" }
# s.dependency "JSONKit", "~> 1.4"
end
```
对于其他配置,根据需要,删删改改依葫芦画瓢就好。
4 提交项目代码到github远程仓库
依次执行:
git add . && git commit -m'配置podspec'
git tag 0.0.5 && git push --tags
5 验证YeshifuShareUI.podspec 是否正确
pod lib lint

6 注册下CoocaPods ,终端执行`pod trunk register ymnlwyy@sina.com wandou`,之后你会收到一份邮件,点击邮件里面链接验证。
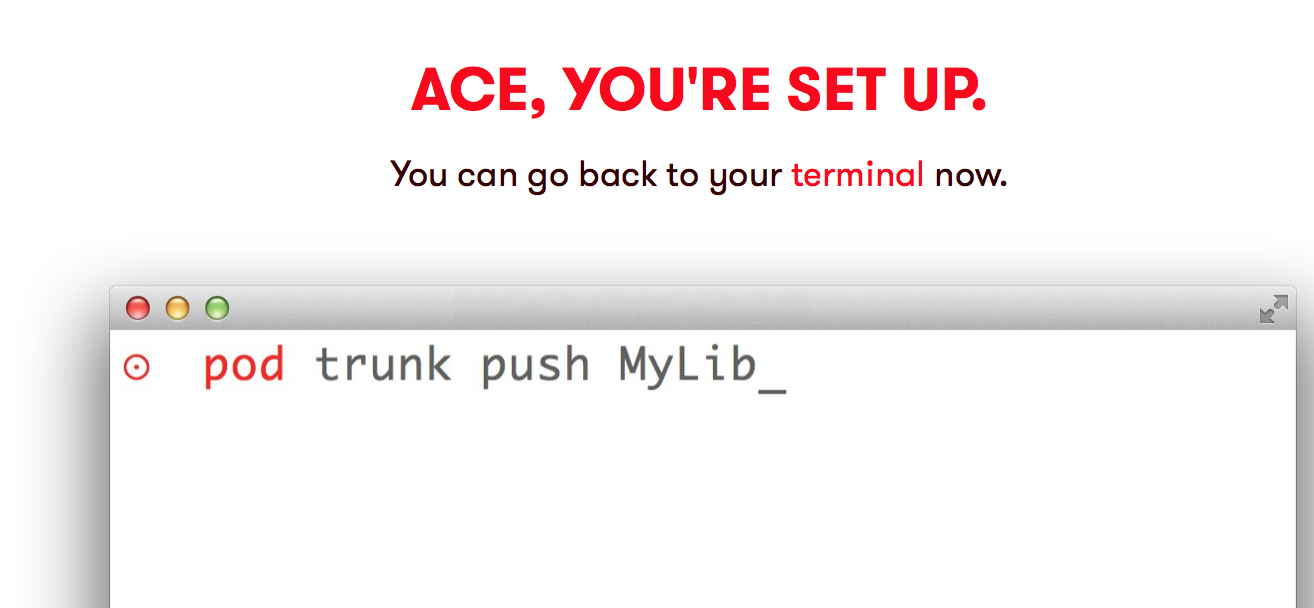
7 提交到CocoaPods
pod trunk push YeshifuShareUI.podspec
Success !

完毕之后在CocoaPods搜索试试看
补充
遇到的问题:
* Could not find remote branch 0.0.1 to clone
```
warning: Could not find remote branch 0.0.1 to clone.
fatal: Remote branch 0.0.1 not found in upstream origin
```
Cocoapods 版本要求1.0.0 +
注册之后修改用户名:
grep -A2 'trunk.cocoapods.org' ~/.netrc
curl -v -H "Acdef6f817a3e4" -H "Content-Type: application/json" -X POST -d '{"email":"422013052@qq.com","name”:"newname","description":"iMac"}' https://trunk.cocoapods.org/api/v1/sessions
我的博客 http://yeli.studio
[参考链接:http://www.jianshu.com/p/7e82f4f56b7e](http://www.jianshu.com/p/7e82f4f56b7e)
cocoa组件化开发的更多相关文章
- vue.js组件化开发实践
前言 公司目前制作一个H5活动,特别是有一定统一结构的活动,都要码一个重复的轮子.后来接到一个基于模板的活动设计系统的需求,便有了下面的内容.借油开车. 组件化 需求一到,接就是怎么实现,技术选型自然 ...
- ReactNative新手学习之路04 组件化开发轮播图swiper支持安卓和IOS
react native 新手之路04 组件化开发轮播图swiper支持安卓和IOS npm install react-native-carousel --save git 地址Properties ...
- Webpack+Vue+ES6 前端组件化开发mobile-multi-page应用实战总结
本文版权归博客园和作者吴双本人共同所有 转载和爬虫请注明原文地址 www.cnblogs.com/tdws 一.写在前面 项目上线有一段时间了,一个基于webpack+vue+ES6的手机端多页面应用 ...
- Android组件化开发的简单应用
组件化开发的主要步骤: 一.新建Modules 1.新建Project,作为应用的主Module. 2.新建Module:"Common",类型选择"Android Li ...
- 前端笔记之JavaScript面向对象(四)组件化开发&轮播图|俄罗斯方块实战
一.组件化开发 1.1组件化概述 页面特效的制作,特别需要HTML.CSS有固定的布局,所以说现在越来越流行组件开发的模式,就是用JS写一个类,当你实例化这个类的时候,页面上的效果布局也能自动完成. ...
- vue(9)—— 组件化开发 - webpack(3)
前面两个终于把webpack相关配置解析完了.现在终于进入vue的开发了 vue组件化开发预热 前期准备 创建如下项目: app.js: footer.js: main.js: webpack.con ...
- vue(8)—— 组件化开发 - webpack(2)
webpack的常用loder和插件 loder和插件是什么,现在暂且不表,看到后面你就懂了 引入css问题 直接用link标签导入css 在前面的 vue(7)—— 组件化开发 — webpack( ...
- AppBoxFuture(六): 前端组件化开发
前面几篇都是在介绍结构化与非结构化的数据存储,本篇换换口味介绍一下框架是如何实现前端组件化开发的.首先得感谢Vue.ElementUI等优秀的前端开源项目,这些项目帮助作者快速实现了框架的两个前端 ...
- 如何理解Unity组件化开发模式
Unity的开发模式核心:节点和组件,组件可以加载到任何节点上,每个组件都有 gameobject 属性,可以通过这个属性获取到该节点,即游戏物体. 也就是说游戏物体由节点和组件构成,每个组件表示物体 ...
随机推荐
- 基于Python的机器学习实战:KNN
1.KNN原理: 存在一个样本数据集合,也称作训练样本集,并且样本集中每个数据都存在标签,即我们知道样本集中每一个数据与所属分类的对应关系.输入没有标签的新数据后,将新数据的每个特征与样本集中数据对应 ...
- python中的魔法参数:*args和**kwargs
python中的魔法参数:*args和**kwargs def foo(*args, **kwargs):print 'args = ', argsprint 'kwargs = ', kwargsp ...
- 简述JavaScript作用域与作用域链
关于变量作用域的知识,相信学习JavaScript的朋友们一定早已经接触过,这里简单列举: JavaScript中变量是以对象属性的形式存在的:全局变量是全局对象的属性:局部变量是声明上下文对象的属性 ...
- 【bzoj2653】【middle】【主席树+二分答案】
Description 一个长度为 n 的序列 a ,设其排过序之后为 b ,其中位数定义为 b[n/2] ,其中 a,b 从 0 开始标号 , 除法取下整. 给你一个长度为 n 的序列 s .回答 ...
- 关于素数:求不超过n的素数,素数的判定(Miller Rabin 测试)
关于素数的基本介绍请参考百度百科here和维基百科here的介绍 首先介绍几条关于素数的基本定理: 定理1:如果n不是素数,则n至少有一个( 1, sqrt(n) ]范围内的的因子 定理2:如果n不是 ...
- 改变input标签中placeholder显示的颜色
::-webkit-input-placeholder { /* WebKit browsers */ color: #A9A9A9; } :-moz-placeholder { /* Mozilla ...
- [Vue warn]: Do not use built-in or reserved HTML elements as component id: header
因为header在HTML5里面是个原生的标签,所以在开发的时候会提示错误,解决方法:修改components里面左边的header
- xcode 8 清除无用的打印
OS_ACTIVITY_MODE disable 虽然模拟器这样写能屏蔽掉无用的打印,但是在真机测试的时候什么都不会打印 Nslog 也打印不出来 , 这时候就要点掉 OS_ACTIVIT ...
- Flask之数据库设置
4 数据库 知识点 Flask-SQLALchemy安装 连接数据库 使用数据库 数据库迁移 邮件扩展 4.1 数据库的设置 Web应用中普遍使用的是关系模型的数据库,关系型数据库把所有的数据都存储在 ...
- JavaScript事件属性event.target
<!DOCTYPE html> <html> <head> <meta charset="UTF-8"> <title> ...