python之爬虫(四)之 Requests库的基本使用
什么是Requests
Requests是用python语言基于urllib编写的,采用的是Apache2 Licensed开源协议的HTTP库
如果你看过上篇文章关于urllib库的使用,你会发现,其实urllib还是非常不方便的,而Requests它会比urllib更加方便,可以节约我们大量的工作。(用了requests之后,你基本都不愿意用urllib了)一句话,requests是python实现的最简单易用的HTTP库,建议爬虫使用requests库。
默认安装好python之后,是没有安装requests模块的,需要单独通过pip安装
requests功能详解
总体功能的一个演示
import requests

response  = requests.get("https://www.baidu.com")

print(type(response))

print(response.status_code)

print(type(response.text))

print(response.text)

print(response.cookies)

print(response.content)

print(response.content.decode("utf-8"))
我们可以看出response使用起来确实非常方便,这里有个问题需要注意一下:
很多情况下的网站如果直接response.text会出现乱码的问题,所以这个使用response.content
这样返回的数据格式其实是二进制格式,然后通过decode()转换为utf-8,这样就解决了通过response.text直接返回显示乱码的问题.
请求发出后,Requests 会基于 HTTP 头部对响应的编码作出有根据的推测。当你访问 response.text 之时,Requests 会使用其推测的文本编码。你可以找出 Requests 使用了什么编码,并且能够使用 response.encoding 属性来改变它.如:
response =requests.get("http://www.baidu.com")

response.encoding="utf-8"

print(response.text)
不管是通过response.content.decode("utf-8)的方式还是通过response.encoding="utf-8"的方式都可以避免乱码的问题发生
各种请求方式
requests里提供个各种请求方式
import requests

requests.post("http://httpbin.org/post")

requests.put("http://httpbin.org/put")

requests.delete("http://httpbin.org/delete")

requests.head("http://httpbin.org/get")

requests.options("http://httpbin.org/get")
请求
基本GET请求
import requests

response = requests.get('http://httpbin.org/get')

print(response.text)
带参数的GET请求,例子1
import requests

response = requests.get("http://httpbin.org/get?name=zhaofan&age=23")

print(response.text)
如果我们想要在URL查询字符串传递数据,通常我们会通过httpbin.org/get?key=val方式传递。Requests模块允许使用params关键字传递参数,以一个字典来传递这些参数,例子如下:
import requests

data = {

    "name":"zhaofan",

    "age":22

}

response = requests.get("http://httpbin.org/get",params=data)

print(response.url)

print(response.text)
上述两种的结果是相同的,通过params参数传递一个字典内容,从而直接构造url
注意:第二种方式通过字典的方式的时候,如果字典中的参数为None则不会添加到url上
解析json
import requests

import json

response = requests.get("http://httpbin.org/get")

print(type(response.text))

print(response.json())

print(json.loads(response.text))

print(type(response.json()))
从结果可以看出requests里面集成的json其实就是执行了json.loads()方法,两者的结果是一样的
获取二进制数据
在上面提到了response.content,这样获取的数据是二进制数据,同样的这个方法也可以用于下载图片以及
视频资源
添加headers
和前面我们将urllib模块的时候一样,我们同样可以定制headers的信息,如当我们直接通过requests请求知乎网站的时候,默认是无法访问的
import requests

response =requests.get("https://www.zhihu.com")

print(response.text)
这样会得到如下的错误
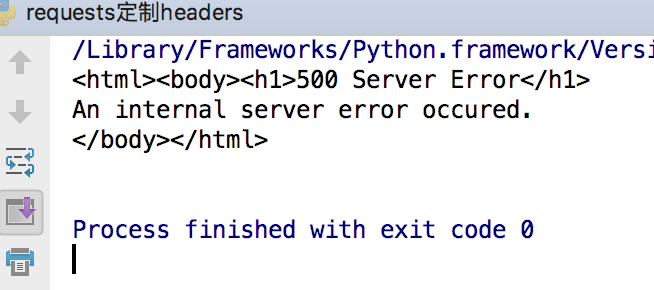
因为访问知乎需要头部信息,这个时候我们在谷歌浏览器里输入chrome://version,就可以看到用户代理,将用户代理添加到头部信息

import requests

headers = {

    "User-Agent":"Mozilla/5.0 (Macintosh; Intel Mac OS X 10_12_4) AppleWebKit/537.36 (KHTML, like Gecko) Chrome/58.0.3029.110 Safari/537.36"

}

response =requests.get("https://www.zhihu.com",headers=headers)

print(response.text)
这样就可以正常的访问知乎了
基本POST请求
通过在发送post请求时添加一个data参数,这个data参数可以通过字典构造成,这样
对于发送post请求就非常方便
import requests

data = {

    "name":"zhaofan",

    "age":23

}

response = requests.post("http://httpbin.org/post",data=data)

print(response.text)
同样的在发送post请求的时候也可以和发送get请求一样通过headers参数传递一个字典类型的数据
响应
我们可以通过response获得很多属性,例子如下
import requests

response = requests.get("http://www.baidu.com")

print(type(response.status_code),response.status_code)

print(type(response.headers),response.headers)

print(type(response.cookies),response.cookies)

print(type(response.url),response.url)

print(type(response.history),response.history)
结果如下:

状态码判断
Requests还附带了一个内置的状态码查询对象
主要有如下内容:
100: ('continue',),
101: ('switching_protocols',),
102: ('processing',),
103: ('checkpoint',),
122: ('uri_too_long', 'request_uri_too_long'),
200: ('ok', 'okay', 'all_ok', 'all_okay', 'all_good', '\o/', '✓'),
201: ('created',),
202: ('accepted',),
203: ('non_authoritative_info', 'non_authoritative_information'),
204: ('no_content',),
205: ('reset_content', 'reset'),
206: ('partial_content', 'partial'),
207: ('multi_status', 'multiple_status', 'multi_stati', 'multiple_stati'),
208: ('already_reported',),
226: ('im_used',),
Redirection.
300: ('multiple_choices',),
301: ('moved_permanently', 'moved', '\o-'),
302: ('found',),
303: ('see_other', 'other'),
304: ('not_modified',),
305: ('use_proxy',),
306: ('switch_proxy',),
307: ('temporary_redirect', 'temporary_moved', 'temporary'),
308: ('permanent_redirect',
'resume_incomplete', 'resume',), # These 2 to be removed in 3.0
Client Error.
400: ('bad_request', 'bad'),
401: ('unauthorized',),
402: ('payment_required', 'payment'),
403: ('forbidden',),
404: ('not_found', '-o-'),
405: ('method_not_allowed', 'not_allowed'),
406: ('not_acceptable',),
407: ('proxy_authentication_required', 'proxy_auth', 'proxy_authentication'),
408: ('request_timeout', 'timeout'),
409: ('conflict',),
410: ('gone',),
411: ('length_required',),
412: ('precondition_failed', 'precondition'),
413: ('request_entity_too_large',),
414: ('request_uri_too_large',),
415: ('unsupported_media_type', 'unsupported_media', 'media_type'),
416: ('requested_range_not_satisfiable', 'requested_range', 'range_not_satisfiable'),
417: ('expectation_failed',),
418: ('im_a_teapot', 'teapot', 'i_am_a_teapot'),
421: ('misdirected_request',),
422: ('unprocessable_entity', 'unprocessable'),
423: ('locked',),
424: ('failed_dependency', 'dependency'),
425: ('unordered_collection', 'unordered'),
426: ('upgrade_required', 'upgrade'),
428: ('precondition_required', 'precondition'),
429: ('too_many_requests', 'too_many'),
431: ('header_fields_too_large', 'fields_too_large'),
444: ('no_response', 'none'),
449: ('retry_with', 'retry'),
450: ('blocked_by_windows_parental_controls', 'parental_controls'),
451: ('unavailable_for_legal_reasons', 'legal_reasons'),
499: ('client_closed_request',),
Server Error.
500: ('internal_server_error', 'server_error', '/o\', '✗'),
501: ('not_implemented',),
502: ('bad_gateway',),
503: ('service_unavailable', 'unavailable'),
504: ('gateway_timeout',),
505: ('http_version_not_supported', 'http_version'),
506: ('variant_also_negotiates',),
507: ('insufficient_storage',),
509: ('bandwidth_limit_exceeded', 'bandwidth'),
510: ('not_extended',),
511: ('network_authentication_required', 'network_auth', 'network_authentication'),
通过下面例子测试:(不过通常还是通过状态码判断更方便)
import requests

response= requests.get("http://www.baidu.com")

if response.status_code == requests.codes.ok:

    print("访问成功")
requests高级用法
文件上传
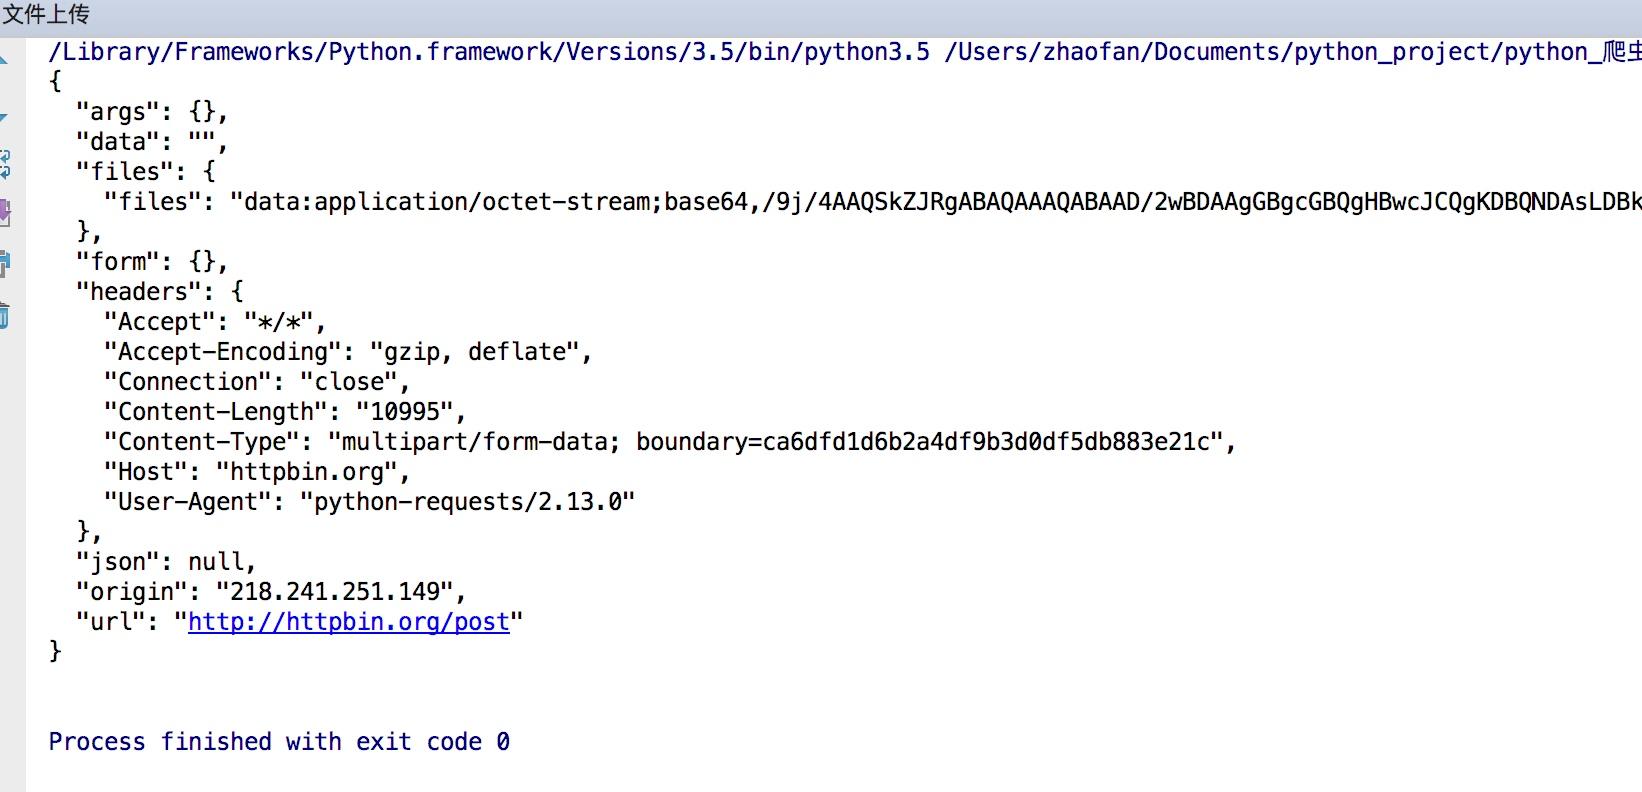
实现方法和其他参数类似,也是构造一个字典然后通过files参数传递
import requests

files= {"files":open("git.jpeg","rb")}

response = requests.post("http://httpbin.org/post",files=files)

print(response.text)
结果如下:
获取cookie
import requests

response = requests.get("http://www.baidu.com")

print(response.cookies)

for key,value in response.cookies.items():

    print(key+"="+value)
会话维持
cookie的一个作用就是可以用于模拟登陆,做会话维持
import requests

s = requests.Session()

s.get("http://httpbin.org/cookies/set/number/123456")

response = s.get("http://httpbin.org/cookies")

print(response.text)
这是正确的写法,而下面的写法则是错误的
import requests

requests.get("http://httpbin.org/cookies/set/number/123456")

response = requests.get("http://httpbin.org/cookies")

print(response.text)
因为这种方式是两次requests请求之间是独立的,而第一次则是通过创建一个session对象,两次请求都通过这个对象访问
证书验证
现在的很多网站都是https的方式访问,所以这个时候就涉及到证书的问题
import requests

response = requests.get("https:/www.12306.cn")

print(response.status_code)
默认的12306网站的证书是不合法的,这样就会提示如下错误

为了避免这种情况的发生可以通过verify=False
但是这样是可以访问到页面,但是会提示:
InsecureRequestWarning: Unverified HTTPS request is being made. Adding certificate verification is strongly advised. See: https://urllib3.readthedocs.io/en/latest/advanced-usage.html#ssl-warnings InsecureRequestWarning)
解决方法为:
import requests

from requests.packages import urllib3

urllib3.disable_warnings()

response = requests.get("https://www.12306.cn",verify=False)

print(response.status_code)
这样就不会提示警告信息,当然也可以通过cert参数放入证书路径
代理设置
import requests

proxies= {

    "http":"http://127.0.0.1:9999",

    "https":"http://127.0.0.1:8888"

}

response  = requests.get("https://www.baidu.com",proxies=proxies)

print(response.text)
如果代理需要设置账户名和密码,只需要将字典更改为如下:
proxies = {
"http":"http://user:password@127.0.0.1:9999"
}
如果你的代理是通过sokces这种方式则需要pip install "requests[socks]"
proxies= {
"http":"socks5://127.0.0.1:9999",
"https":"sockes5://127.0.0.1:8888"
}
超时设置
通过timeout参数可以设置超时的时间
认证设置
如果碰到需要认证的网站可以通过requests.auth模块实现
import requests

from requests.auth import HTTPBasicAuth

response = requests.get("http://120.27.34.24:9001/",auth=HTTPBasicAuth("user",""))

print(response.status_code)
当然这里还有一种方式
import requests

response = requests.get("http://120.27.34.24:9001/",auth=("user",""))

print(response.status_code)
异常处理
关于reqeusts的异常在这里可以看到详细内容:
http://www.python-requests.org/en/master/api/#exceptions
所有的异常都是在requests.excepitons中

从源码我们可以看出RequestException继承IOError,
HTTPError,ConnectionError,Timeout继承RequestionException
ProxyError,SSLError继承ConnectionError
ReadTimeout继承Timeout异常
这里列举了一些常用的异常继承关系,详细的可以看:
http://cn.python-requests.org/zh_CN/latest/_modules/requests/exceptions.html#RequestException
通过下面的例子进行简单的演示
import requests

from requests.exceptions import ReadTimeout,ConnectionError,RequestException

try:

    response = requests.get("http://httpbin.org/get",timout=0.1)

    print(response.status_code)

except ReadTimeout:

    print("timeout")

except ConnectionError:

    print("connection Error")

except RequestException:

    print("error")
其实最后测试可以发现,首先被捕捉的异常是timeout,当把网络断掉的haul就会捕捉到ConnectionError,如果前面异常都没有捕捉到,最后也可以通过RequestExctption捕捉到
python之爬虫(四)之 Requests库的基本使用的更多相关文章
- 【python网络爬虫】之requests相关模块
python网络爬虫的学习第一步 [python网络爬虫]之0 爬虫与反扒 [python网络爬虫]之一 简单介绍 [python网络爬虫]之二 python uillib库 [python网络爬虫] ...
- 网络爬虫入门:你的第一个爬虫项目(requests库)
0.采用requests库 虽然urllib库应用也很广泛,而且作为Python自带的库无需安装,但是大部分的现在python爬虫都应用requests库来处理复杂的http请求.requests库语 ...
- 从0开始学爬虫9之requests库的学习之环境搭建
从0开始学爬虫9之requests库的学习之环境搭建 Requests库的环境搭建 环境:python2.7.9版本 参考文档:http://2.python-requests.org/zh_CN/l ...
- python爬虫之一:requests库
目录 安装requtests requests库的连接异常 HTTP协议 HTTP协议对资源的操作 requests库的7个主要方法 request方法 get方法 网络爬虫引发的问题 robots协 ...
- PYTHON 爬虫笔记三:Requests库的基本使用
知识点一:Requests的详解及其基本使用方法 什么是requests库 Requests库是用Python编写的,基于urllib,采用Apache2 Licensed开源协议的HTTP库,相比u ...
- 芝麻HTTP: Python爬虫利器之Requests库的用法
前言 之前我们用了 urllib 库,这个作为入门的工具还是不错的,对了解一些爬虫的基本理念,掌握爬虫爬取的流程有所帮助.入门之后,我们就需要学习一些更加高级的内容和工具来方便我们的爬取.那么这一节来 ...
- python爬虫#网络请求requests库
中文文档 http://docs.python-requests.org/zh_CN/latest/user/quickstart.html requests库 虽然Python的标准库中 urlli ...
- 【python爬虫】用requests库模拟登陆人人网
说明:以前是selenium登陆取cookie的方法比较复杂,改用这个 """ 用requests库模拟登陆人人网 """ import r ...
- Python网络爬虫(四)
关于Robots协议 Robots协议也称为爬虫协议,是网络爬虫排除标准(Robots Exclusion Protocol),用来告诉爬虫和搜索引擎哪些页面可以抓取,哪些不可以抓取.因为我们如果无限 ...
- python WEB接口自动化测试之requests库详解
由于web接口自动化测试需要用到python的第三方库--requests库,运用requests库可以模拟发送http请求,再结合unittest测试框架,就能完成web接口自动化测试. 所以笔者今 ...
随机推荐
- (数据科学学习手札87)利用adjustText解决matplotlib文字标签遮挡问题
本文示例代码.数据已上传至我的Github仓库https://github.com/CNFeffery/DataScienceStudyNotes 1 简介 在进行数据可视化时我们常常需要在可视化作品 ...
- 安装 zabbix
目标在centos8下安装部署zabbix 4.4 zabbix介绍zabbix由2部分构成,zabbix server与可选组件zabbix agent.zabbix server可以通过SNMP, ...
- Spark GraphX从入门到实战
第1章 Spark GraphX 概述 1.1 什么是 Spark GraphX Spark GraphX 是一个分布式图处理框架,它是基于 Spark 平台提供对图计算和图挖掘简洁易用的而丰 ...
- Springboot打包后,获取不到resource目录下资源文件的报错
1.问题: java.io.FileNotFoundException ****目录下找不到模板文件 在使用Springboot启动类启动没有错,但是打包放到tomcat.东方通这些外部容器上报错,在 ...
- 开源一款超实用的 Dubbo 测试工具,已用半年,感觉很有feel~
不知道你是否在工作中有遇到过类似情况: dubbo接口调试复杂,需要通过telnet命令或者通过consumer调用来触发. telnet语句参数格式复杂,每次编写都要小心谨慎,一旦出错又需重来. 复 ...
- JSR133提案-修复Java内存模型
目录 1. 什么是内存模型? 2. JSR 133是关于什么的? 3. 再谈指令重排序 4.同步都做了什么? 5. final字段在旧的内存模型中为什么可以改变? 6."初始化安全" ...
- C++_继承
C++支持单继承和多继承,并提供3类继承:public.private及protected.在public继承中,每个派生类对象都是基类对象,反之基类对象却不是派生类对象.派生类成员无法直接访问基本的 ...
- 强大的IntelliJ IDEA怎么破解?
IntelliJ IDEA是非常好用的一个开发工具,怎么样才可以破解也是非常关键的问题,本文简单介绍破解方法. 第一种方式,我们进入以下网站http://idea.lanyus.com/ 这里要注意一 ...
- 黑马程序员spring data jpa 2019年第一版本
第一步首先创建一个maven工程,导入对于的pom依赖 <project xmlns="http://maven.apache.org/POM/4.0.0" xmlns:xs ...
- 搭建nginx服务器nginx-1.6.2.tar.gz
2016-06-17 09:06:52 一.实验环境 CentOS6.5 软件:nginx-1.6.2.tar.gz 二.实验步骤 1)安装nginx所依赖的软件 yum -y install p ...