Java操作数据库之JDBC增删改查
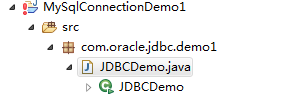
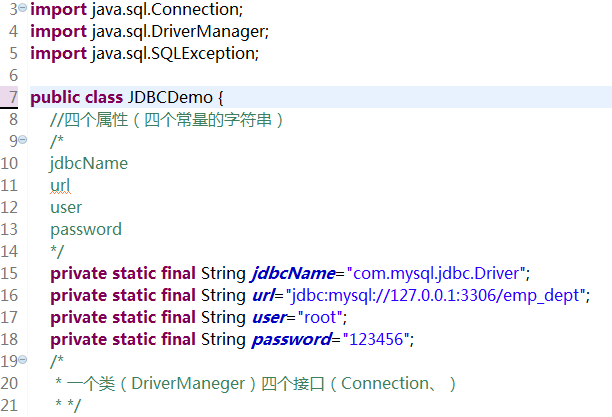
1.java连接MySql数据库
代码区域:
|
1
2
3
4
5
6
7
8
9
10
11
12
13
14
15
16
17
18
19
20
21
22
23
24
25
26
27
28
29
30
31
32
33
34
35
36
37
38
39
40
41
42
43
|
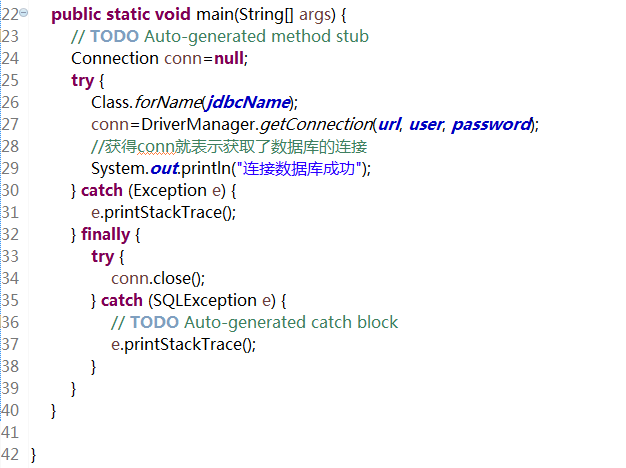
package com.oracle.jdbc.demo1;import java.sql.Connection;import java.sql.DriverManager;import java.sql.SQLException;public class JDBCDemo { //四个属性(四个常量的字符串) /* jdbcName url user password */ private static final String jdbcName="com.mysql.jdbc.Driver"; private static final String url="jdbc:mysql://127.0.0.1:3306/emp_dept"; private static final String user="root"; private static final String password="123456"; /* * 一个类(DriverManeger)四个接口(Connection、) * */ public static void main(String[] args) { // TODO Auto-generated method stub Connection conn=null; try { Class.forName(jdbcName); conn=DriverManager.getConnection(url, user, password); //获得conn就表示获取了数据库的连接 System.out.println("连接数据库成功"); } catch (Exception e) { e.printStackTrace(); } finally { try { conn.close(); } catch (SQLException e) { // TODO Auto-generated catch block e.printStackTrace(); } } }} |
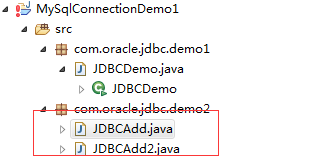
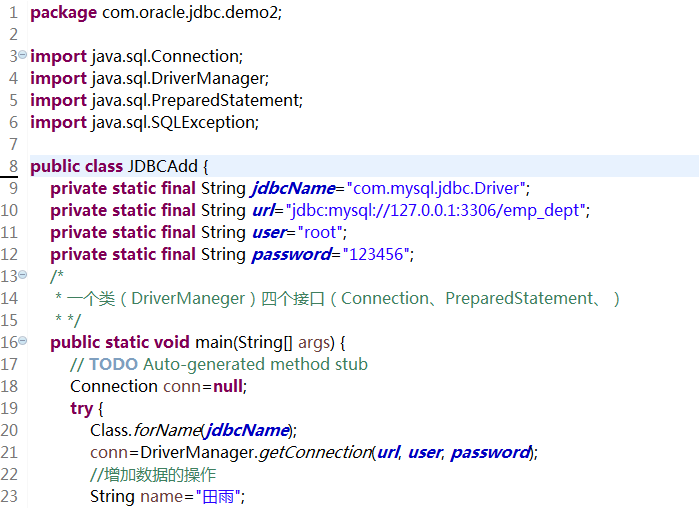
2.在java中向数据库添加数据
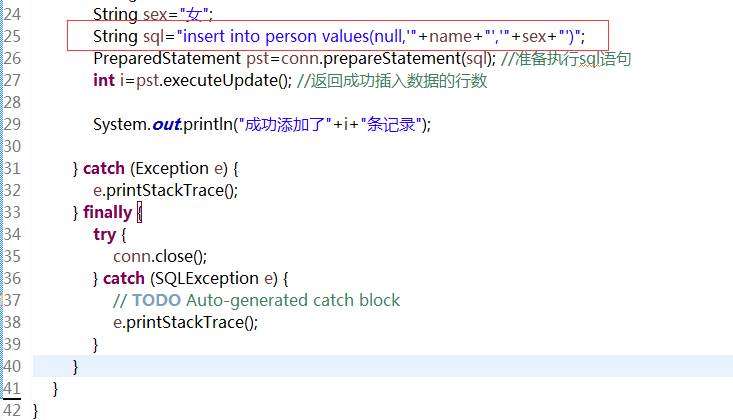
第一种方法:添加数据
代码区域:
|
1
2
3
4
5
6
7
8
9
10
11
12
13
14
15
16
17
18
19
20
21
22
23
24
25
26
27
28
29
30
31
32
33
34
35
36
37
38
39
40
41
42
|
package com.oracle.jdbc.demo2;import java.sql.Connection;import java.sql.DriverManager;import java.sql.PreparedStatement;import java.sql.SQLException;public class JDBCAdd { private static final String jdbcName="com.mysql.jdbc.Driver"; private static final String url="jdbc:mysql://127.0.0.1:3306/emp_dept"; private static final String user="root"; private static final String password="123456"; /* * 一个类(DriverManeger)四个接口(Connection、PreparedStatement、) * */ public static void main(String[] args) { // TODO Auto-generated method stub Connection conn=null; try { Class.forName(jdbcName); conn=DriverManager.getConnection(url, user, password); //增加数据的操作 String name="田雨"; String sex="女"; String sql="insert into person values(null,'"+name+"','"+sex+"')"; PreparedStatement pst=conn.prepareStatement(sql); //准备执行sql语句 int i=pst.executeUpdate(); //返回成功插入数据的行数 System.out.println("成功添加了"+i+"条记录"); } catch (Exception e) { e.printStackTrace(); } finally { try { conn.close(); } catch (SQLException e) { // TODO Auto-generated catch block e.printStackTrace(); } } }} |
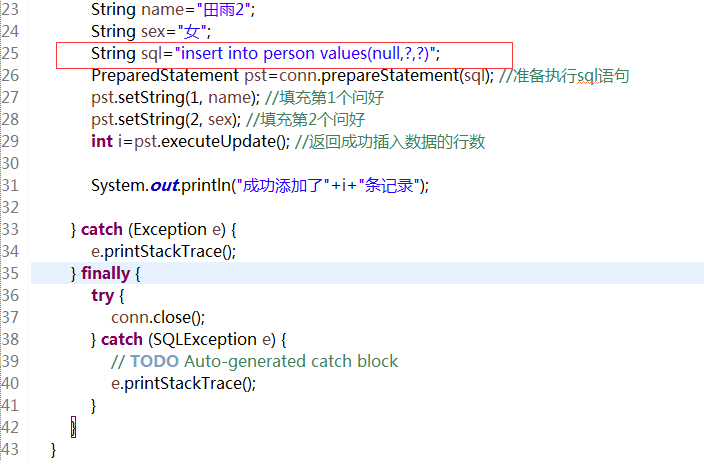
第二中方法:添加数据
代码区域:
|
1
2
3
4
5
6
7
8
9
10
11
12
13
14
15
16
17
18
19
20
21
22
23
24
25
26
27
28
29
30
31
32
33
34
35
36
37
38
39
40
41
42
43
44
45
46
|
package com.oracle.jdbc.demo2;import java.sql.Connection;import java.sql.DriverManager;import java.sql.PreparedStatement;import java.sql.SQLException;public class JDBCAdd2 { private static final String jdbcName="com.mysql.jdbc.Driver"; private static final String url="jdbc:mysql://127.0.0.1:3306/emp_dept"; private static final String user="root"; private static final String password="123456"; /* * 一个类(DriverManeger)四个接口(Connection、PreparedStatement、) * */ public static void main(String[] args) { // TODO Auto-generated method stub Connection conn=null; try { Class.forName(jdbcName); conn=DriverManager.getConnection(url, user, password); //增加数据的操作 String name="田雨2"; String sex="女"; String sql="insert into person values(null,?,?)"; PreparedStatement pst=conn.prepareStatement(sql); //准备执行sql语句 pst.setString(1, name); //填充第1个问好 pst.setString(2, sex); //填充第2个问好 int i=pst.executeUpdate(); //返回成功插入数据的行数 System.out.println("成功添加了"+i+"条记录"); } catch (Exception e) { e.printStackTrace(); } finally { try { conn.close(); } catch (SQLException e) { // TODO Auto-generated catch block e.printStackTrace(); } } }} |
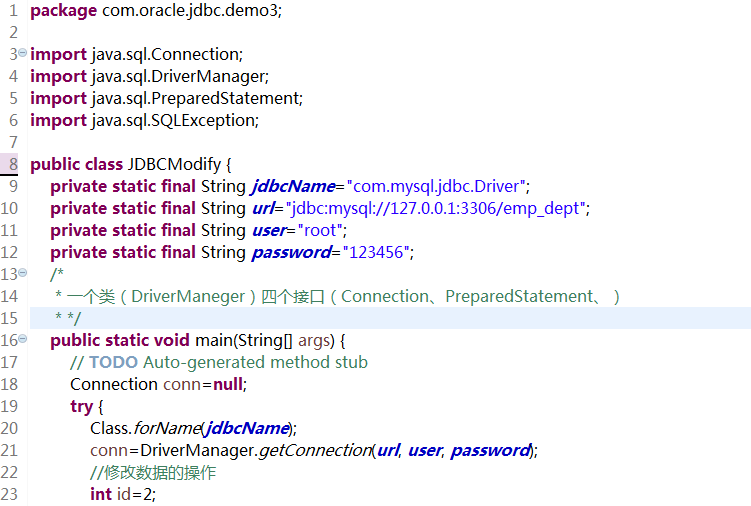
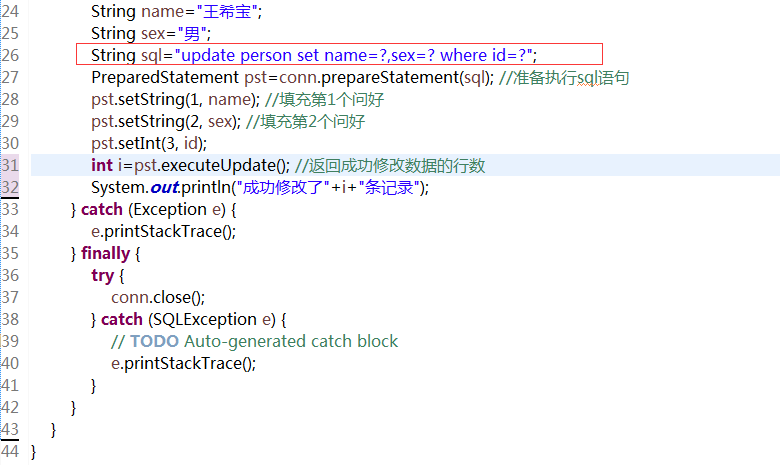
3.在java中修改数据库的内容
代码区域:
|
1
2
3
4
5
6
7
8
9
10
11
12
13
14
15
16
17
18
19
20
21
22
23
24
25
26
27
28
29
30
31
32
33
34
35
36
37
38
39
40
41
42
43
44
|
package com.oracle.jdbc.demo3;import java.sql.Connection;import java.sql.DriverManager;import java.sql.PreparedStatement;import java.sql.SQLException;public class JDBCModify { private static final String jdbcName="com.mysql.jdbc.Driver"; private static final String url="jdbc:mysql://127.0.0.1:3306/emp_dept"; private static final String user="root"; private static final String password="123456"; /* * 一个类(DriverManeger)四个接口(Connection、PreparedStatement、) * */ public static void main(String[] args) { // TODO Auto-generated method stub Connection conn=null; try { Class.forName(jdbcName); conn=DriverManager.getConnection(url, user, password); //修改数据的操作 int id=2; String name="王希宝"; String sex="男"; String sql="update person set name=?,sex=? where id=?"; PreparedStatement pst=conn.prepareStatement(sql); //准备执行sql语句 pst.setString(1, name); //填充第1个问好 pst.setString(2, sex); //填充第2个问好 pst.setInt(3, id); int i=pst.executeUpdate(); //返回成功修改数据的行数 System.out.println("成功修改了"+i+"条记录"); } catch (Exception e) { e.printStackTrace(); } finally { try { conn.close(); } catch (SQLException e) { // TODO Auto-generated catch block e.printStackTrace(); } } }} |
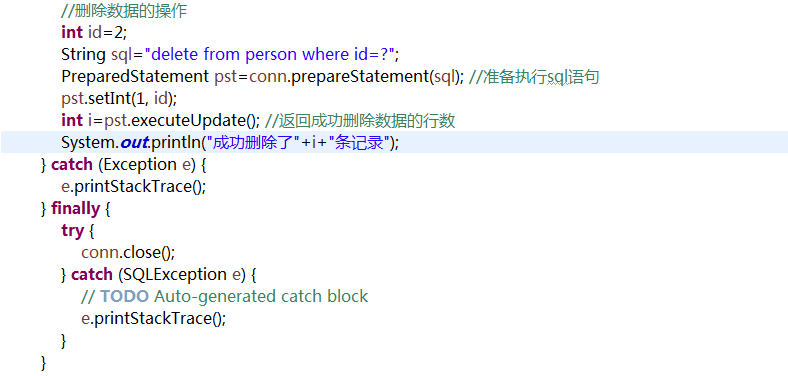
4.在java中删除数据库的内容

代码区域:
|
1
2
3
4
5
6
7
8
9
10
11
12
13
14
15
16
17
18
19
20
21
22
23
24
25
26
27
28
29
30
31
32
33
34
35
36
37
38
39
40
41
42
43
44
45
|
package com.oracle.jdbc.demo4;import java.sql.Connection;import java.sql.DriverManager;import java.sql.PreparedStatement;import java.sql.SQLException;public class JDBCDel { private static final String jdbcName="com.mysql.jdbc.Driver"; private static final String url="jdbc:mysql://127.0.0.1:3306/emp_dept"; private static final String user="root"; private static final String password="123456"; /* * 一个类(DriverManeger)四个接口(Connection、PreparedStatement、) * */ public static void main(String[] args) { // TODO Auto-generated method stub Connection conn=null; try { Class.forName(jdbcName); conn=DriverManager.getConnection(url, user, password); //删除数据的操作 int id=2; String sql="delete from person where id=?"; PreparedStatement pst=conn.prepareStatement(sql); //准备执行sql语句 pst.setInt(1, id); int i=pst.executeUpdate(); //返回成功删除数据的行数 System.out.println("成功删除了"+i+"条记录"); } catch (Exception e) { e.printStackTrace(); } finally { try { conn.close(); } catch (SQLException e) { // TODO Auto-generated catch block e.printStackTrace(); } } }} |
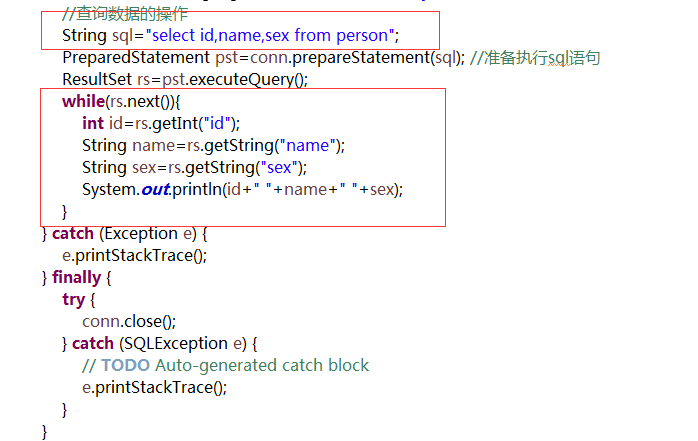
5.在java中查看数据库的内容

代码区域:
|
1
2
3
4
5
6
7
8
9
10
11
12
13
14
15
16
17
18
19
20
21
22
23
24
25
26
27
28
29
30
31
32
33
34
35
36
37
38
39
40
41
42
43
44
45
46
47
|
package com.oracle.jdbc.demo5;import java.sql.Connection;import java.sql.DriverManager;import java.sql.PreparedStatement;import java.sql.ResultSet;import java.sql.SQLException;public class JDBCFindAll { private static final String jdbcName="com.mysql.jdbc.Driver"; private static final String url="jdbc:mysql://127.0.0.1:3306/emp_dept"; private static final String user="root"; private static final String password="123456"; /* * 一个类(DriverManeger)四个接口(Connection、PreparedStatement、ResultSet、) * */ public static void main(String[] args) { // TODO Auto-generated method stub Connection conn=null; try { Class.forName(jdbcName); conn=DriverManager.getConnection(url, user, password); //查询数据的操作 String sql="select id,name,sex from person"; PreparedStatement pst=conn.prepareStatement(sql); //准备执行sql语句 ResultSet rs=pst.executeQuery(); while(rs.next()){ int id=rs.getInt("id"); String name=rs.getString("name"); String sex=rs.getString("sex"); System.out.println(id+" "+name+" "+sex); } } catch (Exception e) { e.printStackTrace(); } finally { try { conn.close(); } catch (SQLException e) { // TODO Auto-generated catch block e.printStackTrace(); } } }} |
Java操作数据库之JDBC增删改查的更多相关文章
- MyBatis操作数据库(基本增删改查)
一.准备所需工具(jar包和数据库驱动) 网上搜索下载就可以 二.新建一个Java project 1.将下载好的包导入项目中,build path 2.编写MyBatis配置文件:主要填写prope ...
- DjangoMTV模型之model层——ORM操作数据库(基本增删改查)
Django的数据库相关操作 对象关系映射(英语:(Object Relational Mapping,简称ORM),是一种程序技术,用于实现面向对象编程语言里不同类型系统的数据之间的转换.从效果上说 ...
- c#基础在winform操作数据库,实现增删改查
1.数据库操作类代码: using System; using System.Collections.Generic; using System.Linq; using System.Text; us ...
- mysql 操作数据库创建,增删改查
创建数据库 默认字符编码 默认排序CREATE DATABASE IF NOT EXISTS day11 DEFAULT CHARSET utf8 COLLATE utf8_general_ci; / ...
- java对sql server的增删改查
package Database; import java.sql.*; public class DBUtil { //这里可以设置数据库名称 private final static String ...
- Android(java)学习笔记245:ContentProvider使用(银行数据库创建和增删改查的案例)
1. Android的四大组件: (1)Activity 用户交互的UI界面 (2)Service 后台运行的服务 (3)BroadcastReceiver 广播接收者 (4)ContentPro ...
- Android(java)学习笔记189:ContentProvider使用(银行数据库创建和增删改查的案例)
1. Android的四大组件: (1)Activity 用户交互的UI界面 (2)Service 后台运行的服务 (3)BroadcastReceiver 广播接收者 (4)ContentPro ...
- 使用java对sql server进行增删改查
import java.sql.Connection; import java.sql.DriverManager; import java.sql.PreparedStatement; import ...
- Java操作数据库——使用JDBC连接数据库
Java操作数据库——使用JDBC连接数据库 摘要:本文主要学习了如何使用JDBC连接数据库. 背景 数据持久化 数据持久化就是把数据保存到可掉电式存储设备中以供之后使用.大多数情况下,特别是企业级应 ...
随机推荐
- HNUSTOJ-1521 塔防游戏
1521: 塔防游戏 时间限制: 1 Sec 内存限制: 128 MB提交: 117 解决: 38[提交][状态][讨论版] 题目描述 小明最近迷上了塔防游戏,塔防游戏的规则就是在地图上建炮塔,用 ...
- thinkphp5 隐藏前台入口文件index.php 后台入口文件admin.php不隐藏
情景:应用目录下有两个模块 admin(后台) 和 home(前台) 需求:1.访问前台(home)时隐藏index.php 即 域名/home/前台控制器/前台控制器里的方法 这样的访问模式 2. ...
- scala学习笔记(9)
一.高阶函数 --------------------------------------------------- 1.作为值的函数:在Scala中,函数是头等公民,就和数字一样. import s ...
- SpringMVC_放行静态资源
静态资源到处都是坑!明白原理才能绕过这些坑! web.xml配置servlet中四种路径的区别 在web.xml文件的配置中,四种路径编写方式优先级如下图: 其中b和d都能接收所有请求,仅仅是在优先级 ...
- android studio配置模拟器
配置模拟器在Android开发中,肯定是要写好代码看结果的,如果使用as中自带的模拟器太low,启动速度又慢,网上有很多教程推荐使用genymotion模拟器的,可是如果是新手我建议选择更好入门的第三 ...
- Nginx 编译安装工程优化
1.减小 nginx 编译后的文件大小 在编译 nginx 时,默认以 debug 模式进行,在 debug 模式下会插入很多跟踪和 assert 之类的信息. 在 nginx 源码文件解压后,找到源 ...
- 03python面向对象编程之多态和枚举6
7.多态性 对于弱类型的语言来说,变量并没有声明类型,因此同一个变量完全可以在不同的时间引用不同的对象.当同一个变量在调用同一个方法时,完全可能呈现出多种行为(具体呈现出哪种行为由该变量所引用的对象来 ...
- 去掉windows換行符^M
在命令模式下运行命令 :%s/^M//g 回车注意:里面的^M 必须是同时按 Ctrl+V+M ,表示回车.不是直接输入 ^M,也不是粘帖复制.命令完成后,用:x 保存退出后,再次用vi打开就全部被替 ...
- Python核心技术与实战——八|匿名函数
今天我们来学习一下匿名函数.在学习了上一节的自定义函数后,是时候了解一下匿名函数了.他们往往非常简短,就一行,而且有个关键字:lambda.这就是弥明函数. 一.匿名函数基础 匿名函数的基本格式是这样 ...
- C#基础知识之System.AppDomain类
进程是存在独立的内存和资源的,但是AppDomain仅仅是逻辑上的一种抽象.一个process可以存在多个AppDomain.各个AppDomain之间的数据时相互独立的.一个线程可以穿梭多个AppD ...