helloworld:一个完整的WCF案例
服务端
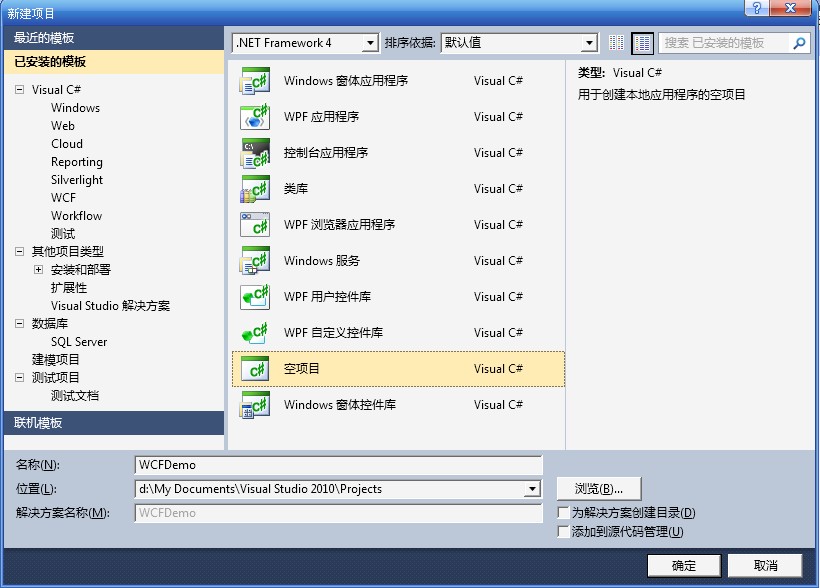
1.创建一个空的解决方案:WCFDemo:
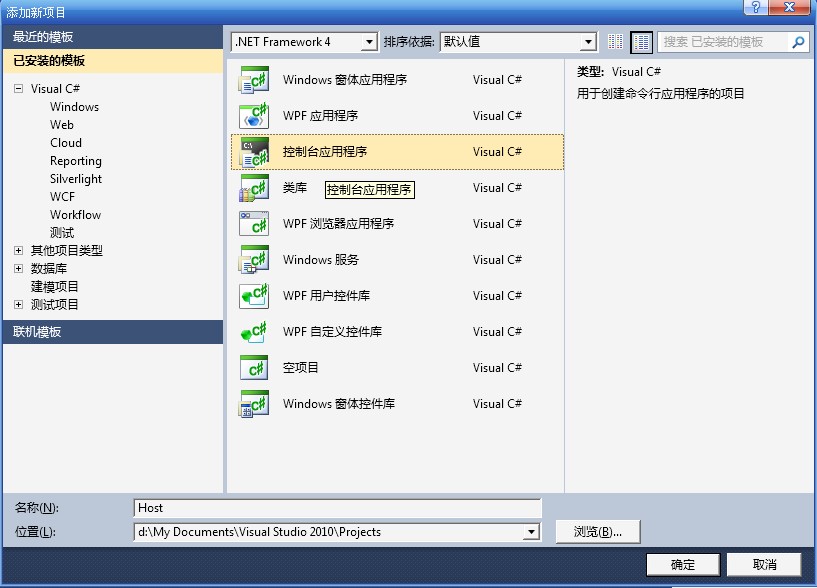
2.创建一个宿主控制台程序:Host
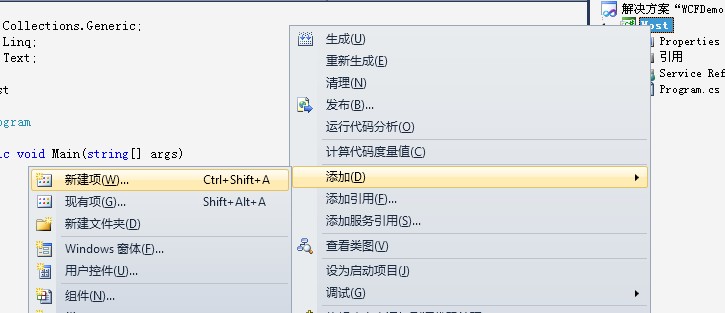
3.右击Host项目,选择“添加”--“新建项”,选择“WCF服务”创建名为“Service1.cs”的服务

如此:VS2010已经为我们创建了 IService1.cs Service1.cs app.config 三个文件,其中IService1.cs和Service1.cs 创建了同属于Host命名空间的类,我们可以修改这三个文件:
IService1.cs :
using System.ServiceModel;
namespace Host
{
// 注意: 使用“重构”菜单上的“重命名”命令,可以同时更改代码和配置文件中的接口名“IService1”。
[ServiceContract]
public interface IService1
{
[OperationContract]
string DoWork(int value);
}
}
Service1.cs:
using System.ServiceModel;
namespace Host
{
// 注意: 使用“重构”菜单上的“重命名”命令,可以同时更改代码和配置文件中的类名“Service1”。
public class Service1 : IService1
{
public string DoWork(int value)
{
int iPingfang = value * value;
return string.Format("经过平方后的值为:{0}",iPingfang );
}
}
}
App.config:
文件原则上可以不用改,但是address太长了(默认的为baseAddress="http://localhost:8732/Design_Time_Addresses/Host/Service1/")缩短为baseAddress=“http://localhost:8732/Service1/”
<?xml version="1.0" encoding="utf-8" ?>
<configuration>
<system.serviceModel>
<behaviors>
<serviceBehaviors>
<behavior name="">
<serviceMetadata httpGetEnabled="true" />
<serviceDebug includeExceptionDetailInFaults="false" />
</behavior>
</serviceBehaviors>
</behaviors>
<services>
<service name="Host.Service1">
<endpoint address="" binding="wsHttpBinding" contract="Host.IService1">
<identity>
<dns value="localhost" />
</identity>
</endpoint>
<endpoint address="mex" binding="mexHttpBinding" contract="IMetadataExchange" />
<host>
<baseAddresses>
<add baseAddress="http://localhost:8732/Service1/" />
</baseAddresses>
</host>
</service>
</services>
</system.serviceModel>
</configuration>
4.此外WCF服务必须在宿主进程中运行,我们可以修改 Program.cs 文件,创建宿主进程:
using System.ServiceModel;
namespace Host
{
class Program
{
static void Main(string[] args)
{
using (ServiceHost host = new ServiceHost(typeof(Host.Service1)))
{
host.Open();
Console.WriteLine("服务已经启动......");
Console.ReadLine();
host.Close();
}
}
}
}
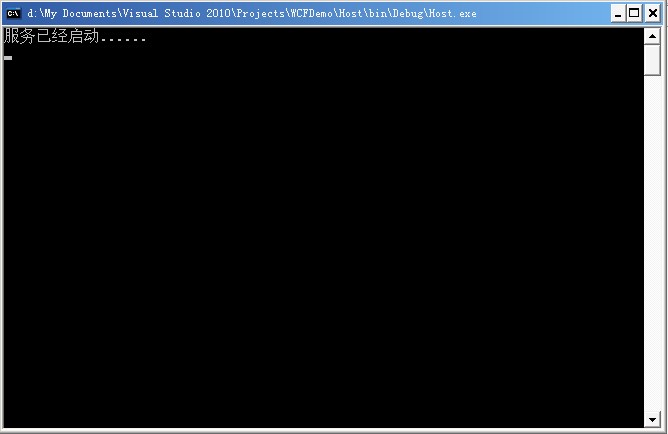
5.编译运行程序,生成Host.exe文件
客户端
1.启动刚创建的WCF服务宿主进程Host.exe
2.创建一个客户端控制台程序:Client

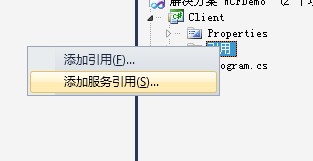
3.右击“引用”--“添加服务引用”,在“地址”的TextBox里面输入服务器的地址(就是咱们前面设置的baseaddress地址),并点击“前往”将得到目标服务器上面的Services,如下图所示:

如此,这一步将在客户端间接借助SvcUtil.exe文件创建客户端代理(命名空间为:using Client.ServiceReference1;)以及配置文件app.config,具体如下:
app.config:
<?xml version="1.0" encoding="utf-8" ?>
<configuration>
<system.serviceModel>
<bindings>
<wsHttpBinding>
<binding name="WSHttpBinding_IService1" closeTimeout="00:01:00"
openTimeout="00:01:00" receiveTimeout="00:10:00" sendTimeout="00:01:00"
bypassProxyOnLocal="false" transactionFlow="false" hostNameComparisonMode="StrongWildcard"
maxBufferPoolSize="524288" maxReceivedMessageSize="65536"
messageEncoding="Text" textEncoding="utf-8" useDefaultWebProxy="true"
allowCookies="false">
<readerQuotas maxDepth="32" maxStringContentLength="8192" maxArrayLength="16384"
maxBytesPerRead="4096" maxNameTableCharCount="16384" />
<reliableSession ordered="true" inactivityTimeout="00:10:00"
enabled="false" />
<security mode="Message">
<transport clientCredentialType="Windows" proxyCredentialType="None"
realm="" />
<message clientCredentialType="Windows" negotiateServiceCredential="true"
algorithmSuite="Default" />
</security>
</binding>
</wsHttpBinding>
</bindings>
<client>
<endpoint address="http://localhost:8732/Service1/" binding="wsHttpBinding"
bindingConfiguration="WSHttpBinding_IService1" contract="ServiceReference1.IService1"
name="WSHttpBinding_IService1">
<identity>
<dns value="localhost" />
</identity>
</endpoint>
</client>
</system.serviceModel>
</configuration>
4.修改客户端程序 Program.cs ,并使用代理访问服务契约:
using System.ServiceModel;
using Client.ServiceReference1;//引用命名空间
namespace Client
{
class Program
{
static void Main(string[] args)
{
ServiceReference1.Service1Client proxy = new Service1Client();
string str = proxy.DoWork(2);//运行服务端方法
Console.WriteLine(str);
Console.ReadLine();
}
}
}
5.编译运行程序,生成 Client.exe

helloworld:一个完整的WCF案例的更多相关文章
- 转:helloworld:一个完整的WCF案例
原文地址:http://blog.csdn.net/mane_yao/article/details/5852845 WCF的ABC: A代表Address-where(对象在哪里)B代表Bindin ...
- SpringBoot系列之三_一个完整的MVC案例
这一节让我们来做一个完整的案例. 我们将使用MyBatis作为ORM框架,并以非常简单的方式来使用MyBatis,完成一个完整的MVC案例. 此案例承接上一节,请先搭建好上一节案例. 一.数据库准备 ...
- [转载]我的WCF之旅(1):创建一个简单的WCF程序
为了使读者对基于WCF的编程模型有一个直观的映像,我将带领读者一步一步地创建一个完整的WCF应用.本应用功能虽然简单,但它涵盖了一个完整WCF应用的基本结构.对那些对WCF不是很了解的读者来说,这个例 ...
- 我的WCF之旅(1):创建一个简单的WCF程序
为了使读者对基于WCF的编程模型有一个直观的映像,我将带领读者一步一步地创建一个完整的WCF应用.本应用功能虽然简单,但它涵盖了一个完整WCF应用的基本结构.对那些对WCF不是很了解的读者来说,这个例 ...
- WCF学习——构建一个简单的WCF应用(一)
本文的WCF服务应用功能很简单,却涵盖了一个完整WCF应用的基本结构.希望本文能对那些准备开始学习WCF的初学者提供一些帮助. 在这个例子中,我们将实现一个简单的计算器和传统的分布式通信框架一样,WC ...
- 手把手搭建一个完整的javaweb项目
手把手搭建一个完整的javaweb项目 本案例使用Servlet+jsp制作,用MyEclipse和Mysql数据库进行搭建,详细介绍了搭建过程及知识点. 下载地址:http://download.c ...
- 一个完整配置例nginx.conf(生产环境中使用)
一个完整的nginx配置案例,生产环境 一个完整配置例(生产环境中使用) user nobody nobody; worker_processes 4; worker_rlimit_nofile 51 ...
- 通过一个生活中的案例场景,揭开并发包底层AQS的神秘面纱
本文导读 生活中案例场景介绍 联想到 AQS 到底是什么 AQS 的设计初衷 揭秘 AQS 底层实现 最后的总结 当你在学习某一个技能的时候,是否曾有过这样的感觉,就是同一个技能点学完了之后,过了一段 ...
- Istio技术与实践04:最佳实践之教你写一个完整的Mixer Adapter
Istio内置的部分适配器以及相应功能举例如下: circonus:微服务监控分析平台. cloudwatch:针对AWS云资源监控的工具. fluentd:开源的日志采集工具. prometheus ...
随机推荐
- Golang&Python测试thrift
接上篇,安装好之后,就开始编写IDL生成然后测试. 一.生成运行 参考 http://www.aboutyun.com/thread-8916-1-1.html 来个添加,查询. namespace ...
- Linux ls命令
ls:即列表List的意思,用来列出目录下的文件用来列出给定目录下的文件,参数为空默认列出当前目录下的文件. 用法是:ls [选项] [目录] 常用的选项有 -a, –all 列出目录下的所有文件,包 ...
- 解决scrollView中嵌套编辑框导致不能上下滑动的问题
EditText设置maxLines之后,文本行数超过maxLines,会网上折叠,上下滑动能够浏览全部文本. 若EditText外层有scrollView.在EditText上下滑动,不会像正常情况 ...
- MyBatis3用户指南
1. 范围和生命周期 SqlSessionFactoryBuilder -->SqlSessionFactory-->SqlSession-->Mapper 实例 SqlSe ...
- MYSQL中,CAST函数的使用规则
CAST函数语法规则是:Cast(字段名 as 转换的类型 ),其中类型可以为: CHAR[(N)] 字符型 DATE 日期型DATETIME 日期和时间型DECIMAL float型SIGNED i ...
- Linux:Centos7升级内核(转)
更新前,内核版本为: uname -r 3.10.0-327.10.1.el7.x86_64 升级的方法: 1.导入key rpm --import https://www.elrepo.org/RP ...
- yii2 框架中的即点即改入库
视图层 <td><span class='num' id="<?php echo $value['goods_attr_id']?>">< ...
- 转:WebClient类(温习一下)
WebClient类提供向 URI 标识的资源发送数据和从 URI 标识的资源接收数据的公共方法. 其实就相当于创建一个请求客户端.可以获取网页和各种各样的信息,包括交互. 通过MSDN来看看WebC ...
- 记一次服务器迁移 TFS客户端ip更换
服务器迁移,TFS服务端IP由原10.58.8.231更换至10.58.1.230 TFS客户端更换ip操作比较复杂,请谨慎操作,避免脱库的风险!!! 打开注册表,运行->regedit 找到H ...
- kubernetes上安装MongoDB-3.6.5集群副本集方式
一.安装部署: 想直接一步创建集群的小伙伴直接按以下步骤安装(再往后是记录自己出过的错): 1.生成docker镜像: docker build -t 144.202.127.156/library/ ...