IntelliJ IDEA 2017版 spring-boot加载jsp配置详解(详细图文实例)
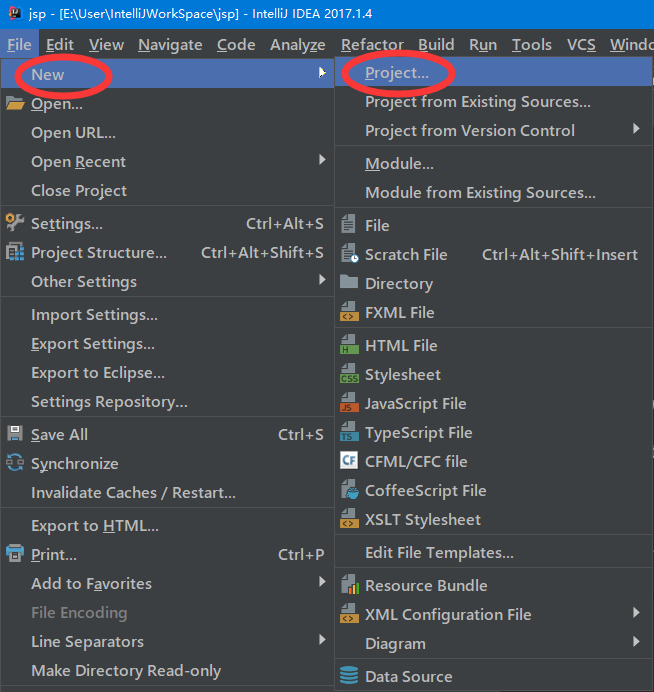
一、创建项目
(File--->New-->Project)
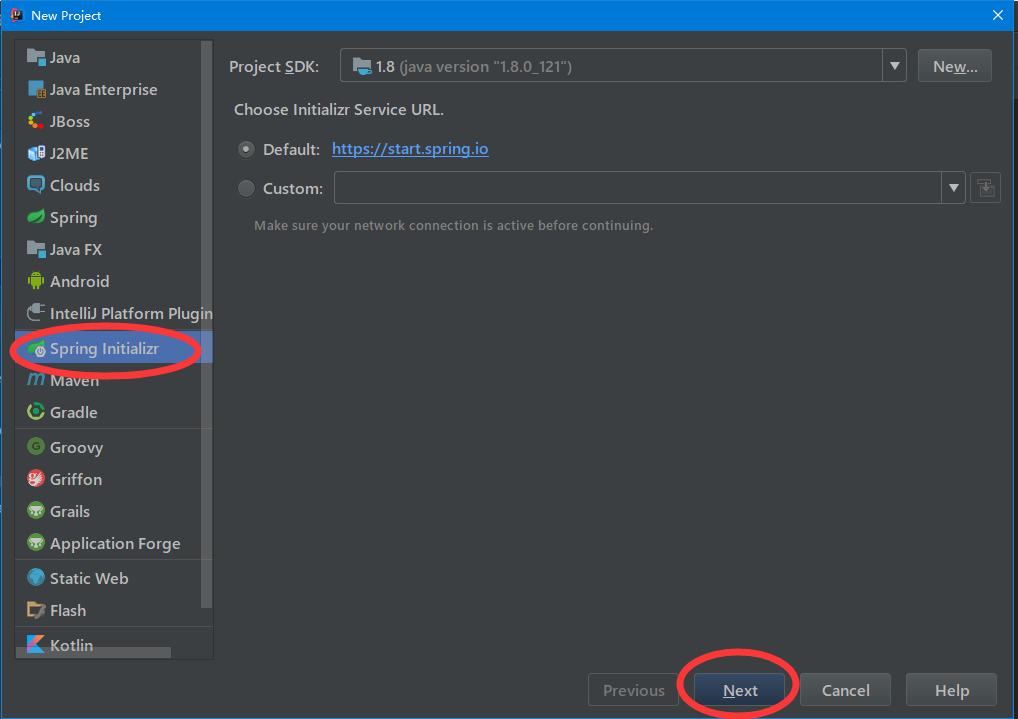
2、项目配置内容
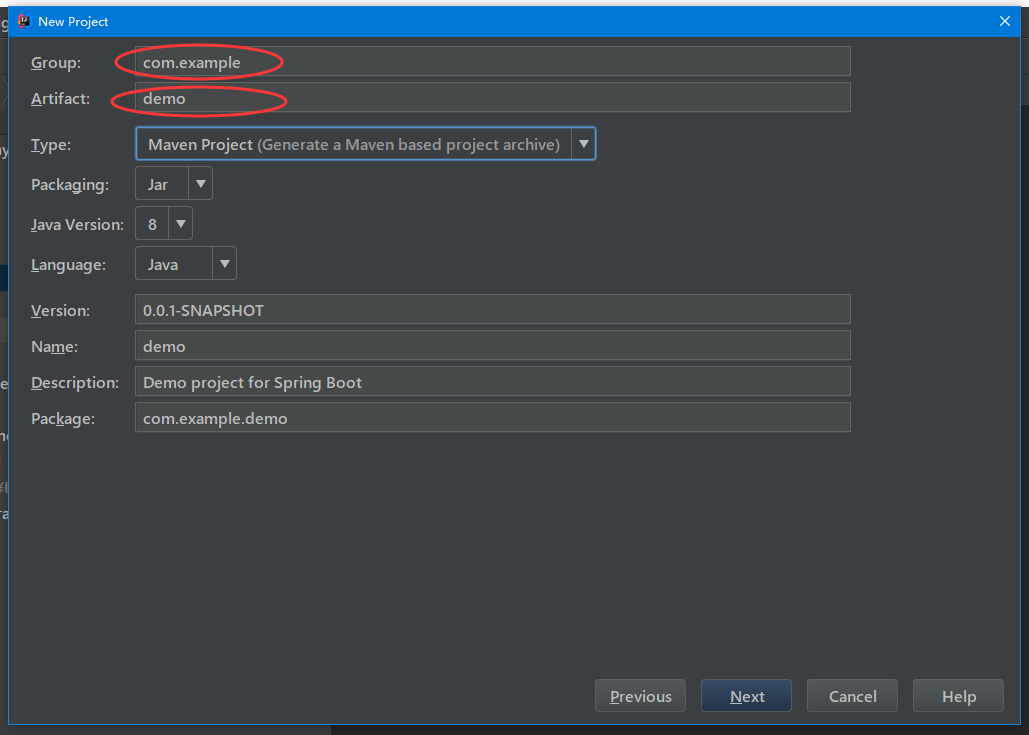
3、选择配置项目的Group包名,Artifact项目名称
4、选择项目类型为web类型

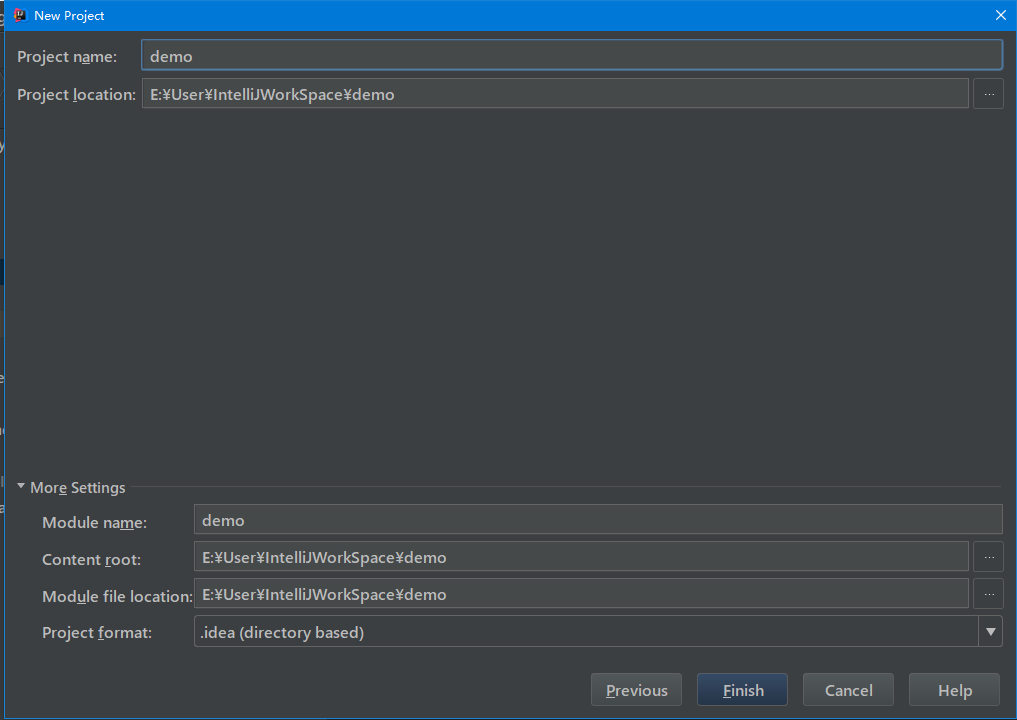
5、创建成功,点击最后一步finish
二、代码编写
1、搭建pom.xml文件
 <?xml version="1.0" encoding="UTF-8"?>

 <project xmlns="http://maven.apache.org/POM/4.0.0" xmlns:xsi="http://www.w3.org/2001/XMLSchema-instance"

          xsi:schemaLocation="http://maven.apache.org/POM/4.0.0 http://maven.apache.org/xsd/maven-4.0.0.xsd">

     <modelVersion>4.0.0</modelVersion>

     <groupId>com.springboot</groupId>

     <artifactId>jsp</artifactId>

     <version>0.0.1-SNAPSHOT</version>

     <packaging>jar</packaging>

     <name>jsp</name>

     <url>http://maven.apache.org</url>

     <description>Demo project for Spring Boot</description>

     <parent>

         <groupId>org.springframework.boot</groupId>

         <artifactId>spring-boot-starter-parent</artifactId>

         <version>1.5.9.RELEASE</version>

         <relativePath/> <!-- lookup parent from repository -->

     </parent>

     <properties>

         <project.build.sourceEncoding>UTF-8</project.build.sourceEncoding>

         <project.reporting.outputEncoding>UTF-8</project.reporting.outputEncoding>

         <java.version>1.8</java.version>

     </properties>

     <dependencies>

         <dependency>

             <groupId>org.springframework.boot</groupId>

             <artifactId>spring-boot-starter-web</artifactId>

         </dependency>

         <dependency>

             <groupId>org.springframework.boot</groupId>

             <artifactId>spring-boot-starter-test</artifactId>

             <scope>test</scope>

         </dependency>

         <!-- servlet 依赖. -->

         <dependency>

             <groupId>javax.servlet</groupId>

             <artifactId>javax.servlet-api</artifactId>

             <scope>provided</scope>

         </dependency>

         <!--

                 JSTL(JSP Standard Tag Library,JSP标准标签库)是一个不断完善的开放源代码的JSP标签库,是由apache的jakarta小组来维护的。

          -->

         <dependency>

             <groupId>javax.servlet</groupId>

             <artifactId>jstl</artifactId>

         </dependency>

         <!-- tomcat 的支持.-->

         <dependency>

             <groupId>org.springframework.boot</groupId>

             <artifactId>spring-boot-starter-tomcat</artifactId>

             <scope>provided</scope>

         </dependency>

         <dependency>

             <groupId>org.apache.tomcat.embed</groupId>

             <artifactId>tomcat-embed-jasper</artifactId>

             <!--<scope>provided</scope>-->

         </dependency>

         <dependency>

             <groupId>org.eclipse.jdt.core.compiler</groupId>

             <artifactId>ecj</artifactId>

             <version>4.6.1</version>

             <scope>provided</scope>

         </dependency>

     </dependencies>

     <build>

         <plugins>

             <plugin>

                 <groupId>org.springframework.boot</groupId>

                 <artifactId>spring-boot-maven-plugin</artifactId>

             </plugin>

         </plugins>

     </build>

 </project>
2、application配置
 #页面默认前缀目录

 spring.mvc.view.prefix=/WEB-INF/jsp/

 # 响应默认后缀

 spring.mvc.view.suffix=.jsp
3、Application类编辑
 package com.springboot;

 import org.springframework.boot.SpringApplication;

 import org.springframework.boot.autoconfigure.SpringBootApplication;

 @SpringBootApplication

 public class JspApplication {

     public static void main(String[] args) {

         SpringApplication.run(JspApplication.class, args);

     }

 }
4、Controller测试类编辑
 package com.springboot.controller;

 import org.springframework.stereotype.Controller;

 import org.springframework.web.bind.annotation.RequestMapping;

 import java.util.Map;

 /**

  * Created by liuya on 2018-01-28.

  */

 @Controller

 public class JSPController {

     @RequestMapping("/index")

     public String index(Map<String, Object> map) {

         map.put("name","Andy");

         return "mytest";

     }

 }
三、界面配置
由于IntellJ下的项目不自带webapp,所以需要手动自行添加
方法如图
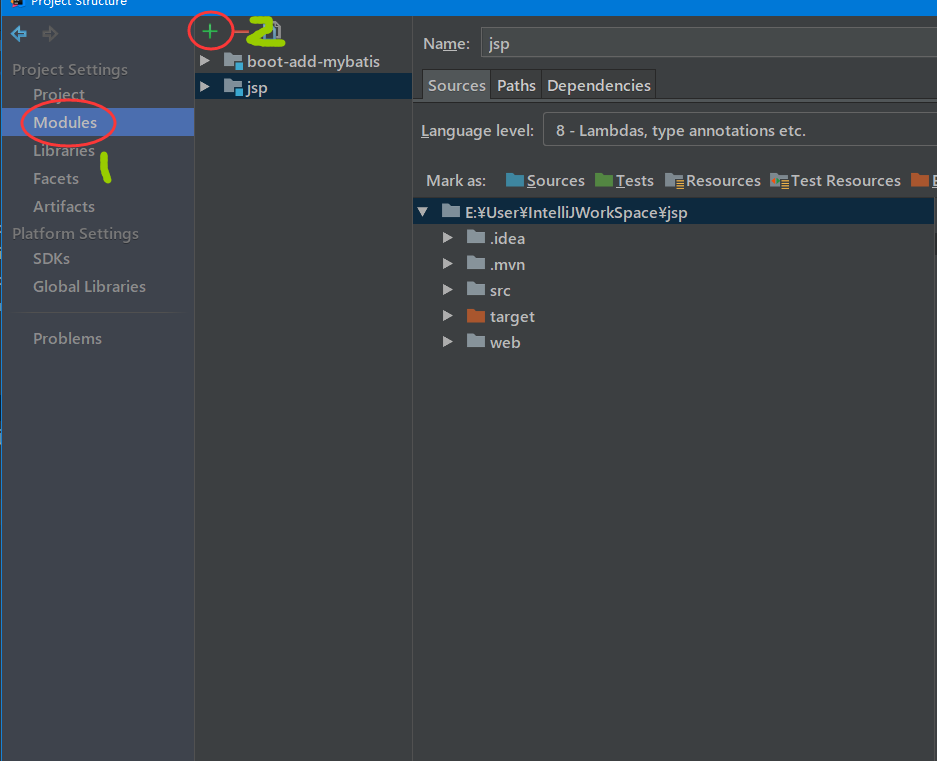
1、选中项目--->file-->Project Structure

2、如图选中module ,选中jsp,然后选择2的加号
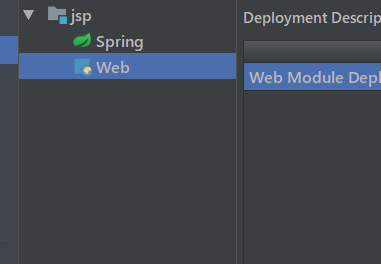
3、加号弹出框中选择web

4、就会在目录下生成一个web,然后我们对web进行配置
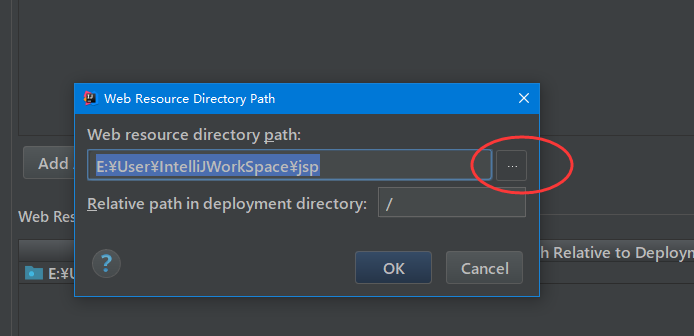
5、web配置到项目中,选中web然后找到右边的小加号

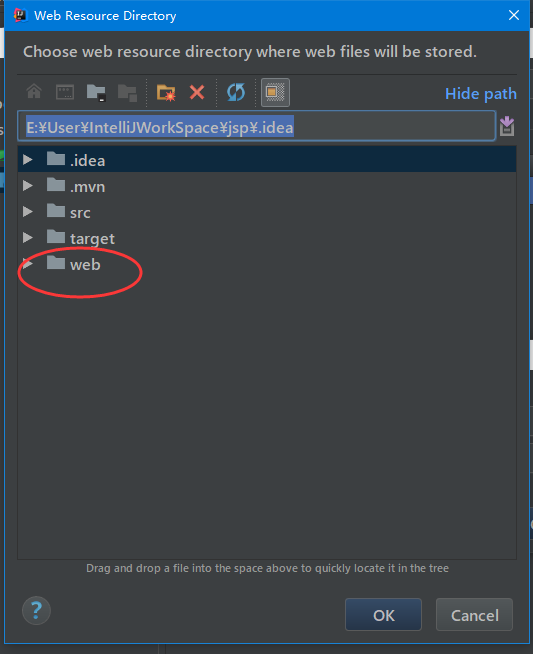
6、找到自己的项目,然后选择你自己建立的web文件夹(一般有个默认路径,但是我们不用,选择后边的省略号)
7、点击后弹出如图,然后选择自己的web,如图
8、点击ok,然后就发现文件夹变为了带点的文件夹,然后在文件夹下建立jsp子文件夹,然后在其中加入测试代码
 <%--

   Created by IntelliJ IDEA.

   User: liuya

   Date: 2018-01-28

   Time: 下午 06:12

   To change this template use File | Settings | File Templates.

 --%>

 <%@ page contentType="text/html;charset=UTF-8" language="java" %>

 <html>

 <head>

     <title>mytestdemo</title>

 </head>

 <body>

 <center>

     <h2>Hello ${name} </h2>

 </center>

 </body>

 </html>
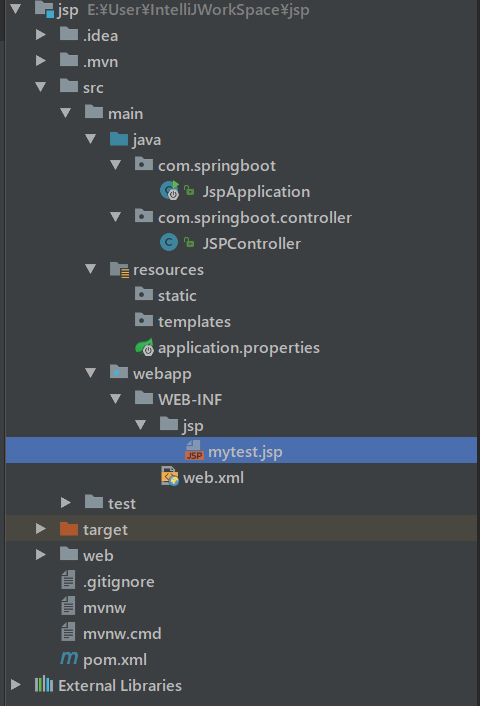
9、项目的各个目录层级
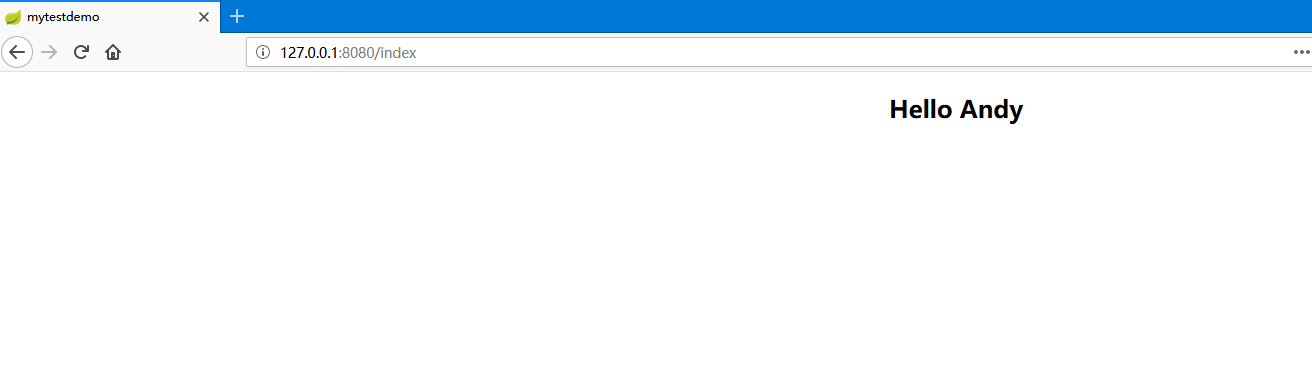
10、访问地址:http://127.0.0.1:8080/index,测试如图返回为测试成功
IntelliJ IDEA 2017版 spring-boot加载jsp配置详解(详细图文实例)的更多相关文章
- spring boot加载自定义配置
1.通过@Value 配置文件中 wechat: ssh: host: 192.0.1.1 port: 22 加载类 @Component @Data public class SftpConfig ...
- spring boot 加载jsp
1.spring boot启动类继承SpringBootServletInitializer ,并且重写configure方法 package com.springapp.mvc;import jav ...
- Spring Boot 2.0 教程 - 配置详解
Spring Boot 可以通过properties文件,YAML文件,环境变量和命令行参数进行配置.属性值可以通过,@Value注解,Environment或者ConfigurationProper ...
- web.xml的加载过程配置详解
一:web.xml加载过程 简单说一下,web.xml的加载过程.当我们启动一个WEB项目容器时,容器包括(JBoss,Tomcat等).首先会去读取web.xml配置文件里的配置,当这一步骤没有 ...
- spring boot slf4j日记记录配置详解
https://blog.csdn.net/liuweixiao520/article/details/78900779
- Spring Boot加载配置文件
问题1:Spring如何加载配置,配置文件位置? 1.默认位置: Spring Boot默认的配置文件名称为application.properties,SpringApplication将从以下位置 ...
- Spring Boot加载application.properties配置文件顺序规则
SpringApplication会从以下路径加载所有的application.properties文件: 1.file:./config/(当前目录下的config文件夹) 2.file:./(当前 ...
- spring boot 加载web容器tomcat流程源码分析
spring boot 加载web容器tomcat流程源码分析 我本地的springboot版本是2.5.1,后面的分析都是基于这个版本 <parent> <groupId>o ...
- Spring Boot源码中模块详解
Spring Boot源码中模块详解 一.源码 spring boot2.1版本源码地址:https://github.com/spring-projects/spring-boot/tree/2.1 ...
随机推荐
- Java Integer值用==和equals相等问题
来自 http://blog.csdn.net/w112736112736/article/details/77986283
- css 学习网址
http://www.divcss5.com/ http://www.divcss5.com/css3/ css3手册 http://www.divcss5.com/shouce/ css手册 ht ...
- UI5-文档-4.19-Reuse Dialogs
在此步骤中,我们将扩展重用概念,并在组件级别调用对话框. 在步骤16中,我们创建了一个对话框作为片段,以使其可跨视图或跨整个应用程序重用.但是我们将检索对话框实例和分别打开和关闭对话框实例的逻辑放置在 ...
- typscript 语法1
let isDone: boolean = false; let decLiteral: number = 0xf00d; let names: string = 'boob'; /** 使用模版字符 ...
- 快速可靠网络传输协议 KCP(转)
KCP 是一个快速可靠协议,能以比 TCP浪费10%-20%的带宽的代价,换取平均延迟降低30%-40%,且最大延迟降低三倍的传输效果.纯算法实现,并不负责底层协议(如UDP)的收发,需要使用者自己定 ...
- oracle 字符处理
oracle获取字符串长度函数length()和hengthb() lengthb(string)计算string所占的字节长度:返回字符串的长度,单位是字节 length(string)计算stri ...
- 元素的定位tag_name,link_text,class_name
tag_name 就是根据HTML的标签的名称来定位的: 案例:打开我要自学网,会有用户名和密码的输入框 例如:拿51zxw.net为例 from time import sleep #加载浏览器驱动 ...
- hibernate联合主键
@Entity @Table(name = "TABLE_NAME") @IdClass(PK.class) public class TableName implements S ...
- 第五章 二叉树(c)二叉树
- 判断Javascript对象是否为空
判断普通javascript对象是否为空(含有可枚举的属性,自有的.继承的都可以),可使用jQuery 3.2.1版的isEmptyObject()方法: isEmptyObject: functio ...