pytorch标准化后的图像数据如果反标准化保存
1.数据处理代码utils.py:
1)
# coding:utf-

import os

import torch.nn as nn

import numpy as np

import scipy.misc

import imageio

import matplotlib.pyplot as plt

import torch

def tensor2im(input_image, imtype=np.uint8):

    """"将tensor的数据类型转成numpy类型,并反归一化.

    Parameters:

        input_image (tensor) --  输入的图像tensor数组

        imtype (type)        --  转换后的numpy的数据类型

    """

    mean = [0.485,0.456,0.406] #dataLoader中设置的mean参数

    std = [0.229,0.224,0.225]  #dataLoader中设置的std参数

    if not isinstance(input_image, np.ndarray):

        if isinstance(input_image, torch.Tensor): #如果传入的图片类型为torch.Tensor,则读取其数据进行下面的处理

            image_tensor = input_image.data

        else:

            return input_image

        image_numpy = image_tensor.cpu().float().numpy()  # convert it into a numpy array

        if image_numpy.shape[] == :  # grayscale to RGB

            image_numpy = np.tile(image_numpy, (, , ))

        for i in range(len(mean)): #反标准化

            image_numpy[i] = image_numpy[i] * std[i] + mean[i]

        image_numpy = image_numpy *  #反ToTensor(),从[,]转为[,]

        image_numpy = np.transpose(image_numpy, (, , ))  # 从(channels, height, width)变为(height, width, channels)

    else:  # 如果传入的是numpy数组,则不做处理

        image_numpy = input_image

    return image_numpy.astype(imtype)

def save_img(im, path, size):

    """im可是没经过任何处理的tensor类型的数据,将数据存储到path中

    Parameters:

        im (tensor) --  输入的图像tensor数组

        path (str)  --  图像寻出的路径

        size (list/tuple)  --  图像合并的高宽(heigth, width)

    """

    scipy.misc.imsave(path, merge(im, size)) #将合并后的图保存到相应path中

def merge(images, size):

    """

    将batch size张图像合成一张大图,一行有size张图

    :param images: 输入的图像tensor数组,shape = (batch_size, channels, height, width)

    :param size: 合并的高宽(heigth, width)

    :return: 合并后的图

    """

    h, w = images[].shape[], images[].shape[]

    if (images[].shape[] in (,)): # 彩色图像

        c = images[].shape[]

        img = np.zeros((h * size[], w * size[], c))

        for idx, image in enumerate(images):

            i = idx % size[]

            j = idx // size[1]

            image = tensor2im(image)

            img[j * h:j * h + h, i * w:i * w + w, :] = image

        return img

    elif images.shape[]==: # 灰度图像

        img = np.zeros((h * size[], w * size[]))

        for idx, image in enumerate(images):

            i = idx % size[]

            j = idx // size[1]

            image = tensor2im(image)

            img[j * h:j * h + h, i * w:i * w + w] = image[:,:,]

        return img

    else:

        raise ValueError('in merge(images,size) images parameter ''must have dimensions: HxW or HxWx3 or HxWx4')
2)
后面发现torchvision.utils有一个make_grid()函数能够直接实现将(batchsize,channels,height,width)格式的tensor图像数据合并成一张图。
同时其也有一个save_img(tensor, file_path)的方法,如果你的归一化的均值和方差都设置为0.5,那么你可以很简单地使用这个方法保存图片
但是因为我这里的均值和方差是自定义的,所以要自己写一个。所以上面的代码的merge()函数就可以不用了,可以简化为:
# coding:utf-

import os, torchvision

import torch.nn as nn

import numpy as np

import imageio

import matplotlib.pyplot as plt

from PIL import Image

import torch

def tensor2im(input_image, imtype=np.uint8):

    """"将tensor的数据类型转成numpy类型,并反归一化.

    Parameters:

        input_image (tensor) --  输入的图像tensor数组

        imtype (type)        --  转换后的numpy的数据类型

    """

    mean = [0.485,0.456,0.406] #自己设置的

    std = [0.229,0.224,0.225]  #自己设置的

    if not isinstance(input_image, np.ndarray):

        if isinstance(input_image, torch.Tensor):  # get the data from a variable

            image_tensor = input_image.data

        else:

            return input_image

        image_numpy = image_tensor.cpu().float().numpy()  # convert it into a numpy array

        if image_numpy.shape[] == :  # grayscale to RGB

            image_numpy = np.tile(image_numpy, (, , ))

        for i in range(len(mean)):

            image_numpy[i] = image_numpy[i] * std[i] + mean[i]

        image_numpy = image_numpy *

        image_numpy = np.transpose(image_numpy, (, , ))  # post-processing: tranpose and scaling

    else:  # if it is a numpy array, do nothing

        image_numpy = input_image

    return image_numpy.astype(imtype)

def save_img(im, path, size):

    """im可是没经过任何处理的tensor类型的数据,将数据存储到path中

    Parameters:

        im (tensor) --  输入的图像tensor数组

        path (str)  --  图像保存的路径

        size (int)  --  一行有size张图,最好是2的倍数

    """

    im_grid = torchvision.utils.make_grid(im, size) #将batchsize的图合成一张图

    im_numpy = tensor2im(im_grid) #转成numpy类型并反归一化

    im_array = Image.fromarray(im_numpy)

    im_array.save(path)
2.数据读取代码dataLoader.py为:
# coding:utf-
from torch.utils.data import DataLoader
import utils
import torch.utils.data as data
from PIL import Image
import os
import torchvision.transforms as transforms
import torch class ListDataset(data.Dataset):
"""处理数据,返回图片数据和数据类型"""
def __init__(self, root, transform, type):
self.type_list = []
self.imgsList = []
self.transform = transform self.imgs = os.listdir(root)
for img in self.imgs:
#得到所有数据的路径
self.imgsList.append(os.path.join(root, img))
self.type_list.append(int(type)) def __getitem__(self, idx):
img_path = self.imgsList[idx]
img = Image.open(img_path)
img = self.transform(img) type_pred = self.type_list[idx] return img, type_pred def __len__(self):
return len(self.imgs) def getTransform(input_size):
transform = transforms.Compose([
transforms.Resize((input_size, input_size)),#重置大小
transforms.ToTensor(), #转为[0,1]值
transforms.Normalize((0.485,0.456,0.406), (0.229,0.224,0.225)) #标准化处理(mean, std)
])
return transform def dataloader0(input_size, batch_size, type):
transform = getTransform(input_size) dataset = ListDataset(root='./GAN/data/0', transform=transform, type=type)
loader = torch.utils.data.DataLoader(dataset, batch_size=batch_size, shuffle=True, num_workers=) return loader if __name__ == '__main__':
batch_size =
dataloader0 = dataloader0(input_size=, batch_size=batch_size, type=)
fix_images, _ = next(iter(dataloader0))
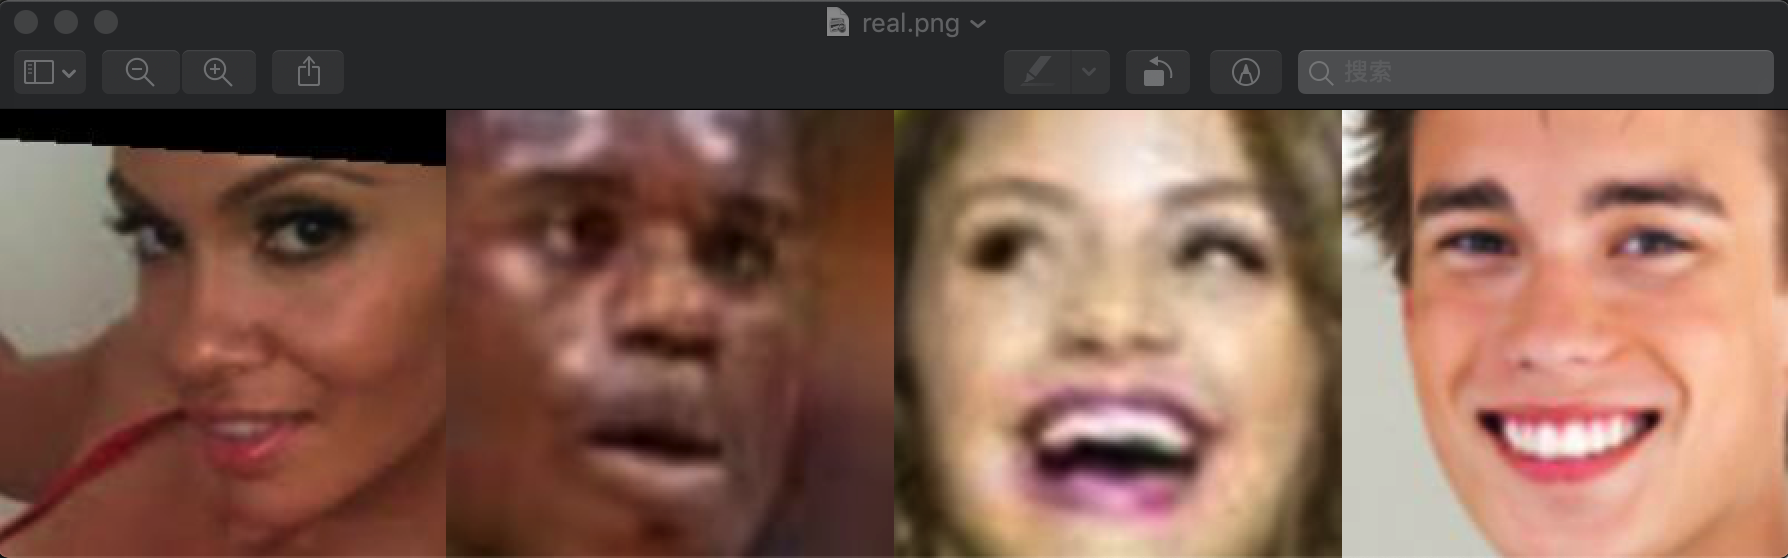
utils.save_img(fix_images, './real.png', (, batch_size))
运行该代码,保存图像为:
使用简化后的utils.py代码,dataloader.py也要相应更改为:
if __name__ == '__main__':
batch_size =
dataloader0 = dataloader0(input_size=, batch_size=batch_size, type=)
fix_images, _ = next(iter(dataloader0))
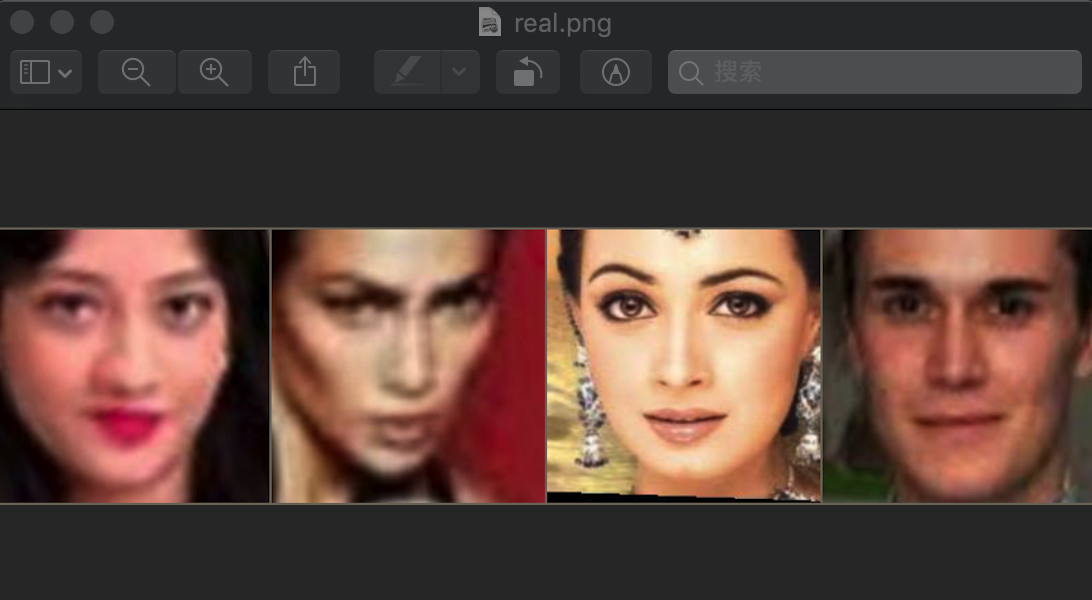
utils.save_img(fix_images, './real.png', batch_size)
保存的图片为,效果相同:
pytorch标准化后的图像数据如果反标准化保存的更多相关文章
- vc/mfc获取rgb图像数据后动态显示及保存图片的方法
vc/mfc获取rgb图像数据后动态显示及保存图片的方法 该情况可用于视频通信中获取的位图数据回放显示或显示摄像头捕获的本地图像 第一种方法 #include<vfw.h> 加载 vfw3 ...
- [转]MFC子线程更改图像数据后更新主窗口图像显示方法
程序思路是由外部的输入输出控制卡发出采集图像信号,之后相机采集图像得到图像数据指针,接收图像数据指针创建成图像最后显示到MFC对话框应用程序的Picture Control控件上,同时,为了标定相机位 ...
- pytorch:EDSR 生成训练数据的方法
Pytorch:EDSR 生成训练数据的方法 引言 Winter is coming 正文 pytorch提供的DataLoader 是用来包装你的数据的工具. 所以你要将自己的 (numpy arr ...
- PyTorch载入图片后ToTensor解读(含PIL和OpenCV读取图片对比)
概述 PyTorch在做一般的深度学习图像处理任务时,先使用dataset类和dataloader类读入图片,在读入的时候需要做transform变换,其中transform一般都需要ToTensor ...
- 使用skimage处理图像数据的9个技巧
介绍 我们非常熟悉结构化(表格)数据的预处理步骤.你可以找到缺失的值然后添补它,然后检测并处理异常值,等等这些步骤.这有助于我们建立更好.更健壮的机器学习模型.但是当我们处理图像数据时,应该如何进行预 ...
- 大型图像数据聚类匹配:ICCV2019论文解析
大型图像数据聚类匹配:ICCV2019论文解析 Jointly Aligning Millions of Images with Deep Penalised Reconstruction Conge ...
- OpenCV中IplImage图像格式与BYTE图像数据的转换
最近在将Karlsruhe Institute of Technology的Andreas Geiger发表在ACCV2010上的Efficent Large-Scale Stereo Matchin ...
- (转)原始图像数据和PDF中的图像数据
比较原始图像数据和PDF中的图像数据,结果见表1.1.表1.1中各种“解码器”的解释见本文后续的“PDF支持的图像格式”部分,“PDF中的图像数据”各栏中的数据来自开源的PdfView.如果您有兴趣查 ...
- RGB图像数据字符叠加,图像压缩(ijl库),YUV转RGB
jackyhwei 发布于 2010-01-01 12:02 点击:3218次 来自:CSDN.NET 一些非常有用的图像格式转换及使用的源代码,包括RGB图像数据字符叠加,图像压缩(ijl库),Y ...
随机推荐
- Java精通并发-wait与notify方法案例剖析与详解
在上一节中对Object的wait.notify.notifyAll方法进行了总结,这次举一个具体案例来进行巩固,题目如下: 编写一个多线程程序,实现这样的一个目标: 1.存在一个对象,该对象有一个i ...
- 利用Python3的requests和re库爬取猫眼电影笔记
以下笔记,作为参考借鉴,如有疑问可以联系我进行交流探讨! 代码思路很简单,简单概括为: 首先利用requests的get方法获取页面的html文件,之后对得到的html文件进行相对应的正则处理,然 ...
- 使用dos创建一个maven项目
创建一个maven项目既可以使用eclipse创建,也可以使用dos命令,此文介绍使用dos界面创建一个maven项目 1.win+R输入cmd,打开dos界面 2.cd到你想创建项目的目录(默认都是 ...
- 001——CC2530——终端或者路由器传输到不同多协调器上
(一)参考文献:协调器太多,cc2530的终端或则路由器选择性加入协调器的方法 (二)频道和ID一样 进入协调器和终端和路由器的两个程序,找到Tools中的f8wConfig.cfg文件.修改默认PA ...
- 洛谷 P2279 [HNOI2003]消防局的设立 题解
每日一题 day34 打卡 Analysis 这道题的正解本来是树形dp,但要设5个状态,太麻烦了.于是我就用贪心试图做出此题,没想到还真做出来了. 考虑当前深度最大的叶子结点,你肯定要有一个消防局去 ...
- DW-ODS
ODS (操作数据存储) 编辑 讨论 操作数据存储ODS(Operational Data Store)是数据仓库体系结构中的一个可选部分,也被称为贴源层.ODS具备数据仓库的部分特征和OLTP系统的 ...
- MongoDB 复制集监控
1.复制集状态查询:rs.status() 2.查看当前副本集oplog状态:rs.printReplicationInfo() 3.查看复制延迟:rs.printSlaveReplicationIn ...
- javascript之大文件分段上传、断点续传
这里只写后端的代码,基本的思想就是,前端将文件分片,然后每次访问上传接口的时候,向后端传入参数:当前为第几块文件,和分片总数 下面直接贴代码吧,一些难懂的我大部分都加上注释了: 上传文件实体类: 看得 ...
- Filebeat在windows下安装使用
一.windows下安装Filebeat 官网下载安装包 解压到指定目录,打开解压后的目录,打开filebeat.yml进行配置. 1.配置为输出到ElasticSearch ①:配置 Filebea ...
- python模块之psutil
一.模块安装 1.简介 psutil是一个跨平台库(http://pythonhosted.org/psutil/)能够轻松实现获取系统运行的进程和系统利用率(包括CPU.内存.磁盘.网络等)信息. ...