spring-boot 速成(7) 集成dubbo
github上有一个开源项目spring-boot-starter-dubbo 提供了spring-boot与dubbo的集成功能,直接拿来用即可。(记得给作者点赞,以示感谢!)
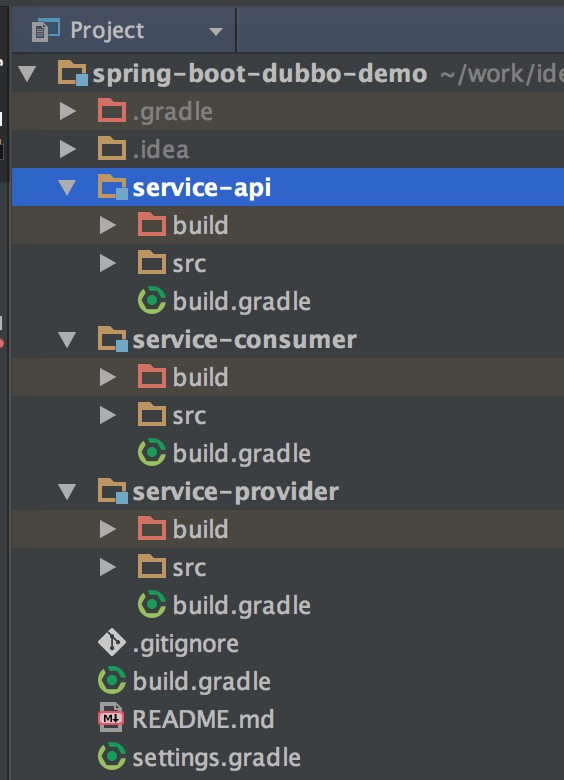
下面是使用步骤,先看下工程的大致结构:
一、引入相关的依赖项
 subprojects {

     buildscript {

         ext {

             springBootVersion = '1.5.3.RELEASE'

         }

         repositories {

             mavenLocal()

             maven {

                 url "http://maven.aliyun.com/nexus/content/groups/public/"

             }

             mavenCentral()

         }

         dependencies {

             classpath("org.springframework.boot:spring-boot-gradle-plugin:${springBootVersion}")

         }

     }

     apply plugin: "java"

     apply plugin: "maven"

     apply plugin: 'idea'

     targetCompatibility = 1.8

     sourceCompatibility = 1.8

     repositories {

         mavenLocal()

         maven {

             url "http://maven.aliyun.com/nexus/content/groups/public/"

         }

         mavenCentral()

     }

     configurations.all {

         resolutionStrategy.cacheChangingModulesFor 1, "minutes"

     }

     dependencies {

         compile('io.dubbo.springboot:spring-boot-starter-dubbo:1.0.0')

         compile('org.springframework.boot:spring-boot-starter-web:1.5.3.RELEASE')

     }

 }
这是最外层根目录下的build.gradle,关键地方就是最后dependencies引入的2个依赖项
二、service-api中定义接口
 package com.cnblogs.yjmyzz.service.api;

 /**

  * Created by 菩提树下的杨过(http:/yjmyzz.cnblogs.com) on 2017/5/21.

  */

 public interface DemoService {

     String hello(String nickName);

 }
这一步平淡无奇,没什么好说的
三、service-provider
3.1 提供接口实现
 package com.cnblogs.yjmyzz.service.impl;

 import com.alibaba.dubbo.config.annotation.Service;

 import com.cnblogs.yjmyzz.service.api.DemoService;

 import org.slf4j.Logger;

 import org.slf4j.LoggerFactory;

 /**

  * Created by 菩提树下的杨过(http:/yjmyzz.cnblogs.com) on 2017/5/21.

  */

 @Service(version = "1.0.0")

 public class DemoServiceImpl implements DemoService {

     Logger logger = LoggerFactory.getLogger(DemoServiceImpl.class);

     public String hello(String nickName) {

         logger.info(nickName + " call me!");

         return String.format("hi , %s!", nickName);

     }

 }
常规套路,不用多说
3.2 编写ServiceProvider主类
 package com.cnblogs.yjmyzz.service;

 import org.springframework.boot.SpringApplication;

 import org.springframework.boot.autoconfigure.SpringBootApplication;

 /**

  * Created by yangjunming on 2017/5/21.

  */

 @SpringBootApplication

 public class ServiceProvider {

     public static void main(String[] args) {

         SpringApplication.run(ServiceProvider.class, args);

     }

 }
仍然是spring-boot的经典套路,跟dubbo也没任何关系
3.3 application.yml配置
 server:

   port: 8001

 spring:

   dubbo:

     scan: com.cnblogs.yjmyzz.service

     application:

       name: provider

     registry:

       address: zookeeper://127.0.0.1:2181

     protocol:

       name: dubbo

       port: 20880
这里是重点,指定了dubbo服务提供方启动所需的zk注册地址,协议类型及端口,包括扫描的包。
四、service-consumer
4.1 定义一个辅助用的Proxy
 package com.cnblogs.yjmyzz.service.proxy;

 import com.alibaba.dubbo.config.annotation.Reference;

 import com.cnblogs.yjmyzz.service.api.DemoService;

 import org.springframework.stereotype.Component;

 /**

  * Created by yangjunming on 2017/5/21.

  */

 @Component

 public class ServiceProxy {

     @Reference(version = "1.0.0")

     public DemoService demoService;

 }
就是一个标准的spring组件(不管是叫proxy还是叫container都无所谓,随个人喜好),在该组件中持有对Service的引用实例,注意:如果指定了version,则该版本号要与service-provider中的版本号一致
4.2 调用服务
 package com.cnblogs.yjmyzz.service;

 import com.cnblogs.yjmyzz.service.proxy.ServiceProxy;

 import org.springframework.boot.SpringApplication;

 import org.springframework.boot.autoconfigure.SpringBootApplication;

 import org.springframework.context.ConfigurableApplicationContext;

 /**

  * Created by 菩提树下的杨过(http:/yjmyzz.cnblogs.com) on 2017/5/21.

  */

 @SpringBootApplication

 public class ServiceConsumer {

     public static void main(String[] args) {

         ConfigurableApplicationContext ctx = SpringApplication.run(ServiceConsumer.class, args);

         ServiceProxy proxy = ctx.getBean(ServiceProxy.class);

         System.out.println(proxy.demoService.hello("菩提树下的杨过"));//调用服务

     }

 }
一看即明,不多解释。
4.3 application.yml配置
 server:

   port: 8002

 spring:

   dubbo:

     scan: com.cnblogs.yjmyzz.service

     application:

       name: consumer

     registry:

       address: zookeeper://127.0.0.1:2181
ok,搞定!
上述示例源代码,已托管至github,有需要的朋友自行下载:https://github.com/yjmyzz/spring-boot-dubbo-demo
spring-boot 速成(7) 集成dubbo的更多相关文章
- Java框架Spring Boot & 服务治理框架Dubbo & 应用容器引擎Docker 实现微服务发布
微服务系统架构实践 开发语言Java 8 框架使用Spring boot 服务治理框架Dubbo 容器部署Docker 持续集成Gitlab CI 持续部署Piplin 注册中心Zookeeper 服 ...
- spring boot / cloud (三) 集成springfox-swagger2构建在线API文档
spring boot / cloud (三) 集成springfox-swagger2构建在线API文档 前言 不能同步更新API文档会有什么问题? 理想情况下,为所开发的服务编写接口文档,能提高与 ...
- Spring Boot HikariCP 一 ——集成多数据源
其实这里介绍的东西主要是参考的另外一篇文章,数据库读写分离的. 参考文章就把链接贴出来,里面有那位的代码,简单明了https://gitee.com/comven/dynamic-datasource ...
- Spring Boot系列——如何集成Log4j2
上篇<Spring Boot系列--日志配置>介绍了Spring Boot如何进行日志配置,日志系统用的是Spring Boot默认的LogBack. 事实上,除了使用默认的LogBack ...
- 【ELK】4.spring boot 2.X集成ES spring-data-ES 进行CRUD操作 完整版+kibana管理ES的index操作
spring boot 2.X集成ES 进行CRUD操作 完整版 内容包括: ============================================================ ...
- 15、Spring Boot 2.x 集成 Swagger UI
1.15.Spring Boot 2.x 集成 Swagger UI 完整源码: Spring-Boot-Demos 1.15.1 pom文件添加swagger包 <swagger2.versi ...
- 14、Spring Boot 2.x 集成 Druid 数据源
14.Spring Boot 2.x 集成 Druid 数据源 完整源码: Spring-Boot-Demos
- 12、Spring Boot 2.x 集成 MongoDB
1.12 Spring Boot 2.x 集成 MongoDB 完整源码: Spring-Boot-Demos
- 11、Spring Boot 2.x 集成 HBase
1.11 Spring Boot 2.x 集成 HBase 完整源码: Spring-Boot-Demos
- 10、Spring Boot 2.x 集成 Log4j2
1.10 Spring Boot 2.x 集成 Log4j2 完整源码: Spring-Boot-Demos
随机推荐
- CSS function--(来自网易)
/* function */ .f-cb:after,.f-cbli li:after{;overflow:hidden;content:".";} .f-cb,.f-cbli l ...
- 通过vnc访问无显卡服务器的图形环境
最近在一台没有显卡的 Power 服务器上,安装了Fedora 22,因为没有显卡,所以不能在本机启动Xserver,于是想通过vnc的方式远程访问服务器的图形环境. 在服务器上安装好xserver和 ...
- 【CodeForces】925 C.Big Secret 异或
[题目]C.Big Secret [题意]给定数组b,求重排列b数组使其前缀异或和数组a单调递增.\(n \leq 10^5,1 \leq b_i \leq 2^{60}\). [算法]异或 为了拆位 ...
- B - C Looooops POJ - 2115 (扩展欧几里得)
题目链接:https://cn.vjudge.net/contest/276376#problem/B 题目大意:for( int i= A ; i != B; i+ = c ),然后给你A,B,C ...
- Android的layout_weight和weightSum
先看一下weightSum属性的功能描述:定义weight总和的最大值.如果未指定该值,以所有子视图的layout_weight属性的累加值作为总和的最大值.把weightSum的定义搁在这里,先去看 ...
- 配置apache使用https访问
准备 yum install mod_ssl openssl 生成一个自签名证书 cd /etc/pki/CA 1.生成2048位的加密私钥 openssl genrsa -out server.ke ...
- Paint Fence
There is a fence with n posts, each post can be painted with one of the k colors.You have to paint a ...
- python enumerate用法总结【转】
enumerate()说明 enumerate()是python的内置函数 enumerate在字典上是枚举.列举的意思 对于一个可迭代的(iterable)/可遍历的对象(如列表.字符串),enum ...
- centos7和centos6的区别【转】
最近发的文章,有人咨询我,说为啥不用centos7,而用centos6,这个跟个人习惯和生产环境元素决定的.centos7和6变化的就很大的.我收集了一些区别,给大家看看. 注意:生产环境推荐cent ...
- bulk_write&Replace_one
ns=[]ns.append(ReplaceOne({'ip': ok['ip']}, ok, upsert=True))#更新插入 if len(ns) > 0: res = coll.bul ...