tensorflow 数据集对象(tf.data)的使用( tf.data.Dataset 、tf.data.TextLineDataset 、 tf.data.TFRecordDataset ) 示例
tensorflow 使用数据集(tf.data)的方法对数据集进行操纵。
1. 对 数组(内存向量) 进行操纵 :
import tensorflow as tf

input_data = [1, 2, 3, 4, 5]

#从数组生成数据集

dataset = tf.data.Dataset.from_tensor_slices(input_data)

#dataset = dataset.shuffle(3)

#dataset = dataset.repeat(10)

#dataset = dataset.batch(2)

dataset = dataset.shuffle(3).repeat(10).batch(2)

# 定义迭代器。

iterator = dataset.make_one_shot_iterator()

# get_next() 返回代表一个输入数据的张量(batch)。

x = iterator.get_next()

y = x * x

coord=tf.train.Coordinator()

with tf.Session() as sess:

    for i in range(25):

        print(sess.run(y))
2. 读取文本文件里的数据 ( tf.data.TextLineDataset )
import tensorflow as tf

# 创建文本文件作为本例的输入。

with open("./test1.txt", "w") as file:

    file.write("File1, line1.\n")

    file.write("File1, line2.\n")

    file.write("File1, line3.\n")

    file.write("File1, line4.\n")

    file.write("File1, line5.\n")

with open("./test2.txt", "w") as file:

    file.write("File2, line1.\n")

    file.write("File2, line2.\n")

    file.write("File2, line3.\n")

    file.write("File2, line4.\n")

    file.write("File2, line5.\n")

# 从文本文件创建数据集。这里可以提供多个文件。

input_files = ["./test1.txt", "./test2.txt"]

dataset = tf.data.TextLineDataset(input_files)

#dataset = dataset.shuffle(3).repeat(2).batch(2)

# 定义迭代器。

iterator = dataset.make_one_shot_iterator()

# 这里get_next()返回一个字符串类型的张量,代表文件中的一行。

x = iterator.get_next()

with tf.Session() as sess:

    for i in range(10):

        print(sess.run(x))
3. 解析TFRecord文件里的数据
准备工作:(mnist数据集的tfrecord格式的保存)
import tensorflow as tf

from tensorflow.examples.tutorials.mnist import input_data

import numpy as np

def _float32_feature(value):

    return tf.train.Feature(float_list=tf.train.FloatList(value=[value]))

def _int64_feature(value):

    return tf.train.Feature(int64_list=tf.train.Int64List(value=[value]))

def _bytes_feature(value):

    return tf.train.Feature(bytes_list=tf.train.BytesList(value=[value]))

mnist=input_data.read_data_sets('./data', dtype=tf.uint8, one_hot=True)

"""

print(mnist.train.images)

print(mnist.train.labels)

print(mnist.test.images)

print(mnist.test.labels)

"""

train_images=mnist.train.images

train_labels=mnist.train.labels

#test_images=mnist.test.images

#test_labels=mnist.test.labels

train_num=mnist.train.num_examples

#test_num=mnist.test.num_examples

pixels=train_images.shape[1]   # 784 = 28*28

file_out='./data/output.tfrecords'

writer=tf.python_io.TFRecordWriter(file_out)

for index in range(train_num):

    image_raw=train_images[index].tostring() #转换为bytes序列

    example=tf.train.Example(features=tf.train.Features(feature={

               'pixels': _int64_feature(pixels),

               'label':_int64_feature(np.argmax(train_labels[index])),

               'x':_float32_feature(0.1),

               'y':_bytes_feature(bytes('abcde', 'utf-8')),

               'image_raw':_bytes_feature(image_raw)}))

    writer.write(example.SerializeToString())

writer.close()
准备工作:(mnist数据集的tfrecord格式的读取)
import tensorflow as tf

reader=tf.TFRecordReader()

files=tf.train.match_filenames_once('./data/output.*')

#filename_queue=tf.train.string_input_producer(['./data/output.tfrecords'])

filename_queue=tf.train.string_input_producer(files)

_, serialized_example=reader.read(filename_queue)

features=tf.parse_single_example(serialized_example,

                   features={

                           'image_raw':tf.FixedLenFeature([], tf.string),

                           'pixels':tf.FixedLenFeature([], tf.int64),

                           'label':tf.FixedLenFeature([], tf.int64),

                           'x':tf.FixedLenFeature([], tf.float32),

                           'y':tf.FixedLenFeature([], tf.string)

                            })

#print(features['image_raw'])    # tensor string (bytes tensor      string tensor)

# necessary operation

# bytes_list   to   uint8_list

image=tf.decode_raw(features['image_raw'], tf.uint8)

#print(image)    # tensor uint8

x=features['x']

#y=tf.cast(features['y'], tf.string)

y=features['y']

label=tf.cast(features['label'], tf.int32)

pixels=tf.cast(features['pixels'], tf.int32)

#image.set_shape([pixels**0.5, pixels**0.5])

image.set_shape([784])

batch_size=2

image_batch, label_batch, pixels_batch, x_batch, y_batch=tf.train.batch([image, label, pixels,x,y], batch_size=batch_size, capacity=1000+3*batch_size)

coord=tf.train.Coordinator()

with tf.Session() as sess:

    sess.run(tf.local_variables_initializer())

    threads=tf.train.start_queue_runners(sess=sess, coord=coord)

    for i in range(1):

        print(sess.run([image_batch, label_batch, pixels_batch, x_batch, y_batch]))

    coord.request_stop()

    coord.join(threads)
正式工作:(mnist数据集的tfrecord格式 使用 TFRecordDataset 数据集读取)
import tensorflow as tf

files=tf.gfile.Glob('./data/output.*')

dataset = tf.data.TFRecordDataset(files)

def parser(record):

    features=tf.parse_single_example(record,

                   features={

                           'image_raw':tf.FixedLenFeature([], tf.string),

                           'pixels':tf.FixedLenFeature([], tf.int64),

                           'label':tf.FixedLenFeature([], tf.int64),

                           'x':tf.FixedLenFeature([], tf.float32),

                           'y':tf.FixedLenFeature([], tf.string)

                            })

    #print(features['image_raw'])    # tensor string (bytes tensor      string tensor)

    # necessary operation

    # bytes_list   to   uint8_list

    image=tf.decode_raw(features['image_raw'], tf.uint8)

    #print(image)    # tensor uint8

    x=features['x']

    #y=tf.cast(features['y'], tf.string)

    y=features['y']

    label=tf.cast(features['label'], tf.int32)

    pixels=tf.cast(features['pixels'], tf.int32)

    #image.set_shape([pixels**0.5, pixels**0.5])

    image.set_shape([784])

    return image, label, pixels, x, y

# map()函数表示对数据集中的每一条数据进行调用解析方法。

dataset = dataset.map(parser)

# dataset 数据集操纵

dataset = dataset.shuffle(3).repeat(2).batch(2)

# 定义遍历数据集的迭代器。

iterator = dataset.make_one_shot_iterator()

# 读取数据,可用于进一步计算

image, label, pixels, x, y = iterator.get_next()

with tf.Session() as sess:

    for i in range(1):

        print(sess.run([image, label, pixels, x, y]))

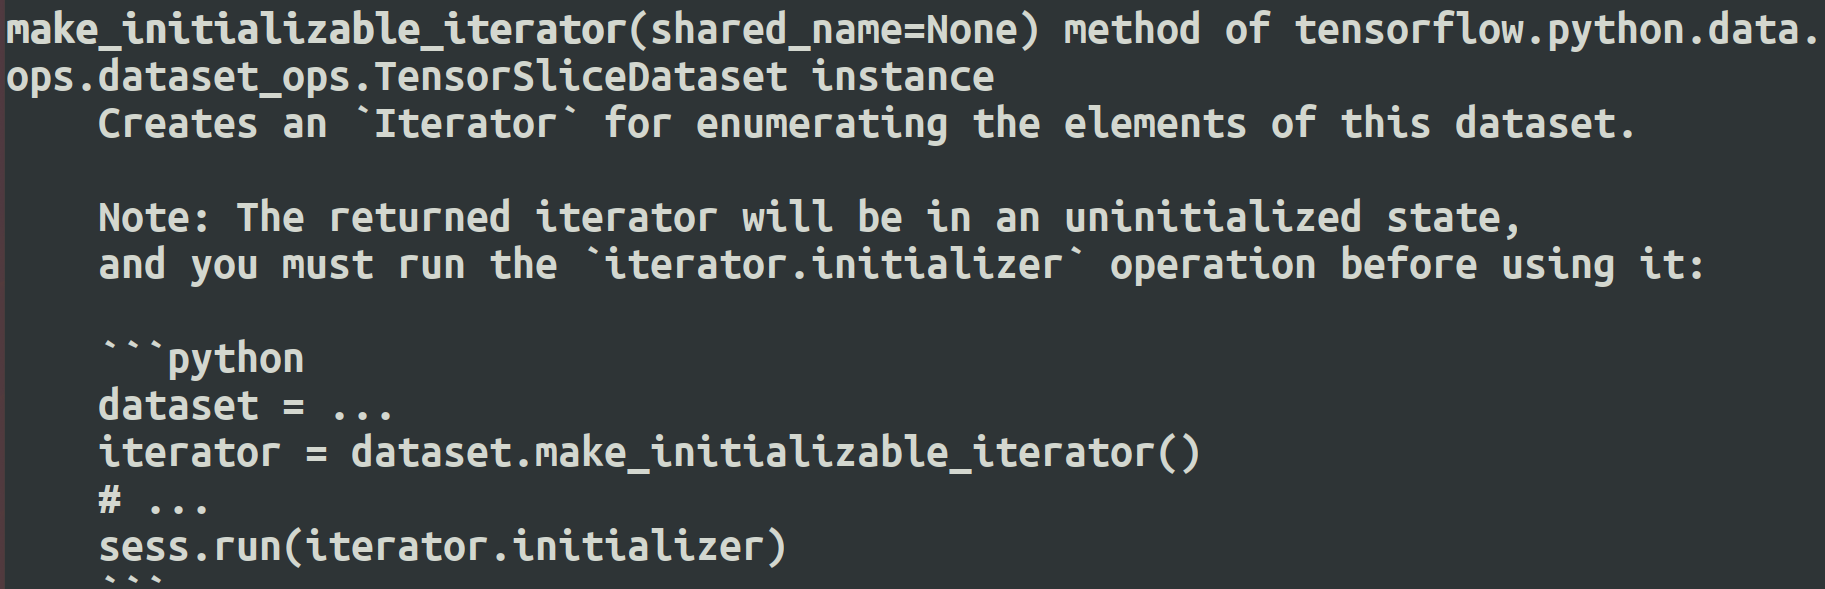
4. 使用 initializable_iterator 来动态初始化数据集
# 从TFRecord文件创建数据集,具体文件路径是一个placeholder,稍后再提供具体路径。

input_files = tf.placeholder(tf.string)

dataset = tf.data.TFRecordDataset(input_files)

dataset = dataset.map(parser)

# 定义遍历dataset的initializable_iterator。

iterator = dataset.make_initializable_iterator()

image, label = iterator.get_next()

with tf.Session() as sess:

    # 首先初始化iterator,并给出input_files的值。

    sess.run(iterator.initializer,

             feed_dict={input_files: ["output.tfrecords"]})

    # 遍历所有数据一个epoch。当遍历结束时,程序会抛出OutOfRangeError。

    while True:

        try:

            x, y = sess.run([image, label])

        except tf.errors.OutOfRangeError:

            break
详细例子:
import tensorflow as tf

files=tf.placeholder(tf.string)

dataset = tf.data.TFRecordDataset(files)

def parser(record):

    features=tf.parse_single_example(record,

                   features={

                           'image_raw':tf.FixedLenFeature([], tf.string),

                           'pixels':tf.FixedLenFeature([], tf.int64),

                           'label':tf.FixedLenFeature([], tf.int64),

                           'x':tf.FixedLenFeature([], tf.float32),

                           'y':tf.FixedLenFeature([], tf.string)

                            })

    #print(features['image_raw'])    # tensor string (bytes tensor      string tensor)

    # necessary operation

    # bytes_list   to   uint8_list

    image=tf.decode_raw(features['image_raw'], tf.uint8)

    #print(image)    # tensor uint8

    x=features['x']

    #y=tf.cast(features['y'], tf.string)

    y=features['y']

    label=tf.cast(features['label'], tf.int32)

    pixels=tf.cast(features['pixels'], tf.int32)

    #image.set_shape([pixels**0.5, pixels**0.5])

    image.set_shape([784])

    return image, label, pixels, x, y

# map()函数表示对数据集中的每一条数据进行调用解析方法。

dataset = dataset.map(parser)

# dataset 数据集操纵

dataset = dataset.shuffle(3).repeat(2).batch(2)

# 定义遍历数据集的迭代器。

#iterator = dataset.make_one_shot_iterator()

# 定义遍历dataset的initializable_iterator。

iterator = dataset.make_initializable_iterator()

# 读取数据,可用于进一步计算

image, label, pixels, x, y = iterator.get_next()

with tf.Session() as sess:

    # 首先初始化iterator,并给出input_files的值。

    sess.run(iterator.initializer,

             feed_dict={files: ["data/output.tfrecords"]})

    for i in range(1):

        print(sess.run([image, label, pixels, x, y]))
或(修改版):
import tensorflow as tf

files=tf.train.match_filenames_once('./data/output.*')

dataset = tf.data.TFRecordDataset(files)

def parser(record):

    features=tf.parse_single_example(record,

                   features={

                           'image_raw':tf.FixedLenFeature([], tf.string),

                           'pixels':tf.FixedLenFeature([], tf.int64),

                           'label':tf.FixedLenFeature([], tf.int64),

                           'x':tf.FixedLenFeature([], tf.float32),

                           'y':tf.FixedLenFeature([], tf.string)

                            })

    #print(features['image_raw'])    # tensor string (bytes tensor      string tensor)

    # necessary operation

    # bytes_list   to   uint8_list

    image=tf.decode_raw(features['image_raw'], tf.uint8)

    #print(image)    # tensor uint8

    x=features['x']

    #y=tf.cast(features['y'], tf.string)

    y=features['y']

    label=tf.cast(features['label'], tf.int32)

    pixels=tf.cast(features['pixels'], tf.int32)

    #image.set_shape([pixels**0.5, pixels**0.5])

    image.set_shape([784])

    return image, label, pixels, x, y

# map()函数表示对数据集中的每一条数据进行调用解析方法。

dataset = dataset.map(parser)

# dataset 数据集操纵

dataset = dataset.shuffle(3).repeat(2).batch(2)

# 定义遍历数据集的迭代器。

#iterator = dataset.make_one_shot_iterator()

# 定义遍历dataset的initializable_iterator。

iterator = dataset.make_initializable_iterator()

# 读取数据,可用于进一步计算

image, label, pixels, x, y = iterator.get_next()

with tf.Session() as sess:

    # 初始化变量。

    sess.run((tf.global_variables_initializer(),

              tf.local_variables_initializer()))

    # 首先初始化iterator,并给出input_files的值。

    sess.run(iterator.initializer)

    while True:

        try:

            print(sess.run([image, label, pixels, x, y]))

        except tf.errors.OutOfRangeError:

            break
==========================================================
注:
迭代器:
make_one_shot_iterator 方法不能重复初始化,即one-shot(一次性),但是可以自动初始化。

make_initializable_iterator 必须手动初始化,但是可以重复初始化。
tensorflow 数据集对象(tf.data)的使用( tf.data.Dataset 、tf.data.TextLineDataset 、 tf.data.TFRecordDataset ) 示例的更多相关文章
- TensorFlow数据集(二)——数据集的高层操作
参考书 <TensorFlow:实战Google深度学习框架>(第2版) 一个使用数据集进行训练和测试的完整例子. #!/usr/bin/env python # -*- coding: ...
- TensorFlow数据集(一)——数据集的基本使用方法
参考书 <TensorFlow:实战Google深度学习框架>(第2版) 例子:从一个张量创建一个数据集,遍历这个数据集,并对每个输入输出y = x^2 的值. #!/usr/bin/en ...
- DataSnap数据库连接池,数据集对象池的应用
传统的应用服务器的开发往往是在ServerMethods单元中拖放一堆TDataSet, TDaTaSetProvider控件,这是一个最简单粗暴的开发方向,往往会造成服务端程序文件的臃肿.服务运行期 ...
- SSAS系列——【03】多维数据(多维数据集对象)
原文:SSAS系列--[03]多维数据(多维数据集对象) 1.什么是Cube? 简单 Cube 对象由基本信息.维度和度量值组组成. 基本信息包括多维数据集的名称.多维数据集的默认度量值.数据源和存储 ...
- Tensorflow学习教程------读取数据、建立网络、训练模型,小巧而完整的代码示例
紧接上篇Tensorflow学习教程------tfrecords数据格式生成与读取,本篇将数据读取.建立网络以及模型训练整理成一个小样例,完整代码如下. #coding:utf-8 import t ...
- Failed to collect certificates from /data/app/vmdl201020547.tmp/base.apk: META-INF/CERT.SF indicates /data/app/vmdl201020547.tmp/base.apk is signed using APK Signature Scheme v2, but no such signature
错误信息: 12-26 11:08:44.809 1501-1535/system_process E/PackageInstaller: Commit of session 201020547 fa ...
- devmapper: Thin Pool has 162394 free data blocks which is less than minimum required 163840 free data blocks. Create more free space in thin pool or use dm.min_free_space option to change behavior
问题: 制作镜像的时候报错 devmapper: Thin Pool has 162394 free data blocks which is less than minimum required 1 ...
- devmapper: Thin Pool has 162394 free data blocks which is less than minimum required 163840 free data blocks
问题: 制作镜像的时候报错 devmapper: Thin Pool has 162394 free data blocks which is less than minimum required 1 ...
- Parameter 0 of method redisTemplate in org.springframework.boot.autoconfigure.data.redis.RedisAutoConfiguration required a bean of type 'org.springframework.data.redis.connection.RedisConnectionFactor
Error starting ApplicationContext. To display the conditions report re-run your application with 'de ...
- 现代英特尔® 架构上的 TensorFlow* 优化——正如去年参加Intel AI会议一样,Intel自己提供了对接自己AI CPU优化版本的Tensorflow,下载链接见后,同时可以基于谷歌官方的tf版本直接编译生成安装包
现代英特尔® 架构上的 TensorFlow* 优化 转自:https://software.intel.com/zh-cn/articles/tensorflow-optimizations-on- ...
随机推荐
- Ubuntu 更改鼠标滚轮速度
1.安装imwheel sudo apt-get install imwheel 2.更改配置 sudo gedit ~/.imwheelrc 输入以下内容: ".*"None, ...
- JS获取表单所有内容
var formData = {}; var t = $('#Form').serializeArray(); $.each(t, function() { formData[this.name] = ...
- LocalDateTime日期格式化和指定日期的时分秒
LocalDateTime日期格式化和指定日期的时分秒 package com.example.core.mydemo.date; import java.time.LocalDate; import ...
- OpenSSL&&libcurl库的交叉编译
一.编译前环境准备 使用的内核:4.15.0-118-generic(命令:uname -r可以查看) 交叉编译器:aarch64-linux-gnu-gcc curl源码:curl-7.72.0.t ...
- arm linux 移植 e2fsprogs
背景 之前在zynq平台下处理系统分区,用到了SPI-FLASH以及EMMC. 根据ZYNQ平台的特性以及产品升级需要,规划了 SPI-FLASH放置BootLoader EMMC中分为2个区,一个F ...
- ZYNQ:使用PetaLinux打包 BOOT.BIN、image.ub
说明 个人还是比较喜欢灵活去管理各个部分的源码. 有关文章: ZYNQ:PetaLinux提取Linux和UBoot配置.源码 编译Linux 取得Linux源代码和配置后,可以在其中执行make,编 ...
- RD/RT格式
一.RD RD长度是8字节,包括Type和Value字段. Type字段:2字节 Value字段:6字节 Type字段的取值决定了Value字段的结构.每种类型的Value字段都由两个部分组成,分别是 ...
- WIN 11 共享设置
我的电脑 -> 管理 -> 用户 -> 解除 GUEST 禁用 gpedit.msc -> 计算机管理 -> 本地 -> 从网络上访问本机 -> 允许GUES ...
- 基于SSD202D芯片的最小嵌入式Linux开发板来了 仅需99元 入门嵌入式Linux必选
- 创业型公司和BAT大厂招聘要求有什么不同?
背景 很多Java初学都关心这么一个问题,Java学到什么程度以后可以找到第一份工作.大家的目标都很明确,也很实在,学习Java无非就是为了找工作,那到底我要学多少Java知识,才可以找到第一份工作呢 ...