峰哥说技术:07-SpringBoot 正好Thymeleaf视图
Spring Boot深度课程系列
峰哥说技术—2020庚子年重磅推出、战胜病毒、我们在行动

07 峰哥说技术:SpringBoot 正好Thymeleaf视图
Spring Boot视图介绍
虽然现在慢慢在流行前后端分离开发,但是还是有一些公司在做前后端不分的开发,而在前后端不分的开发中,我们就会需要后端页面模板(实际上,即使前后端分离,也会在一些场景下需要使用页面模板,例如邮件发送模板)。
早期的 Spring Boot 中还支持使用 Velocity 作为页面模板,现在的 Spring Boot 中已经不支持 Velocity 了,页面模板主要支持 Thymeleaf 和 Freemarker ,其中Thymeleaf是官方推荐的视图技术。当然,作为 Java 最基本的页面模板 Jsp ,Spring Boot 也是支持的,只是使用比较麻烦。下面针对这三种模板技术进行介绍。
整合Thymeleaf模板
Thymeleaf 是新一代 Java 模板引擎,它类似于 Velocity、FreeMarker 等传统 Java 模板引擎,但是与传统 Java 模板引擎不同的是,Thymeleaf 支持 HTML 原型。
它既可以让前端工程师在浏览器中直接打开查看样式,也可以让后端工程师结合真实数据查看显示效果,同时,SpringBoot 提供了 Thymeleaf 自动化配置解决方案,因此在 SpringBoot 中使用 Thymeleaf 非常方便。
事实上, Thymeleaf 除了展示基本的 HTML ,进行页面渲染之外,也可以作为一个 HTML 片段进行渲染,例如我们在做邮件发送时,可以使用 Thymeleaf 作为邮件发送模板。
另外,由于 Thymeleaf 模板后缀为 .html,可以直接被浏览器打开,因此,预览时非常方便。
实施步骤
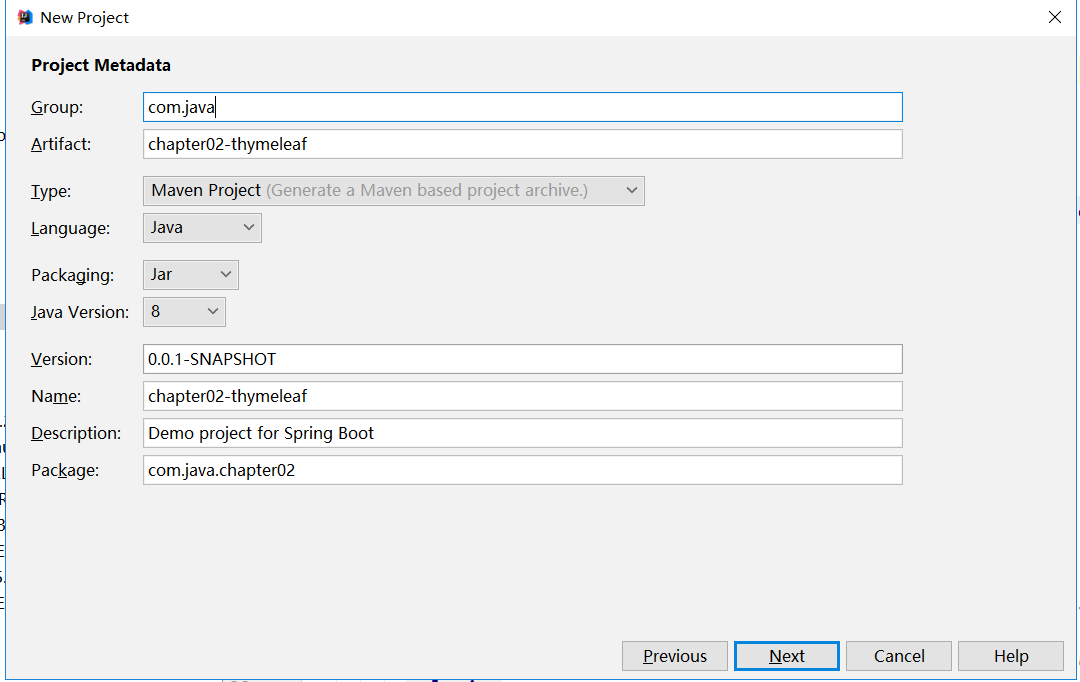
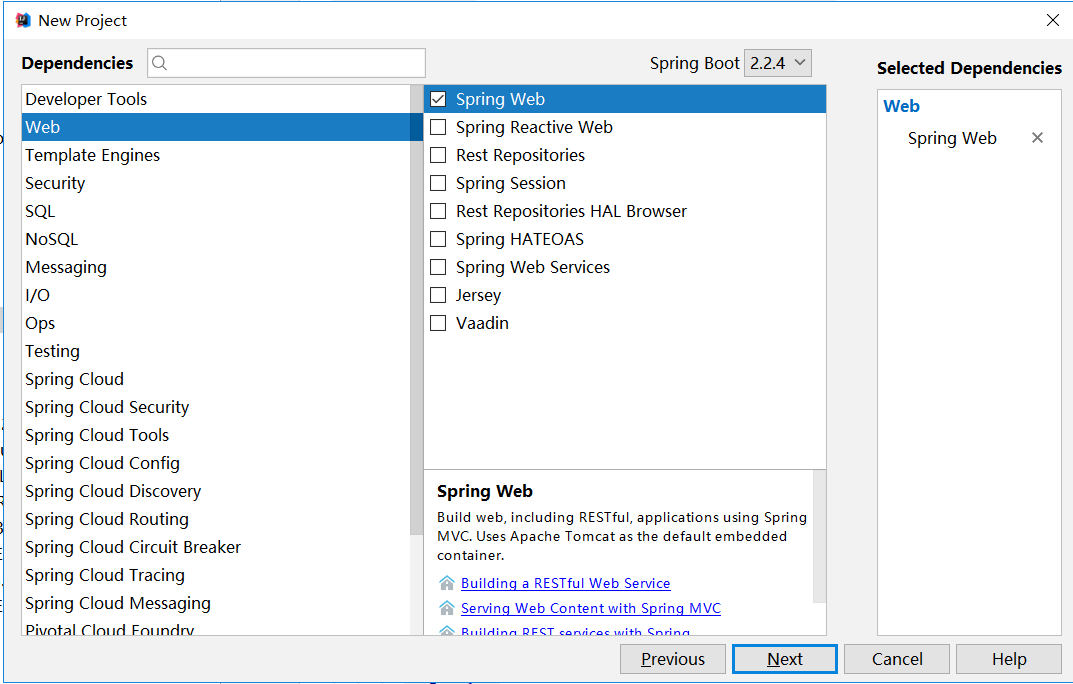
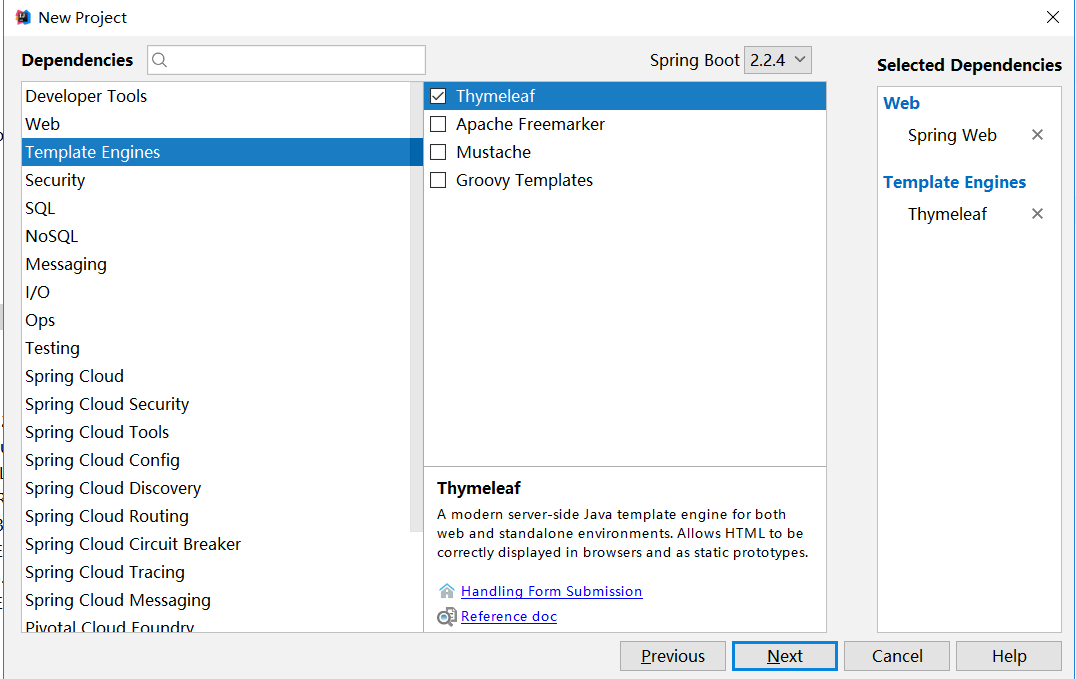
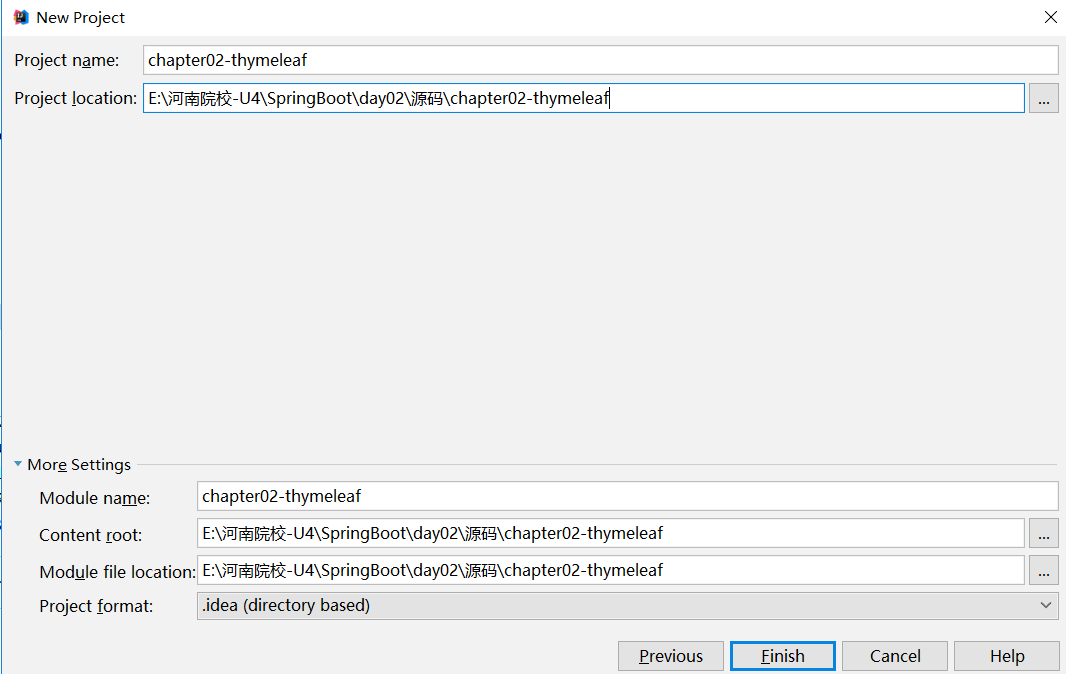
1)创建工程,添加Thymeleaf依赖和web依赖。如下图所示:
pom.xml中添加依赖如下:
|
<dependency> |
由于我们对于启动器的使用经验不足,带着大家看看thymeleaf启动器,然后通过该启动器的学习,教会大家遇到问题的时候随机应变,从而灵活的掌握怎么对默认的属性进行配置,达到举一反三的效果。那么我们可以打开ThymeleafProperties类,查看源代码,然后基于源代码进行分析。
|
@ConfigurationProperties( public ThymeleafProperties() { //剩余省略... } |
首先通过 @ConfigurationProperties 注解,将 application.properties 前为 spring.thymeleaf 的配置和这个类中的属性绑定。前三个 static 变量定义了默认的编码格式、视图解析器的前缀、后缀等。从前三行配置中,可以看出来,Thymeleaf 模板的默认位置在 resources/templates 目录下,默认的后缀是 html 。这些配置,如果开发者不自己提供,则使用 默认的,如果自己提供,则在 application.properties 中以 spring.thymeleaf开始相关的配置。
2)创建包entity,编写Book类
|
package com.java.chapter02.entity; public class Book { public Book() { public Book(Integer id, String name, String author) { //getter和setter省略... |
3)编写IndexController
|
package com.java.chapter02.controller; import com.java.chapter02.entity.Book; import java.util.ArrayList; @Controller list.add(book1); |
4)在templates文件夹下面,编写页面index.html,实现隔行变色。
|
<!DOCTYPE html > |
这里要注意的是要导入thymeleaf命名空间,里面的循环标签和jsp的JSTL有所区别,请大家注意。在 Thymeleaf 中,通过 th:each 指令来遍历一个集合,数据的展示通过 th:text 指令来实现。index是迭代本行的索引。Th:class是设置样式,index.odd是索引是偶数行的。如果是偶数行那么就使用样式odd。Book就是每次迭代的变量。其他的和jsp中用法差不多,不多解释。
5)测试
在浏览器中输入:http://localhost:8080/index,最后的结果如下,大家可以测试一下。

如果大家对thymeleaf语法感兴趣,其实非常简单,还要部分没有讲解到的地方可以参考下面的链接进行学习,链接地址如下: https://www.cnblogs.com/msi-chen/p/10974009.html#_label1_9。
峰哥说技术:07-SpringBoot 正好Thymeleaf视图的更多相关文章
- 峰哥说技术:10-Spring Boot静态资源处理
Spring Boot深度课程系列 峰哥说技术—2020庚子年重磅推出.战胜病毒.我们在行动 10 峰哥说技术:Spring Boot静态资源处理 今天我们聊聊关于 Spring Boot 中关于静 ...
- 峰哥说技术:08-Spring Boot整合FreeMarker视图
Spring Boot深度课程系列 峰哥说技术—2020庚子年重磅推出.战胜病毒.我们在行动 08 峰哥说技术:Spring Boot整合FreeMarker视图 前面带着大家整合了Thymelea ...
- 峰哥说技术:09-Spring Boot整合JSP视图
Spring Boot深度课程系列 峰哥说技术—2020庚子年重磅推出.战胜病毒.我们在行动 09 峰哥说技术:Spring Boot整合JSP视图 一般来说我们很少推荐大家在Spring boot ...
- 峰哥说技术:06-手撸Spring Boot自定义启动器,解密Spring Boot自动化配置原理
Spring Boot深度课程系列 峰哥说技术—2020庚子年重磅推出.战胜病毒.我们在行动 06 峰哥说技术:手撸Spring Boot自定义启动器,解密Spring Boot自动化配置原理 Sp ...
- 峰哥说技术: 05-Spring Boot条件注解注解
Spring Boot深度课程系列 峰哥说技术—2020庚子年重磅推出.战胜病毒.我们在行动 05 峰哥说技术 Spring Boot条件注解 @EnableAutoConfiguration开启自 ...
- 峰哥说技术:04-Spring Boot基本配置
Spring Boot深度课程系列 峰哥说技术—2020庚子年重磅推出.战胜病毒.我们在行动 04 Spring Boot基本配置 1)容器的相关配置 在Spring Boot中可以内置Tomcat. ...
- 峰哥说技术:03-Spring Boot常用注解解读
Spring Boot深度课程系列 峰哥说技术—2020庚子年重磅推出.战胜病毒.我们在行动 03 Spring Boot常用注解解读 在Spring Boot中使用了大量的注解,我们下面对一些常用的 ...
- 峰哥说技术:02-第一个Spring Boot应用程序
Spring Boot深度课程系列 峰哥说技术—2020庚子年重磅推出.战胜病毒.我们在行动 02第一个Spring Boot应用程序 1.版本要求 集成开发环境:IntelliJ IDEA 2017 ...
- 峰哥说技术:01-Spring Boot介绍
Spring Boot深度课程系列 峰哥说技术—2020庚子年重磅推出.战胜病毒.我们在行动 Spring Boot介绍 A.Spring Boot是什么? 由于Spring是一个轻量级的企业开发框架 ...
随机推荐
- VS各种错误集成总结,持续更新
1.error C4996: 'GetVersionExW': 被声明为已否决 解决办法:工程 -- 配置属性 --C/ C++ -- 常规 -- SDL check 关掉 2.fatal error ...
- mac下停止和启动mysql命令
启动MySQL服务 sudo /usr/local/MYSQL/support-files/mysql.server start 停止MySQL服务 sudo /usr/local/mysql/s ...
- [LC] 47. Permutations II
Given a collection of numbers that might contain duplicates, return all possible unique permutations ...
- 吴裕雄--天生自然 HADOOP大数据分布式处理:安装配置JAVA
tar -xzvf jdk-8u151-linux-x64.tar.gz -C /usr/local/src sudo vim /etc/profile .编辑/etc/profile # JAVA ...
- Python--继承、封装、多态
大概每个人在学生时代开始就使用Java了,我们一直在学习Java,但Java中总有一些概念含混不清,不论是对初级还是高级程序员都是如此.所以,这篇文章的目的就是弄清楚这些概念. 读完本文你会对这些概念 ...
- 四剑客(sed)
一. sed sed简介: 用Linux环境中的编辑器程序来编辑文本文件.这些编辑器可以让你用简单命令或鼠标单击来轻松地处理文本文件中的文本.但有时候,你会发现需要自动处理文本文件,可你又不想动用全副 ...
- bug宝典linux篇 LC_CTYPE: cannot change locale (en_US.UTF-8): No such file or directory(转)
升级glibc库后,使用xShell登录linux,提示: Connecting to ... Connection established. To escape to local shell, pr ...
- centos 7 下iptables参数详解
在红帽RHEL7系统中firewalld服务取代了iptables服务,如果我们不想用或者不习惯使用firewalld服务,请看下面的操作: iptables命令中则常见的控制类型有: ACCEPT: ...
- python3下scrapy爬虫(第三卷:初步抓取网页内容之抓取网页里的指定数据)
上一卷中我们抓取了网页的所有内容,现在我们抓取下网页的图片名称以及连接 现在我再新建个爬虫文件,名称设置为crawler2 做爬虫的朋友应该知道,网页里的数据都是用文本或者块级标签包裹着的,scrap ...
- CF-1066B-Heaters
这题就是从1到n点进行遍历,对未加热的点找到最远的能加热到这个点的点,还是看代码讲吧 #include"bits/stdc++.h" using namespace std; co ...