JS21. 使用原生JS封装一个公共的Alert插件(HTML5: Shadow Dom)
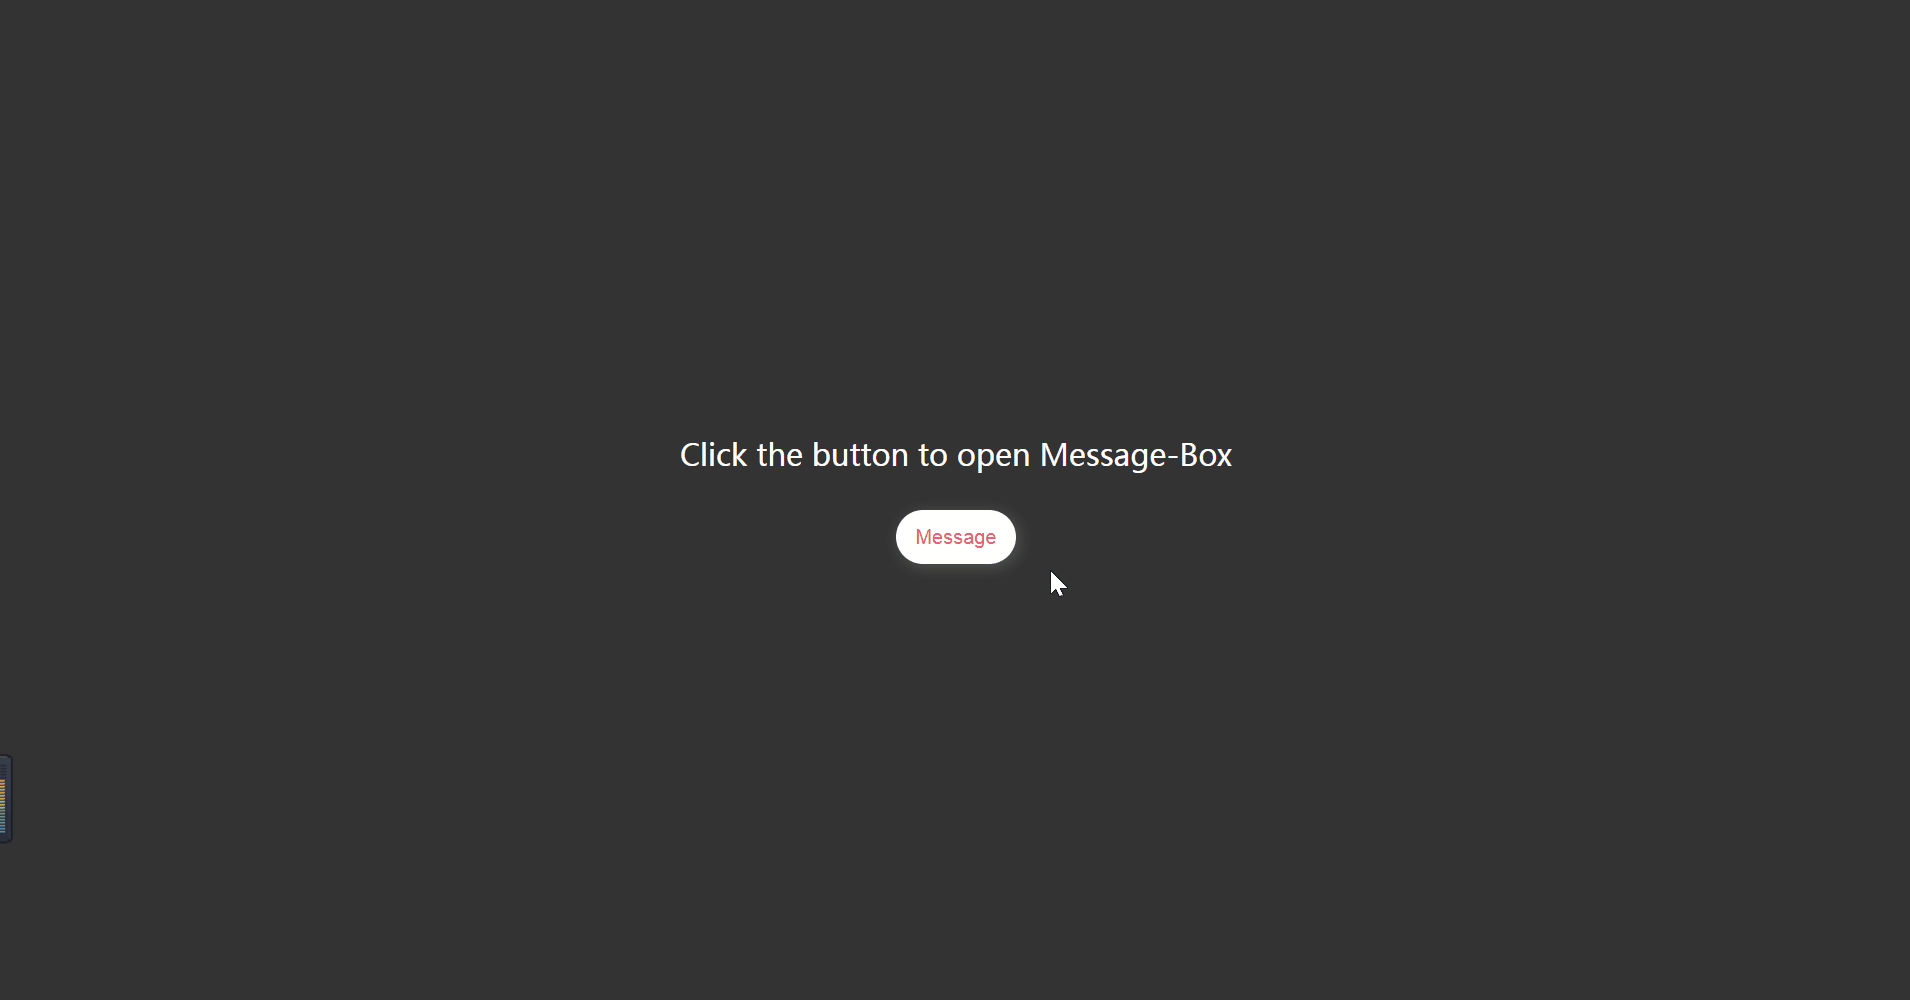
效果预览
Shadow DOM
Web components 的一个重要属性是封装——可以将标记结构、样式和行为隐藏起来,并与页面上的其他代码相隔离,保证不同的部分不会混在一起,可使代码更加干净、整洁。其中, Shadow DOM 接口是关键所在,它可以将一个隐藏的、独立的 DOM 附加到一个元素上 [ MDN ] 。
当我们对 DOM(文档对象模型)有一定的了解,它是由不同的元素节点、文本节点连接而成的一个树状结构,应用于标记文档中(例如 Web 文档中常见的 HTML 文档)。请看如下示例,一段 HTML 代码:
<!DOCTYPE html>

<html>

  <head>

    <meta charset="utf-8">

    <title>Simple DOM example</title>

  </head>

  <body>

      <section>

        <img src="dinosaur.png" alt="A red Tyrannosaurus Rex: A two legged dinosaur standing upright like a human, with small arms, and a large head with lots of sharp teeth.">

        <p>Here we will add a link to the <a href="https://www.mozilla.org/">Mozilla homepage</a></p>

      </section>

  </body>

</html>
这个片段会生成如下的 DOM 结构:

Shadow DOM 允许将隐藏的 DOM 树附加到常规的 DOM 树中——它以 shadow root 节点为起始根节点,在这个根节点的下方,可以是任意元素,和普通的 DOM 元素一样。

- Shadow host:一个常规 DOM节点,Shadow DOM 会被附加到这个节点上。
- Shadow tree:Shadow DOM内部的DOM树。
- Shadow boundary:Shadow DOM结束的地方,也是常规 DOM开始的地方。
- Shadow root: Shadow tree的根节点。
准备工作
需求分析
常规的 alert 一般是一个 粘性布局 & 层级较高 的盒子,它能够被任意页面 / 组件 调用,它不应该被同时多次调用。
盒子包含三块内容:消息图标、消息文本、关闭btn。
设计思路
插件的设计思路是有良好的封闭性,不影响外部文档本身的DOM树;易于维护,便于需求更改,在下一个项目中重复使用;足够灵活,通过传入参数配置组件在不同文档中的调用效果;能够定制,可以通过外部文档调整插件。
-
结合 ShadowDom 的知识点,实现一个 alert 已见雏形。
Shadow DOM的基本使用
使用 Element.attachShadow() 方法来将一个 shadow root 附加到任何一个元素上。它接受一个配置对象作为参数,该对象有一个 mode 属性,值可以是 open 或者 closed:
let shadow = elementRef.attachShadow({mode: 'open'});

let shadow = elementRef.attachShadow({mode: 'closed'});
两者的区别在于能否通过 shadow.shadowRoot 访问 shadowDOM 中的元素。
{ mode: 'open' } :可以通过页面内的 JavaScript 方法来获取 Shadow DOM

{ mode: 'closed' } :不能从外部获取 Shadow DOM , Element.shadowRoot 将会返回 null。

浏览器中的某些内置元素就是如此,例如 <video> ,包含了不可访问的 Shadow DOM。
将 Shadow DOM 附加到一个元素之后,就可以使用 DOM APIs对它进行操作,就和处理常规 DOM 一样。
var para = document.createElement('p');

shadow.appendChild(para);

etc.
设计Alert
首先构造一个 Shadow DOM :
class MessageBox extends HTMLElement {

  constructor() {

    super();

    const shadowRoot = this.attachShadow({ mode: 'open' })

  }

}
行1 - extends关键字用于类声明或者类表达式中,以创建一个类,该类是另一个类的子类 [ MDN ]。
行2 - 构造函数属于被实例化的特定类对象 。构造函数初始化这个对象,并提供可以访问其私有信息的方法。构造函数的概念可以应用于大多数面向对象的编程语言。本质上,JavaScript 中的构造函数通常在类的实例中声明 [ MDN ]。
行3 - super关键字用于访问和调用一个对象的父对象上的函数。在构造函数中使用时,super关键字将单独出现,并且必须在使用this关键字之前使用。super关键字也可以用来调用父对象上的函数 [ MDN ]。
行4 - Shadow DOM 的方法属性,用于将一个 shadow root 添加到 instance class 上。
接下来根据需求分析的三块内容编写盒子,预留好关闭按钮的 slot插槽:
template() {

    let dom = `

      <main>

        <article>

          <section>

            <i class="icon" aria-label="图标: info-circle" class="anticon anticon-info-circle ant-alert-icon"><svg viewBox="64 64 896 896" data-icon="info-circle" width="1em" height="1em" fill="currentColor" aria-hidden="true" focusable="false" class=""><path d="M512 64C264.6 64 64 264.6 64 512s200.6 448 448 448 448-200.6 448-448S759.4 64 512 64zm32 664c0 4.4-3.6 8-8 8h-48c-4.4 0-8-3.6-8-8V456c0-4.4 3.6-8 8-8h48c4.4 0 8 3.6 8 8v272zm-32-344a48.01 48.01 0 0 1 0-96 48.01 48.01 0 0 1 0 96z"></path></svg></i>

            <slot name="message"></slot>

            <slot name="icon-close" class="close"></slot>

          </section>

        </article>

      </main>

    `

    return dom

}
为盒子编写样式:
stylesheet() {

	let style = `

        <style>

          * {

            margin: 0;

            padding: 0;

            box-sizing: border-box;

          }

          main {

            position: fixed;

            top: 20px;

            left: 50%;

            transform: translateX(-50%);

            padding: 12px 24px;

            color: #5e5e5e;

            font-size: 1rem;

            user-select: none;

            background: linear-gradient(to bottom right, rgba(176, 219, 125, .65) 40%, rgba(153, 219, 180, .65) 100%);

            box-shadow: 2px 2px 10px rgb(119 119 119 / 50%);

            border-radius: 4px;

          }

          .icon {

            opacity: .85;

            color: #52c41a;

            position: relative;

            top: 2px;

          }

          .close {

            color: #fff;

            font-size: 14px;

            cursor: pointer;

          }

          .animeShow {

            animation: show .35s ease-out 1 forwards;

          }

          .animeHide {

            animation: hide .35s ease-in 1 forwards;

          }

          @keyframes show {

            from {transform: translate(-50%, calc(-100% - 29px));opacity: 0;}

            to {transform: translate(-50%, 0);opacity: 1;}

          }

          @keyframes hide {

            from {transform: translate(-50%, 0);opacity: 1;}

            to {transform: translate(-50%, calc(-100% - 29px));opacity: 0;}

          }

        </style>

      `

	return style

}
将 DOM 添加到 shadow root 中:
constructor() {

	super()

	const shadowRoot = this.attachShadow({mode: 'open'})

	shadowRoot.innerHTML = this.stylesheet() + this.template()

}
使用 Web Components 为插件定制函数周期:
/* 生命周期: 首次插入文档DOM */

connectedCallback() {

  console.log('Template element is connected from \'Message Box\'')

}

/* 生命周期: 从文档DOM中删除 */

disconnectedCallback() {

  console.log('Template element disconnected which \'Message Box\'')

}

/* 生命周期: 被移动到新的文档时 */

adoptedCallback() {

  console.log('Template element adopted which \'Message Box\'');

}

/* 生命周期: 监听属性变化 */

attributeChangedCallback() {

  console.log('Template element\'s attribute is changed which \'Message Box\'');

}
这样一个完整的 Shadow DOM 就已经编写完成了,现在注册这个插件:
customElements.define('message-box', MessageBox)接下来我们要做的是把 custom element 放在页面上,定义一个类来更方便地控制它:
/* message */

class Message {

  constructor() {

    this.containerEl = document.createElement('message-box')

    this.containerEl.id = 'message-box-97z4moon'

  }

}
Message 类的构造器中 create 了这个 custom element,我们再为该类添加 show 方法来实现挂载:
show(text = 'Default text.') {

  let containerEl = this.containerEl

  /* Use Slot */

  containerEl.innerHTML = `<span slot="message">${text}</span>`

  /* Render Dom */

  document.body.appendChild(containerEl)

}
在 show( ) 方法中判断是否同时多次调用(DOM是否存在):
show(text = 'Default text.') {

  /* Message box had Render */

  if(document.getElementById('message-box-97z')) {

	return

  }

}
调用并查看效果:
const message = new Message()

message.show('Message box by 97z.')
在生命周期中为 Shadow DOM 添加 fadeInTop 动画 (css3 - animation 已包含在样式代码部分):
/* 生命周期: 首次插入文档DOM */

connectedCallback() {

  this.shadowRoot.children[1].className = 'animeShow'

}
在 show( ) 方法中利用刚刚预留的 slot 为盒子添加关闭按钮(这里用到的是 Ant Design 的 icon svg),并为按钮绑定点击事件:
show(text = 'Message box by 97z.', closeable = false) {

  /* Append Icon Close */

  if(closeable) {

    let closeEl = document.createElement('i')

    closeEl.setAttribute('slot', 'icon-close')

    closeEl.setAttribute('aria-label', '图标: close-circle')

    closeEl.style.position = 'relative'

    closeEl.style.left = '10px'

    closeEl.style.top = '1px'

    closeEl.innerHTML = '<svg viewBox="64 64 896 896" data-icon="close-circle" width="1em" height="1em" fill="currentColor" aria-hidden="true" focusable="false" class=""><path d="M685.4 354.8c0-4.4-3.6-8-8-8l-66 .3L512 465.6l-99.3-118.4-66.1-.3c-4.4 0-8 3.5-8 8 0 1.9.7 3.7 1.9 5.2l130.1 155L340.5 670a8.32 8.32 0 0 0-1.9 5.2c0 4.4 3.6 8 8 8l66.1-.3L512 564.4l99.3 118.4 66 .3c4.4 0 8-3.5 8-8 0-1.9-.7-3.7-1.9-5.2L553.5 515l130.1-155c1.2-1.4 1.8-3.3 1.8-5.2z"></path><path d="M512 65C264.6 65 64 265.6 64 513s200.6 448 448 448 448-200.6 448-448S759.4 65 512 65zm0 820c-205.4 0-372-166.6-372-372s166.6-372 372-372 372 166.6 372 372-166.6 372-372 372z"></path></svg>'

    closeEl.addEventListener('click', e => {

      this.containerEl.shadowRoot.children[1].className = 'animeHide'

      setTimeout(() => {

        this.close()

      }, 350)

    })

    containerEl.appendChild(closeEl)

  }

}
那么这时就要写一个 close( ) 了:
close() {

  let containerEl = this.containerEl

  document.body.removeChild(containerEl)

}
有了 close( ) 方法我们再给 show( ) 添加一个自动关闭事件:
show(text = 'Message box by 97z.', duration = 2000, closeable = false) {

    /* Destroy Dom */

    this.timer = setTimeout(() => {

        this.containerEl.shadowRoot.children[1].className = 'animeHide'

        setTimeout(() => {

          this.close()

        }, 350)

    }, duration)

}
清除计时器避免使用 close button 关闭后再打开发生混乱:
close() {

    clearTimeout(this.timer)

}
检查调用

完整代码
<!DOCTYPE html>

<html>

<head>

  <meta charset="utf-8">

  <meta name="viewport" content="width=device-width, initial-scale=1">

  <title></title>

  <style type="text/css">

    body {

      margin: 0;

      padding: 0;

      width: 100vw;

      height: 100vh;

    }

    div {

      width: 100%;

      height: 100%;

      background: #ccc;

      display: flex;

      justify-content: center;

      align-items: center;

      background: #333;

      flex-direction: column;

    }

    span {

      text-align: center;

      color: #fff;

      margin-bottom: 24px;

      user-select: none;

      font-size: 20px;

    }

    button {

      width: 80px;

      height: 36px;

      border-radius: 20px;

      background: #fff;

      border: none;

      box-shadow: 2px 2px 10px rgb(119 119 119 / 50%);

      color: #e96075;

      cursor: pointer;

    }

  </style>

</head>

  <body>

  <div>

    <span>Click the button to open Message-Box</span>

    <button onclick="const message = new Message(); message.show('Message box by 97z.', 2000, true)">Message</button>

  </div>

</body>

<script type="text/javascript">

  /* message */

  class Message {

    constructor() {

        this.containerEl = document.createElement('message-box')

        this.containerEl.id = 'message-box-97z'

        this.timer = null

    }

    show(text = 'Message box by 97z.', duration = 2000, closeable = false) {

      /* Message box had Render */

      if(document.getElementById('message-box-97z')) {

        return

      }

      let containerEl = this.containerEl

      /* Use Slot */

      containerEl.innerHTML = `<span slot="message">${text}</span>`

      /* Append Icon Close */

      if(closeable) {

        let closeEl = document.createElement('i')

        closeEl.setAttribute('slot', 'icon-close')

        closeEl.setAttribute('aria-label', '图标: close-circle')

        closeEl.style.position = 'relative'

        closeEl.style.left = '10px'

        closeEl.style.top = '1px'

        closeEl.innerHTML = '<svg viewBox="64 64 896 896" data-icon="close-circle" width="1em" height="1em" fill="currentColor" aria-hidden="true" focusable="false" class=""><path d="M685.4 354.8c0-4.4-3.6-8-8-8l-66 .3L512 465.6l-99.3-118.4-66.1-.3c-4.4 0-8 3.5-8 8 0 1.9.7 3.7 1.9 5.2l130.1 155L340.5 670a8.32 8.32 0 0 0-1.9 5.2c0 4.4 3.6 8 8 8l66.1-.3L512 564.4l99.3 118.4 66 .3c4.4 0 8-3.5 8-8 0-1.9-.7-3.7-1.9-5.2L553.5 515l130.1-155c1.2-1.4 1.8-3.3 1.8-5.2z"></path><path d="M512 65C264.6 65 64 265.6 64 513s200.6 448 448 448 448-200.6 448-448S759.4 65 512 65zm0 820c-205.4 0-372-166.6-372-372s166.6-372 372-372 372 166.6 372 372-166.6 372-372 372z"></path></svg>'

        closeEl.addEventListener('click', e => {

          this.containerEl.shadowRoot.children[1].className = 'animeHide'

          setTimeout(() => {

            this.close()

          }, 350)

        })

        containerEl.appendChild(closeEl)

      }

      /* Render Dom */

      document.body.appendChild(containerEl)

      /* Destroy Dom */

      this.timer = setTimeout(() => {

        this.containerEl.shadowRoot.children[1].className = 'animeHide'

        setTimeout(() => {

          this.close()

        }, 350)

      }, duration)

    }

    close() {

      clearTimeout(this.timer)

      this.timer = null

      let containerEl = this.containerEl

      document.body.removeChild(containerEl)

    }

  }

  /* message-box (shadowDom) */

  class MessageBox extends HTMLElement {

    constructor() {

      super()

      const shadowRoot = this.attachShadow({mode: 'open'})

      shadowRoot.innerHTML = this.stylesheet() + this.template()

    }

    stylesheet() {

      let style = `

        <style>

          * {

            margin: 0;

            padding: 0;

            box-sizing: border-box;

          }

          main {

            position: fixed;

            top: 20px;

            left: 50%;

            transform: translateX(-50%);

            padding: 12px 24px;

            color: #5e5e5e;

            font-size: 1rem;

            user-select: none;

            background: linear-gradient(to bottom right, rgba(176, 219, 125, .65) 40%, rgba(153, 219, 180, .65) 100%);

            box-shadow: 2px 2px 10px rgb(119 119 119 / 50%);

            border-radius: 4px;

          }

          .icon {

            opacity: .85;

            color: #52c41a;

            position: relative;

            top: 2px;

          }

          .close {

            color: #fff;

            font-size: 14px;

            cursor: pointer;

          }

          .animeShow {

            animation: show .35s ease-out 1 forwards;

          }

          .animeHide {

            animation: hide .35s ease-in 1 forwards;

          }

          @keyframes show {

            from {transform: translate(-50%, calc(-100% - 29px));opacity: 0;}

            to {transform: translate(-50%, 0);opacity: 1;}

          }

          @keyframes hide {

            from {transform: translate(-50%, 0);opacity: 1;}

            to {transform: translate(-50%, calc(-100% - 29px));opacity: 0;}

          }

        </style>

      `

      return style

    }

    template() {

      let dom = `

        <main>

          <article>

            <section>

              <i class="icon" aria-label="图标: info-circle" class="anticon anticon-info-circle ant-alert-icon"><svg viewBox="64 64 896 896" data-icon="info-circle" width="1em" height="1em" fill="currentColor" aria-hidden="true" focusable="false" class=""><path d="M512 64C264.6 64 64 264.6 64 512s200.6 448 448 448 448-200.6 448-448S759.4 64 512 64zm32 664c0 4.4-3.6 8-8 8h-48c-4.4 0-8-3.6-8-8V456c0-4.4 3.6-8 8-8h48c4.4 0 8 3.6 8 8v272zm-32-344a48.01 48.01 0 0 1 0-96 48.01 48.01 0 0 1 0 96z"></path></svg></i>

              <slot name="message"></slot>

              <slot name="icon-close" class="close"></slot>

            </section>

          </article>

        </main>

      `

      return dom

    }

    /* 生命周期: 首次插入文档DOM */

    connectedCallback() {

      console.log('Template element is connected from \'Message Box\'')

      this.shadowRoot.children[1].className = 'animeShow'

    }

    /* 生命周期: 从文档DOM中删除 */

    disconnectedCallback() {

      console.log('Template element disconnected which \'Message Box\'')

    }

    /* 生命周期: 被移动到新的文档时 */

    adoptedCallback() {

      console.log('Template element adopted which \'Message Box\'');

    }

    /* 生命周期: 监听属性变化 */

    attributeChangedCallback() {

      console.log('Template element\'s attribute is changed which \'Message Box\'');

    }

  }

  customElements.define('message-box', MessageBox)

</script>

</html>
- END -
JS21. 使用原生JS封装一个公共的Alert插件(HTML5: Shadow Dom)的更多相关文章
- 使用原生JS封装一个动画函数
最近一直在忙项目,很少有时间回顾之前的知识,今天刚好要做一个轮播,因为对兼容性有一定的要求,使用了各种插件和库中的轮播,效果都不是很理想,一怒之下,使用原生JS封装了一个轮播组件,其中重要的功能就是一 ...
- 使用原生JS封装一个ajax
function ajax(data){ //第一步,创建XHR对象 var xhr = null; if(window.XMLHttpRequest){ xhr = new XMLHttpReque ...
- 原生JS封装Ajax插件(同域&&jsonp跨域)
抛出一个问题,其实所谓的熟悉原生JS,怎样的程度才是熟悉呢? 最近都在做原生JS熟悉的练习... 用原生Js封装了一个Ajax插件,引入一般的项目,传传数据,感觉还是可行的...简单说说思路,如有不正 ...
- 用jQuery基于原生js封装的轮播
我发现轮播在很多网站里面都用到过,一个绚丽的轮播可以为网页增色不少,最近闲来无事,也用原生js封装了一个轮播,可能不像网上的插件那么炫,但是也有用心去做.主要用了闭包的思想.需要传递的参数有:图片地址 ...
- 原生JS封装简单动画效果
原生JS封装简单动画效果 一致使用各种插件,有时候对原生JS陌生了起来,所以决定封装一个简单动画效果,熟悉JS原生代码 function animate(obj, target,num){ if(ob ...
- 原生JS封装创建多级菜单函数
手写一个使用原生JS封装的多级菜单的函数,满足以下几点需求. 子类层级不确定,可根据数据自动生成多级菜单. 操作便捷,只需传入一个HTML标签. 缺点: 需要满足特定的数据结构 废话不多说,展示代码. ...
- 原生JS封装ajax方法
http://blog.sucaijiayuan.com/article/89 jquery框架的ajax方法固然好用,但是假如某天我们的项目不能引入jquery或项目需求很简单,没有很多交互功能,只 ...
- 基于原生JS封装数组原型上的sort方法
基于原生JS封装数组原型上的sort方法 最近学习了数组的原型上内置方法的封装,加强了用原生JS封装方法的能力,也进一步理解数组方法封装的过程,实现的功能.虽然没有深入底层,了解源码.以下解法都是基于 ...
- 原生js封装十字参考线插件(一)
需求来源: 拓扑图之机房平面图,显示机房长宽比例尺,房间内标注各种设备间距不易实现,特在机房平面图上层加一个十字参考线 横竖两条线垂直,在鼠标指针处交叉,显示鼠标指针坐标(相对机房平面图的坐标,不是相 ...
随机推荐
- Part 18 $http service in AngularJS
In Angular there are several built in services. $http service is one of them. In this video, we will ...
- Java学习(二十)
今天学习了Java中的package和import 在包中写了一点作为练习 如果把Test02放到别的包,就需要import到别的包,就像这样,Test02在HelloWorld包 如果删掉impor ...
- 用C++实现俄罗斯方块(Tetris)游戏
我是一个C++初学者,控制台实现了一个俄罗斯方块游戏. 代码如下: //"俄罗斯方块"V1.0 //李国良于2017年1月20日编写完成 #include <iostream ...
- [bzoj1735]泥泞的牧场
考虑木板一定都尽量长,对于每一个污泥,最多只有两种木板会覆盖它(横着和竖的),将这两块木板连边,意味着每一条边两端端点中一定有一个点要被选,即最小点覆盖=最大匹配数. 1 #include<bi ...
- 二、JAVA API实现HDFS
目录 前文 hdfsdemo通过HDFS上传下载文件 windows环境下需要使用uitls.exe 为pom.xml增加依赖 新建java文件HDFS_CRUD GitHub下载地址 前文 一.Ce ...
- JavaScript高级程序设计读后感(一)之零碎知识点查漏补缺
目录 1-script延迟脚本defer及异步脚本async,区别及应用场景 2-未声明的变量,未初始化变量 3-Number parseInt 字符串转数值 ,进制转换 4-undefined &a ...
- processon刷文件的骚操作
https://github.com/ilikly/ProcessOnRegister用法自己看说明哈,群友亲测可用,而且也给别人用了...缺点是每轮都需要手动操作一下,并且需要俩微信号
- Atcoder Regular Contest 123 题解
u1s1 我是真的不知道为什么现场这么多人切了 D,感觉 D 对思维要求显然要高于其他 300+ 人切掉的 D 吧(也有可能是 Atc 用户整体水平提升了?) A 开 幕 雷 击(这题似乎 wjz 交 ...
- Codeforces 1188D - Make Equal(dp)
Codeforces 题目传送门 & 洛谷题目传送门 首先我们考虑枚举最后这 \(n\) 个数变成的值 \(v\),那么需要的操作次数即为 \(\sum\limits_{i=1}^n\text ...
- Codeforces 1458E - Nim Shortcuts(博弈论+BIT)
Codeforces 题目传送门 & 洛谷题目传送门 首先看到这样的题我们不妨从最特殊的情况入手,再逐渐推广到一般的情况.考虑如果没有特殊点的情况,我们将每个可能的局面看作一个点 \((a,b ...