CatBoost算法和调参
python风控建模实战lendingClub(博主录制,catboost,lightgbm建模,2K超清分辨率)
https://study.163.com/course/courseMain.htm?courseId=1005988013&share=2&shareId=400000000398149

catboost官网文档
catboost GPU官方文档
https://catboost.ai/docs/features/training-on-gpu.html
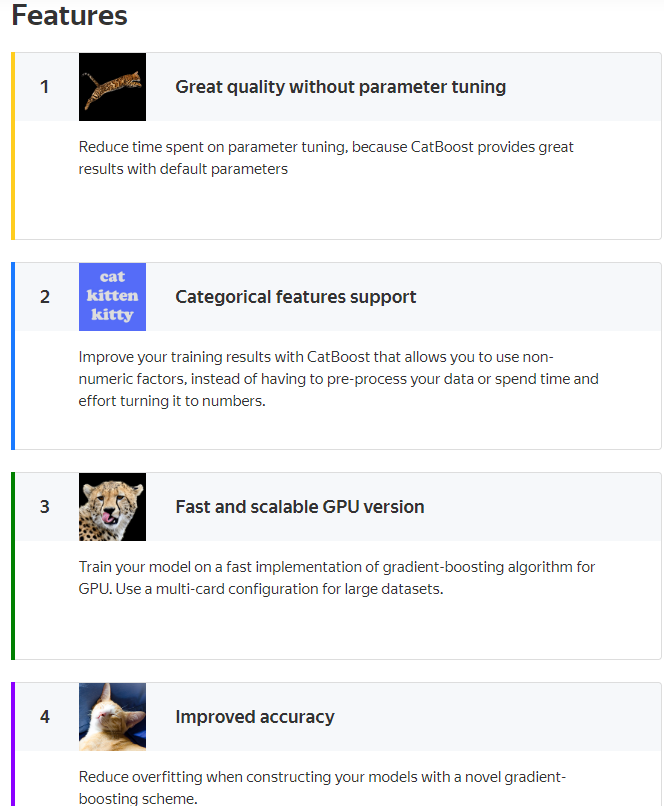
catboost特点:
少量或无需调参,默认参数效果非常好
支持分类变量
支持GPU
catboost代码举例
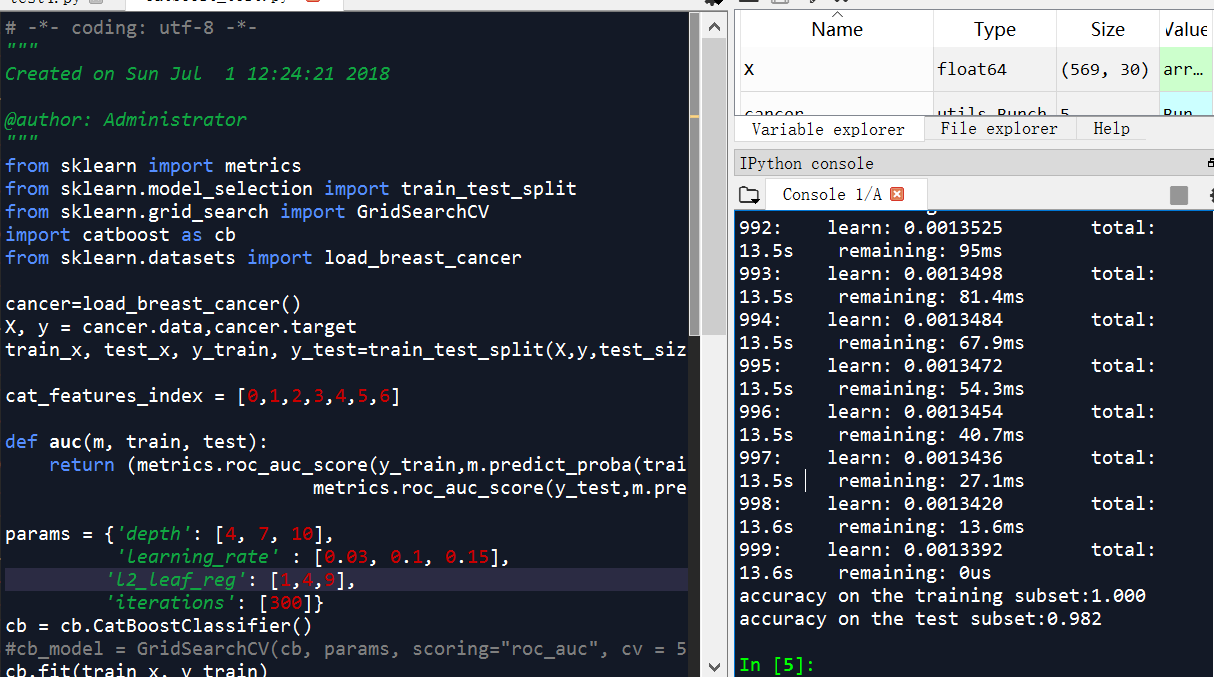
# -*- coding: utf-8 -*-

"""

Created on Sun Jul  1 12:24:21 2018

@author: Administrator

"""

from sklearn import metrics

from sklearn.model_selection import train_test_split

from sklearn.grid_search import GridSearchCV

import catboost as cb

from sklearn.datasets import load_breast_cancer

cancer=load_breast_cancer()

X, y = cancer.data,cancer.target

train_x, test_x, y_train, y_test=train_test_split(X,y,test_size=0.3,random_state=0)

cat_features_index = [0,1,2,3,4,5,6]

def auc(m, train, test):

    return (metrics.roc_auc_score(y_train,m.predict_proba(train)[:,1]),

                            metrics.roc_auc_score(y_test,m.predict_proba(test)[:,1]))

params = {'depth': [4, 7, 10],

          'learning_rate' : [0.03, 0.1, 0.15],

         'l2_leaf_reg': [1,4,9],

         'iterations': [300]}

cb = cb.CatBoostClassifier()

#cb_model = GridSearchCV(cb, params, scoring="roc_auc", cv = 5)

cb.fit(train_x, y_train)

print("accuracy on the training subset:{:.3f}".format(cb.score(train_x,y_train)))

print("accuracy on the test subset:{:.3f}".format(cb.score(test_x,y_test)))

'''

accuracy on the training subset:1.000

accuracy on the test subset:0.982

'''
俄罗斯最大搜索引擎Yandex开源了一款梯度提升机器学习库CatBoost
摘要: 俄罗斯搜索巨头Yandex宣布,将向开源社区提交一款梯度提升机器学习库CatBoost。它能够在数据稀疏的情况下“教”机器学习。特别是在没有像视频、文本、图像这类感官型数据的时候,CatBoost也能根据事务型数据或历史数据进行操作。
据开发者所说超越Lightgbm和XGBoost的又一个神器,不过具体性能,还要看在比赛中的表现了。
整理一下里面简单的教程和参数介绍,很多参数不是那种重要,只解释部分重要的参数,训练时需要重点考虑的。
import numpy as np

import catboost as cb

train_data = np.random.randint(0, 100, size=(100, 10))

train_label = np.random.randint(0, 2, size=(100))

test_data = np.random.randint(0,100, size=(50,10))

model = cb.CatBoostClassifier(iterations=2, depth=2, learning_rate=0.5, loss_function='Logloss',

                              logging_level='Verbose')

model.fit(train_data, train_label, cat_features=[0,2,5])

preds_class = model.predict(test_data)

preds_probs = model.predict_proba(test_data)

print('class = ',preds_class)

print('proba = ',preds_probs)
参数
CatBoostClassifier/CatBoostRegressor
通用参数
learning_rate(eta)=automatically
depth(max_depth)=6: 树的深度
l2_leaf_reg(reg_lambda)=3 L2正则化系数
n_estimators(num_boost_round)(num_trees=1000)=1000: 解决ml问题的树的最大数量
one_hot_max_size=2: 对于某些变量进行one-hot编码
loss_function=’Logloss’:
RMSE

Logloss

MAE

CrossEntropy
custom_metric=None
RMSE

Logloss

MAE

CrossEntropy

Recall

Precision

F1

Accuracy

AUC

R2
eval_metric=Optimized objective
RMSE

Logloss

MAE

CrossEntropy

Recall

Precision

F1

Accuracy

AUC

R2
nan_mode=None:处理NAN的方法
Forbidden
Min
Max
1
2
3
leaf_estimation_method=None:迭代求解的方法,梯度和牛顿
Newton
Gradient
1
2
random_seed=None: 训练时候的随机种子
---------------------
性能参数
thread_count=-1:训练时所用的cpu/gpu核数
used_ram_limit=None:CTR问题,计算时的内存限制
gpu_ram_part=None:GPU内存限制
处理单元设置
task_type=CPU:训练的器件
devices=None:训练的GPU设备ID
counter_calc_method=None,
leaf_estimation_iterations=None,
use_best_model=None,
verbose=None,
model_size_reg=None,
rsm=None,
logging_level=None,
metric_period=None,
ctr_leaf_count_limit=None,
store_all_simple_ctr=None,
max_ctr_complexity=None,
has_time=None,
classes_count=None,
class_weights=None,
random_strength=None,
name=None,
ignored_features=None,
train_dir=None,
custom_loss=None,
bagging_temperature=None
border_count=None
feature_border_type=None,
save_snapshot=None,
snapshot_file=None,
fold_len_multiplier=None,
allow_writing_files=None,
final_ctr_computation_mode=None,
approx_on_full_history=None,
boosting_type=None,
simple_ctr=None,
combinations_ctr=None,
per_feature_ctr=None,
device_config=None,
bootstrap_type=None,
subsample=None,
colsample_bylevel=None,
random_state=None,
objective=None,
max_bin=None,
scale_pos_weight=None,
gpu_cat_features_storage=None,
data_partition=None
CatBoostClassifier
属性(attribute):
is_fitted_
tree_count_
feature_importances_
random_seed_
方法(method):
fit
X: 输入数据数据类型可以是,list; pandas.DataFrame; pandas.Series
y=None
cat_features=None: 拿来做处理的类别特征
sample_weight=None: 输入数据的样本权重
logging_level=None: 控制是否输出日志信息,或者何种信息
plot=False: 训练过程中,绘制,度量值,所用时间等
eval_set=None: 验证集合,数据类型list(X, y)tuples
baseline=None
use_best_model=None
verbose=None
predict
返回验证样本所属类别,数据类型为np.array
predict_proba
返回验证样本所属类别的概率,数据类型为np.array
get_feature_importance
eval_metrics
save_model
load_model
get_params
score
教程(tutorial)

catboost GPU版本
https://catboost.ai/docs/features/training-on-gpu.html
Training on GPU
CatBoost supports training on GPUs.
Choose the implementation for more details on the parameters that are required to start training on GPU.

Note. Other training parameters are also available. Some of them are CPU-specific or GPU-specific. See the Python package training parameters section for more details.
For example, use the following code to train a classification model on GPU:
GPU版本测试
# -*- coding: utf-8 -*-

"""

Created on Wed May 29 10:34:20 2019

@author: Administrator

GPU

1m -1m 2s

CPU

28.7s-28.8s

"""

from catboost import CatBoostClassifier

train_data = [[0, 3],

              [4, 1],

              [8, 1],

              [9, 1]]

train_labels = [0, 0, 1, 1]

model = CatBoostClassifier(task_type = "GPU")

#model = CatBoostClassifier()

model.fit(train_data,

          train_labels)
# -*- coding: utf-8 -*-

"""

Created on Wed May 22 10:50:59 2019

@author: Administrator

CPU版本:3m 30s-3m 40s

GPU版本:3m 33s-3m 34s

"""

from sklearn import metrics

from sklearn.model_selection import train_test_split

import catboost as cb

from sklearn.datasets import load_breast_cancer

cancer=load_breast_cancer()

X, y = cancer.data,cancer.target

train_x, test_x, y_train, y_test=train_test_split(X,y,test_size=0.3,random_state=0)

cb = cb.CatBoostClassifier()

#cb = cb.CatBoostClassifier(task_type="CPU")

#cb = cb.CatBoostClassifier(task_type="GPU")

cb.fit(train_x, y_train)
Python package installation
Installation is only supported by the 64-bit version of Python.
- Choose an installation method:
(Optionally) Install additional packages for data visualization support.
- (Optionally) Test CatBoost.
Note that there are additional system requirements if training on GPU is required.
GPU system requirements
The versions of CatBoost available from pip install and conda install have GPU support out-of-the-box.
Devices with compute capability 3.0 and higher are supported in compiled packages.
Training on GPU requires NVIDIA Driver of version 390.xx or higher.
- Step 4 of the Build from source on Linux and macOS operation.
- Step 3 of the Build from source on Windows operation.
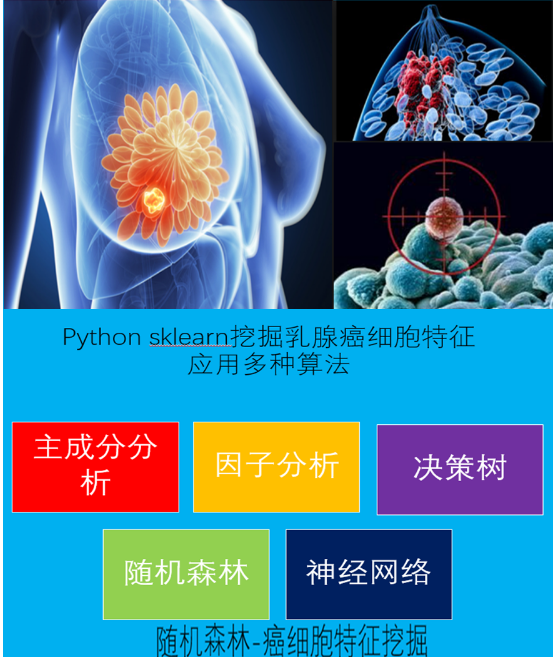
python机器学习-乳腺癌细胞挖掘(博主亲自录制视频,含catboost算法讲解)
https://study.163.com/course/introduction.htm?courseId=1005269003&utm_campaign=commission&utm_source=cp-400000000398149&utm_medium=share
欢迎扫描和关注博主主页,学习python视频资源

CatBoost算法和调参的更多相关文章
- 调参、最优化、ml算法(未完成)
最优化方法 调参方法 ml算法 梯度下降gd grid search lr 梯度上升 随机梯度下降 pca 随机梯度下降sgd 贝叶斯调参 lda 牛顿算法 knn 拟牛顿算法 kmeans ...
- 自动调参库hyperopt+lightgbm 调参demo
在此之前,调参要么网格调参,要么随机调参,要么肉眼调参.虽然调参到一定程度,进步有限,但仍然很耗精力. 自动调参库hyperopt可用tpe算法自动调参,实测强于随机调参. hyperopt 需要自己 ...
- k-近邻算法采用for循环调参方法
//2019.08.02下午#机器学习算法中的超参数与模型参数1.超参数:是指机器学习算法运行之前需要指定的参数,是指对于不同机器学习算法属性的决定参数.通常来说,人们所说的调参就是指调节超参数.2. ...
- LightGBM 调参方法(具体操作)
sklearn实战-乳腺癌细胞数据挖掘(博主亲自录制视频) https://study.163.com/course/introduction.htm?courseId=1005269003& ...
- sklearn逻辑回归(Logistic Regression,LR)调参指南
python信用评分卡建模(附代码,博主录制) https://study.163.com/course/introduction.htm?courseId=1005214003&utm_ca ...
- scikit-learn随机森林调参小结
在Bagging与随机森林算法原理小结中,我们对随机森林(Random Forest, 以下简称RF)的原理做了总结.本文就从实践的角度对RF做一个总结.重点讲述scikit-learn中RF的调参注 ...
- scikit-learn 梯度提升树(GBDT)调参小结
在梯度提升树(GBDT)原理小结中,我们对GBDT的原理做了总结,本文我们就从scikit-learn里GBDT的类库使用方法作一个总结,主要会关注调参中的一些要点. 1. scikit-learn ...
- word2vec参数调整 及lda调参
一.word2vec调参 ./word2vec -train resultbig.txt -output vectors.bin -cbow 0 -size 200 -window 5 -neg ...
- 漫谈PID——实现与调参
闲话: 作为一个控制专业的学生,说起PID,真是让我又爱又恨.甚至有时候会觉得我可能这辈子都学不会pid了,但是经过一段时间的反复琢磨,pid也不是很复杂.所以在看懂pid的基础上,写下这篇文章,方便 ...
随机推荐
- Nginx 建立三次握手
L:123 我们可以用以下命令查看请求状态 netstat -anp | grep tcp
- delegate--委托
delegate--委托 (可以把委托看成用来执行方法的一个东西) eg: namespace delegateTest{ delegate double MathsOp(double x); cla ...
- Java虚拟机加载类的过程
Java虚拟机的类加载,从class文件到内存中的类,按先后顺序需要经过加载/链接/初始化三大步骤. Java语言的类型分为两大类:基本类型(primitive types)和引用类型(referen ...
- Docker自制CentOS镜像
系统环境:CentOS 7.3 将yum源切换到阿里源 可以直接写成一个脚本 #!/bin/sh mv /etc/yum.repos.d/CentOS-Base.repo /etc/yum.repos ...
- python 模块之-shelve
shelve模块比pickle模块简单,只有一个open函数,返回类似字典的对象,可读可写;key必须为字符串,而值可以是python所支持的数据类型 import shelve f = shelve ...
- js弹框的3种方法
js的三种弹框的方法 1.第一种 : alert("1"); 2.第二种 : window.open("Tests2.html"); var r = con ...
- 五一培训 清北学堂 DAY2
今天还是冯哲老师的讲授~~ 今日内容:简单数据结构(没看出来简单qaq) 1.搜索二叉树 前置技能 一道入门题在初学OI的时候,总会遇到这么一道题.给出N次操作,每次加入一个数,或者询问当前所有数的最 ...
- jemter的使用
1.启动jmeter
- bzoj 4542: [Hnoi2016]大数 (莫队)
Description 小 B 有一个很大的数 S,长度达到了 N 位:这个数可以看成是一个串,它可能有前导 0,例如00009312345.小B还有一个素数P.现在,小 B 提出了 M 个询问,每个 ...
- Scratch 简单的小游戏 --- 碰碰球
Scratch 简单的小游戏 --- 碰碰球 ================================ 积木脚本块的简要分类: 1. 角色 2. 背景 3. 角色和背景组成的场景 4. 挡板角 ...