
Nginx作为负载均衡——实战演练
配置语法
Syntax:upstream name {...}
Default:——
Context:http
演示
准备两台虚拟主机192.168.96.188、192.168.96.188
在188这台主机上创建3个html静态文件
vi /opt/app/code1/index.html
<html>

<head>

    <meta charset="utf-8">

    <title>server1</title>

</head>

<body style="">

    <h1>Server 1<h1>

</body>

</html>

vi /opt/app/code2/index.html
<html>

<head>

    <meta charset="utf-8">

    <title>server2</title>

</head>

<body style="">

    <h1>Server 2<h1>

</body>

</html>
vi /opt/app/code3/index.html
<html>

<head>

    <meta charset="utf-8">

    <title>server3</title>

</head>

<body style="">

    <h1>Server 3<h1>

</body>

</html>
在188这台主机上创建3个.conf配置文件。配置如下
vi /etc/nginx/conf.d/server1.conf
server {

    listen       8001;        #请求的8001端口

    server_name  localhost;

    #charset koi8-r;

    access_log  /var/log/nginx/server1.access.log  main;

    location / {

        root   /opt/app/code1;        #静态文件目录

        index  index.html index.htm;

    }

    #error_page  404              /404.html;

    # redirect server error pages to the static page /50x.html

    #

    error_page   500 502 503 504 404  /50x.html;

    location = /50x.html {

        root   /usr/share/nginx/html;

    }

    # proxy the PHP scripts to Apache listening on 127.0.0.1:80

    #

    #location ~ \.php$ {

    #    proxy_pass   http://127.0.0.1;

    #}

    # pass the PHP scripts to FastCGI server listening on 127.0.0.1:9000

    #

    #location ~ \.php$ {

    #    root           html;

    #    fastcgi_pass   127.0.0.1:9000;

    #    fastcgi_index  index.php;

    #    fastcgi_param  SCRIPT_FILENAME  /scripts$fastcgi_script_name;

    #    include        fastcgi_params;

    #}

    # deny access to .htaccess files, if Apache's document root

    # concurs with nginx's one

    #

    #location ~ /\.ht {

    #    deny  all;

    #}

}
vi /etc/nginx/conf.d/server2.conf
server {

    listen       8002;        #请求的8002端口

    server_name  localhost;

    #charset koi8-r;

    access_log  /var/log/nginx/server1.access.log  main;

    location / {

        root   /opt/app/code2;        #静态文件目录

        index  index.html index.htm;

    }

    #error_page  404              /404.html;

    # redirect server error pages to the static page /50x.html

    #

    error_page   500 502 503 504 404  /50x.html;

    location = /50x.html {

        root   /usr/share/nginx/html;

    }

    # proxy the PHP scripts to Apache listening on 127.0.0.1:80

    #

    #location ~ \.php$ {

    #    proxy_pass   http://127.0.0.1;

    #}

    # pass the PHP scripts to FastCGI server listening on 127.0.0.1:9000

    #

    #location ~ \.php$ {

    #    root           html;

    #    fastcgi_pass   127.0.0.1:9000;

    #    fastcgi_index  index.php;

    #    fastcgi_param  SCRIPT_FILENAME  /scripts$fastcgi_script_name;

    #    include        fastcgi_params;

    #}

    # deny access to .htaccess files, if Apache's document root

    # concurs with nginx's one

    #

    #location ~ /\.ht {

    #    deny  all;

    #}

}
vi /etc/nginx/conf.d/server3.conf
server {

    listen       8003;        #请求的8003端口

    server_name  localhost;

    #charset koi8-r;

    access_log  /var/log/nginx/server1.access.log  main;

    location / {

        root   /opt/app/code3;        #静态文件目录

        index  index.html index.htm;

    }

    #error_page  404              /404.html;

    # redirect server error pages to the static page /50x.html

    #

    error_page   500 502 503 504 404  /50x.html;

    location = /50x.html {

        root   /usr/share/nginx/html;

    }

    # proxy the PHP scripts to Apache listening on 127.0.0.1:80

    #

    #location ~ \.php$ {

    #    proxy_pass   http://127.0.0.1;

    #}

    # pass the PHP scripts to FastCGI server listening on 127.0.0.1:9000

    #

    #location ~ \.php$ {

    #    root           html;

    #    fastcgi_pass   127.0.0.1:9000;

    #    fastcgi_index  index.php;

    #    fastcgi_param  SCRIPT_FILENAME  /scripts$fastcgi_script_name;

    #    include        fastcgi_params;

    #}

    # deny access to .htaccess files, if Apache's document root

    # concurs with nginx's one

    #

    #location ~ /\.ht {

    #    deny  all;

    #}

}
在135这台主机上配置负载均衡
添加配置文件
vi /usr/local/nginx/conf/hosts/upstream.conf
 upstream test {

        server 192.168.96.188:8001;        # 添加 test 配置监听的ip+端口

        server 192.168.96.188:8002;

        server 192.168.96.188:8003;

        }

server {

    listen       80;

    server_name  localhost jeson.t.imooc.io;

    #charset koi8-r;

    #access_log  /usr/local/nginx/logs/test_proxy.access.log  main;

    resolver  8.8.8.8;

    location / {

        proxy_pass http://test;      # 添加需要监听 test

        include proxy_params;     # 存储语法的文件名称

    }

    #error_page  404              /404.html;

    # redirect server error pages to the static page /50x.html

    #

    error_page   500 502 503 504  /50x.html;

    location = /50x.html {

        root   /usr/share/nginx/html;

    }

    # proxy the PHP scripts to Apache listening on 127.0.0.1:80

    #

    #location ~ \.php$ {

    #    proxy_pass   http://127.0.0.1;

    #}

    # pass the PHP scripts to FastCGI server listening on 127.0.0.1:9000

    #

    #location ~ \.php$ {

    #    root           html;

    #    fastcgi_pass   127.0.0.1:9000;

    #    fastcgi_index  index.php;

    #    fastcgi_param  SCRIPT_FILENAME  /scripts$fastcgi_script_name;

    #    include        fastcgi_params;

    #}

    # deny access to .htaccess files, if Apache's document root

    # concurs with nginx's one

    #

    #location ~ /\.ht {

    #    deny  all;

    #}

}
在/usr/local/nginx/conf/目录新建文件
vi proxy_params #对应楼上配置文件中的文件名称
proxy_redirect default;

proxy_set_header Host $http_host;

proxy_set_header X-Real-IP $remote_addr;

proxy_connect_timeout 30;

proxy_send_timeout 60;

proxy_read_timeout 60;

proxy_buffer_size 32k;

proxy_buffering on;

proxy_buffers 4 128k;

proxy_busy_buffers_size 256k;

proxy_max_temp_file_size 256k;

proxy_set_header X-Forwarded-Proto $scheme;

proxy_set_header X-Forwarded-For $proxy_add_x_forwarded_for;
配置好两台主机的nginx。记得检查语法、重启nginx。
使用本地浏览器访问192.168.96.135,按F5刷新,会循环访问server1、server2、server3、
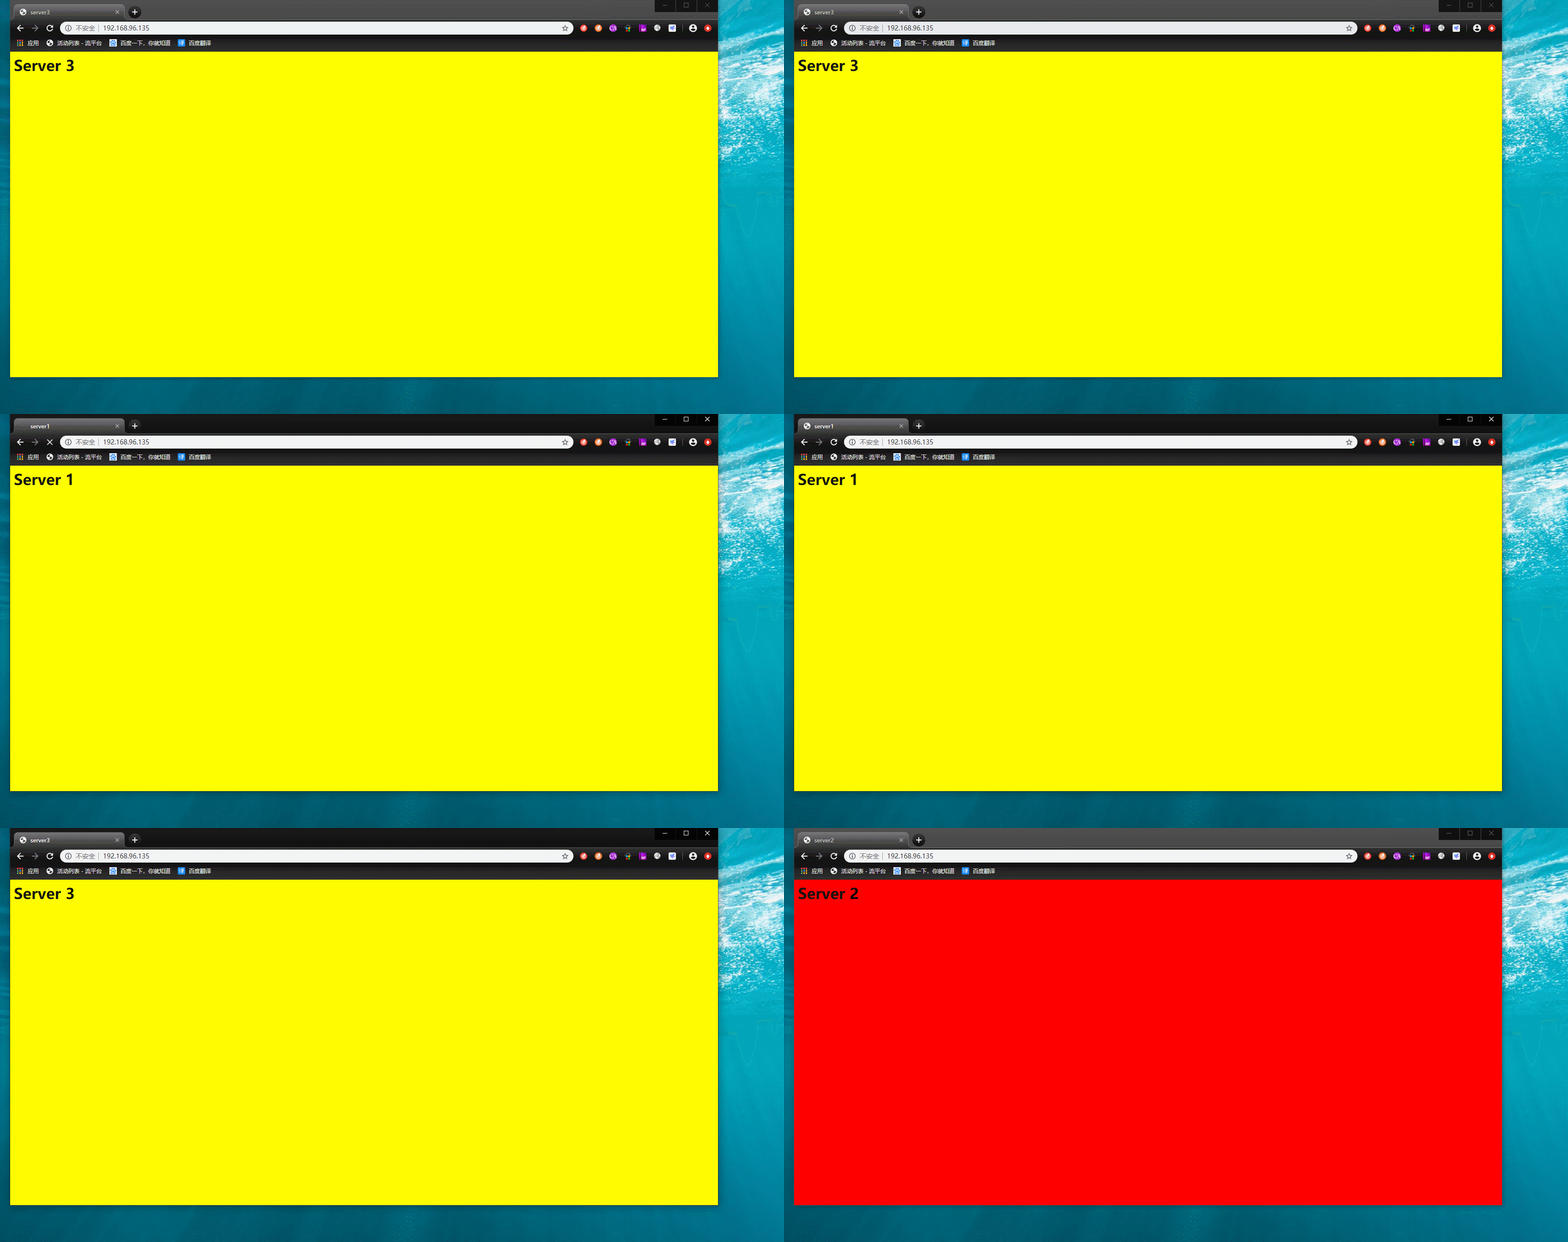
这是关闭主机188的8002端口
iptables -I INPUT -p tcp --dport 8002 -j DROP
再次本地浏览器访问192.168.96.135,按F5刷新。这时候就不会有server2访问页面了
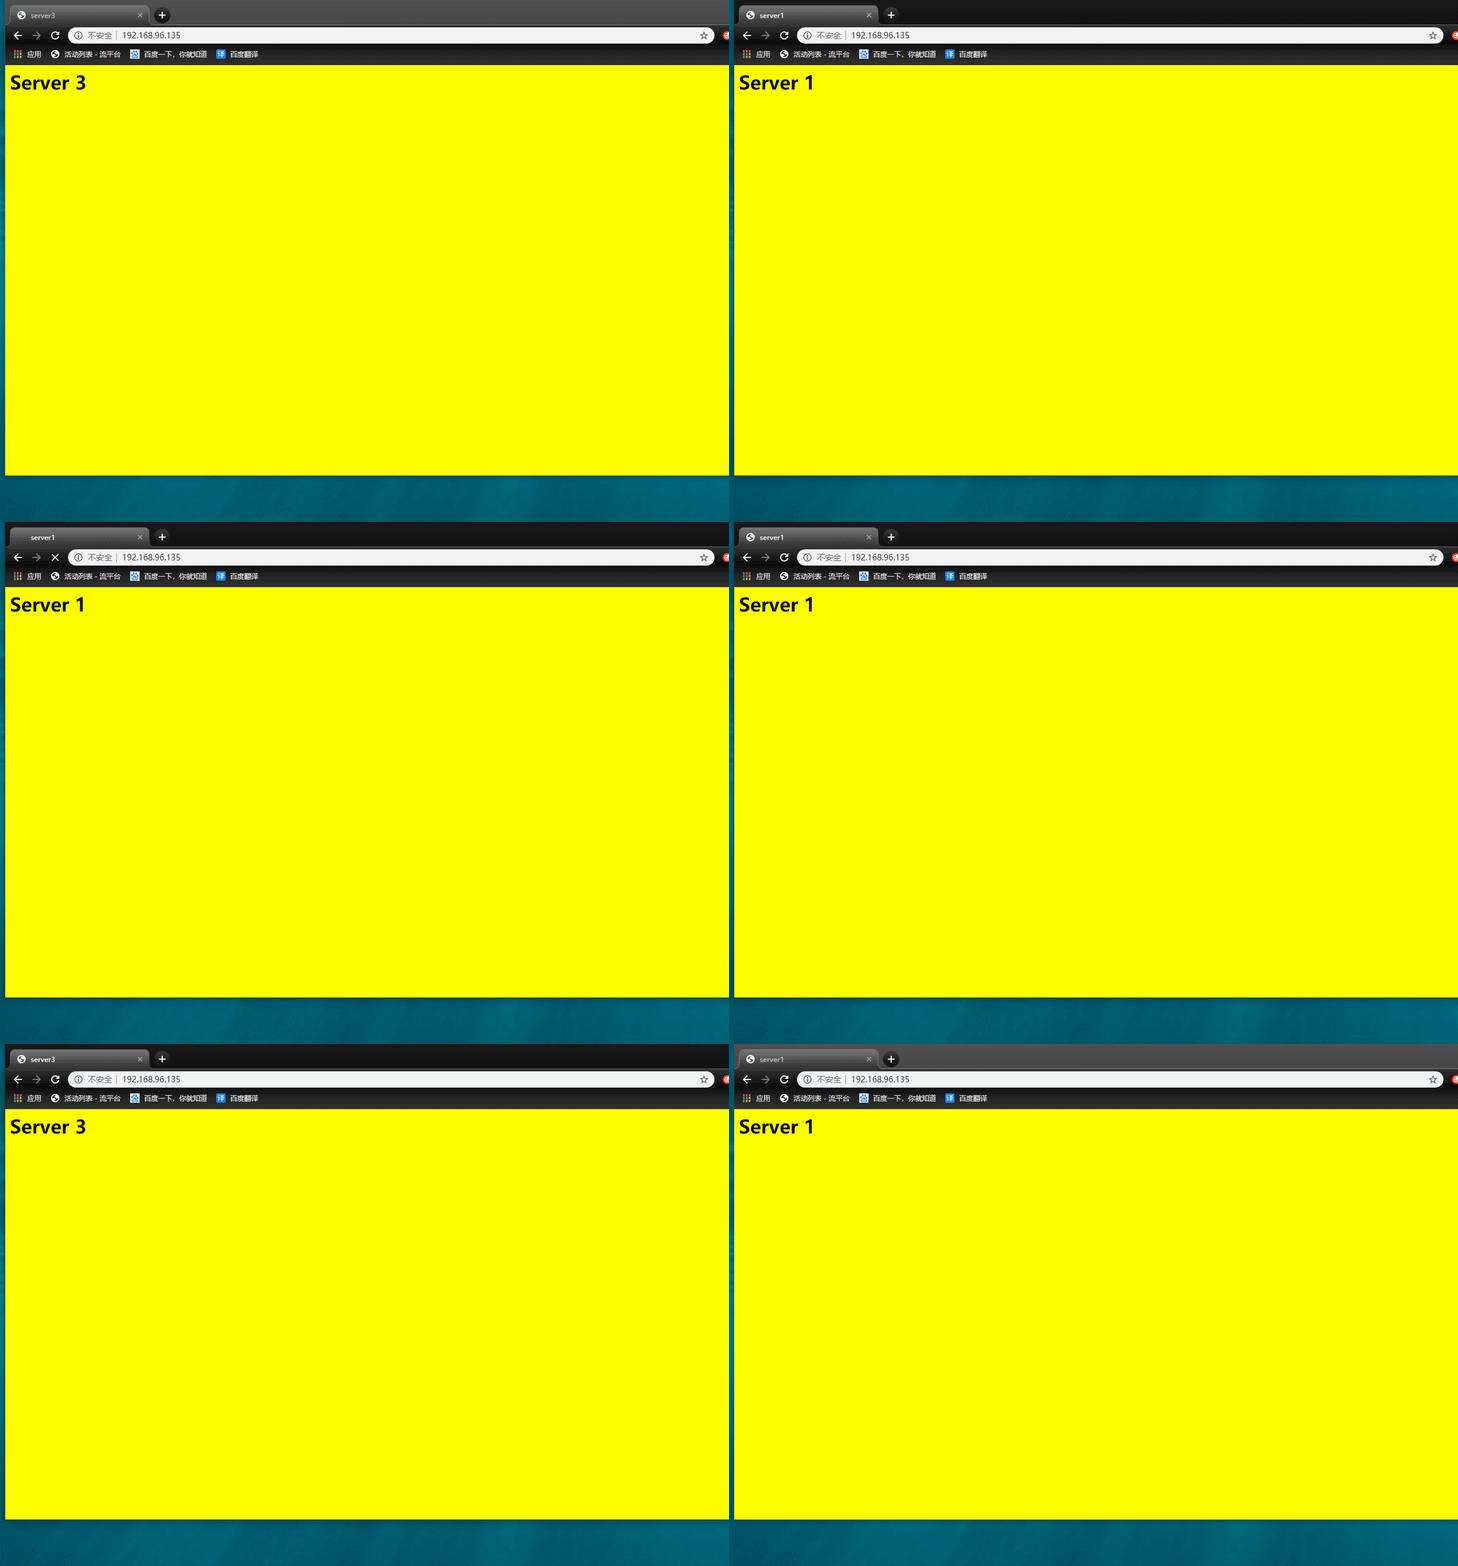
现实场景中,三台主机有一台主机宕机了,没有做负载均衡,会导致其他主机也无法访问。
有做负载均衡,一台主机宕机了,其他主机照样也能访问
Nginx作为负载均衡——实战演练的更多相关文章
- ASP.NET Core使用Docker-Swarm集群部署实现负载均衡实战演练
一.需求背景 人生苦短,我用.NET Core!阿笨对Docker是这样评价的:Docker在手,环境我有!Docker出手,集群我有!前面的Doc基础课程我们学习了如何使用Docker来部署搭建单机 ...
- nginx+tomcat负载均衡
最近练习nginx+tomcat负载均衡.根据一些资料整理了大体思路,最终实现了1个nginx+2个tomcat负载均衡. 安装JDK 1>进入安装目录,给所有用户添加可执行的权限 #chmod ...
- 使用Nginx实现负载均衡
使用Nginx实现负载均衡 一.nginx简介 nginx是一个高性能的HTTP服务器和反向代理服务器.它起初是俄罗斯人Igor Sysoev开发的,至今支撑者俄罗斯的很多大型的网站. 二.nginx ...
- nginx作为负载均衡服务器——测试
i. 需求 nginx作为负载均衡服务器,用户请求先到达nginx,再由nginx根据负载配置将请求转发至 tomcat服务器. nginx负载均衡服务器:192.168.101.3 tomcat1服 ...
- windows配置nginx实现负载均衡集群
windows配置nginx实现负载均衡集群2014-08-20 09:44:40 来源:www.abcde.cn 评论:0 点击:617 网上大部分关于nginx负载均衡集群的教程都是lin ...
- 使用nginx做负载均衡的session共享问题
查了一些资料,看了一些别人写的文档,总结如下,实现nginx session的共享PHP服务器有多台,用nginx做负载均衡,这样同一个IP访问同一个页面会被分配到不同的服务器上,如果session不 ...
- 【Nginx】配置Nginx的负载均衡
参考的优秀文章 tomcat配置文件server.xml详解 AJP协议总结与分析 Using nginx as HTTP load balancer 在本机运行2个Tomcat 现需要运行两个Tom ...
- Nginx的负载均衡 - 整体架构
Nginx的负载均衡 - 整体架构 Nginx版本:1.9.1 我的博客:http://blog.csdn.net/zhangskd Nginx目前提供的负载均衡模块: ngx_http_upstre ...
- Nginx作为负载均衡服务器(Windows环境)
一个最简单的负载均衡测试,不涉及到session复制,只是将请求分配到不同的服务器上去而已. 1.创建一个简单的web应用.只有一个index.jsp页面,,内容如下. <%@ page lan ...
随机推荐
- js基础——流程控制语句
1.if语句 if(条件表达式){ 若条件成立只执行我,下面的分支不执行 }else if(条件表达式){ 语句; }else if(条件表达式){ 语句; }else{ ...
- P1022 绵羊排序
题目描述 聪聪想要给他家农场里的 \(n\) 只绵羊按照品质从高到低进行排序. 农场里的 \(n\) 只绵羊编号从 \(1\) 到 \(n\) ,第 \(i\) 只绵羊的体重为 \(w_i\) ,高度 ...
- H3C配置console口密码
方法一: [H3C]user-interface console 0 [H3C-ui-console0]authentication-mode password [H3C-ui-console0]se ...
- P3157 动态逆序对 CDQ分治
动态逆序对 CDQ分治 传送门:https://www.luogu.org/problemnew/show/P3157 题意: 对于序列A,它的逆序对数定义为满足i<j,且Ai>Aj的数对 ...
- 浅解 go 语言的 interface(许的博客)
我写了一个 go interface 相关的代码转换为 C 代码的样例.也许有助于大家理解 go 的 interface.不过请注意一点,这里没有完整解析 go 语言 interface 的所有细节. ...
- 非GUI-Qt程序运行后显示Console(简单好用:在pro文件中加入: CONFIG += console)
----我的生活,我的点点滴滴!! 有很多时候,我们在程序中添加了好Debug信息,方便程序在运行期间打印出一些我们需要的信息或者,想用他来显示一些必要信息时, 那么console就太重要了,曾几何时 ...
- SQLServer系统函数之字符串函数
一.字符串函数 参数character_expression:由字符数据组成的字母数字表达式,可以是常量或变量,也可以是字符列或二进制数据列 参数integer_expression:是正整数,如果 ...
- 重新精读《Java 编程思想》系列之final关键字
在java中final关键字标识无法被修改.接下来从final修饰数据.方法和类进行介绍. final数据 final用来告知编译器这一块数据是恒定不变的.数据恒定不变又如下作用: 1.一个永不改变的 ...
- 使用ASP.NET Core 3.x 构建 RESTful API - 4.3 HTTP 方法的安全性和幂等性
什么样的HTTP方法是安全的? 如果一个方法不会该表资源的表述,那么这个方法就被认为是安全的. 例如 HTTP GET 和 HTTP HEAD 就被认为是安全的,但需要注意的是,这并不意味着执行GET ...
- 子网划分及NAT技术总结
近段项目需要用到网络相关的知识,硬着头皮又回顾了一波,这里做一下记录. 一 分类的IP地址 我们使用的IP地址(IP V4)可以划分为A,B,C,D,E 5个类型,其中的D,为组播地址,E类地址为保留 ...