
nodejs编写后台
1.引入核心模块
2.服务器监听窗口
3.创建服务器对象
4.设置服务器监听窗口

寻找路径
 // 引入核心模块

  const http = require('http')

 //  服务器监听窗口

  const port =3000;

 //  const port =process.argv[2];

 // console.log(process.argv)

 // 创建服务器对象

     const serve =  http.createServer((req,res)=>{

         let fileName='';

         if(req.url==='/'){

             fileName='/public/index.html'

         }else{

             fileName='/public'+req.url;

         }

         console.log(fileName);

         res.end(fileName)

  })

 //  设置服务器监听窗口

  serve.listen(port,()=>{

      console.log(`serve runnint at http://localhost${port}`)

  })
全局变量
以下几个变量虽然看起来是全局的,但其实并不是,它们仅存在于模块范围内。
- require(),模块作用域中的全局方法,用于导入其他模块
- module,表示当前模块
- exports,module.exports属性的别名,用于导出模块成员
- __dirname,表示当前文件所在的目录
- __filename,表示当前文件的名称(名称前面具有完整的路径)

 // 引入核心模块

  const http = require('http')

 const path = require('path')

 //  服务器监听窗口

  const port =3000;

 // 创建服务器对象

     const serve =  http.createServer((req,res)=>{

         let fileName='';

         if(req.url==='/'){

             fileName='/public/index.html'

         }else{

             fileName='/public'+req.url;

         }

         // console.log(fileName);

         // 根目录

         res.end(path.join(__dirname,fileName))

         // res.end(__dirname+fileName)

  })

 //  设置服务器监听窗口

  serve.listen(port,()=>{

      console.log(`serve runnint at http://localhost${port}`)

  })
读取文件
 // 引入核心模块

  const http = require('http')

 const path = require('path')

 const fs = require('fs')

 //  服务器监听窗口

  const port =3000;

 // 创建服务器对象

     const serve =  http.createServer((req,res)=>{

         let fileName='';

         if(req.url==='/'){

             fileName='/public/index.html'

         }else{

             fileName='/public'+req.url;

         }

         // console.log(fileName);

         // 根目录

         // res.end(path.join(__dirname,fileName))

         // res.end(__dirname+fileName)

         // 读取文件

         fs.readFile((__dirname+fileName), 'utf8',(err,data)=>{

         // fs.readFile((__dirname+fileName),{encoding: 'utf8', flag: 'r'},(err,data)=>{

             if(err){

                 res.statusCode=404;

                 res.statusMessage='not Found';

                 res.setHeader('content-Type','text/html;charset=utf-8')

                 res.end('这里什么都没有')

             }else{

                 res.statusCode=200;

                 res.statusMessage='ok';

                 res.setHeader('content-Type','text/html;charset=utf-8')

                 res.end(data)

             }

         })

  })

 //  设置服务器监听窗口

  serve.listen(port,()=>{

      console.log(`serve runnint at http://localhost${port}`)

  })
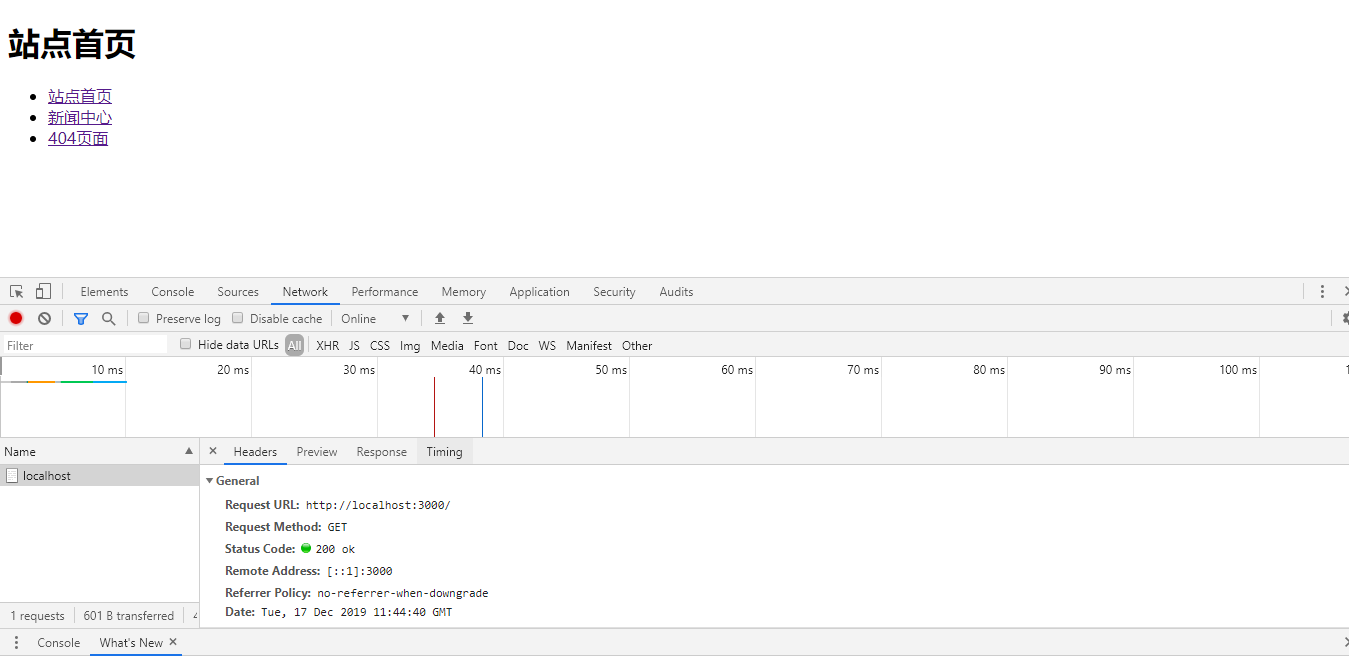
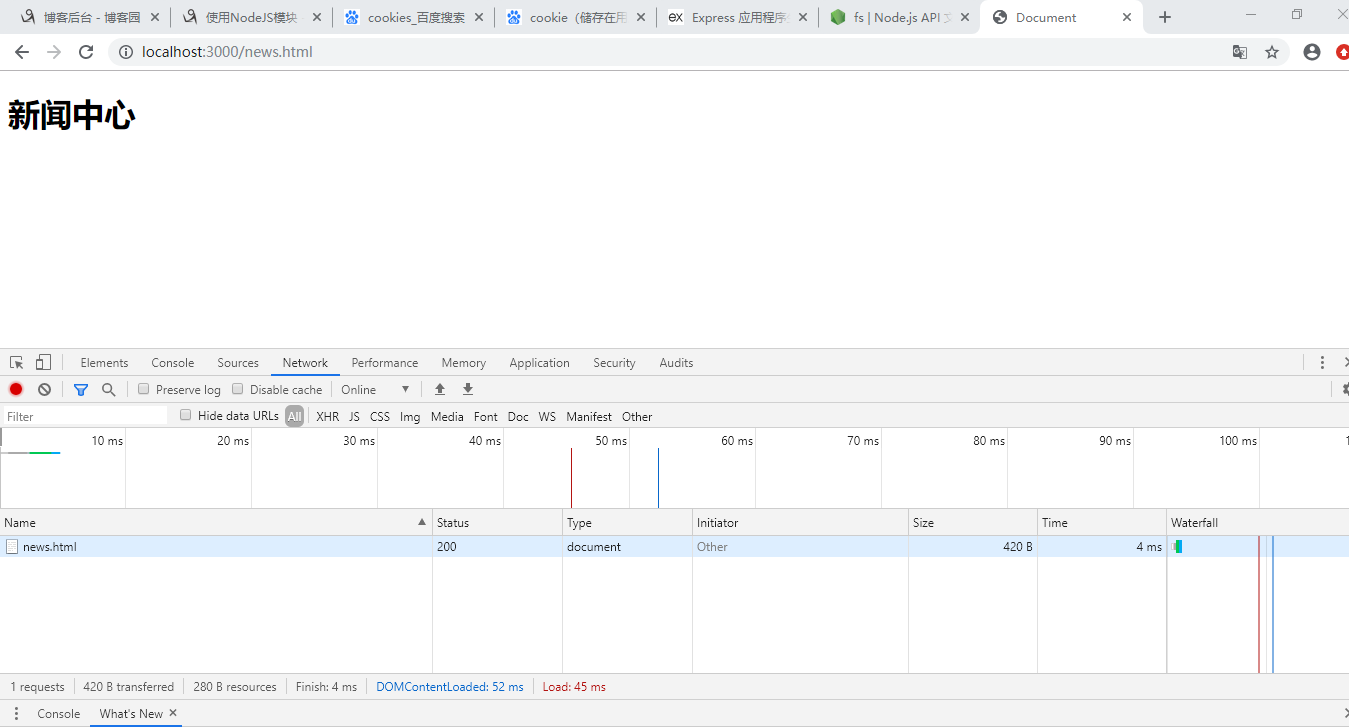
在package.json文件配置命令
当我们要执行的命令比较复杂时,可以将该命名配置到package.json文件中scripts字段中,并为该命令指定一个别名;
  "scripts": {

     "serve": "node server.js"

   },
上面的代码为 node server.js指定了一个别名serve,然后我们可以通过npm的子命令run去执行该命令:
npm run serve
如果命令的别为start,则执行时可以省略子命令run
 "scripts": {

     "start": "node server.js",

   },
npm start
nodejs编写后台的更多相关文章
- nodejs 编写(添加时间戳)命令行工具 timestamp
Nodejs除了编写服务器端程序还可以编写命令行工具,如gulp.js就是Nodejs编写的. 接下来我们来实现一个添加时间戳的命令: $ timestamp action https://www.n ...
- 步步为营-73-asp.net的简单练习(根据美工提供静态页面,编写后台代码)
说明:实际企业中开发分工是很明确,往往程序员根据美工提供的UI界面进行后台代码的编写. 1.1 原始HTML页面 1.2 使用aspx进行修改 这里使用到了三层架构 using System; usi ...
- Delphi编写后台监控软件
Delphi编写后台监控软件 文章来源:Delphi程序员之家 后台监控软件,为了达到隐蔽监控的目的,应该满足正常运行时,不显示在任务栏上,在按Ctrl+Alt+Del出现的任 ...
- 【MEVN架构】mongodb+ express + vue + nodejs 搭建后台
前端技术栈:vue2 + vuex + vue-router + webpack + ES6/7 + less + element-ui 服务端技术栈:nodejs + express + mongo ...
- forever让nodejs应用后台执行
nodejs一般是当成一条用户命令执行的,当用户断开客户连接,运用也就停了,很烦人.如何让nodejs应用当成服务,在后台执行呢? 最简单的办法: $ nohup node app.js & ...
- nodejs 做后台的一个完整业务整理
大家知道js现在不仅仅可以写前端界面而且可以写后端的业务了,这样js就可以写一个全栈的项目.这里介绍一个nodejs + express + mongodb + bootstap 的全栈项目. 1.安 ...
- nodeJs编写的简单服务器
一.简单的nodeJs写的 http 服务器 1.先Hello world,创建最简单的 Node 服务器(server.js) var http = require("http" ...
- Nodejs以后台服务启动
1: 从网上查找 LINUX中我们可以使用这种简单的方式让node.js在后台运行: nohup node your_app.js & 经多次实验一直没有成功 2:使用 forever ...
- [转]forever: 让nodejs应用后台执行
在LINUX中我们可以使用这种简单的方式让node.js在后台运行: nohup node your_app.js & forever可以让我们做得更好,并且可以跨平台的在windows和Li ...
随机推荐
- python网络编程socket编程(TCP、UDP客户端服务器)
摘录 python核心编程 使用socket()模块函数创建套接字——通信端点 >>> from socket import * >>> tcpSock = soc ...
- oopday02(面向对象-构造方法&静态static)
面向对象之封装 01_面向对象(构造方法Constructor概述和格式) * A:构造方法概述和作用 * 给对象的数据(属性)进行初始化 * B:构造方法格式特点 * a:方法名与类名相同(大小也要 ...
- Elasticsearch7.5.0源码编译
环境及工具 JDK12 Gradle5.6.2 GIT 源码及预处理 到github将代码clone下来,可以根据自己的需求来获取版本,例如 git checkout v7.5.0 提前下载gradl ...
- 深入理解 Java 枚举
- Mysql 的异常:The last packet successfully received from the server was 90 milliseconds ago. The last packet sent successfully to the server was 43,603,303 milliseconds ago. is longer than the server con
调试一个程序, 调试到一半, 下班回家, 程序卡在了某一行, 第二天早上回来一看, 发现了异常: Wed Sep :: GMT+: WARN: Establishing SSL connection ...
- 简单“三步”让你的网站支持https!
关于Let's Encrypt Let's Encrypt作为一个公共且免费SSL的项目逐渐被广大用户传播和使用,是由Mozilla.Cisco.Akamai.IdenTrust.EFF等组织人员发起 ...
- SpringAOP中切入点的高级使用
上一篇 SpringAOP之使用切入点创建通知 SpringAOP中切点的高级使用 一.使用控制流切入点(ControlFlowPointcut) 什么是控制流切入点呢?看下面的代码(为了方便,就写进 ...
- Flask 教程 第十三章:国际化和本地化
本文翻译自The Flask Mega-Tutorial Part XIII: I18n and L10n 这是Flask Mega-Tutorial系列的第十三部分,我将告诉你如何扩展Microbl ...
- JQuery 常用网址
http://www.bejson.com/apidoc/jquery/css.html 操作手册 https://jquery.com/ JQuery官网 一.JQuery插件的网站 1.ht ...
- 使用gitolite搭建Git服务器
使用gitolite搭建Git服务器 运行环境 Ubuntu18.04 gitolite 搭建过程 安装好Ubuntu18.04系统 更新系统 sudo apt update sudo apt upg ...