Elasticsearch配置安装
跨域
elasticsearch-head连接es时会提示连接失败,有可能就是没有开启跨域
| http.cors.enabled | 是否支持跨域,默认为false |
| http.cors.allow-origin | 当设置允许跨域,默认为*,表示支持所有域名,如果我们只是允许某些网站能访问,那么可以使用正则表达式。比如只允许本地地址。 /https?:\/\/localhost(:[0-9]+)?/ |
| http.cors.max-age | 浏览器发送一个“预检”OPTIONS请求,以确定CORS设置。最大年龄定义多久的结果应该缓存。默认为1728000(20天) |
| http.cors.allow-methods | 允许跨域的请求方式,默认OPTIONS,HEAD,GET,POST,PUT,DELETE |
| http.cors.allow-headers | 跨域允许设置的头信息,默认为X-Requested-With,Content-Type,Content-Length |
| http.cors.allow-credentials | 是否返回设置的跨域Access-Control-Allow-Credentials头,如果设置为true,那么会返回给客户端。 |
x-pack
x-pack监控作用
功能
图形展示 xpack.graph.enabled 只使用于kibana组件
报表统计 pack.reporting.enabled 只使用于kibana组件
报警通知 xpack.watcher.enabled 只适用于elasticsearch组件
安全认证 xpack.security.enabled 适用于elk的三个组件
监控跟踪 xpack.monitoring.enabled 适用于elk的三个组件
设备资源分配 xpack.ml.enabled 适用于elasticsearch和kibana组件
#设置                     #描述

xpack.graph.enabled       #设置为false以禁用X-Pack图形功能。

xpack.ml.enabled          #设置为false以禁用X-Pack机器学习功能。

xpack.monitoring.enabled  #设置为false以禁用X-Pack监视功能。

xpack.reporting.enabled   #设置为false以禁用X-Pack报告功能。

xpack.security.enabled    #设置为false以禁用X-Pack安全功能。

xpack.watcher.enabled     #设置为false以禁用Watche
http.cors.enabled 是否支持跨域,默认为false
http.cors.allow-origin 当设置允许跨域,默认为*,表示支持所有域名,如果我们只是允许某些网站能访问,那么可以使用正则表达式。比如只允许本地地址。 /https?:\/\/localhost(:[0-9]+)?/
http.cors.max-age 浏览器发送一个“预检”OPTIONS请求,以确定CORS设置。最大年龄定义多久的结果应该缓存。默认为1728000(20天)
http.cors.allow-methods 允许跨域的请求方式,默认OPTIONS,HEAD,GET,POST,PUT,DELETE
http.cors.allow-headers 跨域允许设置的头信息,默认为X-Requested-With,Content-Type,Content-Length
http.cors.allow-credentials 是否返回设置的跨域Access-Control-Allow-Credentials头,如果设置为true,那么会返回给客户端
node.master: false 这样这个节点就不会成为master节点
监视 数据集合
这些xpack.monitoring.collection设置控制如何从Elasticsearch节点收集数据
xpack.monitoring.collection.enabled: true 启用
xpack.monitoring.collection.interval: 30s 间隔时间、
https://segmentfault.com/a/1190000016824141?utm_source=tag-newest
https://www.elastic.co/guide/en/elasticsearch/reference/6.3/monitoring-settings.html
开启ssl
xpack.security.enabled: true
xpack.security.transport.ssl.enabled: true
xpack.security.transport.ssl.verification_mode: certificate
xpack.security.transport.ssl.keystore.path: elastic-certificates.p12
xpack.security.transport.ssl.truststore.path: elastic-certificates.p12
开启跨越
http.cors.enabled: true
http.cors.allow-origin: "*"
http.cors.allow-headers: Authorization,X-Requested-With,Content-Length,Content-Type
开启监控
xpack.monitoring.enabled: true
xpack.monitoring.collection.enabled: true
xpack.monitoring.collection.interval: 30s
# 配置X-Pack

http.cors.enabled: true

http.cors.allow-origin: "*"

http.cors.allow-headers: Authorization,X-Requested-With,Content-Type,Content-Length

xpack.security.enabled: true

xpack.security.transport.ssl.enabled: true
ES插件
官网下载安装包
https://www.elastic.co/cn/
然后安装jdk node.js环境
https://www.cnblogs.com/wudequn/p/11147869.html
https://www.cnblogs.com/wudequn/p/11072561.html
官方文档
https://www.elastic.co/cn/blog/security-for-elasticsearch-is-now-free
https://www.elastic.co/guide/cn/index.html
https://discuss.elastic.co
https://github.com/elastic
一、IK分词
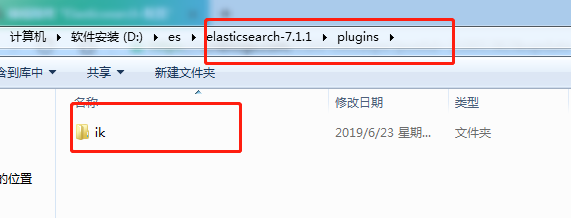
https://github.com/medcl/elasticsearch-analysis-ik/releases
下载后,加压,文件夹重命名 ik,放在plugins目录下。重启es
查看es安装的插件 http://192.168.31.102:9200/_cat/plugins
安装ES 7.1.*
一、修改配置文件
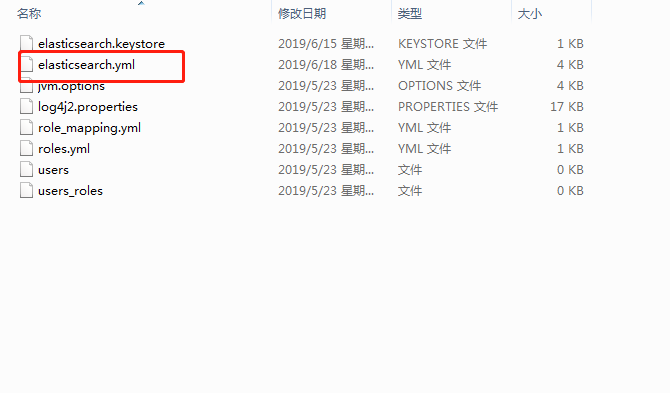
配置文档
https://www.elastic.co/guide/en/elasticsearch/reference/7.x/important-settings.html
https://www.cnblogs.com/wudequn/p/12933855.html
https://www.cnblogs.com/wudequn/p/12944822.html
network.host: 0.0.0.0

http.port: 9200

discovery.seed_hosts: ["node1"]    集群发现:配置该节点会与哪些候选地址进行通信,hostname,ip ,ip+port

cluster.initial_master_nodes: ["node-1"]   master节点:手动指定可以成为 mater 的所有节点的 name 或者 ip,这些配置将会在第一次选举中进行计算
这几个要一起配置,不然报错(可以看错误日志)
主节点配置
# 配置X-Pack

http.cors.enabled: true

http.cors.allow-origin: "*"

http.cors.allow-headers: Authorization,X-Requested-With,Content-Type,Content-Length

xpack.security.enabled: true

xpack.security.transport.ssl.enabled: true

子节点配置
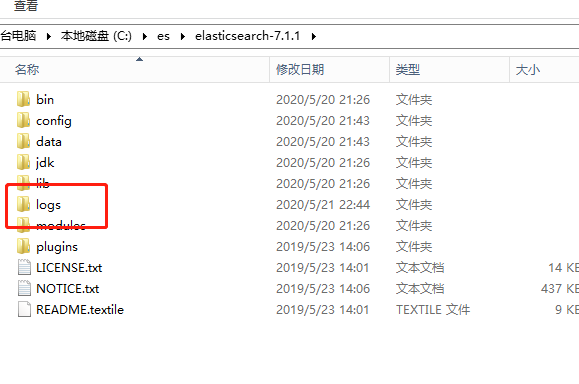
打开另一个新的ES节点的目录 我的是下图中的 node,这是master的一个副本,只是文件夹名不一样(子节点不用设置密码了,主节点设置了)
修改node的config/elasticsearch.yml
除了和master相同的安全配置之外,还要添加
node.master: false 这样这个节点就不会成为master节点
xpack.security.enabled: true

xpack.security.transport.ssl.enabled: true

xpack.security.transport.ssl.verification_mode: certificate

xpack.security.transport.ssl.keystore.path: elastic-certificates.p12

xpack.security.transport.ssl.truststore.path: elastic-certificates.p12

#此节点不会成为主节点

node.master: false
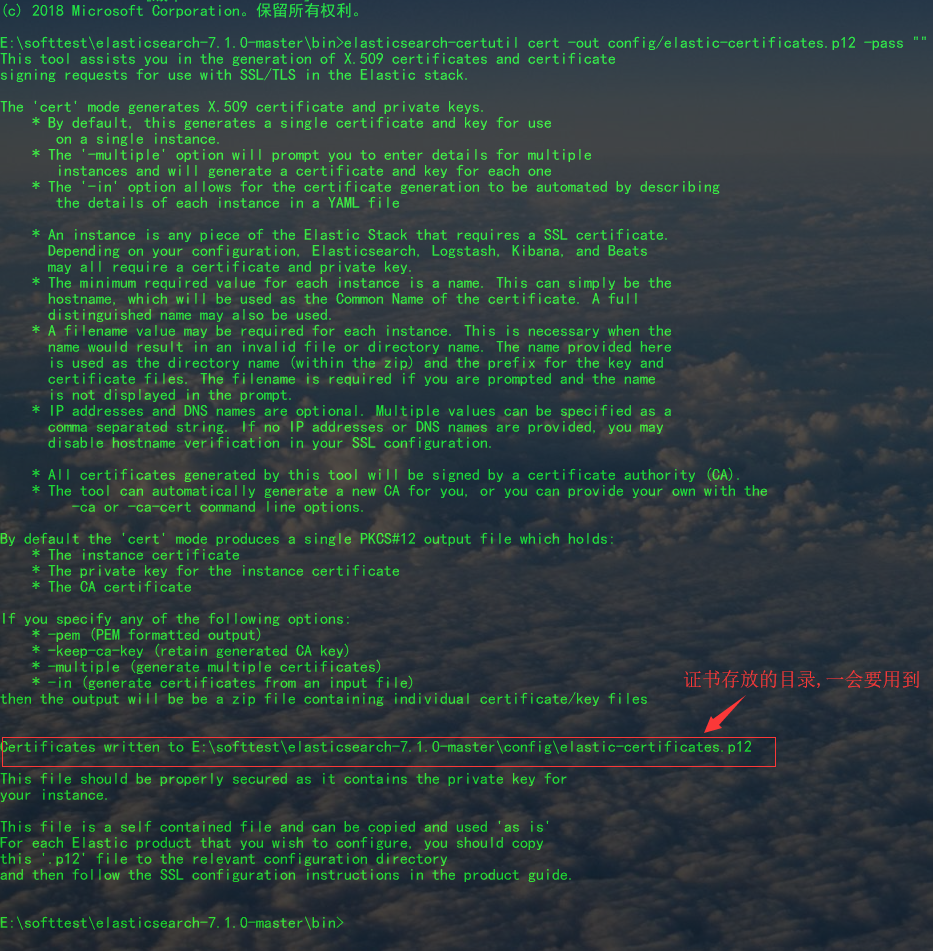
二、安装证书
在bin下执行 elasticsearch-certutil cert -out config/elastic-certificates.p12 -pass ""
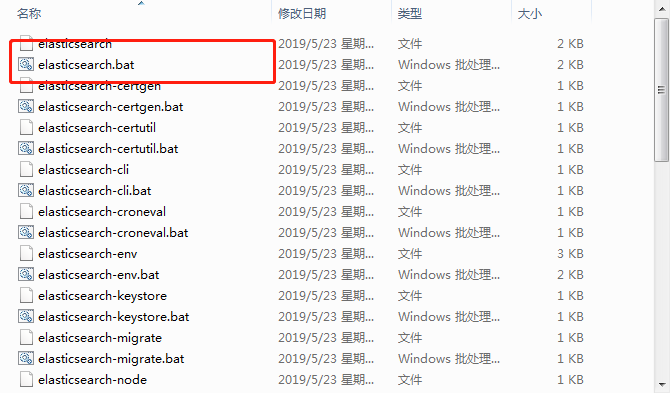
三、安装ES服务
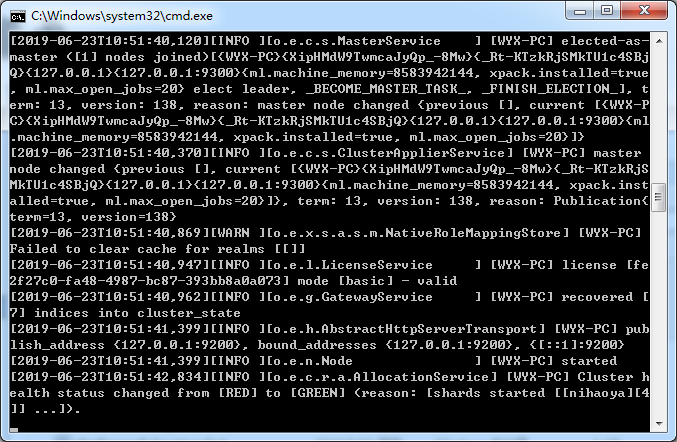
(安装方法1)控制台启动ES 或者通过下面的服务启动ES
(安装方法2)或者安装ES服务
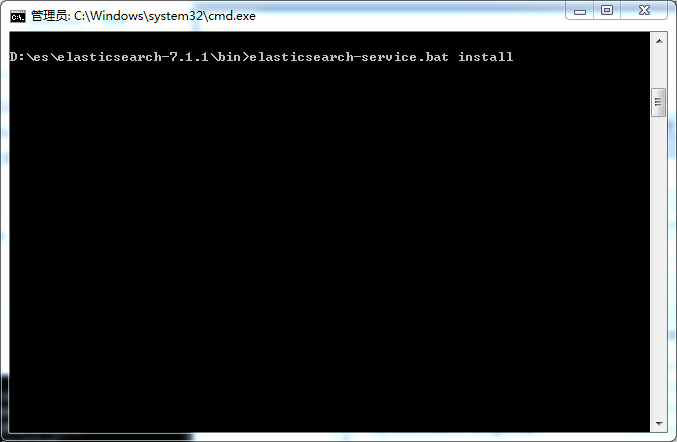
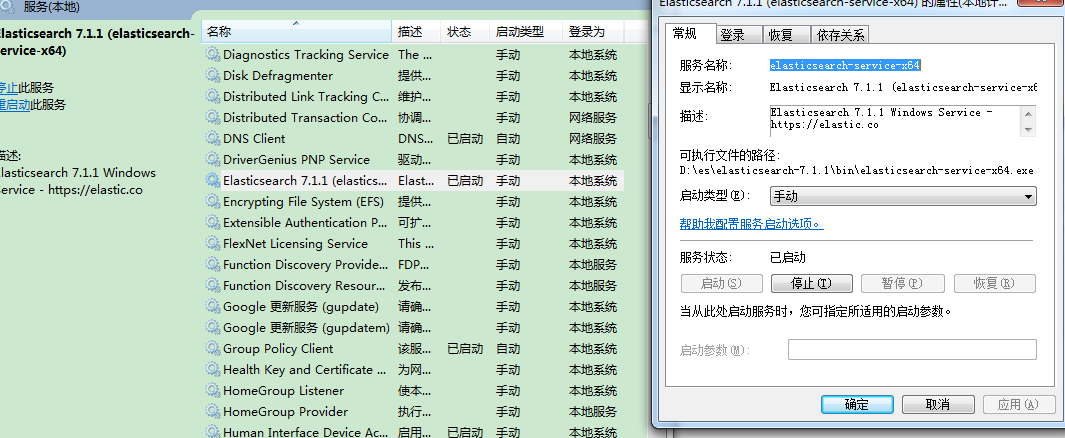
elasticsearch-service.bat后面还可以执行这些命令
install: 安装Elasticsearch服务
remove: 删除已安装的Elasticsearch服务(如果启动则停止服务)
start: 启动Elasticsearch服务(如果已安装)
stop: 停止服务(如果启动)
manager:启动GUI来管理已安装的服务
或者通过nssm
四、生成密码
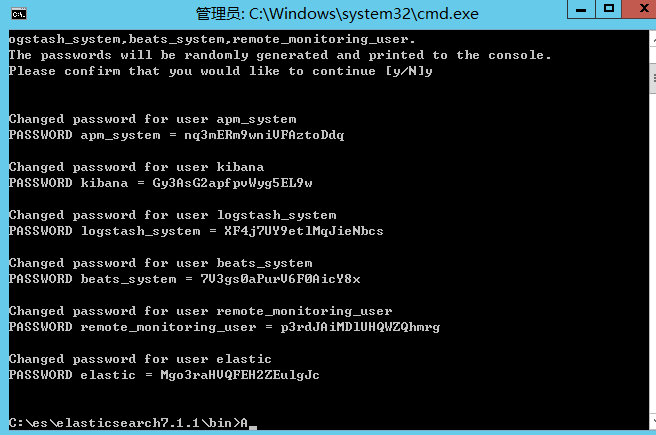
bin下执行elasticsearch-setup-passwords auto
密码将随机生成并打印到控制台 按下 y 确认
密码手动生成(推荐)
elasticsearch-setup-passwords interactive
这个命令可以是手动设置密码
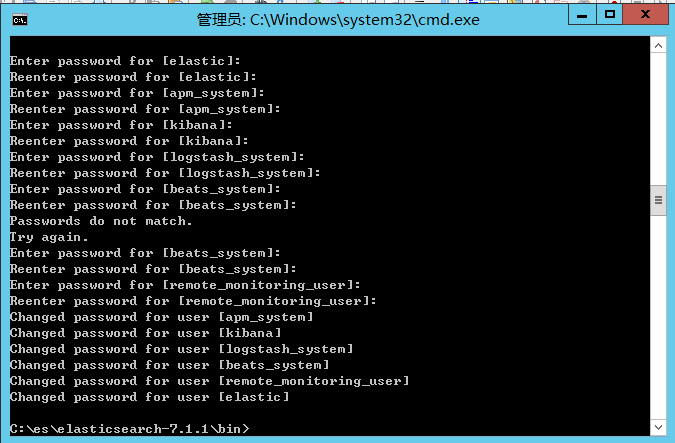
用户等等
- elastic 账号:拥有 superuser 角色,是内置的超级用户。
- kibana 账号:拥有 kibana_system 角色,用户 kibana 用来连接 elasticsearch 并与之通信。Kibana 服务器以该用户身份提交请求以访问集群监视 API 和 .kibana 索引。不能访问 index。
- logstash_system 账号:拥有 logstash_system 角色。用户 Logstash 在 Elasticsearch 中存储监控信息时使用
修改密码
curl -H "Content-Type:application/json" -XPOST -u elastic 'http://127.0.0.1:9200/_xpack/security/user/elastic/_password' -d '{ "password" : "123456" }'

curl -XPUT -u elastic 'http://localhost:9200/_xpack/security/user/elastic/_password' -d '{ "password" : "yourpasswd" }'
五、测试

打开时候需要输入账号密码 就是前面自动生成的账号密码。
如果服务没有起来就查看错误日志。
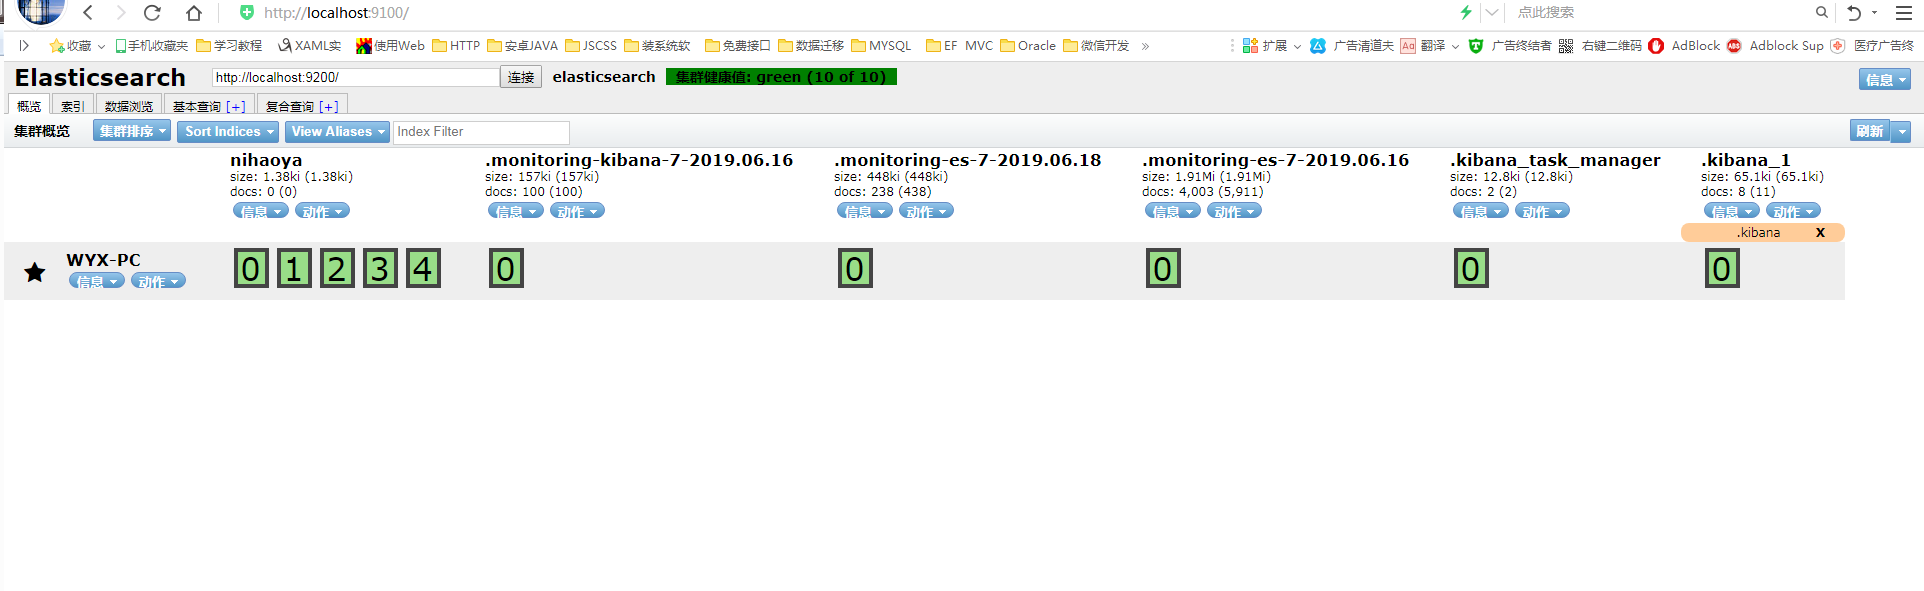
六、安装es-head
alsticsearch只是后端提供各种API,那么怎么直观的使用它呢?Elasticsearch-head将是一款专门针对于Elasticsearch的客户端工具(客户端最好使用kibana)
Elasticsearch-head安装包,下载地址:https://github.com/mobz/elasticsearch-head
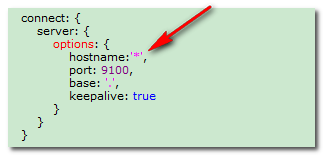
修改es-head目录下面的Gruntfile.js文件,添加hostname:’*'
1、首先要安装node.js:安装教程
2、cmd执行 npm install -g grunt-cli 安装grunt ,安装完成后执行grunt -version查看是否安装成功,会显示安装的版本号
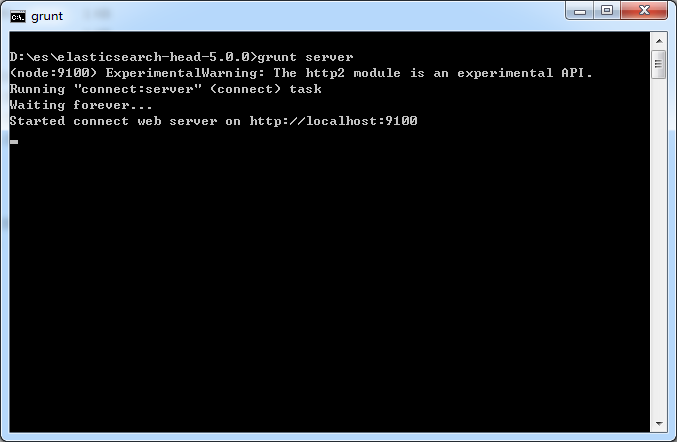
3、在es-head目录下cmd执行 grunt server 或者npm run start 运行head插件
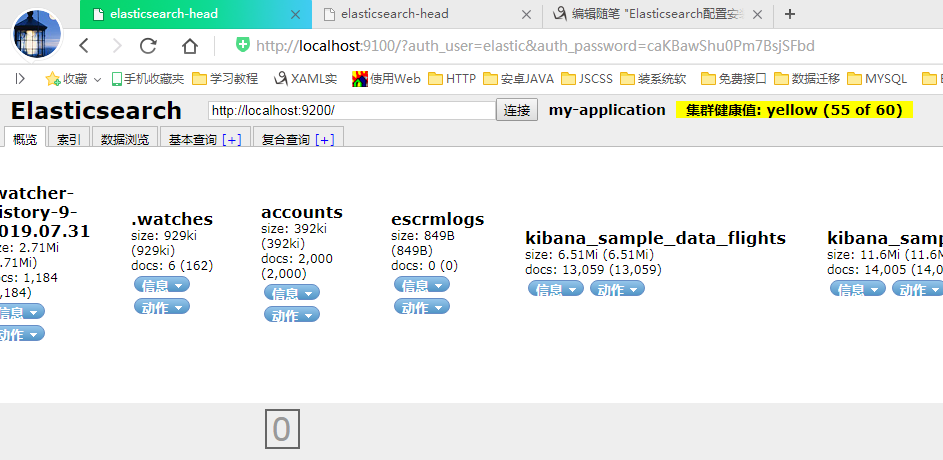
如果设置了es安全
则登录
http://localhost:9100/?auth_user=elastic&auth_password=caKBawShu0Pm7BsjSFbd
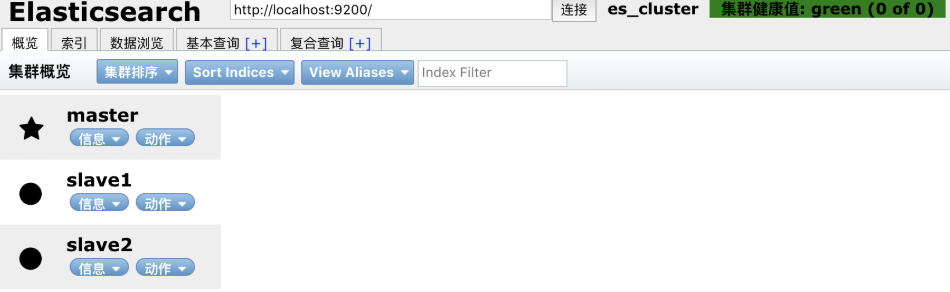
集群搭建
1、主节点
# 集群名称

cluster.name: "es_cluster"

# 节点名称,这儿我直接取名为 master

node.name: master

# 是否可以成为master节点

node.master: true

# 是否允许该节点存储数据,默认开启

node.data: true

# 网络绑定,这里我绑定 0.0.0.0,支持外网访问

network.host: 0.0.0.0

# 设置对外服务的http端口,默认为9200

http.port:

# 支持跨域访问

http.cors.enabled: true

http.cors.allow-origin: "*"

# 设置节点间交互的tcp端口,默认是9300

transport.tcp.port:

# 手动指定可以成为 mater 的所有节点的 name 或者 ip,这些配置将会在第一次选举中进行计算

cluster.initial_master_nodes: ["127.0.0.1"]
2、从节点1
# 集群名称,处于同一个集群所有节点,该名称必须相同

cluster.name: "es_cluster"

# 节点名称,这儿我直接取名为 slave1

node.name: slave1

# 是否可以成为master节点

node.master: false

# 是否允许该节点存储数据,默认开启

node.data: true

# 网络绑定,这里我绑定 0.0.0.0,支持外网访问

network.host: 0.0.0.0

# 设置对外服务的http端口,默认为9200,这里我们修改为 ,不然会有端口冲突

http.port:

# 支持跨域访问

http.cors.enabled: true

http.cors.allow-origin: "*"

# 集群发现  主节点中配过这个

discovery.seed_hosts: ["127.0.0.1:9300"]
3、从节点2
# 集群名称,处于同一个集群所有节点,该名称必须相同

cluster.name: "es_cluster"

# 节点名称,这儿我直接取名为 slave2

node.name: slave2

# 是否可以成为master节点

node.master: false

# 是否允许该节点存储数据,默认开启

node.data: true

# 网络绑定,这里我绑定 0.0.0.0,支持外网访问

network.host: 0.0.0.0

# 设置对外服务的http端口,默认为9200,这里我们修改为 ,不然会有端口冲突

http.port:

# 支持跨域访问

http.cors.enabled: true

http.cors.allow-origin: "*"

# 集群发现

discovery.seed_hosts: ["127.0.0.1:9300"]
学习视频
https://www.elastic.co/cn/webinars/getting-started-elasticsearch?elektra=home&storm=sub1
https://blog.csdn.net/MicoMecy/article/details/90642163
https://www.jianshu.com/p/5e65e04b4b64
Elasticsearch配置安装的更多相关文章
- Elasticsearch环境安装配置
安装Elasticsearch的步骤如下 - 第1步 - 查看安装在计算机上的java的最低版本,它要求java 7或以上或最新的版本.可以通过执行以下操作进行检查 - 在Windows操作系统(OS ...
- ElasticSearch搜索引擎安装配置拼音插件pinyin
近几篇ElasticSearch系列: 1.阿里云服务器Linux系统安装配置ElasticSearch搜索引擎 2.Linux系统中ElasticSearch搜索引擎安装配置Head插件 3.Ela ...
- ElasticSearch搜索引擎安装配置中文分词器IK插件
近几篇ElasticSearch系列: 1.阿里云服务器Linux系统安装配置ElasticSearch搜索引擎 2.Linux系统中ElasticSearch搜索引擎安装配置Head插件 3.Ela ...
- Linux系统中ElasticSearch搜索引擎安装配置Head插件
近几篇ElasticSearch系列: 1.阿里云服务器Linux系统安装配置ElasticSearch搜索引擎 2.Linux系统中ElasticSearch搜索引擎安装配置Head插件 3.Ela ...
- elasticsearch kibana 安装 配置
二.Elasticsearch 配置信息 2.1 因为 Elasticsearch 可以执行脚本文件,为了安全性,默认不允许通过 root 用户启动服务.我们需要新创建用户名和用户组启动服务 2. ...
- Elasticsearch单机安装_集群搭建_索引基本操作_Head插件安装与基本操作_ik分词器配置_logstash实现数据同步_教程
一.Elasticsearch单机安装 1.将es安装包传到服务器上 这是安装包 这里我是用的是WinSCP上传工具,上传到/home/plugins文件下. 进入Xshell,验证一下是否上传成功. ...
- 如何在Elasticsearch中安装中文分词器(IK+pinyin)
如果直接使用Elasticsearch的朋友在处理中文内容的搜索时,肯定会遇到很尴尬的问题--中文词语被分成了一个一个的汉字,当用Kibana作图的时候,按照term来分组,结果一个汉字被分成了一组. ...
- Elasticsearch配置详解、文档元数据
目录 返回目录:http://www.cnblogs.com/hanyinglong/p/5464604.html 1.Elasticsearch配置文件详解 a. 在上面博客中,我们已经安装并且成功 ...
- Linux初学 - Elasticsearch环境安装
下载 https://www.elastic.co/downloads/elasticsearch 安装 rpm -ivh 也可以双击rpm包安装 修改elastaticsearch host配置 修 ...
随机推荐
- SSH如何使用
如何查看SSH服务是否已经安装? 在终端命令行执行 rpm -qa | grep "ssh" 执行结果请看下图,说明已经安装:其实在安装linux操作系统的时候默认就会安装上的. ...
- mint-ui 做省市选择组件
省市的数据是动态的,其实不是动态的更好搞 <!-- 省市选择 --> <mt-popup v-model="popupVisible" position=&quo ...
- vue+elementui搭建后台管理界面(2首页)
1 会话存储 使用html5的 sessionStorage 对象临时保存会话 // 保存会话 sessionStorage.setItem('user', username) // 删除会话 ses ...
- 深度学习面试题12:LeNet(手写数字识别)
目录 神经网络的卷积.池化.拉伸 LeNet网络结构 LeNet在MNIST数据集上应用 参考资料 LeNet是卷积神经网络的祖师爷LeCun在1998年提出,用于解决手写数字识别的视觉任务.自那时起 ...
- PHP如何解决网站大流量与高并发的问题(三)
七层负载均衡的实现 基于URL等应用层信息的负载均衡 Nginx的proxy是一个很强大的功能,实现了7层负载均衡 功能强大.性能卓越,运行稳定 配置简单灵活 能自动提出工作不正常的后端服务器 上传文 ...
- Vue 中Axios 使用
1.安装axios npm install axios 2.在使用的地方导入 import axios from 'axios' 3.再方法中调用 sendHttp: function () { ax ...
- linux内核在哪里处理设备树中compatible为"syscon"的节点?
答: linux内核源码drivers/mfd/syscon.c中的of_syscon_register()接口对regmap_config进行初始化 注: linux内核源码版本为5.1.0
- Dart介绍和环境搭建
/* Dart介绍: Dart是由谷歌开发的计算机编程语言,它可以被用于web.服务器.移动应用 和物联网等领域的开发. Dart诞生于2011年,号称要取代JavaScript.但是过去的几年中一直 ...
- ISO/IEC 9899:2011 条款6.7.6——声明符
6.7.6 声明符 语法 1.declarator: pointeropt direct-declarator direct-declarator: identifier ( declar ...
- PPT插件(islide)
https://www.islide.cc/features iSlide 主要功能模块 一键优化 将PPT中不规则的字体,段落,色彩,参考线布局,风格样式等一键化全局统一设置,构建专业和规范. ...