Cross-compiling Qt Embedded 5.5 for Raspberry Pi 2
This tutorial shows how to cross-compile the Embedded build of Qt 5.5 for Raspberry Pi 2. The Embedded build does not use the X11 server and instead displays the GUI directly using the Raspberry Pi framebuffer. We will show how to use a Raspberry Pi cross-compiler to build the Qt5 framework for Raspberry Pi on a Windows machine.
- Download a fresh SD card image for your Raspberry Pi. In this tutorial we will use a Debian Jessieimage. Write the image into the SD card using WinFLASHTool or any other similar tool.
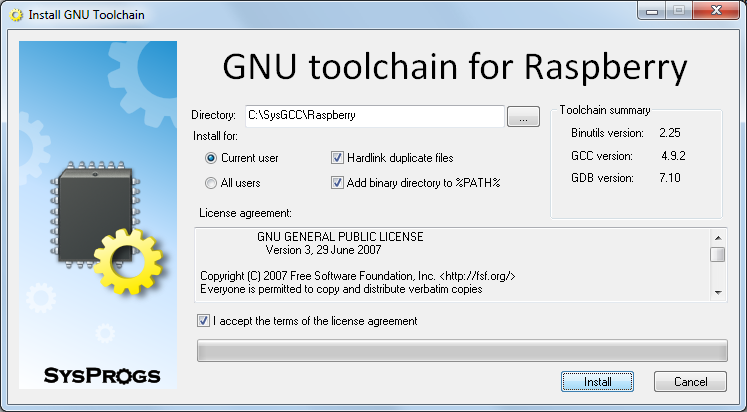
- Download a cross-toolchain matching the image and install it:
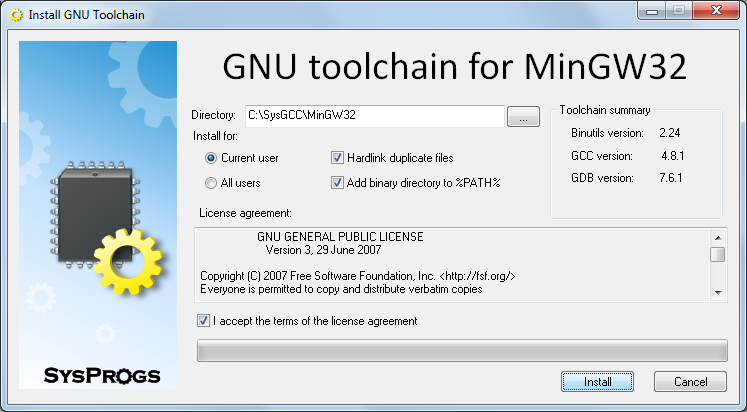
- Download and install a MinGW toolchain that will be used to build Windows versions of build tools like Qmake:
- Download and install Python 2.7 for Windows and ensure that its directory is added to PATH.
- Download the Qt source package (e.g. qt-everywhere-opensource-src-5.5.0.tar.xz) from the Qt Archive.
- Before we can build the Qt for Raspberry Pi, we need to resynchronize the sysroot with the toolchain to ensure that the toolchain has all the headers and libraries from your Raspberry. Start the UpdateSysroot.bat file from the <sysgcc>\Raspberry\TOOLS folder:
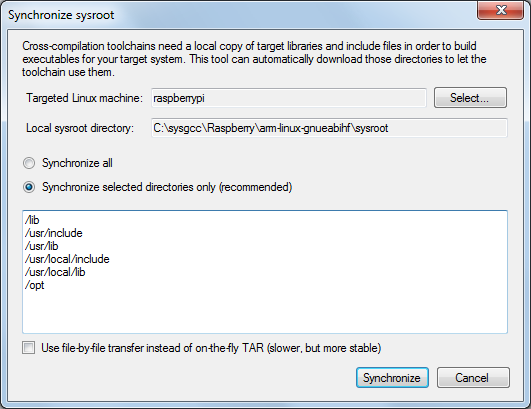 You need to synchronize at least the /opt folder, as it contains OpenGL headers that are not included in the toolchain. If you have installed additional packages on your Raspberry Pi, resynchronize other suggested directories as well.
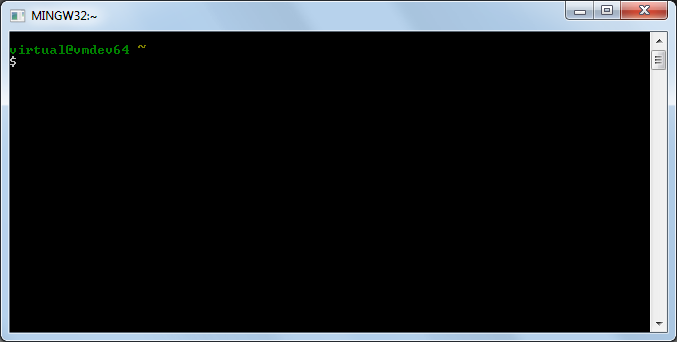
 - Launch the msys shell from the MinGW toolchain by running<sysgcc>\MinGW32\msys\1.0\msys.bat:
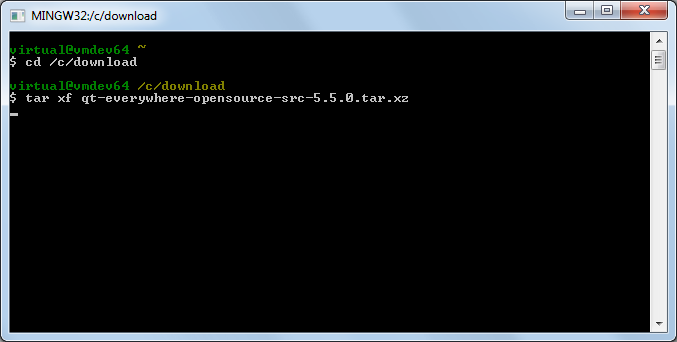
- Go to the directory containing the archive with the Qt source and extract it by running tar xf <archive name>:
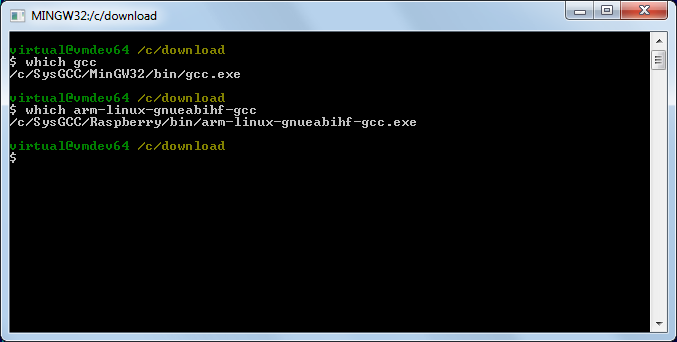
- Ensure that the directories containing the MinGW gcc compiler and the Raspberry Pi cross-compiler are added to PATH. If not, add them manually:
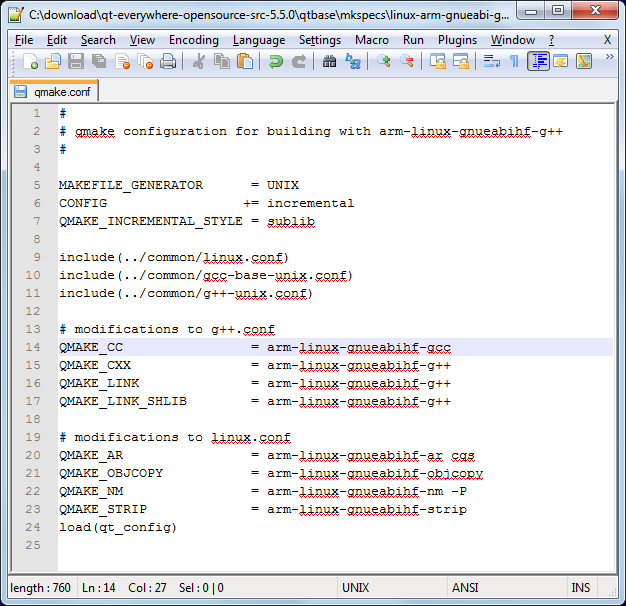
- Open the qt-everywhere-opensource-src-5.5.0\qtbase\mkspecs\linux-arm-gnueabi-g++\qmake.conf file and replace all occurences of arm-linux-gnueabi- with arm-linux-gnueabihf-:
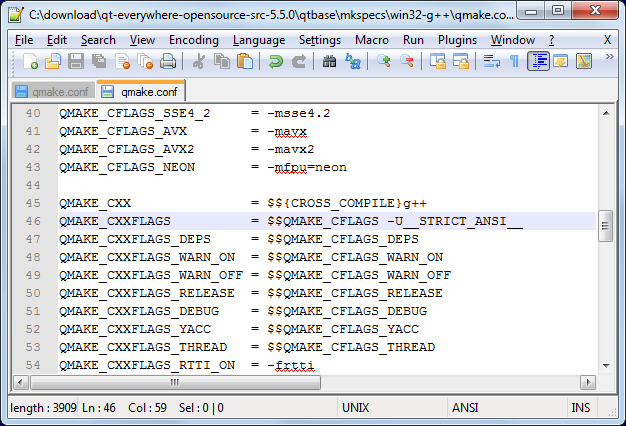
- Now we are ready to build Qt. Due to a bug in the Qmake build script, we will need to build it in 2 steps: first we will build a Qmake for Windows and then we’ll build the actual Qt binaries. First we will modify the win32-g++ platform definition to prevent MinGW from excluding some functions that Qt relies upon. Open the qt-everywhere-opensource-src-5.5.0\qtbase\mkspecs\win32-g++\qmake.conf file and add -U__STRICT_ANSI__ to CXXFLAGS:
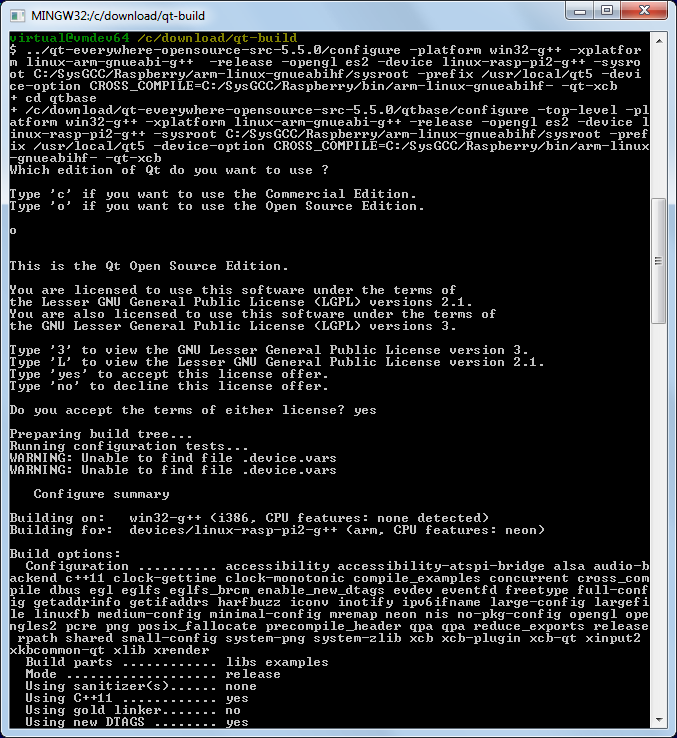
- Now we can build the Windows tools. Create a directory (e.g. qt-build) and run the configuration script from there:
123mkdir qt-buildcd qt-build../qt-everywhere-opensource-src-5.5.0/configure -platform win32-g++ -xplatform linux-arm-gnueabi-g++ -release -opengl es2 -device linux-rasp-pi2-g++ -sysroot C:/SysGCC/Raspberry/arm-linux-gnueabihf/sysroot -prefix /usr/local/qt5
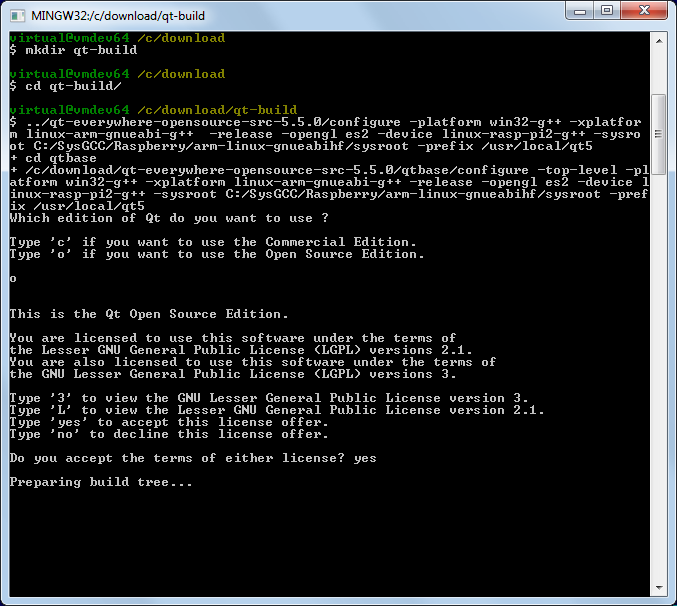 Note the “-opengl es2″ option that configures Qt to use the Raspberry Pi framebuffer directly instead of the X11 system.
 - Eventually the build should fail complaining about the errors to process specs for the raspberry device:
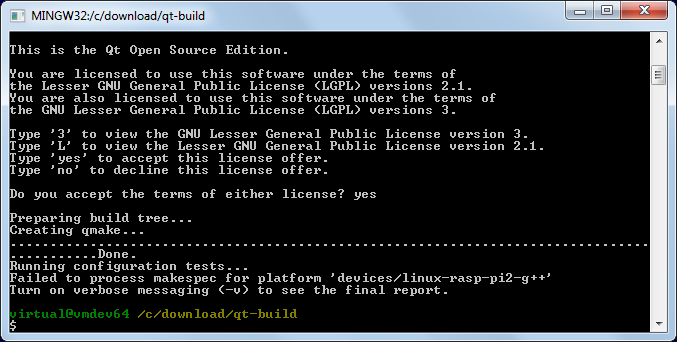
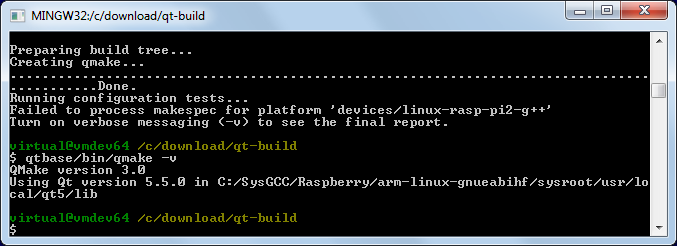
- This is normal as long as qmake.exe got built. Check this by running “qtbase/bin/qmake -v”:
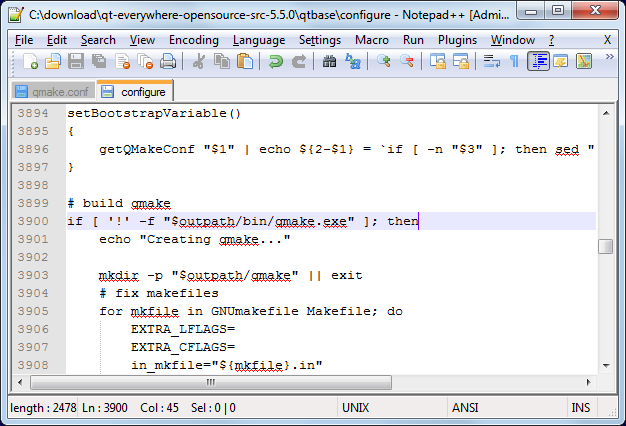
- Now we can build the rest of the Qt framework. First of all open the qtbase\configure file and replace the condition before the “Creating qmake line” with this one:
1if [ '!' -f "$outpath/bin/qmake.exe" ]; then
- Start the configure script again, this time adding the following argument to the end of the previous command line:
1-device-option CROSS_COMPILE=C:/SysGCC/Raspberry/bin/arm-linux-gnueabihf- -qt-xcb
 The -device-option is required when using the device specification, however if you specify it while building Qmake, the Qt build system will try to use the cross-compiler to build the Windows Qmake executable that will obviously fail.
 - Once the configure script reports that the configuration is complete, run the “make && make install” command to build the entire Qt framework and install it into the cross-compiler directory. The framework is huge, so the build process might take several hours to complete, even on a fast machine.
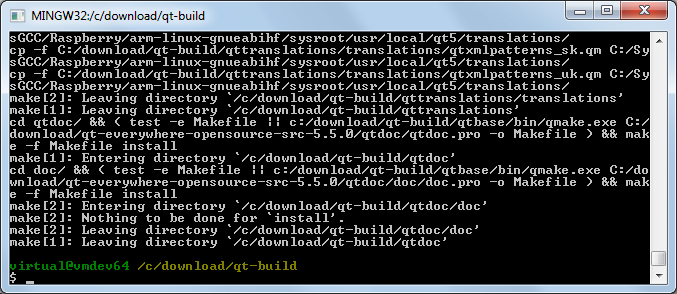 Warning: do not run “make install” before “make” succeeds as it would fail leaving the build directory in a partially built state failing further builds until the entire directory is deleted and re-created.
 - Open SmarTTY (a portable version can be found in <SysGCC>\Raspberry\TOOLS\PortableSmartty) and connect to your Raspberry Pi. Then run the following commands to create the /usr/local/qt5 folder and make it writable to the current user:
123cd /usr/localsudo mkdir qt5sudo chown pi qt5
Then select SCP->Upload directory:
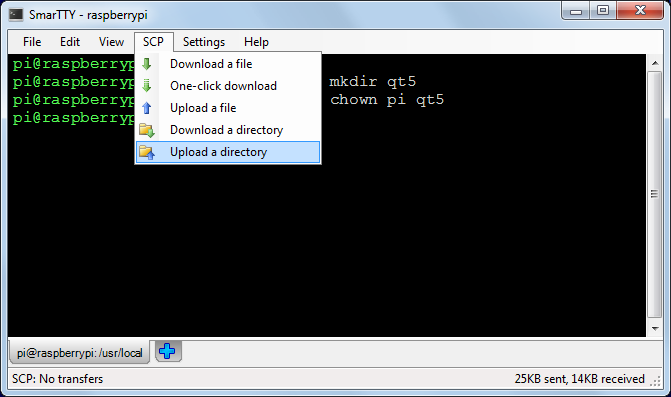
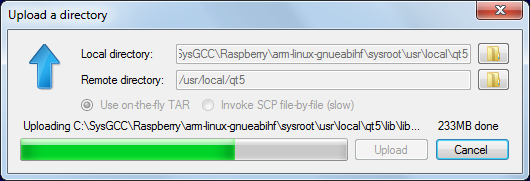
- Select the <sysroot>\usr\local\qt5 directory and upload it to /usr/local/qt5:

- Wait for the upload to complete. The built Qt framework is relatively large and would take several minutes to upload:
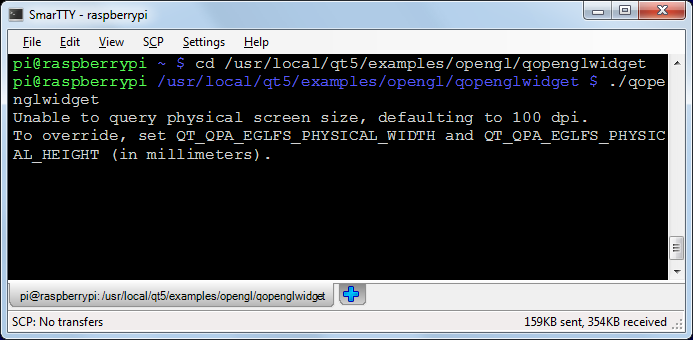
- Once the upload is complete, you can test out the framework. Go to the/usr/local/qt5/examples/opengl/qopenglwidget directory and launch ./qopenglwidget:
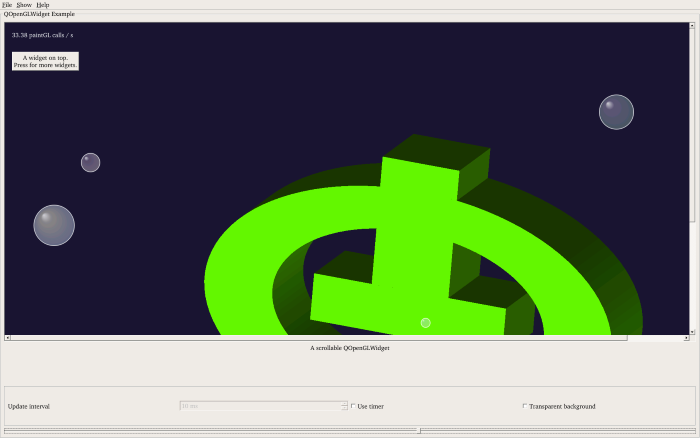
- Look at the screen connected to the HDMI port of the Raspberry Pi. You will see a rotating Qt logo animation:
 If the screen does not show anything, shut down your Raspberry Pi and re-plug the power connector. As long as the screen is connected when the device is powered on, Raspberry Pi should recognize it.
Now that you have cross-compiled the Qt framework for your Raspberry, follow this tutorial to create and build a basic Qt application using the same cross-compiler.
http://visualgdb.com/tutorials/raspberry/qt/embedded/
Cross-compiling Qt Embedded 5.5 for Raspberry Pi 2的更多相关文章
- Compiling a kernel module for the raspberry pi 2 via Ubuntu host
Compiling a kernel module for the raspberry pi 2 via Ubuntu host Normally compiling a kernel module ...
- Cross compiling coreutils and generate the manpages
When we cross compiling coreutils, there is an problem of generating man pages, because the source s ...
- 让QT/Embedded支持国际化
让QT/Embedded支持国际化 环境配置: Qt/Embedded ,在主机和目标板上存放路径都为:/root/qt-embedded-free- Qt/X11 3.3 (主要用到其中的lupda ...
- QT Embedded二三事之QObject的元对象
一.元对象 元对象被称做是meta object.在运行时刻(runtime),能够提供对象的运行时信息. 在C++语言发展的早期,C++语言本身没有定义对象的运行时信息,如输出类的名 ...
- Raspberry Pi 3 --- Kernel Building and Run in A New Version Kernal
ABSTRACT There are two main methods for building the kernel. You can build locally on a Raspberry Pi ...
- Raspberry Pi Kernel Compilation 内核编译官方文档
elinux.org/Raspberry_Pi_Kernel_Compilation#Use_the_provided_compiler Software & Distributions: S ...
- RASPBERRY PI 外设学习资源
参考: http://www.siongboon.com/projects/2013-07-08_raspberry_pi/index.html Raspberry Pi Get st ...
- [树莓派(raspberry pi)] 02、PI3安装openCV开发环境做图像识别(详细版)
前言 上一篇我们讲了在linux环境下给树莓派安装系统及入门各种资料 ,今天我们更进一步,尝试在PI3上安装openCV开发环境. 博主在做的过程中主要参考一个国外小哥的文章(见最后链接1),不过其教 ...
- Device trees, Overlays and Parameters of Raspberry Pi
Raspberry Pi's latest kernels and firmware, including Raspbian and NOOBS releases, now by default us ...
随机推荐
- 2015第28周六SVN和Git
svn作为一个优秀源码版本的管理工具,可以适合绝大多数项目.但是因为它的采用中心化管理,不可避免的存在本地代码的备份和版本管理问题.也就是说对于尚未或暂无法提交到Subversion服务器的本地代码来 ...
- Activity — 4 launch mode
launchMode在多个Activity跳转的过程中扮演着重要的角色,它可以决定是否生成新的Activity实例,是否重用已存在的Activity实例,是否和其他Activity实例公用一个task ...
- 【翻译】五步快速使用LINQPad尝鲜StreamInsight
StreamInsight 学习地址:http://www.cnblogs.com/StreamInsight/archive/2011/10/26/StreamInsight-Query-Seri ...
- 查看MySQL数据库的默认编码
查看MySQL数据库的默认编码 1.使用status命令能够显示数据库的相关系信息,示例如下: mysql> status;————–mysql Ver 14.12 Distrib 5.0.77 ...
- 常用的MIME类型(资源的媒体类型)
后缀名 MIME名称 *.3gpp audio/3gpp, video/3gpp *.ac3 audio/ac3 *.asf allpication/vnd.ms-asf *.au audio/bas ...
- servlet过滤器配置白名单、黑名单
1.web.xml配置 <filter> <description>过滤是否登陆</description> <filter-name>encoding ...
- tcp/ip连接
1.TCP先连接(三次握手) client -> server : SYN a server -> client :SYN b, ack a+1 client -> server a ...
- [转]Android 使用Scroller实现绚丽的ListView左右滑动删除Item效果
转帖请注明本文出自xiaanming的博客(http://blog.csdn.net/xiaanming/article/details/17539199),请尊重他人的辛勤劳动成果,谢谢! 我在上一 ...
- android启动优化
############################################## # power on till android lock screen comes up # # get ...
- Mina入门实例
继续上一篇,这篇主要讲通过mina往B端发送消息.并接受消息,mina是一个网络通信框架,封装了javaNIO.简单易用.网上有非常多关于他的介绍,在此不赘述了. 如上篇所介绍,完毕功能,须要五个类: ...