
IdentityServer4 4.x版本 配置Scope的正确姿势
前言
IdentityServer4 是为ASP.NET Core系列量身打造的一款基于 OpenID Connect 和 OAuth 2.0 认证的框架
IdentityServer4官方文档:https://identityserver4.readthedocs.io/
看这篇文章前默认你对IdentityServer4 已经有一些了解。
本篇使用IdentityServer4的4.x版本,跟老版本的稍微有些差别。下面直接进入正题。
鉴权中心
创建IdentityServer4项目
使用IdentityServer4 来搭建一个鉴权中心,首先建议安装一下IdentityServer4的官方项目模板。也可以不安装,自己创建项目,然后NuGet安装需要的包也行。(不过还是推荐用官方的模板,很方便)。
命令行执行:dotnet new -i IdentityServer4.Templates
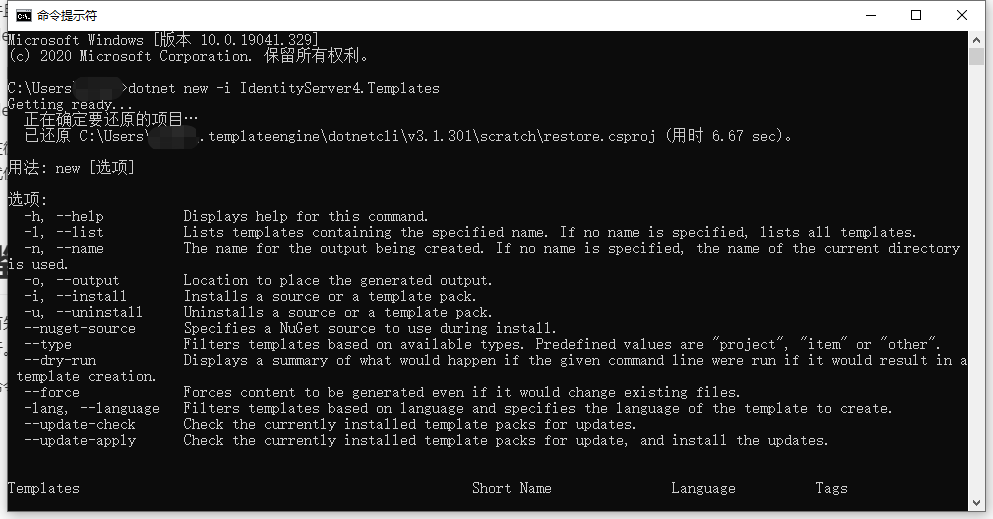
安装完成后会多出以下项目模板:

我这里选用is4inmem这个模板来创建项目,这个模板的数据都是写死在内存中的,并且包含了Quickstart页面,比较简单方便。
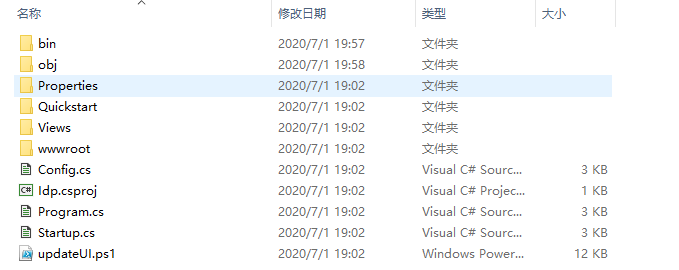
来到我的项目目录下执行:dotnet new is4inmem --name Idp

执行完成会生成以下文件:
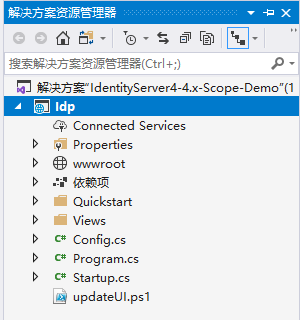
VS2019打开项目:
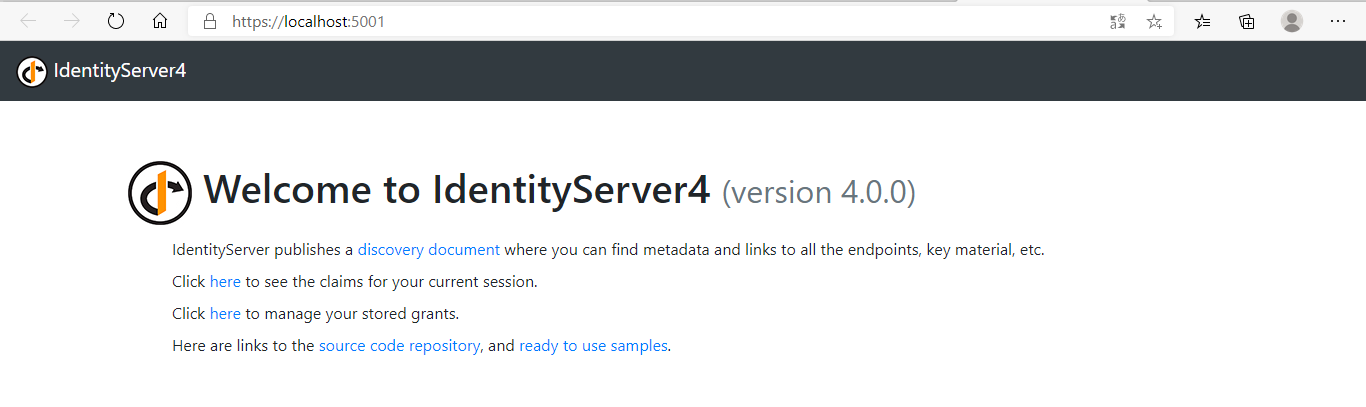
运行项目:
配置ApiResource、ApiScope、Clients
修改Startup:
// in-memory, code config

builder.AddInMemoryIdentityResources(Config.IdentityResources);

builder.AddInMemoryApiScopes(Config.ApiScopes);

//添加API资源

builder.AddInMemoryApiResources(Config.ApiResources);

builder.AddInMemoryClients(Config.Clients);
这里比之前版本多了一个添加ApiScopes的方法:
builder.AddInMemoryApiScopes(Config.ApiScopes);
因为我接下来有要保护的API资源,所以需要添加一行:
builder.AddInMemoryApiResources(Config.ApiResources);
Config中的代码:
public static class Config

{

    public static IEnumerable<IdentityResource> IdentityResources =>

        new IdentityResource[]

        {

            new IdentityResources.OpenId(),

            new IdentityResources.Profile(),

        };

    public static IEnumerable<ApiScope> ApiScopes =>

        new ApiScope[]

        {

            new ApiScope("scope1"),

            //new ApiScope("scope2"),

        };

    public static IEnumerable<ApiResource> ApiResources =>

        new ApiResource[]

        {

            new ApiResource("api1","#api1")

            {

                //!!!重要

                Scopes = { "scope1"}

            },

            //new ApiResource("api2","#api2")

            //{

            //    //!!!重要

            //    Scopes = { "scope2"}

            //},

        };

    public static IEnumerable<Client> Clients =>

        new Client[]

        {

            new Client

            {

                ClientId = "postman client",

                ClientName = "Client Credentials Client",

                AllowedGrantTypes = GrantTypes.ClientCredentials,

                ClientSecrets = { new Secret("postman secret".Sha256()) },

                AllowedScopes = { "scope1" }

            },

        };

}
我添加了一个ID为postman client的客户端,授权模式就用最简单的ClientCredentials客户端模式。需要注意的是4.x版本的ApiScope和ApiResource是分开配置的,然后在ApiResource中一定要添加Scopes。如果你在网上搜的IdentityServer4教程比较老的,都是没有这个ApiScope的,默认ApiResource的Name作为Scope。类似这样:
public static IEnumerable<ApiResource> ApiResources =>

        new ApiResource[]

        {

            new ApiResource("api1","#api1"),//错误

            new ApiResource("api2","#api2"),//错误

        };

public static IEnumerable<Client> Clients =>

        new Client[]

        {

            new Client

            {

                ......

                AllowedScopes = { "api1", "api2" }

            },

        };
如果你这么写的话,虽然不影响你获取token,但是你访问api资源的话,永远会得到一个401错误!!!
ApiResource
下面添加一个api1资源,新建asp.netcore web应用并使用webapi模板:
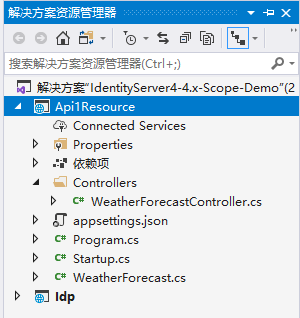
NuGet安装:Microsoft.AspNetCore.Authentication.JwtBearer
Startup部分代码:
public void ConfigureServices(IServiceCollection services)

{

    services.AddControllers();

    services.AddAuthentication(JwtBearerDefaults.AuthenticationScheme)

        .AddJwtBearer(options =>

        {

            //IdentityServer地址

            options.Authority = "http://localhost:5001";

            //对应Idp中ApiResource的Name

            options.Audience = "api1";

            //不使用https

 		    options.RequireHttpsMetadata = false;

        });

}

// This method gets called by the runtime. Use this method to configure the HTTP request pipeline.

public void Configure(IApplicationBuilder app, IWebHostEnvironment env)

{

    if (env.IsDevelopment())

    {

        app.UseDeveloperExceptionPage();

    }

    app.UseHttpsRedirection();

    app.UseRouting();

    //身份验证

    app.UseAuthentication();

    //授权

    app.UseAuthorization();

    app.UseEndpoints(endpoints =>

    {

        endpoints.MapControllers();

    });

}
给WeatherForecastController添加[Authorize]标记:

运行Api1Resource,用postman测试访问weatherforecast接口:
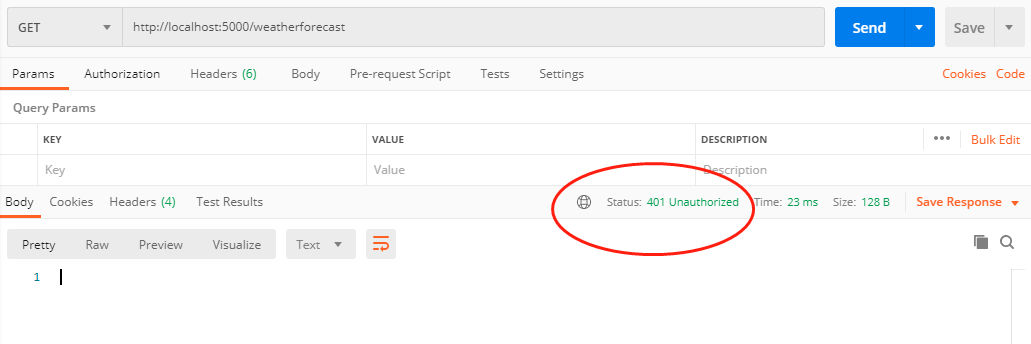
此时得到401错误。下面先去Idp获取一个token:
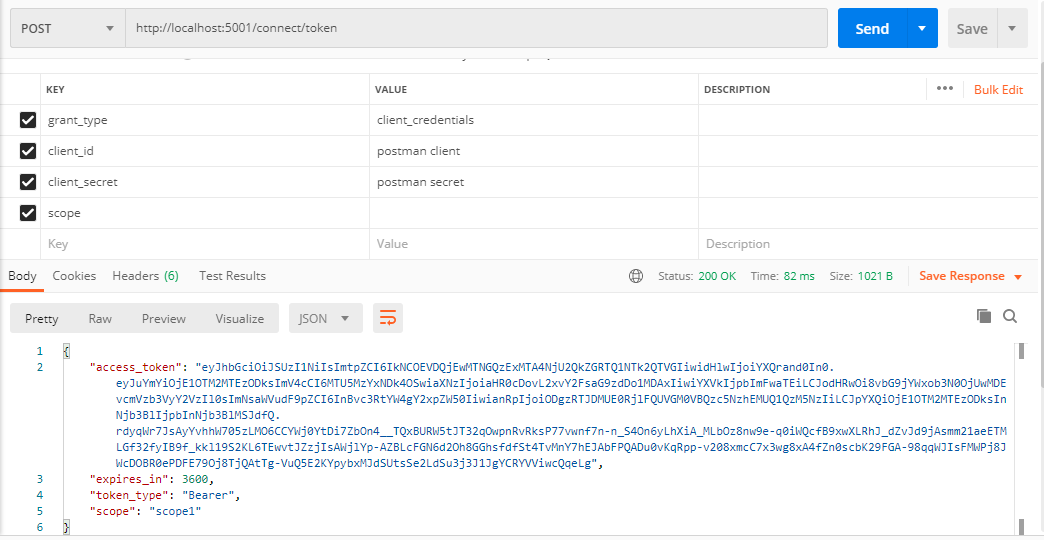
拿到token后再去访问weatherforecast就没问题了:
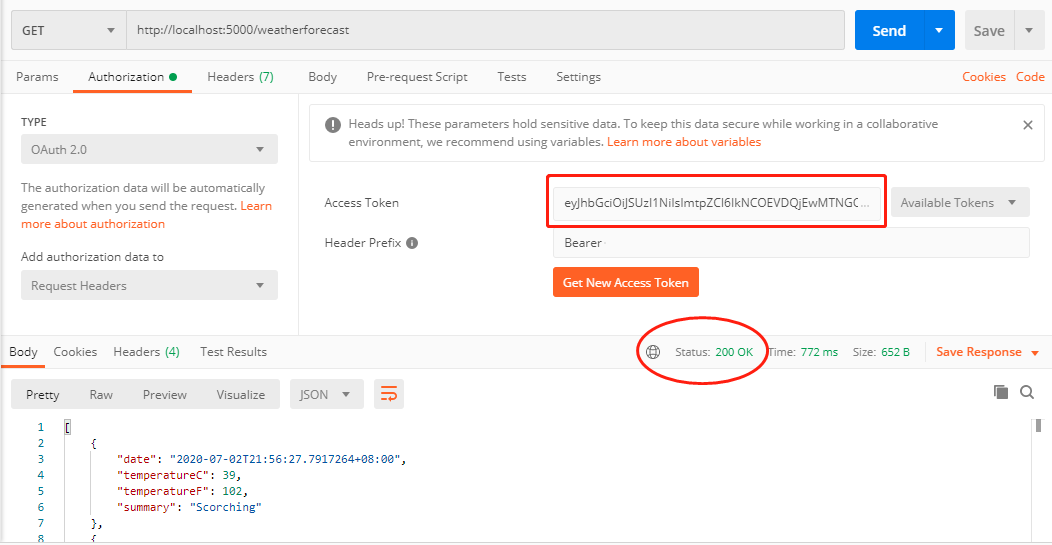
进行到这里,好像跟scope都没什么关系,那么scope到底有什么用处呢?
ApiScope策略授权
继续修改代码。
Api1Resource项目NuGet安装:IdentityServer4.AccessTokenValidation
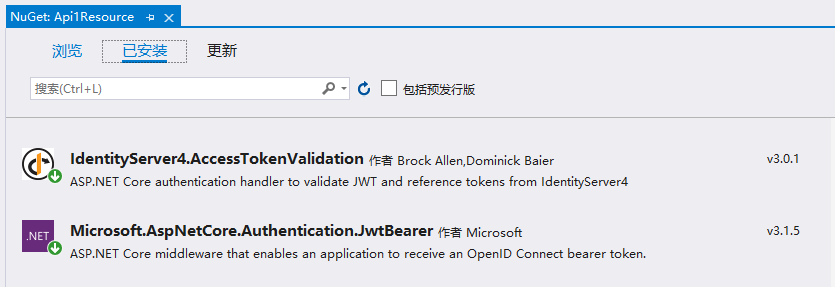
再新建一个TestController用于区分:

下面我需要做的是使用scope结合策略授权来分别限制TestController和WeatherForecastController的访问权限。
修改Startup:
public void ConfigureServices(IServiceCollection services)

{

    ......

    services.AddAuthorization(options =>

    {

        //基于策略授权

        options.AddPolicy("WeatherPolicy", builder =>

        {

            //客户端Scope中包含api1.weather.scope才能访问

            builder.RequireScope("api1.weather.scope");

        });

        //基于策略授权

        options.AddPolicy("TestPolicy", builder =>

        {

            //客户端Scope中包含api1.test.scope才能访问

            builder.RequireScope("api1.test.scope");

        });

    });

}
为了好理解,我把scope名称分别改成了:api1.weather.scope和api1.test.scope。
WeatherForecastController的Authorize标记修改一下:[Authorize(Policy = "WeatherPolicy")]
TestController的代码很简单:
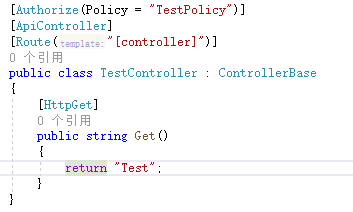
因为修改了scope名称,需要把Idp中的scope名称也改一下:
public static IEnumerable<ApiScope> ApiScopes =>

    new ApiScope[]

    {

        new ApiScope("api1.weather.scope"),

        new ApiScope("api1.test.scope"),

        //new ApiScope("scope2"),

    };

public static IEnumerable<ApiResource> ApiResources =>

    new ApiResource[]

    {

        new ApiResource("api1","#api1")

        {

            //!!!重要

            Scopes = { "api1.weather.scope", "api1.test.scope" }

        },

        //new ApiResource("api2","#api2")

        //{

        //    //!!!重要

        //    Scopes = { "scope2"}

        //},

    };
客户端定义,AllowedScopes暂时只给一个api1.weather.scope测试一下
public static IEnumerable<Client> Clients =>

            new Client[]

            {

                new Client

                {

                    ClientId = "postman client",

                    ClientName = "Client Credentials Client",

                    AllowedGrantTypes = GrantTypes.ClientCredentials,

                    ClientSecrets = { new Secret("postman secret".Sha256()) },

                    AllowedScopes = { "api1.weather.scope" }

                },

            };
postman获取token:
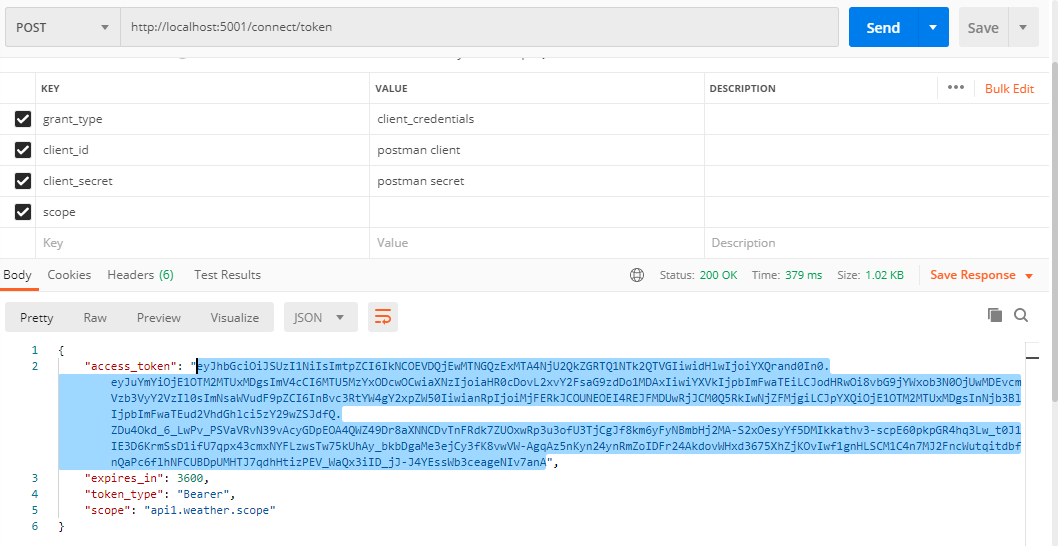
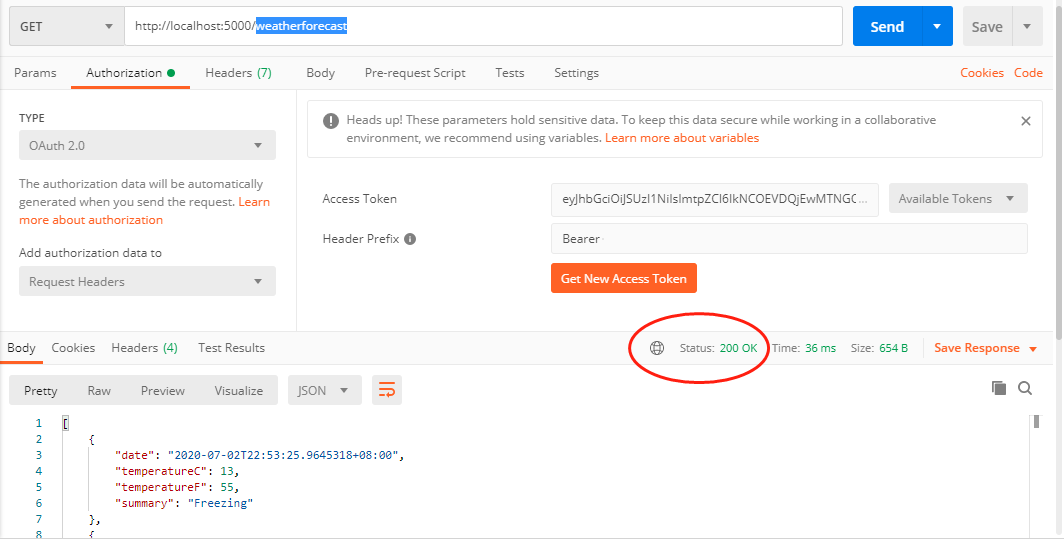
访问weatherforecast接口,正常响应200。
再访问test,得到403错误:
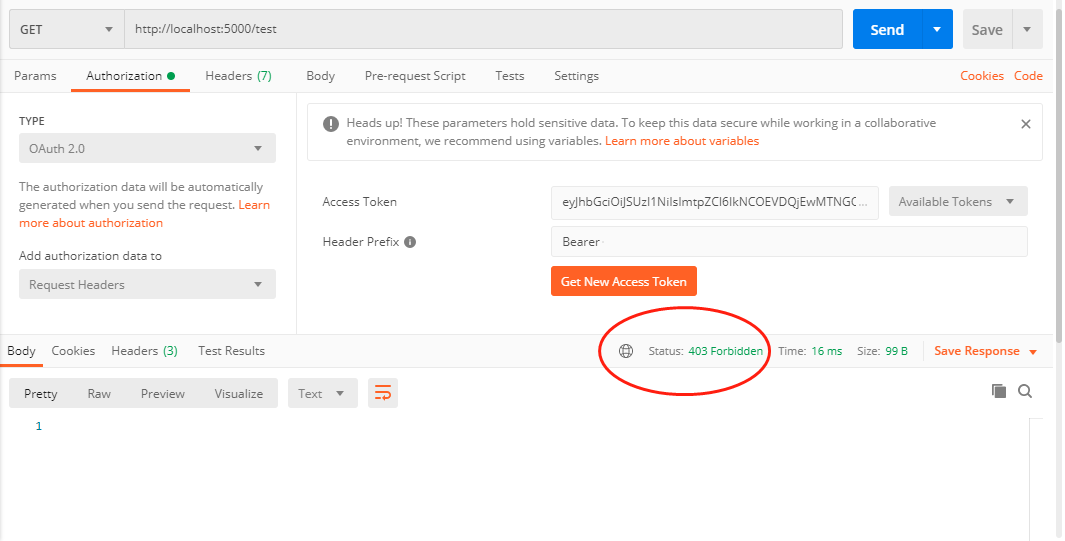
接下来修改一下Idp的客户端定义,添加api1.test.scope:
AllowedScopes = { "api1.weather.scope", "api1.test.scope" }
修改Idp后一定要重新获取token,jwt就是这样,一旦生成就无法改变。
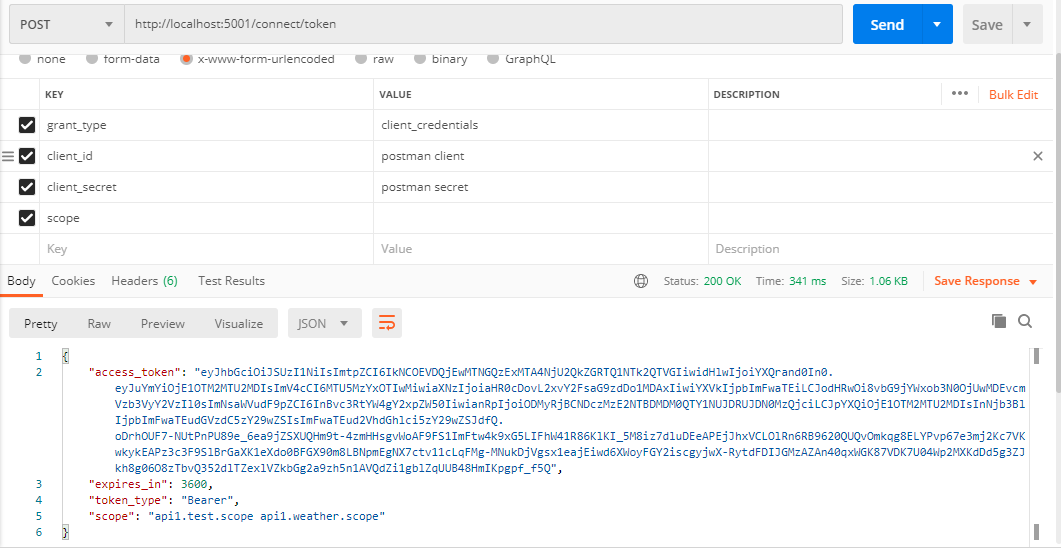
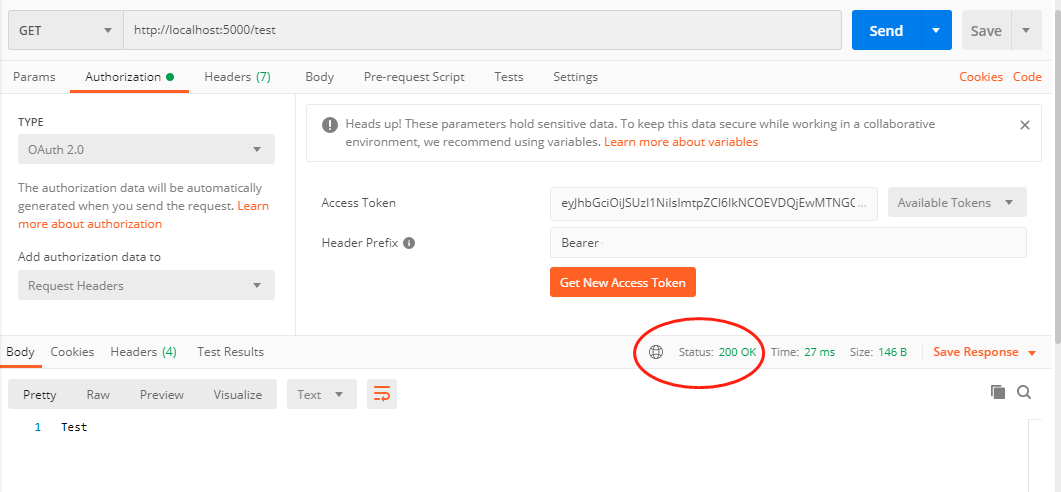
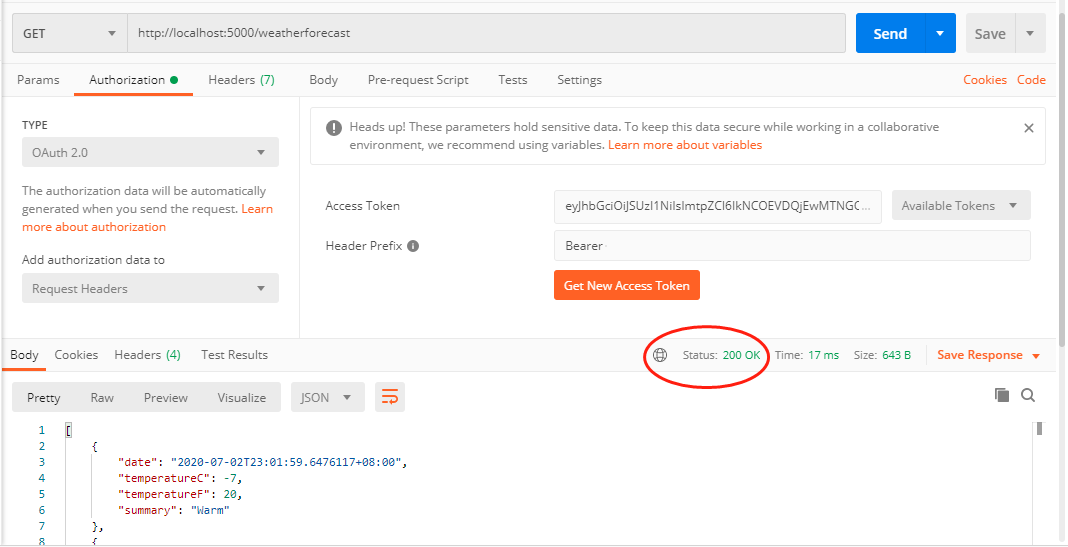
拿到新的token后访问test和weatherforecast,这时候就都可以正常响应了。
总结
以上使用IdentityServer4搭建了一个鉴权中心,保护API资源,并使用ApiScope配合策略授权完成了一个简单的权限控制。IdentityServer4的玩法非常多,知识点也很多。强烈推荐B站的@solenovex 杨老师的视频,地址:https://www.bilibili.com/video/BV16b411k7yM 多看几遍,会有收获。。。
需要代码的点这里:https://github.com/xiajingren/IdentityServer4-4.x-Scope-Demo
IdentityServer4 4.x版本 配置Scope的正确姿势的更多相关文章
- iOS的多版本配置(版本分离,多环境配置)
前几天公司说一个客户要搞一个app,我说搞呗,跟我啥关系...他说,就是从咱的app上搞,什么都一样,就是一些logo啥的不一样.我一开始感觉,那就改改logo呗,后来一想,凑,百度推送,友盟统计,B ...
- 在Windows 7下面IIS7的安装和 配置ASP的正确方法
在Windows 7下如何安装IIS7,以及IIS7在安装过程中的一些需要注意的设置,以及在IIS7下配置ASP的正确方法. 一.进入Windows 7的 控制面板,选择左侧的打开或关闭Windows ...
- Eclipse(非J2EE版本)配置Extjs环境以及安装部署Tomcat
Eclipse(非J2EE版本)配置Extjs环境(Spket) 1. 安装spket插件,帮助->安装新软件->http://www.agpad.com/update. 2. 设置Spk ...
- Elasticsearch搜索引擎版本配置
简要描述: 搜索引擎版本配置 产品 版本号 ES版本要求 说明 PHP =5.5.38 Java =1.8.0_73 用于支持ES Elasticsearch =2.3.5 搜索引擎 ...
- 【MYSQL】mysql-5.6.19-win32免安装版本配置方法
[MYSQL]mysql-5.6.19-win32免安装版本配置方法 1.文件下载网站(http://dev.mysql.com/downloads/): 具体下载地址:http://211.136. ...
- XAMPP各个版本配置
XAMPP各个版本配置 http://code.stephenmorley.org/articles/xampp-version-history-apache-mysql-php/ XAMPP Ap ...
- Python在windows平台的多版本配置
Python在windows平台的多版本配置 快速阅读: python在windows平台的环境变量以及多版本配置 ,以及pycharm如何安装包,以及安装包出错时如何排查. 1.python环境 ...
- [ASP.NET Core 3框架揭秘] Options[1]: 配置选项的正确使用方式[上篇]
依赖注入不仅是支撑整个ASP.NET Core框架的基石,也是开发ASP.NET Core应用采用的基本编程模式,所以依赖注入十分重要.依赖注入使我们可以将依赖的功能定义成服务,最终以一种松耦合的形式 ...
- [ASP.NET Core 3框架揭秘] Options[2]: 配置选项的正确使用方式[下篇]
四.直接初始化Options对象 前面演示的几个实例具有一个共同的特征,即都采用配置系统来提供绑定Options对象的原始数据,实际上,Options框架具有一个完全独立的模型,可以称为Options ...
随机推荐
- Java实现 蓝桥杯VIP 算法训练 邮票
算法训练 邮票 时间限制:1.0s 内存限制:512.0MB 问题描述 给定一个信封,有N(1≤N≤100)个位置可以贴邮票,每个位置只能贴一张邮票.我们现在有M(M<=100)种不同邮资的邮票 ...
- Java实现 洛谷 P1280 尼克的任务
import java.util.Scanner; public class Main { public static class edg{ private int to; private int n ...
- java实现巧排扑克牌
** 巧排扑克牌** 小明刚上小学,学会了第一个扑克牌"魔术",到处给人表演.魔术的内容是这样的: 他手里握着一叠扑克牌:A,2,-J,Q,K 一共13张.他先自己精心设计它们的顺 ...
- Java实现第十届蓝桥杯人物相关性分析
试题 H: 人物相关性分析 时间限制: 1.0s 内存限制: 512.0MB 本题总分:20 分 [问题描述] 小明正在分析一本小说中的人物相关性.他想知道在小说中 Alice 和 Bob 有多少次同 ...
- Java实现第八届蓝桥杯取数位
取数位 求1个整数的第k位数字有很多种方法. 以下的方法就是一种. 还有一个答案:f(x/10,k--) public class Main { static int len(int x){ // 返 ...
- snowflake原理解析
Snowflake 世界上没有两片完全相同的雪花. - twitter Snowflake原理 这种方案把64-bit分别划分成多段,分开来标示机器.时间等,比如在snowflake中的64-bi ...
- 三、TCP协议
TCP(Transmission Control Protocol)传输控制协议:顾名思义就是对数据的传输进行控制 TCP报头 序号:相当于编号,当TCP数据包过大的时候会进行分段,分段之后按序号顺序 ...
- Linux: ssh命令 远程登录
1.查看SSH客户端版本 使用ssh -V命令可以得到版本号.需要注意的是,Linux一般自带的是OpenSSH; $ ssh -V ssh: SSH Secure Shell 3.2.9.1 (no ...
- 包子凑数(dp 0-1、完全背包)【背包问题】
包子凑数(蓝桥杯) 感谢:@ Statusrank 题目链接(点击) 题目描述 小明几乎每天早晨都会在一家包子铺吃早餐.他发现这家包子铺有N种蒸笼,其中第i种蒸笼恰好能放Ai个包子.每种蒸笼都有非常多 ...
- Charles 安装证书后依旧抓取不到https请求的解决方案
1.打开charles——>help——>SSL proxying——>Install Charles Root Certificate 证书安装后,抓取https的包 2.查看Pr ...