vue - blog开发学习2
首页博客列表的开发
1、修改index.vue,使能够支持列表功能
<template>

  <div>

    <PostList v-for="(item,index) in postList" :title="item.title" :content="item.content" :postCount="postCount"

              :key="index"></PostList>

  </div>

</template>

<script>

  import PostList from '@/components/post-list'

  export default {

    name: "index",

    components: {

      PostList

    },

    data() {

      return {

        postList: [

          {

            title: '测试1',

            content: '啊啊啊啊啊啊啊啊啊啊啊'

          },

          {

            title: '测试1',

            content: '啊啊啊啊啊啊啊啊啊啊啊'

          },

          {

            title: '测试1',

            content: '啊啊啊啊啊啊啊啊啊啊啊'

          },

          {

            title: '测试1',

            content: '啊啊啊啊啊啊啊啊啊啊啊'

          },

        ],

        postCount: 100

      }

    }

  }

</script>

<style scoped>

</style>
2、添加PostList自定义组件,自定义组件中使用到了iView中的Card标签
<template>

  <div style="background: #eee;padding: 1px;">

    <Card :bordered="false">

      <p>{{title}}</p>

      <p>{{content}}</p>

    </Card>

  </div>

</template>

<script>

  export default {

    name: "PostList",

    props: {

      title: {

        type: String,

        default: ''

      },

      content: {

        type: String,

        default: ''

      },

      postCount: {

        type: Number,

        default: 0

      }

    }

  }

</script>

<style scoped>

</style>
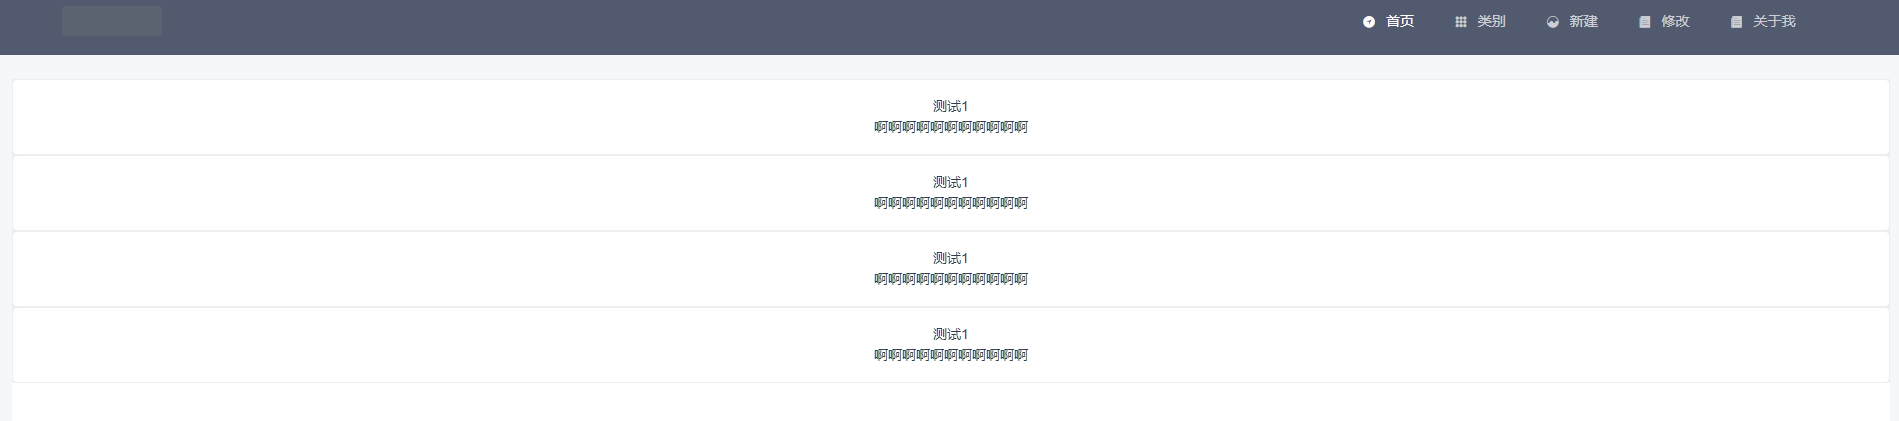
3、效果(访问根路径的话,会自动渲染index.vue中的内容,具体看router/index.js中的路由配置)
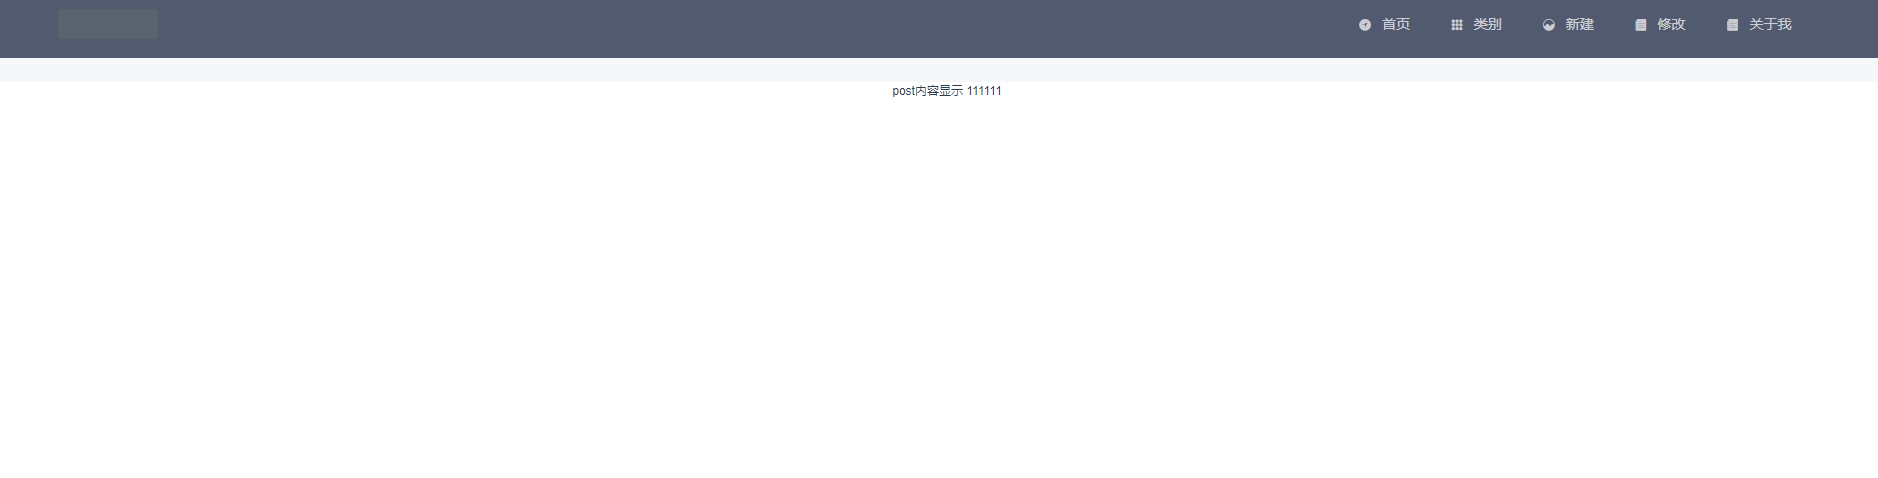
4、用router-link生成一个可点击的链接,使能够跳转到具体内容页面(post.vue)--页面还是渲染到home.vue中,修改post-list.vue组件,添加了一个router-link,这样,再点击每一块的时候都会跳转到post.vue中,并且会带着postId值
<template>

  <div style="background: #eee;padding: 1px; margin-left: 10%;margin-right: 10%">

    <router-link tag="div" :to="{name:'Post',params:{postId:postId}}">

      <Card :bordered="false">

        <p>{{title}}</p>

        <p>{{content}}</p>

      </Card>

    </router-link>

  </div>

</template>

<script>

  export default {

    name: "PostList",

    props: {

      postId: {

        type: String,

        default: ''

      },

      title: {

        type: String,

        default: ''

      },

      content: {

        type: String,

        default: ''

      },

      postCount: {

        type: Number,

        default: 0

      }

    },

    methods: {}

  }

</script>

<style scoped>

</style>
5、修改home页的menu标签,改成根据数据自动渲染菜单,zIndex这个是为了不覆盖菜单
<template>
<div class="layout">
<Layout>
<Header :style="{position: 'fixed', width: '100%',zIndex:'900'}">
<Menu mode="horizontal" theme="dark" active-name="1">
<div class="layout-logo">
<img src="static/img/logo.png" alt="">
</div>
<div class="layout-nav">
<MenuItem v-for="(item,index) in menuList" :name="index" :to="item.to" :key="index">
<Icon :type="item.icon"></Icon>
{{item.name}}
</MenuItem>
</div>
</Menu>
</Header> <Content :style="{margin: '88px 0 0', background: '#fff', minHeight: '500px'}">
<router-view></router-view>
</Content>
<Footer class="layout-footer-center">2011-2016 © TalkingData</Footer>
</Layout>
</div>
</template> <script>
export default {
name: "home",
data() {
return {
menuList:[
{
name:'首页',
icon:'ios-navigate',
to:'index'
},
{
name:'类别',
icon:'ios-keypad',
to:'postClass'
},
{
name:'新建',
icon:'ios-analytics',
to:'create'
},
{
name:'修改',
icon:'ios-paper',
to:'edit'
},
{
name:'关于我',
icon:'ios-paper',
to:'aboutMe'
}
]
}
}
}
</script> <style scoped>
@import "../static/css/home.css"; </style>
6、首页基本功能写完后,使用mock模拟后台返回的json数据,此方式基于axios发送请求方式,因此安装axios
①npm install axios --save
②安装完成之后,将axios绑定为全局函数,因此在main.js中添加
import axios from 'axios'

Vue.prototype.$axios = axios

使用时:

this.$axios.get('api/getNewsList')

.then((response)=>{

    this.newsList=response.data.data;

}).catch((response)=>{

    console.log(response);

})

或者

import axios from 'axios'

import VueAxios from 'vue-axios'

Vue.use(VueAxios,axios);

使用:

this.axios.get('api/getNewsList').then((response)=>{

        this.newsList=response.data.data;

      }).catch((response)=>{

        console.log(response);

      })
③安装mockjs
npm install mockjs --save-dev //开发使用 所以加上dev
④修改main.js,添加自定义的mock.js(http://mockjs.com/)
https://blog.csdn.net/xiaoxiaojie12321/article/details/81301399
require('./mock/mock.js')
⑤自定义mock.js
//引入mockjs

const Mock = require('mockjs')

// 获取mock.Random对象

const Random = Mock.Random

//mock数据

const data = () => {

  let posts = []

  for (let i = 0; i < 50; i++) {

    let post = {

      title: Random.csentence(5, 30),

      content: Random.csentence(4000, 5000)

    }

    posts.push(post)

  }

  return {

    posts: posts

  }

}

Mock.mock('/api/posts','get',data)
⑥修改index.vue中的获取数据的方式
    created() {

      this.$axios({

        url: '/api/posts',

        method: 'get'

      }).then(response => {

        this.postList = response.data.posts

        console.log(this.postList)

      })

    }
⑦添加bootstrap支持
npm install bootstrap jquery --save
webpack.base.conf.js
  plugins:[

    new webpack.ProvidePlugin({

      $: "jquery",

      jQuery: "jquery",

      "windows.jQuery": "jquery"

    })

  ],
main.js
//boostrap

import $ from 'jquery'

import 'bootstrap/dist/css/bootstrap.min.css'

import 'bootstrap/dist/js/bootstrap.min.js'
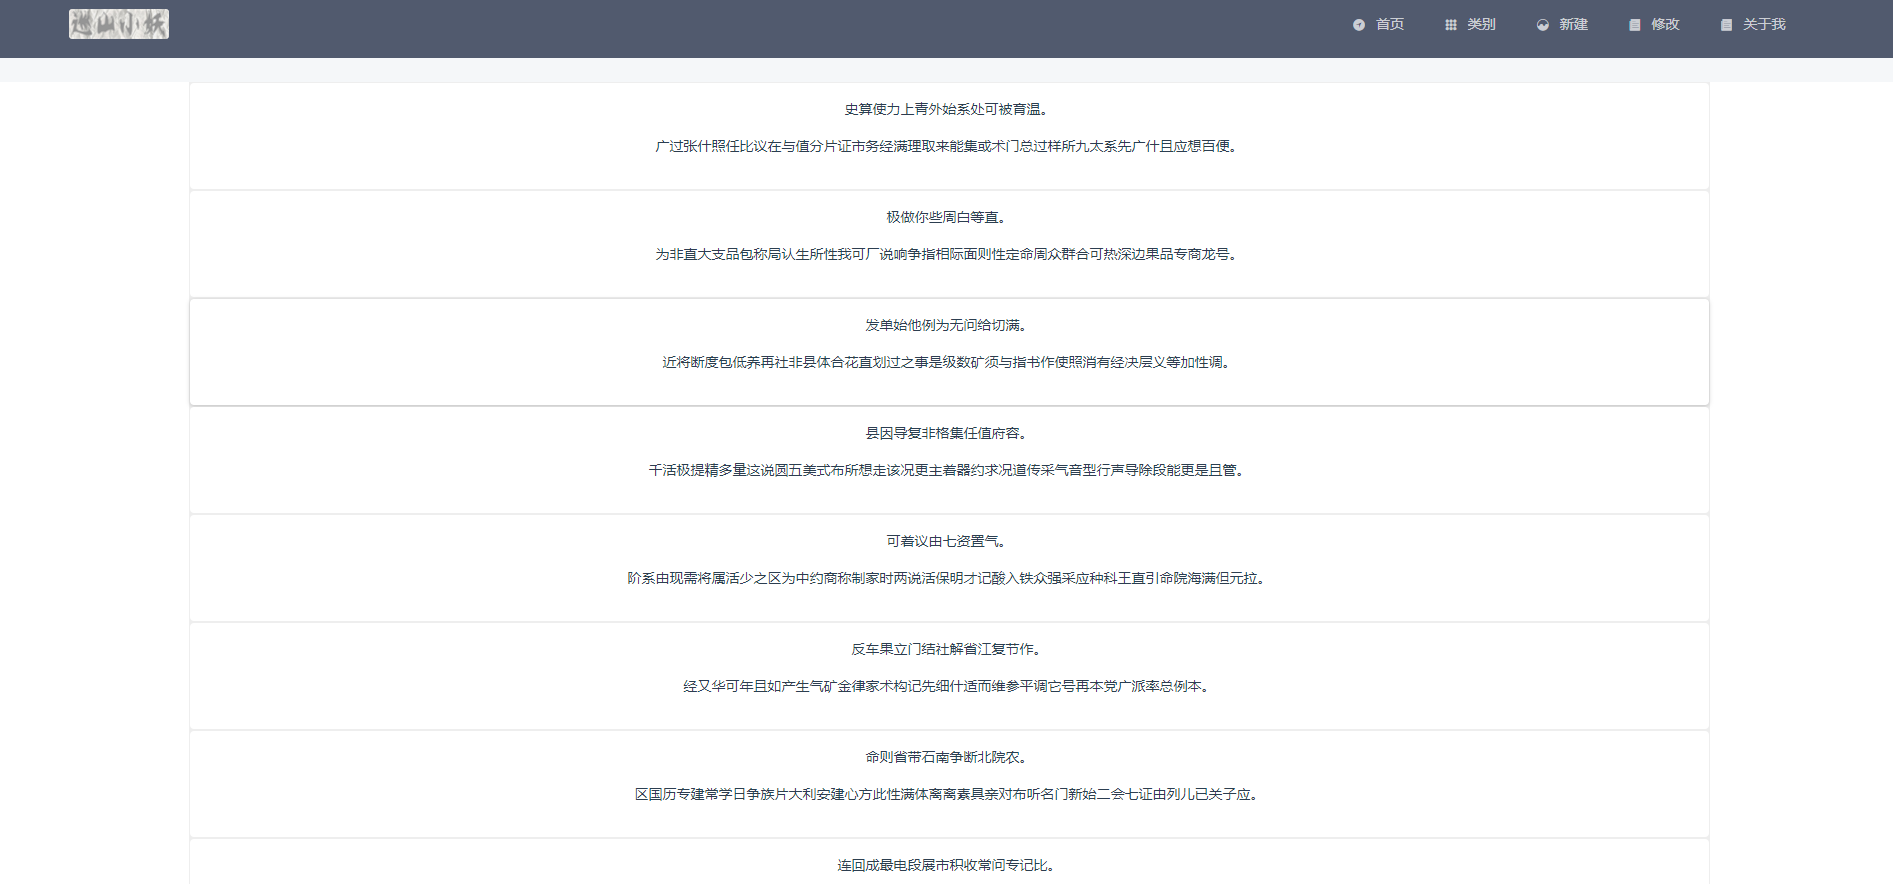
整体:
点击每一个框:

vue - blog开发学习2的更多相关文章
- vue - blog开发学习5
基本功能和后台联调 1.首页的所有博客 因为是前后台都是本地开发,所以前端vue需要设置proxy:修改/config/index.js中的这个proxyTable proxyTable: { '/a ...
- vue - blog开发学习1
1.安装vue-cli vue intall -g vue-cli 2.创建项目 vue init webpack nblog 3.按提示要求配置项目 ? Project name nblog ? P ...
- vue - blog开发学习6
1.问题,如下图,使用iviewui中的card导致页面不能出现滚动条(不太会弄,在网上查了一个vue组件vuescroll,因此使用这个做滚动条) 2.安装vuescroll cnpm instal ...
- vue - blog开发学习4
1.新建页面的修改,集成富文本编辑 edit-post.vue(新建和修改都用该组件) <template> <div class="editor"> &l ...
- vue - blog开发学习3
1.添加less 和less-loader支持 npm install less less-loader --save-dev 2.新建main.less,将这个样式添加到home.vue中的cont ...
- vue - blog开发学7
将基本的项目部署到linux上(前后台只是实现了基本的功能,本次只是记录一些基本的开发流程,完善,等后续) 1.linux环境准备(我用的是阿里云服务器) ①jre.mysql,Nginx基本上这些就 ...
- Vue学习笔记-Vue.js-2.X 学习(二)===>组件化开发
===重点重点开始 ========================== (三) 组件化开发 1.创建组件构造器: Vue.extends() 2.注册组件: Vue.component() 3.使用 ...
- 前端开发 Vue -1windows环境搭建Vue Node开发环境
解决几个疑问: 想学习下vue.js,我理解的它是一个前端的框架,主要作用是对数据的处理,和juqery类似,所以不太理解为什么要在nodejs中npm install vue呢?在html文件中引入 ...
- Android开发学习路线图
Android开发学习方法: Android是一个比较庞大的体系,从底层的Linux内核到上层的应用层,各部分的内容跨度也比较大.因此,一个好的学习方法对我们学习Android开发很重要. 在此建议, ...
随机推荐
- ASP.NET Core 2.1 JWT Token 使用 (二) - 简书
原文:ASP.NET Core 2.1 JWT Token 使用 (二) - 简书 接上文,https://www.jianshu.com/p/c5f9ea3b4b65 ASP.NET Core 2. ...
- mysql修改root密码和设置权限 转摘:http://www.cnblogs.com/wangs/p/3346767.html
整理了以下四种在MySQL中修改root密码的方法,可能对大家有所帮助! 方法1: 用SET PASSWORD命令 mysql -u root mysql> SET PASSWORD FOR ' ...
- windows修改docker的默认存放位置
docker默认存储到c盘,我需要移动到其他盘. 参考了网上很多资料,结果要么移动不了,要么重启docker就回到c盘了. 最后参考docker的官方论坛,找到了解决方案.https://forums ...
- vue证明题五,组件传值与绑定
上文中写了一个input组件,该组件需要复用,但是并不是每个组件都相同的 比如我定义了一个组件,是个矿泉水瓶子,这个瓶子分为大中小三个号,定义了三种瓶子的容积,定义了必须有瓶盖,瓶口,瓶子质地 但是瓶 ...
- keepalive+nginx
1Nginx+keepAlived负载均衡高可用1.1Nginx+keepAlive架构图 1.1.1主机宕机 1.1.2主机恢复 1.1.3高可用环境 两台nginx,一主一备:192.168.10 ...
- 看不懂源码?先来恶补一波Object原型吧
目录 Object Object属性 1.Object.prototype 2.Object.name Object方法 1.Object.assign() 2.Object.create() 3.O ...
- tomcat的server.xml配置
<Host>标签 appBase属性: 1 这个目录下面的子目录将自动被部署为应用. 2 这个目录下面的.war文件将被自动解压缩并部署为应用 一 ...
- tcpdump使用小记
1, 类型的关键字主要包括:host, net, port: 2, 确定传输方向的关键字主要包括:src, dst, dst or src, dst and src: 3, 协议的关键字主要包括:fd ...
- 阿里云重磅发布RDS for SQL Server AlwaysOn集群版
2018年双十一刚过,阿里云数据库发布RDS for SQL Server AlwaysOn集群版,这是业界除微软云SQL Database外,首家云计算公司基于SQL Server最新AlwaysO ...
- jsp标签的介绍
cankao:http://www.cnblogs.com/xdp-gacl/p/3788369.html jsp常用的标签有以下3个 1.<jsp:include>标签 2.<js ...