Vagrant工具的安装
Vagrant工具的安装
作者:尹正杰
版权声明:原创作品,谢绝转载!否则将追究法律责任。
这篇博客源于我的北京一位好友:崔佳。在此,为了感激崔佳的帮助,特意写下这篇博客。希望对一些开发的小伙伴有些帮助。
不怕大家笑话啊,再次之前,我对Vagrant一无所知,一般我在MAC上或是在WINDOWS操作系统上开发的代码想呀偶在linux上测试,我会用远程工具CRT进行远程,然后把代码贴上去进行测试。其实也就是2分钟就可以搞定的事情。但是还有一种更简单的方法去实现,再次特意跟大家分享一下。
都说翻墙是运维的基本功,那么问题来了,你会翻墙么?有的人是花钱买VPN进行翻墙,有的人是用免费的工具进行翻墙,我在网上看到有大牛给出了教程实现浏览器的翻墙,我觉得蛮靠谱的,分享给大家,可参考该网有的教程进行翻墙哟!链接:https://laod.cn/hosts/2017-google-hosts.html。好了,接下来我们一起来详解一下Vagrant的安装步骤吧~
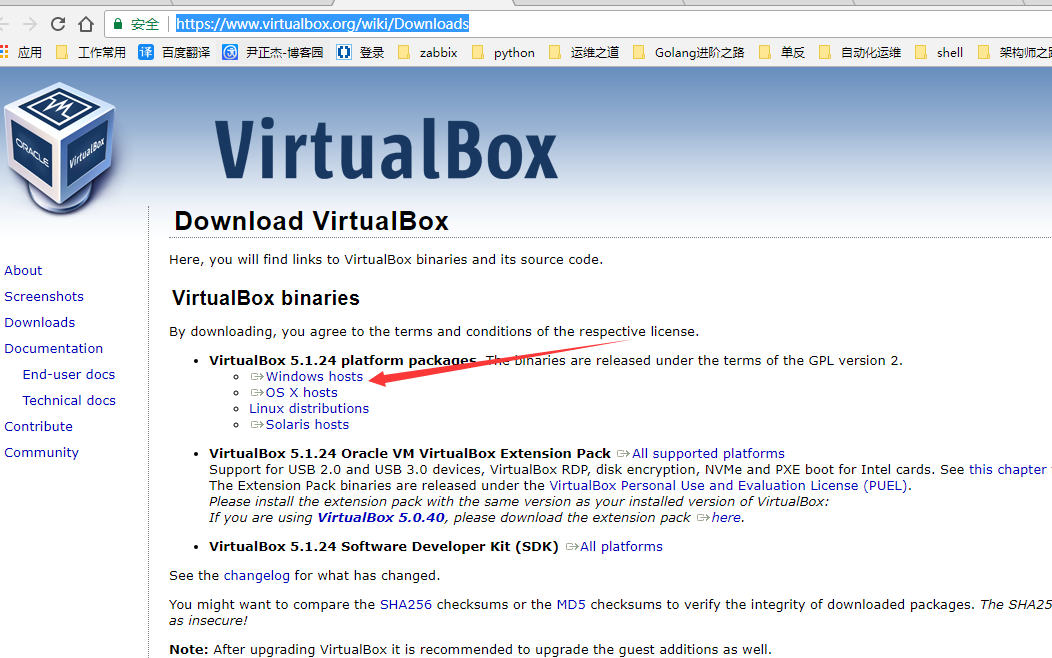
2.安装VirtualBox程序;
安装步骤我就省略了,直接点下一步就好,整个过程一直点下一步,提示什么就点什么就OK。
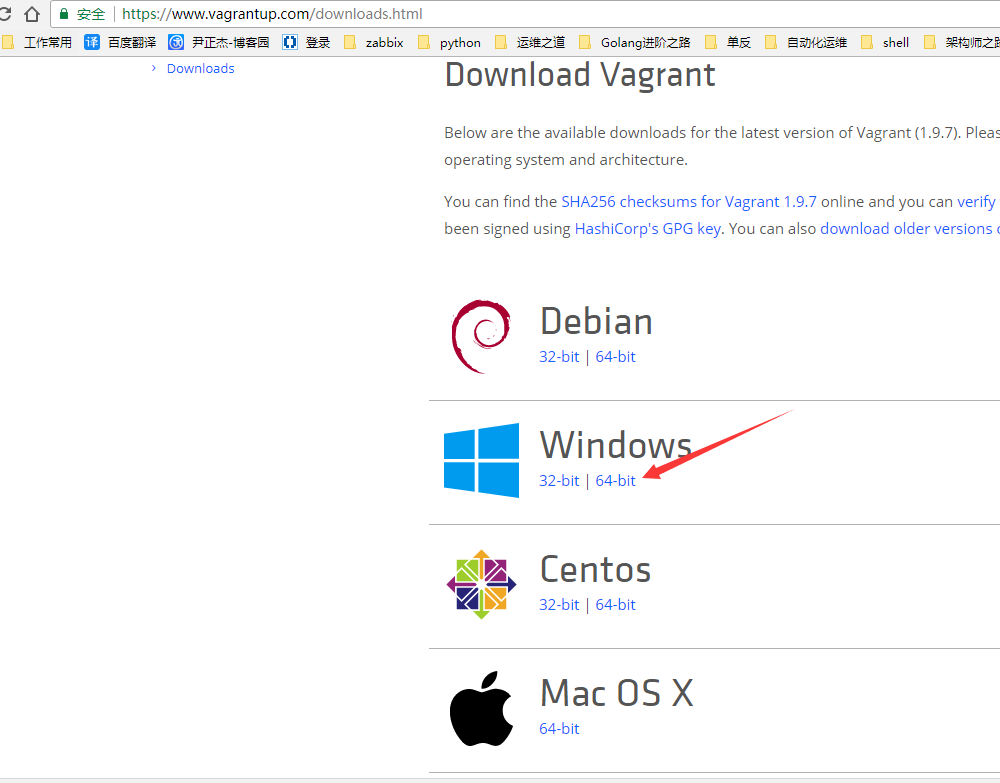
二.安装Vagrant软件;
运行你刚刚下载的文件,对了,我刚刚给大家推荐的翻墙是通过修改DNS实现的,并不能提升你的下载效率,只是让你可以翻墙了而已。想要翻墙还是得需要专门的下载工具。
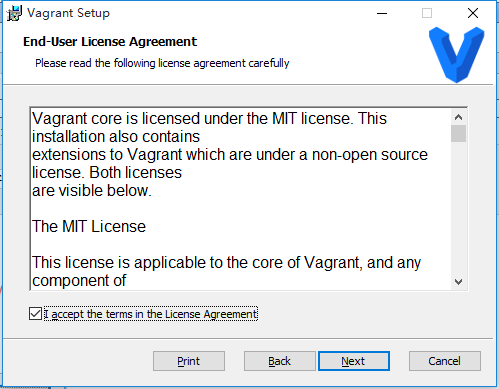
1.点击下一步进行安装;

2.点击同意授权;
3.配置安装路径;

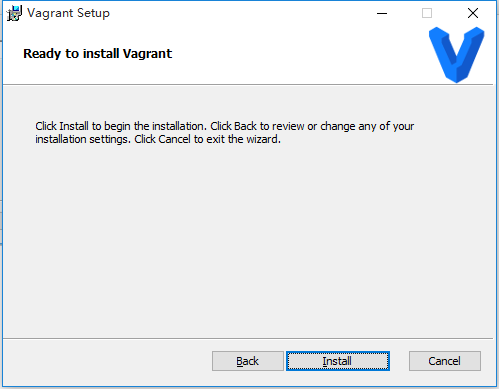
4.点击安装;
5.点击完成安装;

6.需要重启操作系统(重启之前请确认是否有重要数据未保存。);

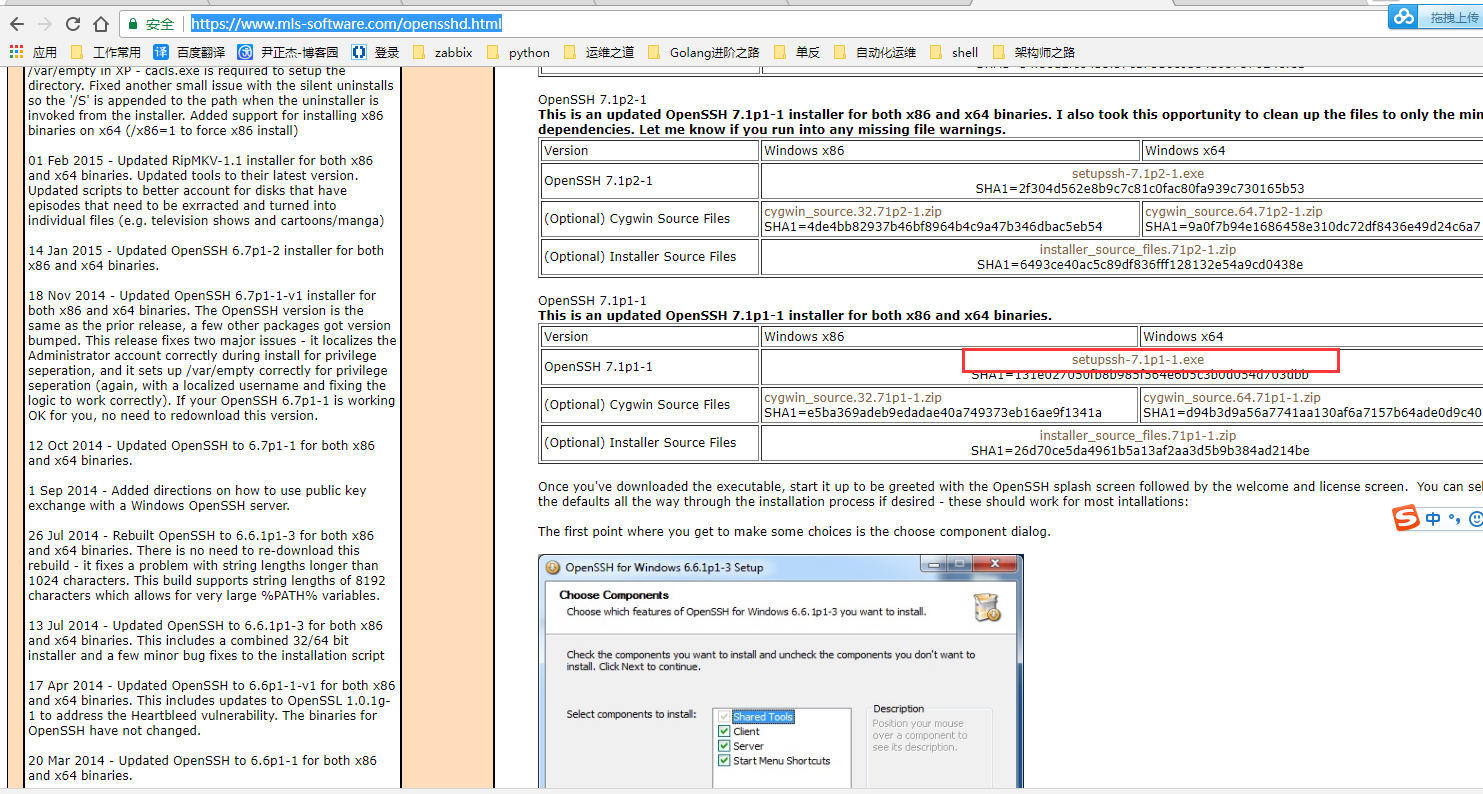
三.安装ssh服务;
1.下载ssh安装程序,地址:https://www.mls-software.com/opensshd.html
2.点击安装;

3.点击下一步;

4.点击同意并进行下一步;

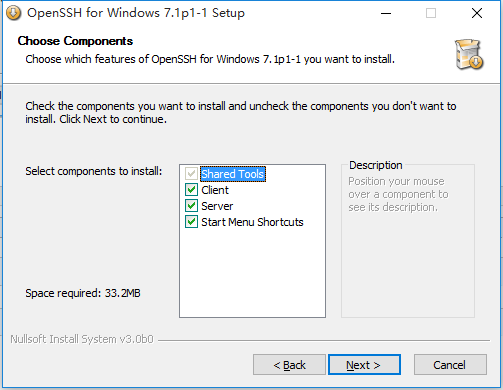
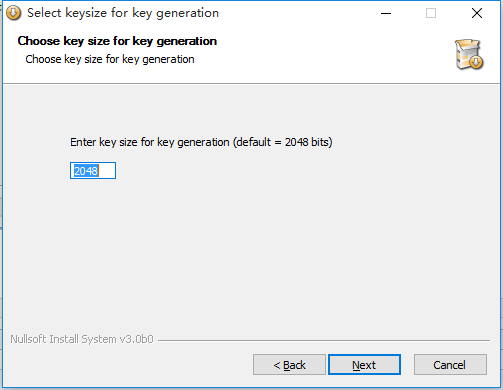
5.默认设置,点击下一步;
6.指定安装路径;
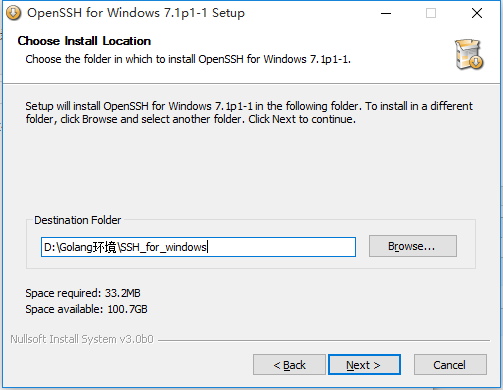
7.设置工作目录;

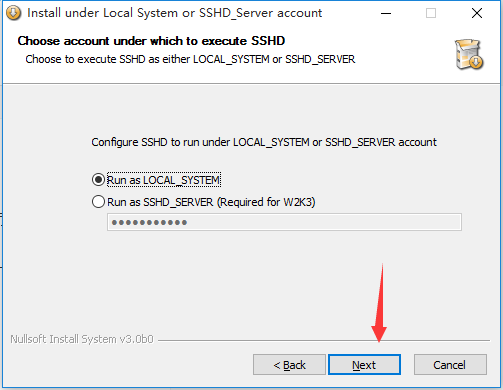
8.默认设置;(如果你不是2003的windows server就没有必要选择下面的特权分离)
9.默认端口;

10.默认即可;
11.点击下一步;

12.点击完成,完成安装;
13.测试是否安装成功;

四.添加环境;
1.添加镜像;(只是把镜像从官网下载到本地而已);
命令行中执行:C:\Users\Administrator>vagrant box add ubuntu/trusty64

2.初始化环境;(在哪个目录下初始化就会生成一个对应的“Vagrantfile”配置文件)
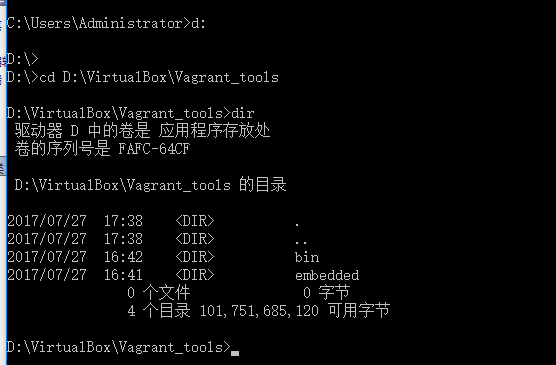
命令行执行:D:\>cd D:\VirtualBox\Vagrant_tools
命令行中执行:C:\Users\Administrator>vagrant init ubuntu/trusty64

3.配置虚拟机;
Vagrant 初始化成功后,会在初始化的目录里生成一个 Vagrantfile 的配置文件,可以修改配置文件进行个性化的定制。
用"Notepad++"编辑“Vagrantfile”文件,修改你自己想要的参数修改的参数。
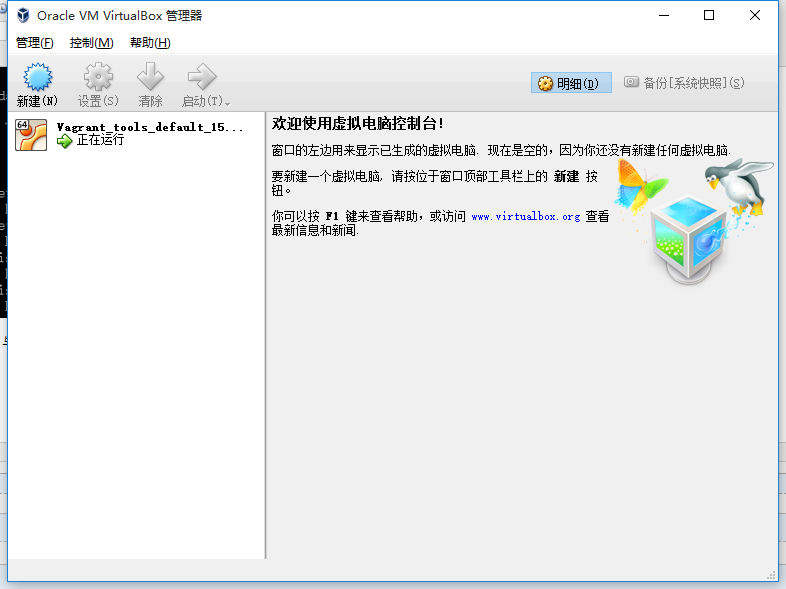
4.启动环境;
命令行中执行:C:\Users\Administrator>vagrant up
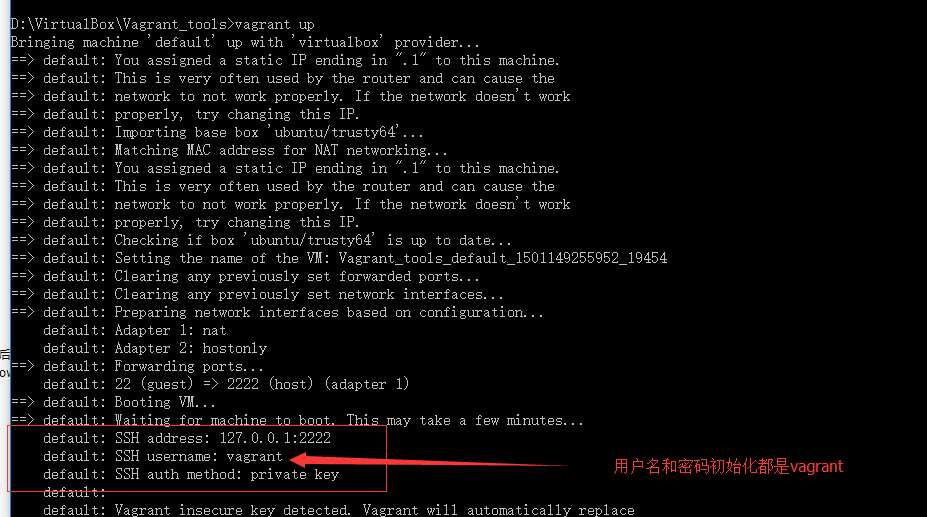
启动成功后,会在启动的目录中生成一个“.vagrant”的目录,里面存放着虚拟机的信息,与此同时你也可以切换到VirtualBox查看会多出来一台虚拟机,就是就说明你启动成功了,在启动的过程中,命令行会 出输出一些列的参数,这些参数你可以用windows的ssh去远程这台启动的虚拟机。
五.远程启动的虚拟机;
我们在启动的过程中会看到登录的账户密码;这个时候我们只需要在命令行中远程登录即可。
命令行输入:D:\VirtualBox\Vagrant_tools>ssh -p 2222 -l vagrant 127.0.0.1
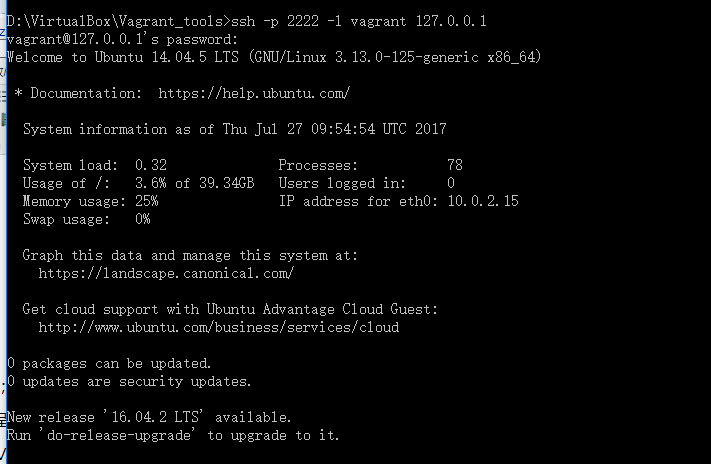
这个时候我们需要可以测试一些命令,看是否真的是我们的ubantu系统。

测试网络的是否畅通。

六.在虚拟机安装Golang环境。
还记得我们刚刚配置的IP生效了吗?这个时候我们可以在局域网任何一台终端进行远程,然后我们可以进行上传或是下载文件等等,当然安装环境也是随你啦~哈哈~
安装具体步骤请参考:http://www.cnblogs.com/yinzhengjie/p/6482675.html

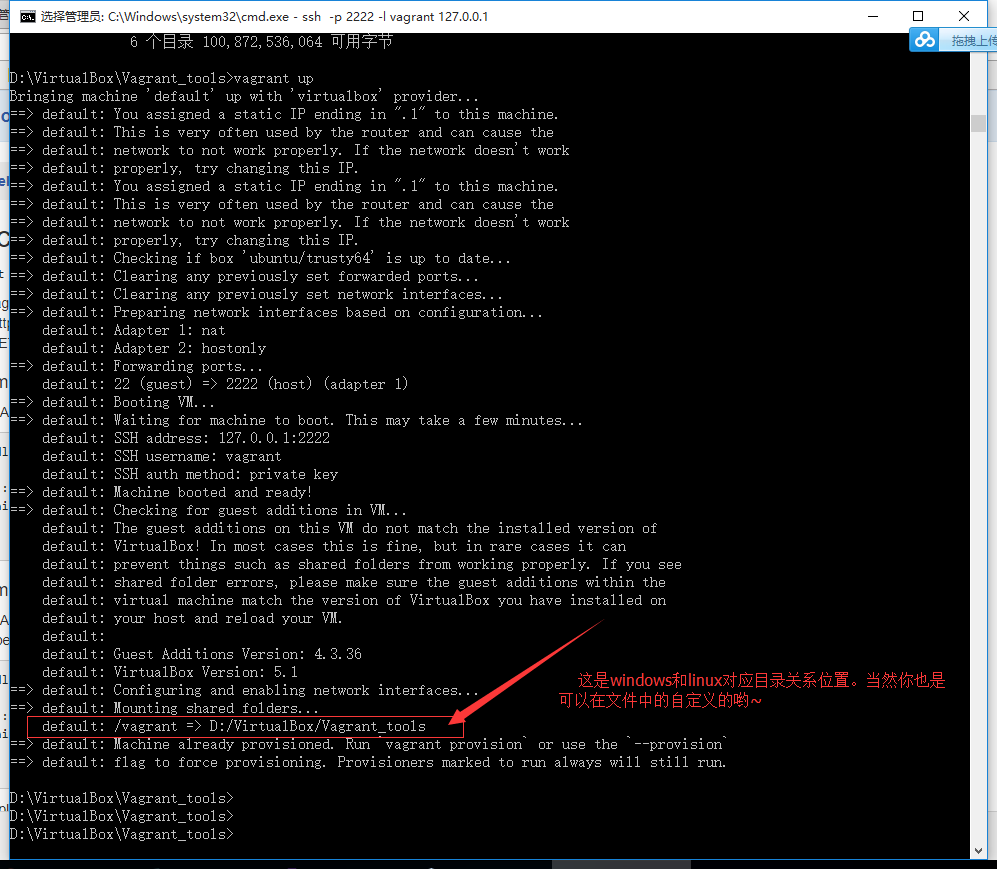
七.关联目录
其实就是虚拟环境中liunx目录和windows目录的一个映射关系,即你在windows创建一个目录,这个被关联的目录在linux操作系统上也会出现。
我们可以举个例子来说明一下:
先看一下windows系统的路径:

再看虚拟机的环境:

将windows的文件在虚拟机中运行测试:

该Vargrant目前pycharm已经支持了,但是goland目前版本还没有完善该功能,不过不就得将来或许会加上这个功能。

再附上Vagrantfile文件的内容一份,如果感兴趣的可以百度一下,进行深入学习一下。我这里就只介绍安装和基本的使用,其他功能我也用不着也没有打算在做深一步研究,哈哈~
 # -*- mode: ruby -*-

 # vi: set ft=ruby :

 # All Vagrant configuration is done below. The "2" in Vagrant.configure

 # configures the configuration version (we support older styles for

 # backwards compatibility). Please don't change it unless you know what

 # you're doing.

 Vagrant.configure("2") do |config|

   # The most common configuration options are documented and commented below.

   # For a complete reference, please see the online documentation at

   # https://docs.vagrantup.com.

   # Every Vagrant development environment requires a box. You can search for

   # boxes at https://vagrantcloud.com/search.

   config.vm.box = "ubuntu/trusty64"

   # Disable automatic box update checking. If you disable this, then

   # boxes will only be checked for updates when the user runs

   # `vagrant box outdated`. This is not recommended.

   # config.vm.box_check_update = false

   # Create a forwarded port mapping which allows access to a specific port

   # within the machine from a port on the host machine. In the example below,

   # accessing "localhost:8080" will access port 80 on the guest machine.

   # NOTE: This will enable public access to the opened port

   # config.vm.network "forwarded_port", guest: 80, host: 8080

   # Create a forwarded port mapping which allows access to a specific port

   # within the machine from a port on the host machine and only allow access

   # via 127.0.0.1 to disable public access

   # config.vm.network "forwarded_port", guest: 80, host: 8080, host_ip: "127.0.0.1"

   # Create a private network, which allows host-only access to the machine

   # using a specific IP.

   # config.vm.network "private_network", ip: "192.168.33.10"

     config.vm.network "private_network", ip: "172.16.30.1"

   # Create a public network, which generally matched to bridged network.

   # Bridged networks make the machine appear as another physical device on

   # your network.

   # config.vm.network "public_network"

   # Share an additional folder to the guest VM. The first argument is

   # the path on the host to the actual folder. The second argument is

   # the path on the guest to mount the folder. And the optional third

   # argument is a set of non-required options.

   # config.vm.synced_folder "../data", "/vagrant_data"

   # Provider-specific configuration so you can fine-tune various

   # backing providers for Vagrant. These expose provider-specific options.

   # Example for VirtualBox:

   #

   # config.vm.provider "virtualbox" do |vb|

   #   # Display the VirtualBox GUI when booting the machine

   #   vb.gui = true

   #

   #   # Customize the amount of memory on the VM:

   #   vb.memory = "1024"

   # end

   #

   # View the documentation for the provider you are using for more

   # information on available options.

   # Enable provisioning with a shell script. Additional provisioners such as

   # Puppet, Chef, Ansible, Salt, and Docker are also available. Please see the

   # documentation for more information about their specific syntax and use.

   # config.vm.provision "shell", inline: <<-SHELL

   #   apt-get update

   #   apt-get install -y apache2

   # SHELL

 end
Vagrant工具的安装的更多相关文章
- docker学习笔记(一)-vagrant/docker machine安装docker,阿里云通过docker machine安装docker
首先需要先安装virtualbox https://www.vagrantup.com/ 下载安装vagrant 安装完毕后通过vagrant下载镜像,生成实例 mkdir test_centos7 ...
- 使用 Vagrant 在 VirtualBox 安装 Linux 虚拟机
GreatSQL社区原创内容未经授权不得随意使用,转载请联系小编并注明来源. 目录 1. 导入 2.工具介绍 3.通过Vagrant为VirtualBox安装CentOS 7 4.总结 文章推荐: 关 ...
- 微软源代码管理工具TFS2013安装与使用详细图文教程(Vs2013)
这篇文章联合软件小编主要介绍了微软源代码管理工具TFS2013安装与使用图文教程,本文详细的给出了TFS2013的安装配置过程.使用教程,需要的朋友可以参考下 最近公司新开发一个项目要用微软的TFS2 ...
- [转] 微软源代码管理工具TFS2013安装与使用详细图文教程(Vs2013)
这篇文章联合软件小编主要介绍了微软源代码管理工具TFS2013安装与使用图文教程,本文详细的给出了TFS2013的安装配置过程.使用教程,需要的朋友可以参考下 最近公司新开发一个项目要用微软的TFS2 ...
- nmon工具的安装及简单使用
1.工具的安装 下载rpm包安装即可http://mirror.ghettoforge.org/distributions/gf/el/6/gf/x86_64/nmon-14i-1.gf.el6.x8 ...
- PHP性能优化工具–xhprof安装
PHP性能优化工具–xhprof安装,这里我先贴出大致的步骤: 1.获取xhprof 2.编译前预处理 3.编译安装 4.配置php.ini 5.查看运行结果 那么下面我们开始安装xhprof工具吧: ...
- PHP 代码质量检测工具的安装与使用
代码统计工具 PHPLOC安装:wget https://phar.phpunit.de/phploc.phar chmod +x phploc.phar sudo mv phploc.phar /u ...
- Hadoop集群中pig工具的安装过程记录
在Hadoop环境中安装了pig工具,安装过程中碰到了一些问题,在此做一下记录: 主要安装流程参考:http://www.cnblogs.com/yanghuahui/p/3768270.html ...
- 第一章:绪论-Python开发工具的安装
书中提到了操作系统平台尽量选 *nix.我这里选用的是 ubuntu 14.04 , 下面的操作均以此操作系统为例说明. 操作系统安装教程可以去网站上找,推荐用虚拟机的方式,Windows下可用的虚拟 ...
随机推荐
- TCP系列11—重传—1、TCP重传概述
在最开始介绍TCP的时候,我们就介绍了TCP的三个特点,分别是面向连接.可靠.字节流式.前面内容我们已经介绍过了TCP的连接管理,接下来的这部分内容将会介绍与TCP可靠性强关联的TCP重传. 很多网络 ...
- 用delete和trancate删除表记录的区别
首先说相同点,就是他们都能删除表中的数据,区别有两点: 第一点: delete语句在删除记录的时候可以有选择的删除某些数据(使用where子句),当然,如果不添加where子句,就是删除所有记录 而t ...
- Analyze a docker instance start failure
错误信息:Cannot start container xxxxxxxxxxx | Error getting container xxxxxxxxxxxxxxx from driver dev ...
- node的读写流
let http = require('http'); http.createServer((req,res)=>{ res.end(); }).listen(,()=>{ console ...
- Centos7搭建LAMP+Typecho博客
一.安装Apache的httpd服务 yum install httpd # 安装httpd服务 systemctl start httpd # 启动httpd服务 systemctl status ...
- Linux基础学习(3)--初学注意
第三章——初学注意 一.学习Linux的注意事项 1.Linux严格区分大小写 2.Linux中所有内容以文件形式保存,包括硬件: (1)硬盘文件是/dev/sd[a-p] (2)光盘文件是/dev/ ...
- 初学者学习C++的50条忠告
1.把C++当成一门新的语言学习(和C没啥关系!真的.); 2.看<Thinking In C++>,不要看<C++变成死相>; 3.看<The C++ Programm ...
- 主成分分析PCA(Principal Component Analysis)在sklearn中的应用及部分源码分析
最近太忙,又有一段时间没写东西了. pca是机器学习中一个重要的降维技术,是特征提取的代表.关于pca的实现原理,在此不做过多赘述,相关参考书和各大神牛的博客都已经有各种各样的详细介绍. 如需学习相关 ...
- codeforces622B
The Time CodeForces - 622B 给你当前的时间(24小时制):HH:MM.输出 x 分钟后的时间是多少?(24小时制) 不明白可以看看例子哦- Input 第一行给出了当前时间, ...
- BZOJ1018[SHOI2008]堵塞的交通——线段树
题目描述 有一天,由于某种穿越现象作用,你来到了传说中的小人国.小人国的布局非常奇特,整个国家的交通系统可以被看成是一个2行C列的矩形网格,网格上的每个点代表一个城市,相邻的城市之间有一条道路,所以总 ...