Docker学习笔记:Alpine镜像+Python3安装+http服务器
- 编写Dockerfile文件使用最新的Alpine镜像并安装Python3环境,如下:
因为python高于3.4则不会默认安装pip,需要手动安装。
试了很多其他办法都没安装上,唯有下载get-pip.py进行安装。
这里说一下cherrypy版本不能高于9.0.0,负责等下import wsgiserver会出错,因为wsgiserver后面移出cherrypy了。
FROM alpine
RUN mkdir /install
COPY get-pip.py /install
RUN apk update
RUN apk add bash
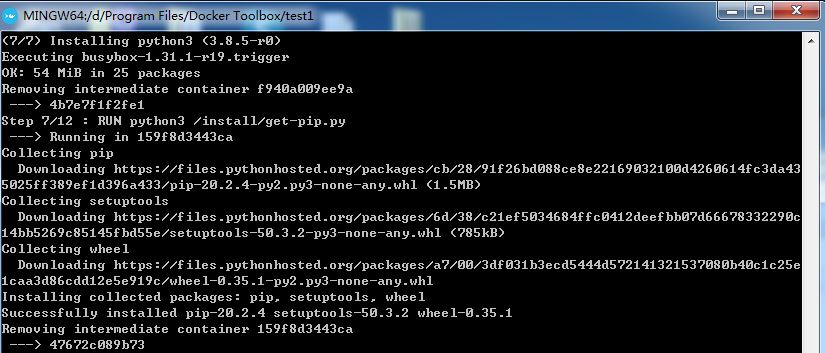
RUN apk add python3
RUN python3 /install/get-pip.py
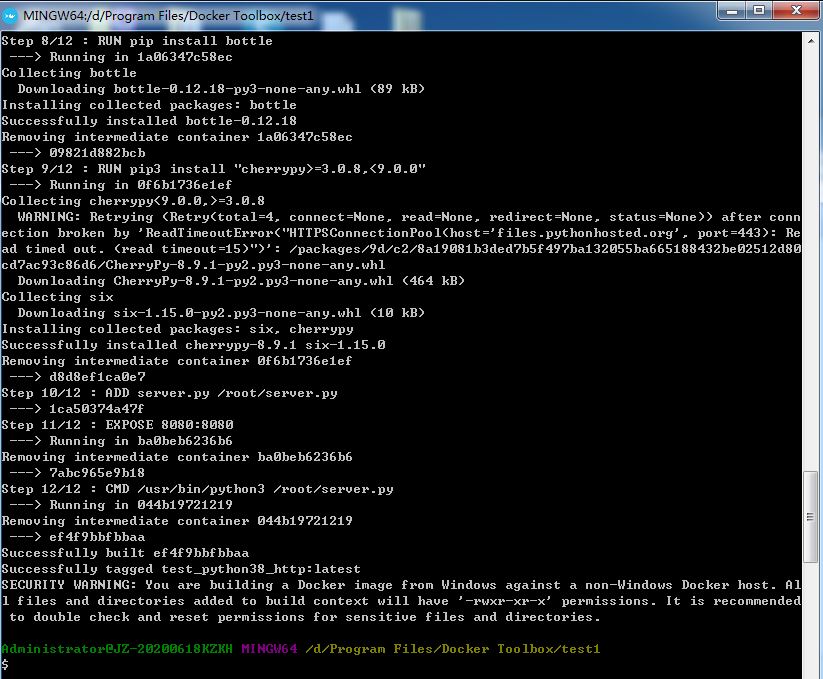
RUN pip install bottle
#RUN pip3 install cherrypy
RUN pip3 install "cherrypy>=3.0.8,<9.0.0"
ADD server.py /root/server.py
EXPOSE 8080:8080
CMD /usr/bin/python3 /root/server.py
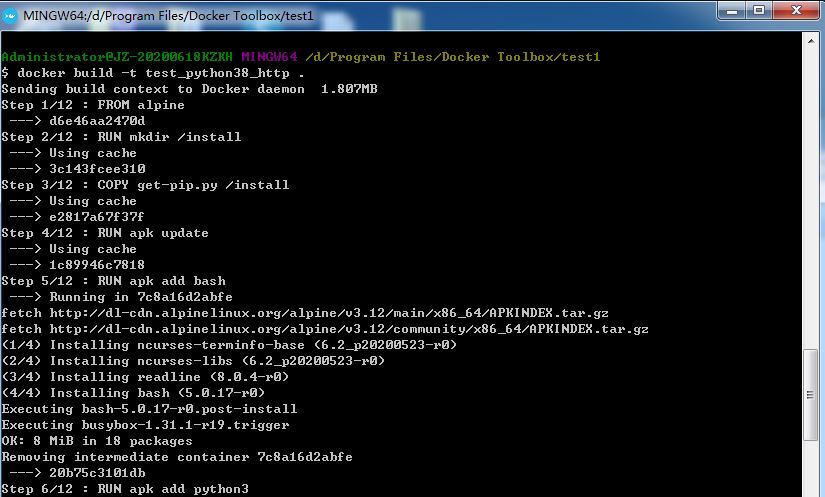
- 在Dockerfile文件目录下执行下面命令可以创建基于python3的镜像:
$ docker build -t test_python38_http .
- 这样基于alpine的python3镜像创建成功了,用下面命令可以查看:
$ docker images

- 镜像创建成功后输入命令则可以启动镜像服务了
$ docker run -p 8080:8080 -it test_python38_http

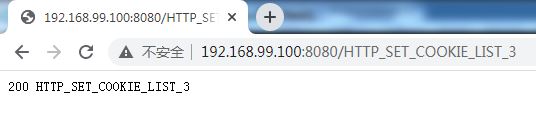
- 最后打开浏览器,输入url测试:
http://192.168.99.100:8080/HTTP_SET_COOKIE_LIST_3
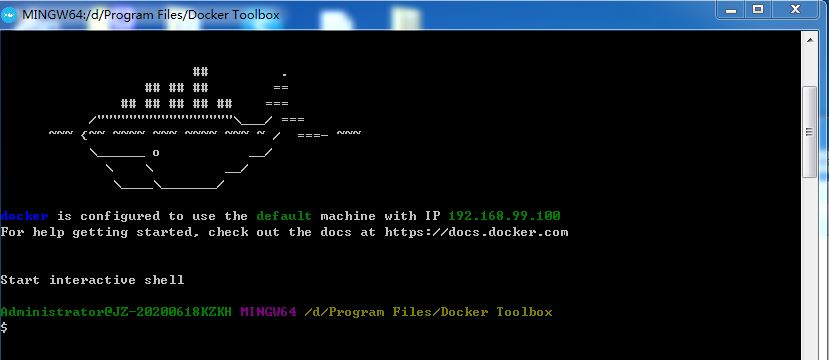
关于这个IP也是一个坑,大家可以在启动Docker时看到一个default IP,并不是其他的哦。
- 最后贴上http代码
import bottle

from bottle import post, get, delete, route, request

from cherrypy import wsgiserver

import time

import signal

@route('/HTTP_SET_COOKIE_LIST_3')

def set_cookie():

    print("VA_HTTP HTTP_SET_COOKIE_LIST_3")

    count = int( bottle.request.cookies.get('counter', '0') )

    count += 1

    bottle.response.set_cookie('counter', str(count))

    bottle.response.status = 200

    bottle.response.content_type = 'text/plain; charset=utf-8'

    return "200 HTTP_SET_COOKIE_LIST_3"

@route('/HTTP_SET_COOKIE_LIST_4')

def verify_cookie():

    count = int( bottle.request.cookies.get('counter', '0') )

    if count == 0 :

        bottle.response.status = 400

        bottle.response.content_type = 'text/plain; charset=utf-8'

        return "400 HTTP_SET_COOKIE_LIST_4"

    else :

        bottle.response.status = 200

        bottle.response.content_type = 'text/plain; charset=utf-8'

        return "200 HTTP_SET_COOKIE_LIST_4"

@route('/<id>')

def HttpRoute_handle(id):

    bottle.response.status = 200

    bottle.response.content_type = 'text/plain; charset=utf-8'

    return "200 "+ id

@route('/HTTP_TIMEOUT')

def HttpTime_handle():

    time.sleep(30)

    bottle.response.status = 200

    bottle.response.content_type = 'text/plain; charset=utf-8'

    return "200 TIME"

#Get for Test HTTP_DO_REQUEST_1, HTTP_SET_POST_DATA_5, HTTP_SET_METHOD_3

@get('/<id>')

def HttpGet_handler(id):

    if id == "HTTP_SET_METHOD_3":

        bottle.response.status = 200

        bottle.response.content_type = 'text/plain; charset=utf-8'

        return "200 GET"

    elif (id == "HTTP_SET_HEADER_2_0") or (id == "HTTP_SET_HEADER_2_1") or (id == "HTTP_SET_HEADER_2_2"):

        if(request.headers.get('FirstHeader') == 'value') and not(request.headers.get('SecondHeader')) and (id == "HTTP_SET_HEADER_2_0"):

            bottle.response.status = 200

            bottle.response.content_type = 'text/plain; charset=utf-8'

            return "200 HTTP_SET_HEADER_2 " + "FirstHeader"

        elif (request.headers.get('FirstHeader') == 'value') and (request.headers.get('SecondHeader') == 'value') and (id == "HTTP_SET_HEADER_2_1"):

            bottle.response.status = 200

            bottle.response.content_type = 'text/plain; charset=utf-8'

            return "200 HTTP_SET_HEADER_2 " + "FirstHeader" + "SecondHeader"

        elif not(request.headers.get('FirstHeader')) and not(request.headers.get('SecondHeader')) and( id == "HTTP_SET_HEADER_2_2"):

            bottle.response.status = 200

            bottle.response.content_type = 'text/plain; charset=utf-8'

            return "200 HTTP_SET_HEADER_2 "

        else:

            bottle.response.status = 400

            bottle.response.content_type = 'text/plain; charset=utf-8'

            return "400 HTTP_SET_HEADER_2"

    else:

        bottle.response.status = 200

        bottle.response.content_type = 'text/plain; charset=utf-8'

        return "200 "+ id

#Post for Test : HTTP_SET_POST_DATA_3, HTTP_SET_POST_DATA_4, HTTP_SET_POST_DATA_5, HTTP_SET_METHOD_3

@post('/<id>')

def HttpSetPostData_handler(id):

    if id == "HTTP_SET_POST_DATA_5" :

        bottle.response.status = 400

        bottle.response.content_type = 'text/plain; charset=utf-8'

        return "400 " + id

    elif id == "HTTP_SET_METHOD_3":

        Data = bottle.request.forms.get('data')

        Cata = bottle.request.forms.get('cata')

        if Data:

            bottle.response.status = 200

            bottle.response.content_type = 'text/plain; charset=utf-8'

            return "200 POST " + "data=" + Data

        elif Cata:

            bottle.response.status = 200

            bottle.response.content_type = 'text/plain; charset=utf-8'

            return "200 POST " + "cata=" + Cata

        else:

            bottle.response.status = 400

            bottle.response.content_type = 'text/plain; charset=utf-8'

            return "400 " + id

    else:

        testName = bottle.request.forms.get('testname')

        if testName == "HTTP_SET_POST_DATA_4":

            bottle.response.status = 200

            bottle.response.content_type = 'text/plain; charset=utf-8'

            return "200 " + id

        elif testName == id:

            #HTTP_SET_POST_DATA_3

            bottle.response.status = 200

            bottle.response.content_type = 'text/plain; charset=utf-8'

            return "200 " + testName

        else :

            bottle.response.status = 400

            bottle.response.content_type = 'text/plain; charset=utf-8'

            return "400 " + id

def stop_server(*args, **kwargs):

    server.stop()

app = bottle.default_app()

server = wsgiserver.CherryPyWSGIServer(("0.0.0.0", 8080), app)

signal.signal(signal.SIGINT, stop_server)

signal.signal(signal.SIGTERM, stop_server)

signal.signal(signal.SIGHUP, stop_server)

print("VA_HTTP TestSuite Server Started")

server.start()
Docker学习笔记:Alpine镜像+Python3安装+http服务器的更多相关文章
- Docker学习笔记一 概念、安装、镜像加速
本文地址:https://www.cnblogs.com/veinyin/p/10406378.html Docker 是一个容器,可以想象成一个轻便的虚拟机,但不虚拟硬件和操作系统. 优点:启动快 ...
- Docker学习笔记【三】安装Redis
项目中使用到Redis,平常都是别人搭建的,今天试着在Google Cloud Platform 上搭建一个学习环境. 1.使用 docker pull redis 从docker hub中下载镜像 ...
- Docker学习笔记:镜像、容器、数据卷
核心概念 镜像:一个只读的模板,类似虚拟机的镜像. 容器:可以理解为镜像的一个运行实例.运行时类似于沙箱,多个容器互相独立. 仓库:存放镜像文件的地方. 镜像 命令表格 命令 解释 选项 docker ...
- Docker学习笔记之镜像与容器
0x00 概述 镜像和容器作为 Docker 里最基础的概念,我们很有必要了解 Docker 对它们的很多定义以及其他与它们有关的知识.在这一小节里,我们就专门针对镜像与容器两个概念展开,细致的梳理与 ...
- docker学习笔记2--对镜像/容器的命令操作
Docker启动一个Centos镜像 我们下载完成一个Centos镜像之后,开始启动 docker run -d -i -t <imageID> /bin/bash 这样就能启动一个一直停 ...
- docker学习笔记-常用镜像相关命令
docker images # 1.使用 [root@iZbp13qr3mm4ucsjumrlgqZ ~]# docker images REPOSITORY TAG IMAGE ID CREATED ...
- docker学习笔记一:基本安装和设置容器静态ip
docker是一个lxc升级版的容器类虚拟环境,具有快速部署,灵活,易迁移的虚拟机模式,现在各大公司已经开始广泛使用为了自己方便学习linux,需要多台虚拟机环境,但是vmware开启多台虚拟机时需要 ...
- Docker学习笔记--2 镜像的创建
如果我们需要在Docker环境下部署tomcat.redis.mysql.nginx.php等应用服务环境,有下面三种方法: 1,根据系统镜像创建Docker容器,这时容器就相当于是一个虚拟机,进入容 ...
- Docker学习笔记-CentOS7镜像
前言: 环境:centos7.5 64 位 正文: 第一步:下载centos7镜像 docker pull centos 第二步:建立centos7的容器 sudo docker run --priv ...
随机推荐
- LiteOS-任务篇-源码分析-删除任务函数
目录 前言 笔录草稿 源码分析 LOS_TaskDelete函数源码分析 完整源码 参考 链接 前言 20201009 LiteOS 2018 需要会通用链表 笔录草稿 源码分析 LOS_TaskDe ...
- Cesium.Viewer
<!DOCTYPE html><html lang="en"><head> <meta charset="utf-8" ...
- day64 Pyhton 框架Django 07
day67 内容回顾 视图 1. CBV 定义 from django.views import View class Addpub(View): def get(self,request): sel ...
- 【原创】xenomai内核解析--xenomai与普通linux进程之间通讯XDDP(三)--实时与非实时数据交互
版权声明:本文为本文为博主原创文章,转载请注明出处.如有问题,欢迎指正.博客地址:https://www.cnblogs.com/wsg1100/ 目录 1.概述 1.概述 [原创]实时IPC概述 [ ...
- RESP协议
RESP 是 Redis 序列化协议的简写.它是⼀种直观的⽂本协议,优势在于实现异常简单,解析性能极好. Redis 协议将传输的结构数据分为 5 种最⼩单元类型,单元结束时统⼀加上回⻋换⾏符号\r\ ...
- centos8使用systemctl管理运行级别
一,什么是systemd的target? 1,关于systemd/systemctl的相关知识,请移步到这一篇 https://www.cnblogs.com/architectforest/p/12 ...
- C# 8: 默认接口方法
翻译自 John Demetriou 2018年8月4日 的文章 <C# 8: Default Interface Methods>[1],补充了一些内容 C# 8 之前 今天我们来聊一聊 ...
- 对象部分初始化:原理以及验证代码(双重检查锁与volatile相关)
对象部分初始化:原理以及验证代码(双重检查锁与volatile相关) 对象部分初始化被称为 Partially initialized objects / Partially constructed ...
- build设计模式
又叫生成器模式 public class MainActivity extends AppCompatActivity { TextView textView; Button button; prot ...
- Windows搭建Hexo系统
date: 2018-11-16 17:10:51 updated: 2018-11-16 20:04:43 1.安装Git 下载Windows下的Git客户端并安装,安装很简单,基本一路Next下去 ...