Ionic4 Cordova 调用原生硬件 Api 实现扫码功能
QR Scanner 速度快,样式随心所欲,默认只能扫二维码 https://ionicframework.com/docs/native/qr-scanner/
安装插件
ionic cordova plugin add cordova-plugin-qrscanner

npm install @ionic-native/qr-scanne
app.module.ts 引入依赖注入
import { QRScanner } from '@ionic-native/qr-scanner/ngx';
providers: [

    Camera,

  StatusBar,

  SplashScreen,

  QRScanner,

{ provide: RouteReuseStrategy, useClass: IonicRouteStrategy }

]
新建页面
ionic g page scan
使用
下载扫码框背景图 scanner.svg 放在 src/assets 目录里面
下载地址:http://www.ionic.wang/scanner_svg.zip
scan.html
<ion-header>

  <ion-toolbar>

    <ion-buttons slot="start">

      <ion-back-button></ion-back-button>

    </ion-buttons>

    <ion-title>扫码中..</ion-title>

  </ion-toolbar>

</ion-header>

<ion-content [ngClass]="{'qrscanner':isShow}">

  <div [ngClass]="{'qrscanner-area':isShow}">

  </div>

  <div [ngClass]="{'through-line':isShow}"></div>

  <div class="button-bottom">

    <ion-button (click)="toggleLight()" class="icon-camera">

      <ion-icon name="flash"></ion-icon>

    </ion-button>

    <ion-button (click)="toggleCamera()" class="icon-camera">

      <ion-icon name="reverse-camera"></ion-icon>

    </ion-button>

  </div>

</ion-content>
css 样式:
 .ion-page {

    background: transparent none !important;

  }

  ion-content {

    --background: transparent none !important;

  }

  .qrscanner {

    background: none;

    &-area {

      width: 100%;

      height: 86%;

      background: url(../../assets/scanner.svg) no-repeat center center;

      background-size: contain;

    }

  }

  .through-line {

    left: 25%;

    width: 50%;

    height: 2px;

    background: red;

    position: absolute;

    animation: myfirst 2s linear infinite alternate;

  }

  @keyframes myfirst {

    0% {

      background: red;

      top: 30%;

    }

    25% {

      background: yellow;

      top: 35%;

    }

    50% {

      background: blue;

      top: 40%;

    }

    75% {

      background: green;

      top: 45%;

    }

    100% {

      background: red;

      top: 50%;

    }

  }

  .button-bottom {

    width: 128px;

    position: absolute;

    left: 50%;

    bottom: 80px;

    margin-left: -64px;

    .icon-camera {

      float: left;

    }

  }
ts
import { Component, OnInit } from '@angular/core';

import { QRScanner, QRScannerStatus } from '@ionic-native/qr-scanner/ngx';

import { NavController } from '@ionic/angular';

@Component({

  selector: 'app-scan',

  templateUrl: './scan.page.html',

  styleUrls: ['./scan.page.scss'],

})

export class ScanPage implements OnInit {

  public light: boolean;//判断闪光灯

  public frontCamera: boolean;//判断摄像头

  public isShow: boolean = false;//控制显示背景,避免切换页面卡顿

  constructor(private qrScanner: QRScanner, public navController: NavController) { }

  ngOnInit() {

    // this.ionViewWillEnter() ;

  }

  //刚进来的时候执行扫码

  ionViewWillEnter() {

    this.qrScanner.prepare()

      .then((status: QRScannerStatus) => {

        if (status.authorized) {

          // start scanning

          let scanSub = this.qrScanner.scan().subscribe((text: string) => {

            console.log('Scanned something', text);

            alert(text);

            this.qrScanner.hide(); // hide camera preview

            scanSub.unsubscribe(); // stop scanning

            this.navController.back();

          });

          // 打开摄像头

          this.qrScanner.show();

        } else if (status.denied) {

          console.log('没有摄像头权限,请前往设置中开启');

        } else {

          // permission was denied, but not permanently. You can ask for permission

          console.log('没有摄像头权限,请前往设置中开启');

        }

      })

      .catch((e: any) => console.log('Error is', e));

  }

  /*页面可见后执行 */

  ionViewDidEnter() {

    this.isShow = true;//显示背景

    console.log("ionViewDidEnter")

  }

  /**

* 闪光灯控制,默认关闭

*/

  toggleLight() {

    if (this.light) {

      this.qrScanner.disableLight();

    } else {

      this.qrScanner.enableLight();

    }

    this.light = !this.light;

  }

  /**

  * 前后摄像头互换

  */

  toggleCamera() {

    if (this.frontCamera) {

      this.qrScanner.useBackCamera();

    } else {

      this.qrScanner.useFrontCamera();

    }

    this.frontCamera = !this.frontCamera;

  }

  //组件销毁

  ionViewWillLeave() {

    this.qrScanner.hide();//需要关闭扫描,否则相机一直开着

    this.qrScanner.destroy();//关闭

  }

}
Ionic QR Scanner Android 扫描条形码配置
找到 QRScanner.java

 ArrayList<BarcodeFormat> formatList = new ArrayList<BarcodeFormat>();
formatList.add(BarcodeFormat.QR_CODE);
然后在上面代码后面新增下面代码
formatList.add(BarcodeFormat.UPC_A);
formatList.add(BarcodeFormat.UPC_E);
formatList.add(BarcodeFormat.EAN_13);
formatList.add(BarcodeFormat.EAN_8);
formatList.add(BarcodeFormat.CODE_39);
formatList.add(BarcodeFormat.CODE_93);
formatList.add(BarcodeFormat.CODE_128);
formatList.add(BarcodeFormat.ITF);
formatList.add(BarcodeFormat.DATA_MATRIX);
真机测试效果:
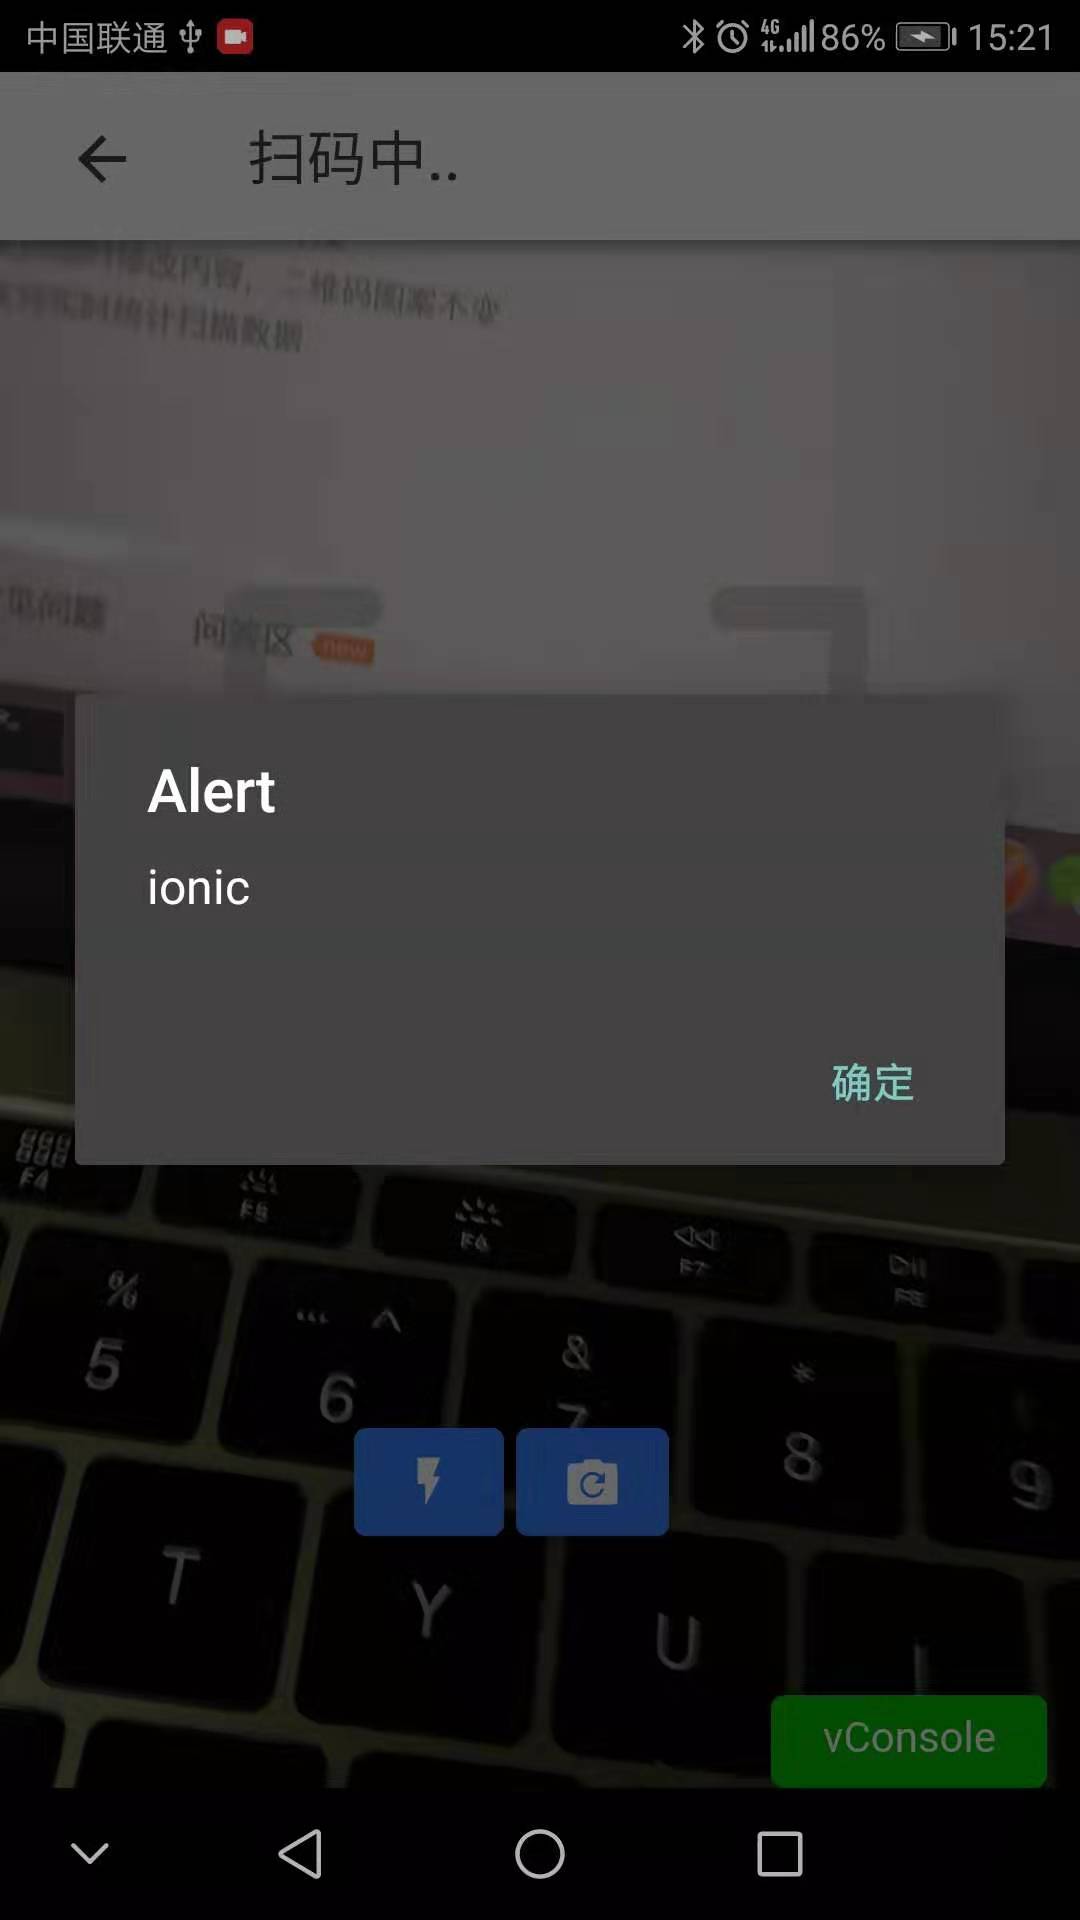
出现扫描框,但是没有打开相机,白屏,同时Cordova.js 找不到报错
找到index.html中,手动引入,重新编译运行即可
<script src="cordova.js"></script>
Ionic4 Cordova 调用原生硬件 Api 实现扫码功能的更多相关文章
- 调用原生硬件 Api 实现照相机 拍照和相册选择 以及拍照上传
一.Flutter image_picker 实现相机拍照和相册选择 https://pub.dev/packages/image_picker 二.Flutter 上传图片到服务器 ht ...
- 配置微信api调扫码功能
var url = encodeURIComponent(location.href.split('#')[0]); $.get(iapi+'/htweb/wx/getJsSdkSign?url='+ ...
- ionic3 实现扫码功能
ionic3 通过插件phonegap-plugin-barcodescanner,调用机器硬件摄像头实现扫码功能. 首先当然先了解下 phonegap-plugin-barcodescanner,这 ...
- 微信小程序实现连续扫码功能(uniapp)
注:本文使用的是 uniapp 语法. 微信小程序提供了扫码API:wx.scanCode,但它只能扫一次码,想要实现连续扫码,需要借用 camera 组件.camera 组件不仅能拍照,还具有扫码功 ...
- vue移动app扫码功能
第一步: 上面这段代码写在index.html里面,我也不知道为什么,可能是全局的关系: 第二步: 定义一个按钮,点击启动扫码功能,另外再定义一个盒子来当做扫码的容器:我给这个盒子定义了一个id类名: ...
- Ionic Cordova 调用原生 Api 实现拍照上传 图片到服务器功能
Ionic 调用 Device 设备 Api 获取手机的设备信息 1. 找到对应的Api: https://ionicframework.com/docs/native/device/ 2. 安装相关 ...
- PHP--------微信网页开发实现微信扫码功能
今天说说微商城项目中用到的扫一扫这个功能,分享一下,希望对各位有所帮助. 前提:要有公众号,和通过微信认证,绑定域名,得到相应信息,appid,appsecret等. 微信开发文档:https://m ...
- vue项目中实现扫码功能
项目地址:https://github.com/wkl007/vue-scan-demo.git 项目主要是做的一个扫码的功能 核心代码为 <div class="scan" ...
- Android | 带你零代码实现安卓扫码功能
目录 小序 背景介绍 前期准备 开始搬运 结语 小序 这是一篇纯新手教学,本人之前没有任何安卓开发经验(尴尬),本文也不涉及任何代码就可以使用一个扫码demo,华为scankit真是新手的福音-- ...
随机推荐
- 使用Visual Studio快速开发STM32F4-Discovery探索板入门
本本将主要介绍如何使用Visual Studio创建一个基于STM32F4-Discovery探索板的简单工程. 本文使用以下硬件和软件: ● Microsoft Visual Studio ...
- Integer Inquiry UVA-424(大整数)
题意分析: 将字符串倒着存入int数组中,每次加完后再取余除去大于10的部分 关键:倒着存入,这样会明显缩短代码量. #include<iostream> #include<cstd ...
- 完成N!的程序编写: 1、用循环算法编写; 2、用递归算法编写;
完成N!的程序编写 1.用循环算法编写 #include<iostream> using namespace std; int main(){ int n; long result = 1 ...
- k8s删除pod时,docker服务出现挂载点泄漏问题的解决
k8s更新版本后,老的POD一直出现Terminating,多久都不能删除. 然后,进入具体的节点机器之后,查看日志输出如下类似: ERROR: driver "overlay" ...
- P2680 运输计划[二分+LCA+树上差分]
题目描述 公元20442044 年,人类进入了宇宙纪元. L 国有 nn 个星球,还有 n-1n−1 条双向航道,每条航道建立在两个星球之间,这 n-1n−1 条航道连通了 LL 国的所有星球. 小 ...
- C#调用一下CMD
C#程序调用CMD执行命令 在windows环境下,命令行程序为cmd.exe,是一个32位的命令行程序,微软Windows系统基于Windows上的命令解释程序,类似于微软的DOS操作系统.输入 ...
- python递归的最大层数?
Python的最大递归层数是可以设置的,默认的在window上的最大递归层数是 998. 可以通过sys.setrecursionlimit()进行设置,但是一般默认不会超过3925-3929这个范围 ...
- js原型和原型链的问题
<script> //js原型和原型链的概念 functionperson(name){ this.name=name; } person.prototype.age=18; person ...
- HDP 大数据平台搭建
一.概述 Apache Ambari是一个基于Web的支持Apache Hadoop集群的供应.管理和监控的开源工具,Ambari已支持大多数Hadoop组件,包括HDFS.MapReduce.Hiv ...
- Python socket 通信功能简介
常用的地址家族AF_UNIX:基于文件,实现同一主机不同进程之间的通信AF_INET:基于网络,适用于IPv4AF_INET6:基于网络,使用于IPv6 常见的连接类型SOCK_STREAM:即TCP ...