OpenStack入门篇(二十)之实现阿里云ESC多FLAT网络
1.给两台虚拟机增加网卡,使用仅主机模式,网段为:192.168.57.0/24

2.修改两台主机网卡配置
[root@linux-node1 ~]# cp /etc/sysconfig/network-scripts/ifcfg-eth0 /etc/sysconfig/network-scripts/ifcfg-eth1

[root@linux-node1 ~]# vim /etc/sysconfig/network-scripts/ifcfg-eth1

TYPE=Ethernet

BOOTPROTO=static

NAME=eth1

DEVICE=eth1

ONBOOT=yes

IPADDR=192.168.57.11

NETMASK=255.255.255.0

[root@linux-node1 ~]# systemctl restart network

[root@linux-node2 ~]# cp /etc/sysconfig/network-scripts/ifcfg-eth0 /etc/sysconfig/network-scripts/ifcfg-eth1

[root@linux-node2 ~]# vim /etc/sysconfig/network-scripts/ifcfg-eth1

TYPE=Ethernet

BOOTPROTO=static

NAME=eth1

DEVICE=eth1

ONBOOT=yes

IPADDR=192.168.57.12

NETMASK=255.255.255.0

[root@linux-node2 ~]# systemctl restart network
3.修改桥接网络配置
[root@linux-node1 ~]# vim /etc/neutron/plugins/ml2/linuxbridge_agent.ini

physical_interface_mappings = public:eth0,internal:eth1

public:公网   internal:私网

[root@linux-node1 ~]# source admin-openstack

[root@linux-node1 ~]# openstack endpoint list
4.修改ml2的配置
[root@linux-node1 ~]# vim /etc/neutron/plugins/ml2/ml2_conf.ini

flat_network:单一扁平网络

flat_network = public,internal

[root@linux-node1 ~]# systemctl restart neutron-server

[root@linux-node1 ~]# systemctl restart neutron-linuxbridge-agent
5.计算节点:linux-node2一样配置/etc/neutron/plugins/ml2/linuxbridge_agent.ini
physical_interface_mappings = public:eth0,internal:eth1

[root@linux-node2 ~]# systemctl restart neutron-linuxbridge-agent
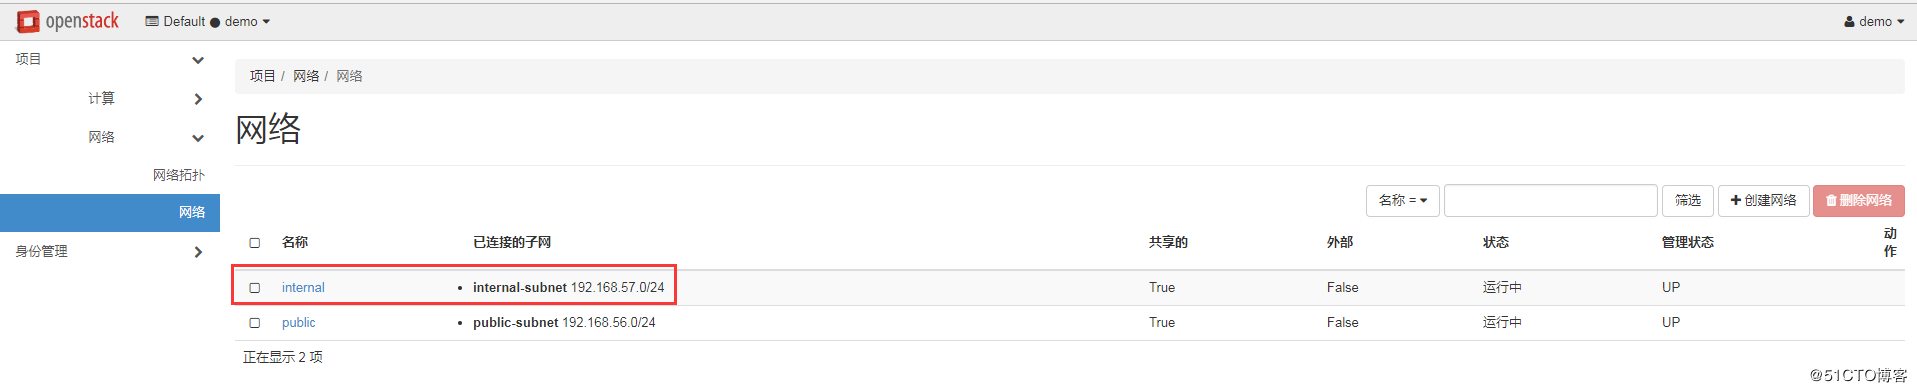
6.创建网络
[root@linux-node1 ~]# source admin-openstack

[root@linux-node1 ~]# openstack network create --share \

    --provider-physical-network internal \

    --provider-network-type flat internal  <--网络名称

[root@linux-node1 ~]# openstack subnet create --network internal \

    --allocation-pool start=192.168.57.100,end=192.168.57.200

    --dns-nameserver 192.168.56.2 --gateway 192.168.57.2 \

    --subnet-range 192.168.57.0/ internal-subnet
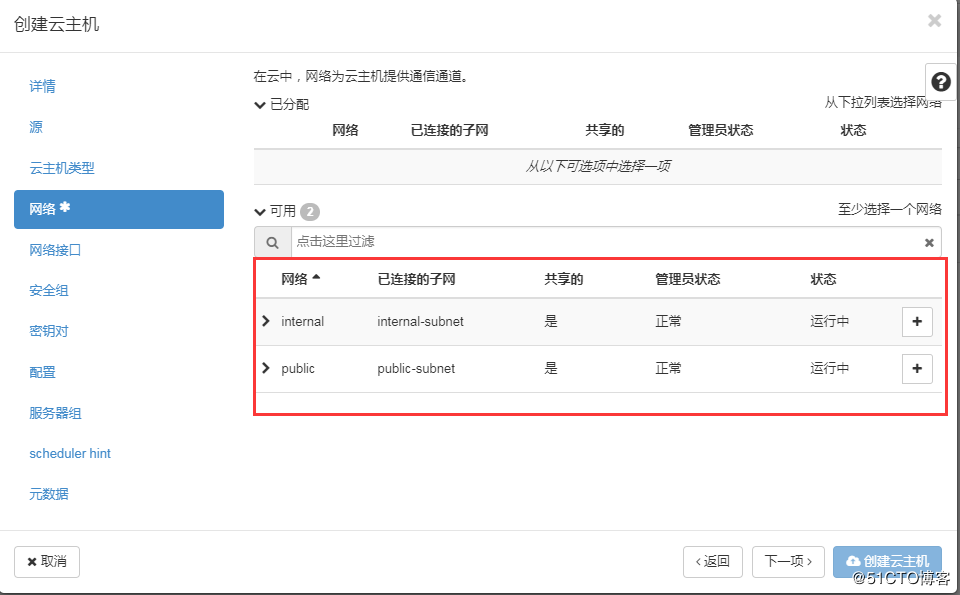
7.dashboard查看并创建云主机
在创建云主机时即可选择网络,如图:
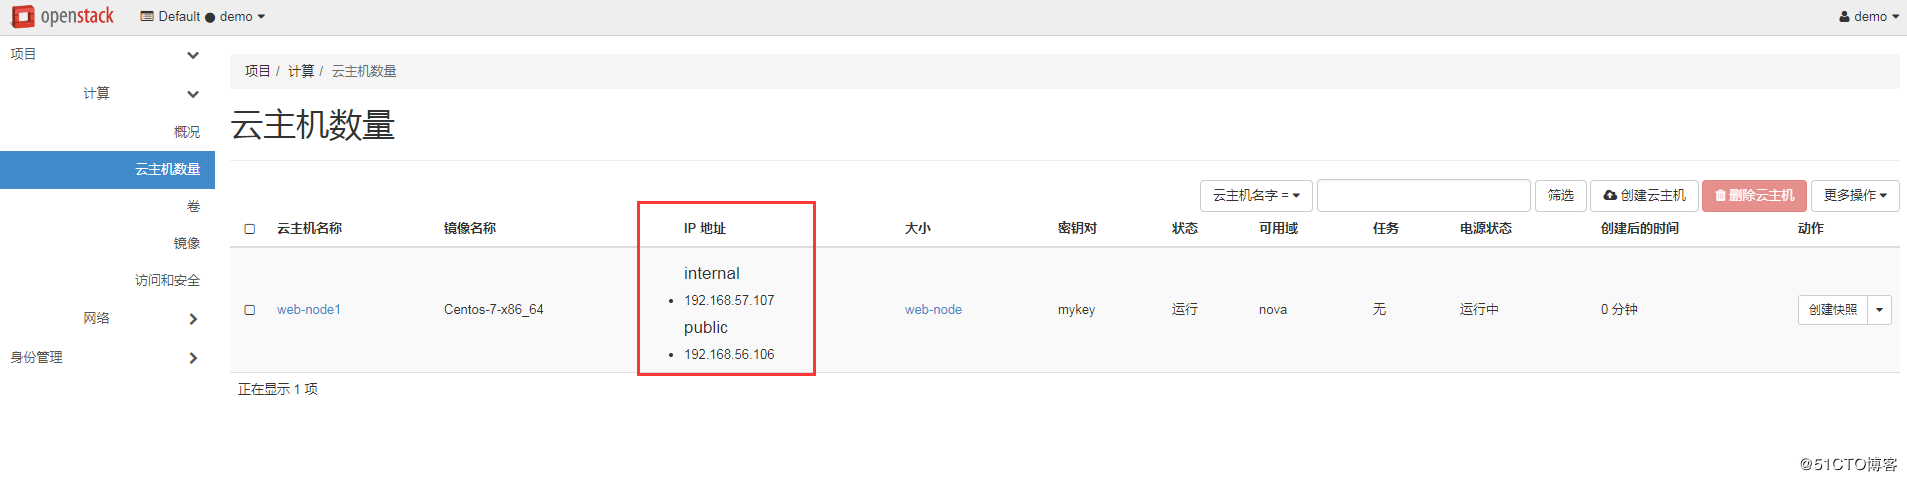
实现阿里云的FLAT网络(经典网络)一个公网ip,一个私网ip,如图:
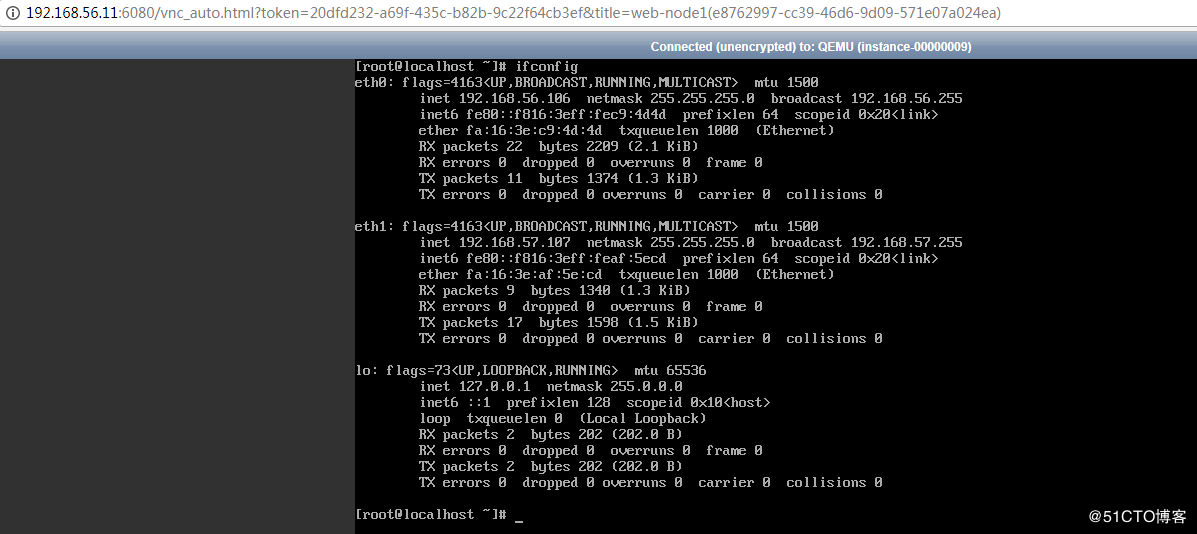
VNC查看:
OpenStack入门篇(二十)之实现阿里云ESC多FLAT网络的更多相关文章
- 028-实现阿里云ESC多FLAT网络
实现类似于阿里云ECS的网络结构,其效果为云主机拥有两块和两个不同的网络,一个网络是用于用于和外网连接,一个用于内网通信,但宿主机上至少有两个网卡,整体配置如下:1.在wmare里给宿主机添加一块网卡 ...
- OpenStack入门篇(二十二)之实现阿里云VPC的SDN网络
1.修改/etc/neutron/neutron.conf配置 [root@linux-node1 ~]# vim /etc/neutron/neutron.conf [defalut] ... co ...
- Openstack入门篇(十二)之neutron服务(计算节点)的部署与测试
1.Neutron组件安装 [root@linux-node2 ~]# yum install -y openstack-neutron-linuxbridge ebtables ipset 2.配置 ...
- Openstack入门篇(十八)之Cinder服务-->使用NFS作为后端存储
1.安装cinder-volume组件以及nfs [root@linux-node2 ~]# yum install -y openstack-cinder python-keystone [root ...
- Openstack入门篇(十六)之Cinder服务的部署与测试
1.理解块存储服务 操作系统获得存储空间的方式一般有两种: 通过某种协议(SAS,SCSI,SAN,iSCSI 等)挂接裸硬盘,然后分区.格式化.创建文件系统:或者直接使用裸硬盘存储数据(数据库) 通 ...
- Openstack入门篇(十五)之如何创建生产使用的openstack镜像
在linux-node1节点上: [root@linux-node1 ~]# yum install -y openstack-nova-compute [root@linux-node1 ~]# y ...
- Openstack入门篇(十四)之horizon服务的部署与测试
1.Horizon介绍 •提供一个web界面操作openstack的系统 •使用Django框架基于openstack API开发 •支持将session存储在DB.memcached •支持集群 t ...
- Openstack入门篇(十)之nova服务(计算节点)的部署与测试
1.安装服务软件包 [root@linux-node2 ~]# yum install -y centos-release-openstack-newton [root@linux-node2 ~]# ...
- OpenStack入门篇(十九)之网络虚拟化基础
1.Linux Bridge的基本概念 假设宿主机有 1 块与外网连接的物理网卡 eth0,上面跑了 1 个虚机 VM1,现在有个问题是: 如何让 VM1 能够访问外网?① 给 VM1 分配一个虚拟网 ...
随机推荐
- System.Web.Optimization对脚本和样式表的操作
这个也是本章重点向描述的部分,首先我们可以使用VS2012RC来新建一个MVC4.0项目,版本可以为4.0或4.5.在Global.asax文件代码中,我们发现已经把过滤器,路由器,以及对样式表和脚本 ...
- 一些centos 6和centos 7的区别
CentOS 6(OLE 6,RHEL 6类似) CcnetOS 7(OLE 7,RHEL 7类似) 影响 默认文件系统 ext4 xfs 大量小文件在ext4上工作性能较好在64位linux中, ...
- 转:C# 线程同步技术 Monitor 和Lock
原文地址:http://www.cnblogs.com/lxblog/archive/2013/03/07/2947182.html 今天我们总结一下 C#线程同步 中的 Monitor 类 和 Lo ...
- linux克隆机器
首先你要先点击你的虚拟机点击克隆: 然后执行这个 vim /etc/sysconfig/network-scripts/ifcfg-eth0 去这里修改这两行 然后注释了 然后再执行这个 > / ...
- [控件] AngleGradientView
AngleGradientView 效果 说明 1. 用源码产生带环形渐变色的view 2. 可以配合maskView一起使用 (上图中的右下角图片的效果) 源码 https://github.com ...
- Python入门-模块2(random模块、os模块)
>>> random.randomrange(1,10) #返回1-10之间的一个随机数,不包括10 >>> random.randint(1,10) #返回1-1 ...
- web.config设置之system.webServer 详细介绍,为网站设置默认文档
如何:为 IIS 7.0 配置 <system.webServer> 节2008-06-14 22:26http://technet.microsoft.com/zh-cn/sysinte ...
- n=n+1 放在print(s)的上面的影响 (2) n=n=+1在前面,则不满足前面<100条件时候,才跳出while的循环,这时候while循环结束, 到了外面的下一步-->print()
1+2+3+....+100= ? n=1 s = 0 while n < =100: s = s+n n= n+1 # n=n+1 在print(s)上面的情况 print(s)
- HBase性能优化 Java Api
1. 使用“连接池” 如果每次和Hbase交互时都去新建连接的话,显然是低效率的,HBase也提供类连接池相关的API. 1.1. HTablePool 早期的API中使用它,但很不幸,现在它已经过时 ...
- 2.3 Python语言基础
2.3 Python语言基础 1 语言语义(Language Semantics) 缩进,而不是括号 Python使用空格(tabs or spaces)来组织代码结构,而不是像R,C++,Java那 ...