TP6框架--CRMEB学习笔记:布置后台管理框架+配置路由
这里给大家分享我在网上总结出来的一些知识,希望对大家有所帮助

最近在研究一个基于TP6的框架CRMEB,这里分享下我的开发心得
首先在上篇文章中,我们安装了CRMEBphp接口项目,需要可以看这一篇
TP6框架--CRMEB学习笔记:项目初始化+环境配置
1.获取项目
这里是git地址
https://gitee.com/ZhongBangKeJi/CRMEB-Min.git
下载后用WebStorm打开

2.依赖安装+项目运行
先打开终端,运行
npm install
全局安装依赖
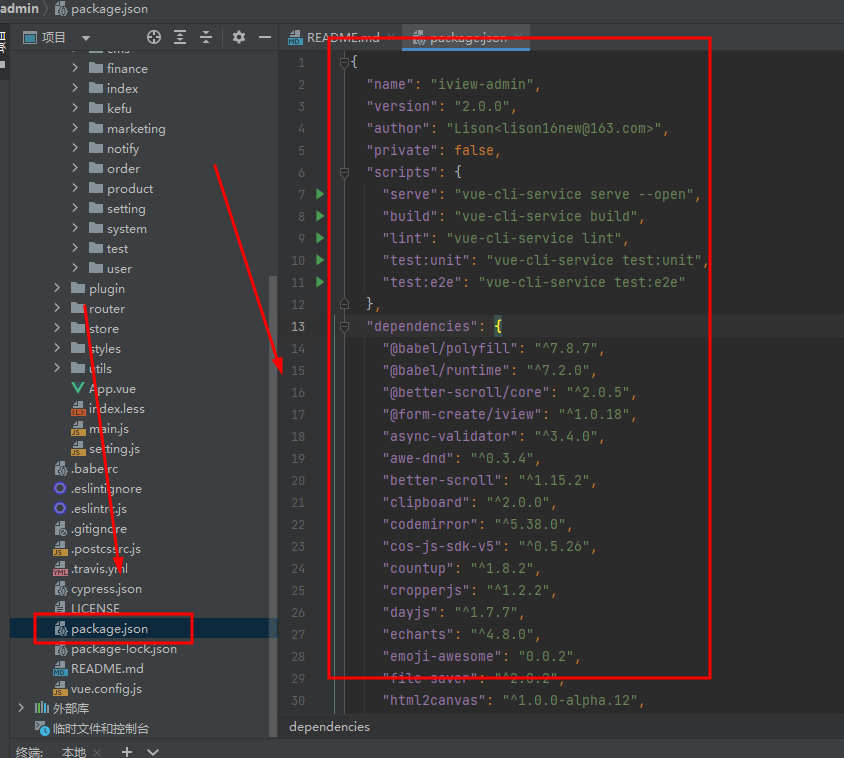
然后在代码上修改后台接口地址,改为上篇中安装好的后台接口地址

然后根据运行文件
运行以下代码运行项目
npm run serve
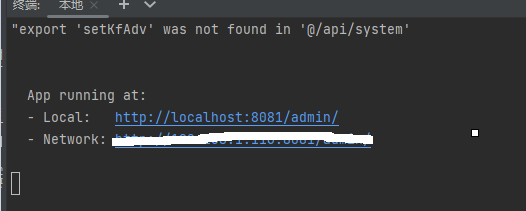
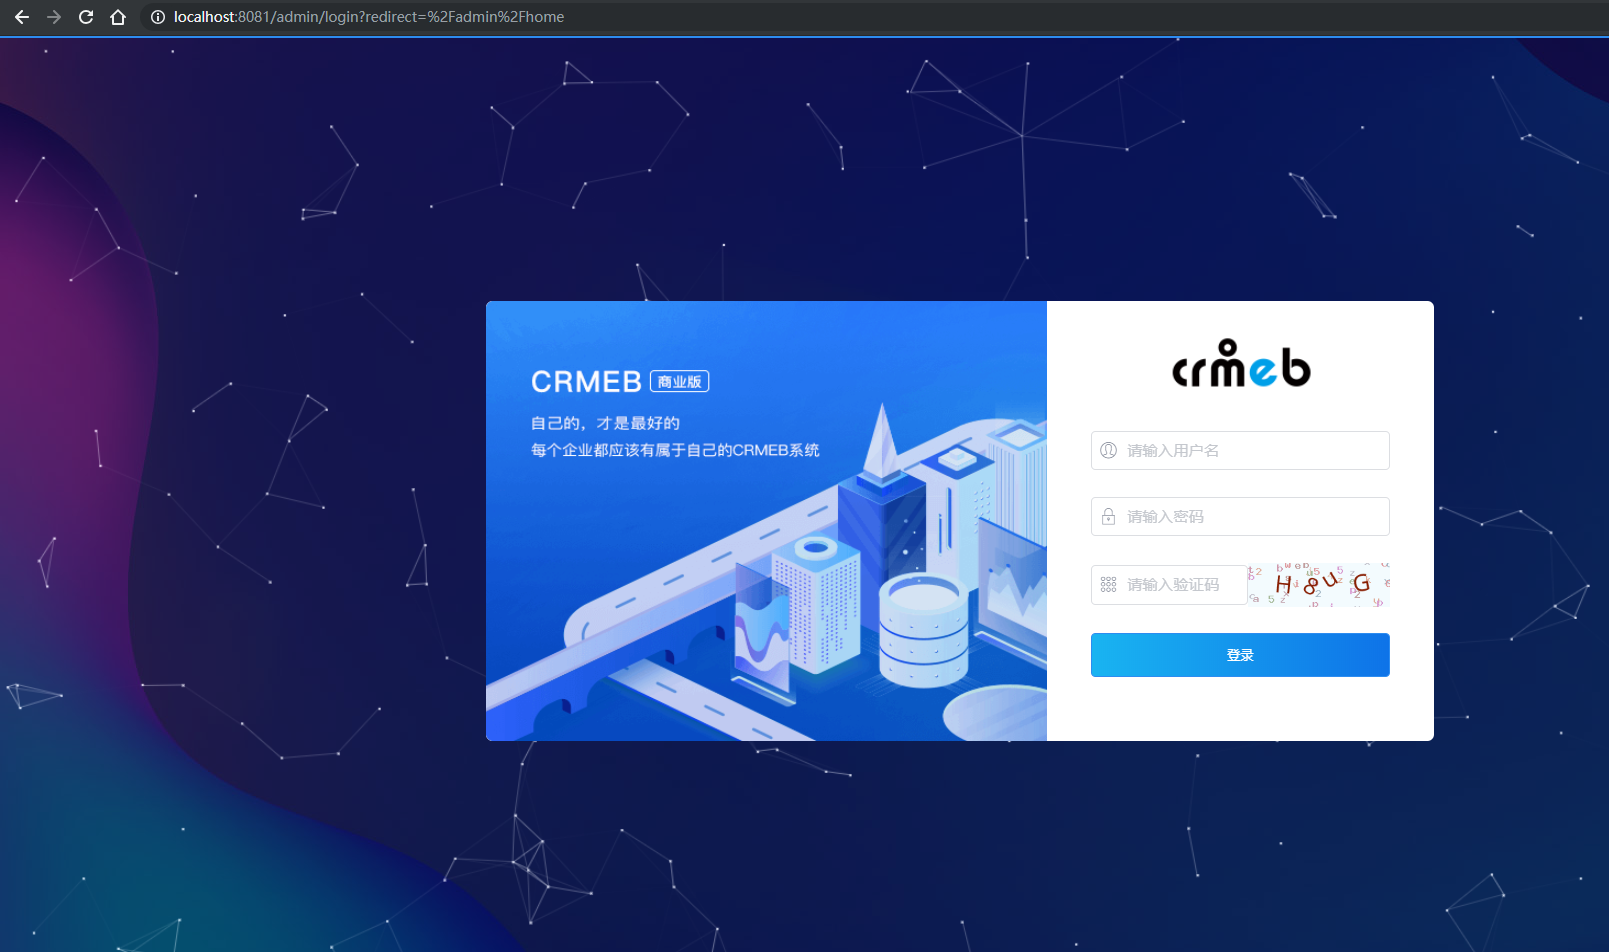
打开网站看效果
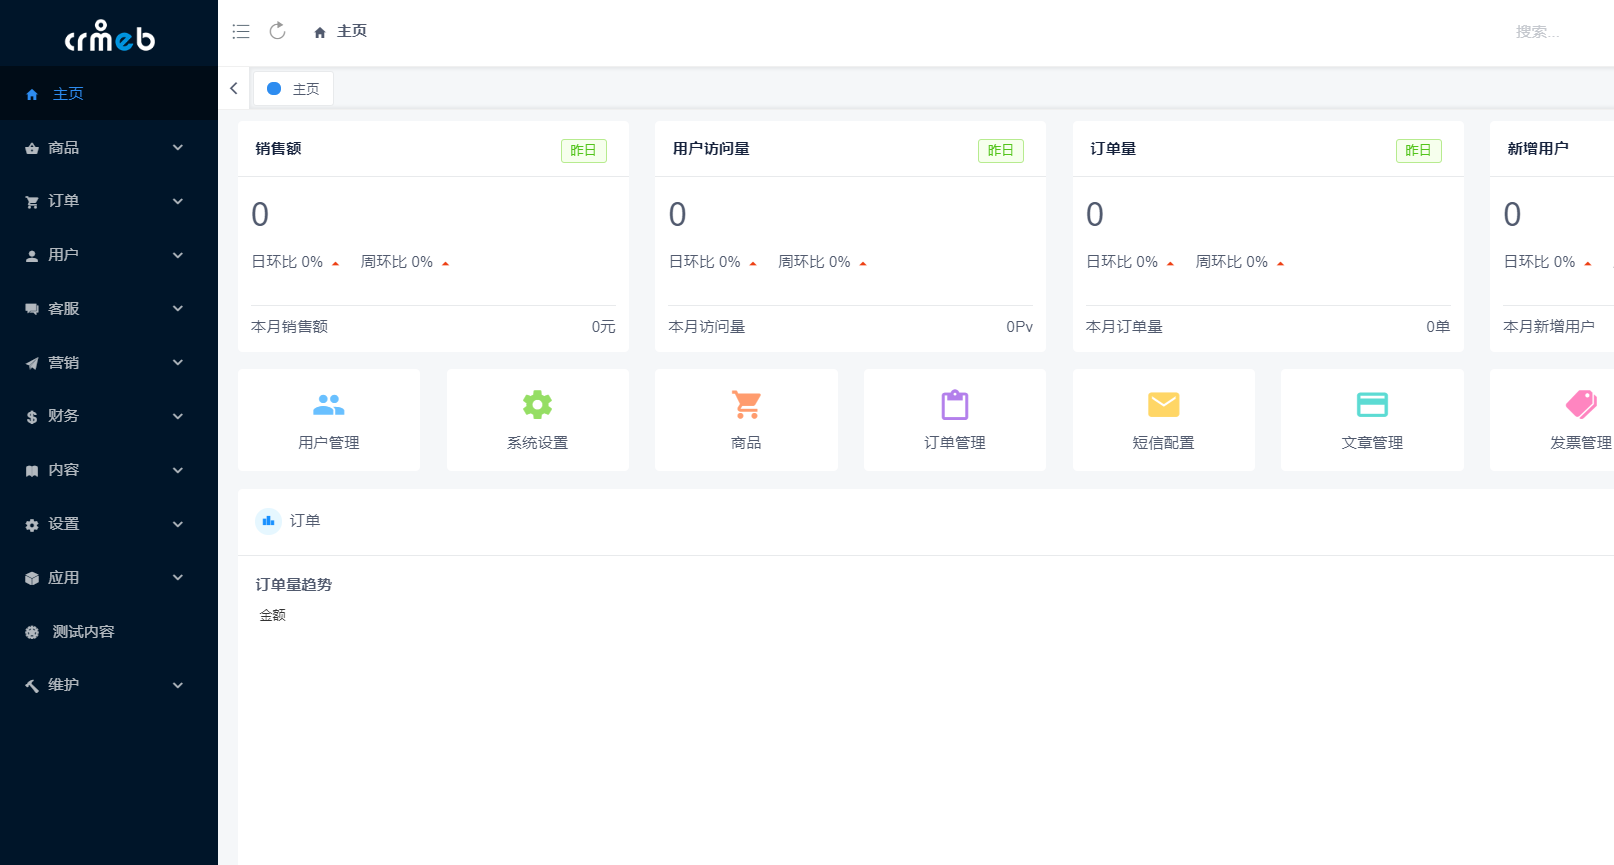
登录成功后的效果
3.创建路由
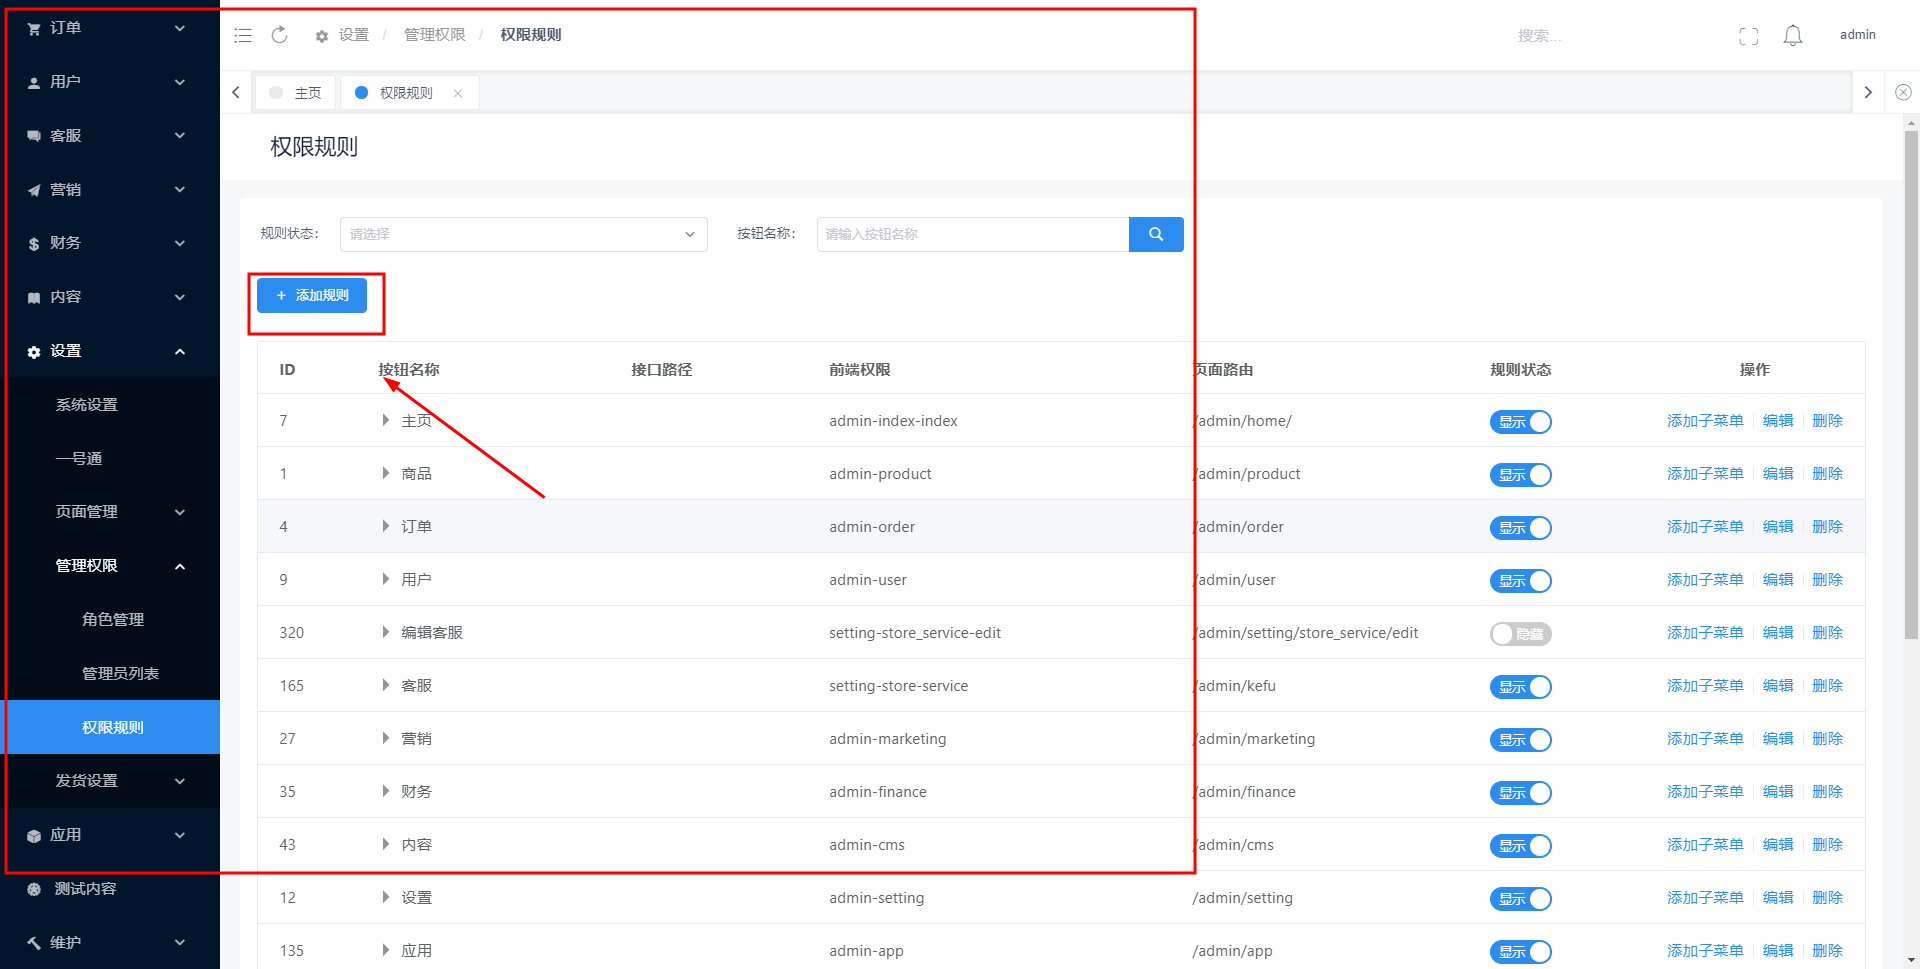
现在,给大家说说创建新页面,新路由的过程,首先,打开设置,点击管理权限,打开权限规则,我们要先新建一个规则
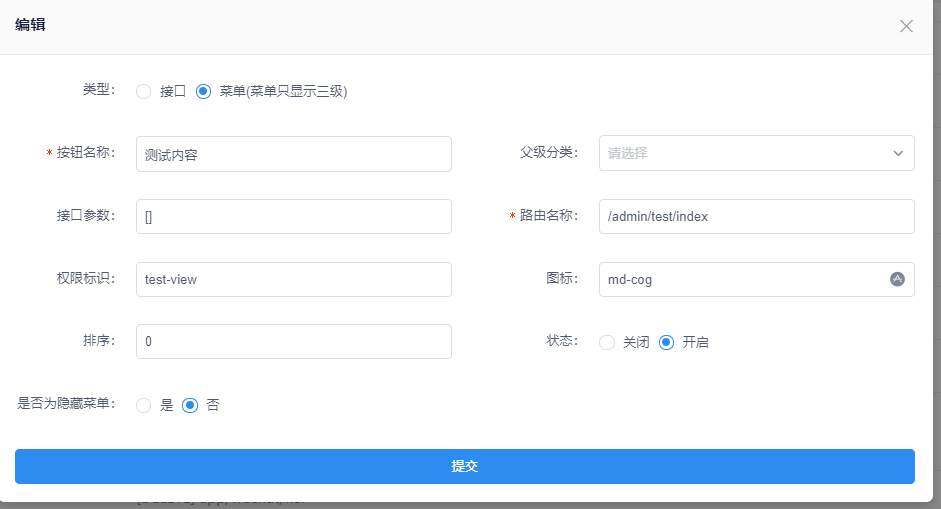
设置好参数
打开代码,先创建好文件夹和文件

再去router中创建test文件
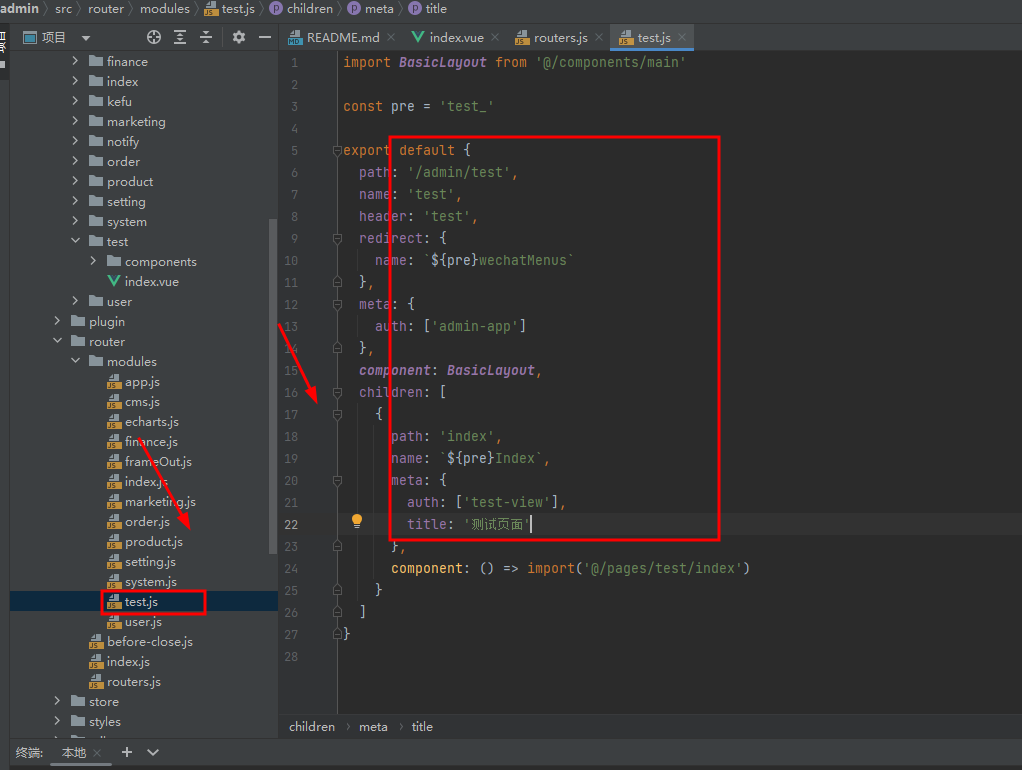
内容如下,可做参考:
import BasicLayout from '@/components/main'

const pre = 'test_'

export default {

  path: '/admin/test',

  name: 'test',

  header: 'test',

  redirect: {

    name: `${pre}wechatMenus`

  },

  meta: {

    auth: ['admin-app']

  },

  component: BasicLayout,

  children: [

    {

      path: 'index',

      name: `${pre}Index`,

      meta: {

        auth: ['test-view'],

        title: '测试页面'

      },

      component: () => import('@/pages/test/index')

    }

  ]

}
再在router.js中导入test,代码如下:
import index from './modules/index'

import product from './modules/product'

import order from './modules/order'

import user from './modules/user'

// import echarts from './modules/echarts'

import setting from './modules/setting'

import finance from './modules/finance'

import cms from './modules/cms'

import marketing from './modules/marketing'

import app from './modules/app'

import system from './modules/system'

import BasicLayout from '@/components/main'

import frameOut from './modules/frameOut'

import test from './modules/test'

/**

 * 在主框架内显示

 */

const frameIn = [

    {

        path: '/admin/',

        meta: {

            title: 'CRMEB'

        },

        redirect: {

            name: 'home_index'

        },

        component: BasicLayout,

        children: [

            // {

            //   path: '/admin/system/log',

            //   name: 'log',

            //   meta: {

            //     title: '前端日志',

            //     auth: true

            //   },

            //   component: () => import('@/pages/system/log')

            // },

            {

                path: '/admin/system/user',

                name: `systemUser`,

                meta: {

                    auth: true,

                    title: '个人中心'

                },

                component: () => import('@/pages/setting/user/index')

            },

            // 刷新页面 必须保留

            {

                path: 'refresh',

                name: 'refresh',

                hidden: true,

                component: {

                    beforeRouteEnter (to, from, next) {

                        next(instance => instance.$router.replace(from.fullPath))

                    },

                    render: h => h()

                }

            },

            // 页面重定向 必须保留

            {

                path: 'redirect/:route*',

                name: 'redirect',

                hidden: true,

                component: {

                    beforeRouteEnter (to, from, next) {

                        // console.log(rom.params.route)

                        next(instance => instance.$router.replace(JSON.parse(from.params.route)))

                    },

                    render: h => h()

                }

            }

        ]

    },

    {

        path: '/admin/widget.images/index.html',

        name: `images`,

        meta: {

            auth: ['admin-user-user-index'],

            title: '上传图片'

        },

        component: () => import('@/components/uploadPictures/widgetImg')

    },

    {

        path: '/admin/widget.widgets/icon.html',

        name: `imagesIcon`,

        meta: {

            auth: ['admin-user-user-index'],

            title: '上传图标'

        },

        component: () => import('@/components/iconFrom/index')

    },

    {

        path: '/admin/store.StoreProduct/index.html',

        name: `storeProduct`,

        meta: {

            title: '选择商品'

        },

        component: () => import('@/components/goodsList/index')

    },

    {

        path: '/admin/system.User/list.html',

        name: `changeUser`,

        meta: {

            title: '选择用户'

        },

        component: () => import('@/components/customerInfo/index')

    },

    {

        path: '/admin/widget.video/index.html',

        name: `video`,

        meta: {

            title: '上传视频'

        },

        component: () => import('@/components/uploadVideo/index')

    },

    index,

    cms,

    product,

    marketing,

    order,

    user,

    finance,

    setting,

    system,

    app,

    test

]

/**

 * 在主框架之外显示

 */

const frameOuts = frameOut

/**

 * 错误页面

 */

const errorPage = [

    {

        path: '/admin/403',

        name: '403',

        meta: {

            title: '403'

        },

        component: () => import('@/pages/system/error/403')

    },

    {

        path: '/admin/500',

        name: '500',

        meta: {

            title: '500'

        },

        component: () => import('@/pages/system/error/500')

    },

    {

        path: '/admin/*',

        name: '404',

        meta: {

            title: '404'

        },

        component: () => import('@/pages/system/error/404')

    }

]

// 导出需要显示菜单的

export const frameInRoutes = frameIn

// 重新组织后导出

export default [

    ...frameIn,

    ...frameOuts,

    ...errorPage

]
之后还需要一步,因为路由是缓存下来的,需要清除了环境才能查看

如果对您有所帮助,欢迎您点个关注,我会定时更新技术文档,大家一起讨论学习,一起进路,下一篇写如何解决各个模块文件问题,和大家一起解析下各个模块。

TP6框架--CRMEB学习笔记:布置后台管理框架+配置路由的更多相关文章
- Mina框架的学习笔记——Android客户端的实现
Apache MINA(Multipurpose Infrastructure for Network Applications) 是 Apache 组织一个较新的项目,它为开发高性能和高可用性的网络 ...
- jfinal框架教程-学习笔记
jfinal框架教程-学习笔记 JFinal 是基于 Java 语言的极速 WEB + ORM 开发框架,其核心设计目标是开发迅速.代码量少.学习简单.功能强大.轻量级.易扩展.Restfu ...
- Java框架spring 学习笔记(十八):事务管理(xml配置文件管理)
在Java框架spring 学习笔记(十八):事务操作中,有一个问题: package cn.service; import cn.dao.OrderDao; public class OrderSe ...
- MySQL学习笔记-数据库后台线程
数据库后台线程 默认情况下讲述的InnoDB存储引擎,以后不再重复声明.后台线程有7个--4个IO thread,1个master thread,1个锁监控线程,1个错误监控线程.IO thread的 ...
- golang日志框架--logrus学习笔记
golang日志框架--logrus学习笔记 golang标准库的日志框架非常简单,仅仅提供了print,panic和fatal三个函数,对于更精细的日志级别.日志文件分割以及日志分发等方面并没有提供 ...
- go微服务框架kratos学习笔记五(kratos 配置中心 paladin config sdk [断剑重铸之日,骑士归来之时])
目录 go微服务框架kratos学习笔记五(kratos 配置中心 paladin config sdk [断剑重铸之日,骑士归来之时]) 静态配置 flag注入 在线热加载配置 远程配置中心 go微 ...
- # go微服务框架kratos学习笔记六(kratos 服务发现 discovery)
目录 go微服务框架kratos学习笔记六(kratos 服务发现 discovery) http api register 服务注册 fetch 获取实例 fetchs 批量获取实例 polls 批 ...
- go微服务框架kratos学习笔记七(kratos warden 负载均衡 balancer)
目录 go微服务框架kratos学习笔记七(kratos warden 负载均衡 balancer) demo demo server demo client 池 dao service p2c ro ...
- go微服务框架kratos学习笔记四(kratos warden-quickstart warden-direct方式client调用)
目录 go微服务框架kratos学习笔记四(kratos warden-quickstart warden-direct方式client调用) warden direct demo-server gr ...
- go微服务框架kratos学习笔记八 (kratos的依赖注入)
目录 go微服务框架kratos学习笔记八(kratos的依赖注入) 什么是依赖注入 google wire kratos中的wire Providers injector(注入器) Binding ...
随机推荐
- Python学习之Pytorch
一.如何查看本机是否安装了Pytorch 在Python环境中查看是否安装了PyTorch可以通过几个简单的步骤来完成.这里有一些方法: 使用Python命令行: 打开你的命令行工具(比如Termin ...
- 一文看懂"async"和“await”关键词是如何简化了C#中多线程的开发过程
一文看懂"async"和"await"关键词是如何简化了C#中多线程的开发过程 当我们使用需要长时间运行的方法(即,用于读取大文件或从网络下载大量资源)时,在同 ...
- 【Unity3D】血条(HP)
1 需求实现 人机交互Input 中实现了通过键盘控制坦克运动,通过鼠标控制坦克发射炮弹,本文将在此基础上,增加血条(HP)功能.炮弹命中后,HP 值会减少,因此需要应用到 刚体组件Rigidbo ...
- Java 中拼接 String 的 N 种方式
文章持续更新,可以关注公众号程序猿阿朗或访问未读代码博客. 本文 Github.com/niumoo/JavaNotes 已经收录,欢迎Star. 1. 前言 Java 提供了拼接 String 字符 ...
- SSL/TLS 资料整理
1. HTTPS详解二:SSL / TLS 工作原理和详细握手过程 看到另外几篇介绍不错的文章,再次分享一下 园内大佬写的, 通过一个小故事,理解 HTTPS 工作原理 这篇博文已经把 SSL 的工作 ...
- 【Azure 存储服务】存储在Azure Storage Table中的数据,如何按照条件进行删除呢?
问题描述 如何按条件删除 Storage Table 中的数据,如果Table中有大量的条记录需要删除,Java代码如何按条件删除 Table中的数据(Entity)? (通过Azure Storag ...
- 【Azure 应用服务】使用App Service for Linux/Container时,如果代码或Container启动耗时大于了230秒,默认会启动失败。
问题描述 使用App Service for Linux/Container时,从Docker的日志中,我们可以看见有 warmup 行为,而此行为默认时间为230秒,如果超出了这个时间,就会导致Co ...
- 手把手带你认识GaussDB轻量化运维管理工具
本文分享自华为云社区<GaussDB轻量化运维管理工具介绍>,作者: Gauss松鼠会小助手. 一.GaussDB 运维管理平台简介 开放生态层 友好Web界面,多云皮肤个性化定制 丰富的 ...
- 学习ASP.NET Core Razor 编程系列文章目录
学习ASP.NET Core Razor 编程系列一 学习ASP.NET Core Razor 编程系列二--添加一个实体 学习ASP.NET Core Razor 编程系列三--创建数据表及创建项目 ...
- Django 初步使用
Django 框架系列 目录 Django 框架系列 一. 安装启用 1.1 主流web框架概述 1.2 安装版本 1.3 启动的两种方式 1)命令行创建 2)pycharm创建 3)两种方式的区别 ...