python中正则表达式re模块详解
正则表达式是处理字符串的强大工具,它有自己特定的语法结构,有了它,实现字符串的检索,替换,匹配验证都不在话下。
当然,对于爬虫来说,有了它,从HTML里提取想要的信息就非常方便了。
先看一下常用的匹配规则:
\w:匹配字母、数字及下划线
\W:匹配不是字母、数字及下划线
\s:匹配任意空白字符,等价于[\t\n\r\f]
\S:匹配任意非空字符
\d:匹配任意数字,等价于[0-9]
\D:匹配任意飞数字的字符
\A:匹配字符串开头
\Z:匹配字符串结尾,如果存在换行,只匹配到换行前得结束字字符串
\z:匹配字符串结尾,如果存在换行,同时还会匹配换行符
\G:匹配最后匹配完成的位置
\n:匹配一个换行符
\t:匹配一个制表符
^ 匹配一行字符串的开头
$ 匹配一行字符串的结尾
. 匹配任意字符,除了换行符
[...]:用来表示一组字符,单独列出,比如[amk]匹配a,m或k
[^...]:不在[]的字符,比如[^abc]匹配除了a,b,c的字符
*:匹配0个或多个表达式
+:匹配1个或多个表达式
?:匹配0个或一个前面的正则表达式定义的片段,非贪婪方式
{n}:精确匹配n个前面的表达式
{n:m}:匹配n到m次由前面正则表达式定义的片段,贪婪方式
a|b:匹配a或b
(): 匹配括号内的表达式,也表示一个组
python中的re模块主要有五种方法re.match(),re.search(),re.finall(),re.sub(),re.compile()
re.match():从字符串的起始位置匹配正则表达式,如果匹配,就返回匹配成功的结果
re.search():匹配时扫描整个字符串,然后返回第一个成功匹配的字符
re.findall():获取匹配正则表达式的所有内容
re.sub():修改字符串的文本
re.compile():可以将正则字符串编译成正则表达式对象
下面我们来具体看一些例子
re.match()的详细用法:
import re

con='Hello 123 4567 World_This is a Regex Demo'

print(len(con))

result=re.match('^Hello\s\d\d\d\s\d{4}\s\w{10}',con)

print(result)

print(result.group())

print(result.span())

result=re.match('^Hello\s(\d+)\s(\d+)\sWorld',con)

print(result)

print(result.group())

print(result.group(1),result.group(2))

print(result.span())

result=re.match('^Hello.*Demo',con)

print(result)

print(result.group())

print(result.span())

result=re.match('^He.*?(\d+).*Demo',con)

print(result)

print(result.group(1))

con1='http://weibo.com/comment/ltf'

result1=re.match('^http.*?comment/(.*?)',con1)

result2=re.match('^http.*?comment/(.*)',con1)

print(result1.group(1))

print(result2.group(1))

con2='''Hello 123 4567 World_This

is a Regex Demo'

'''

result=re.match('Hell.*?(\d+).*?Demo',con2,re.S)

print(result)

print(result.group(1))

con3='(百度)www.baidu.com'

result=re.match('\(百度\)www\..*?\..*',con3)

print(result)

print(result.group())
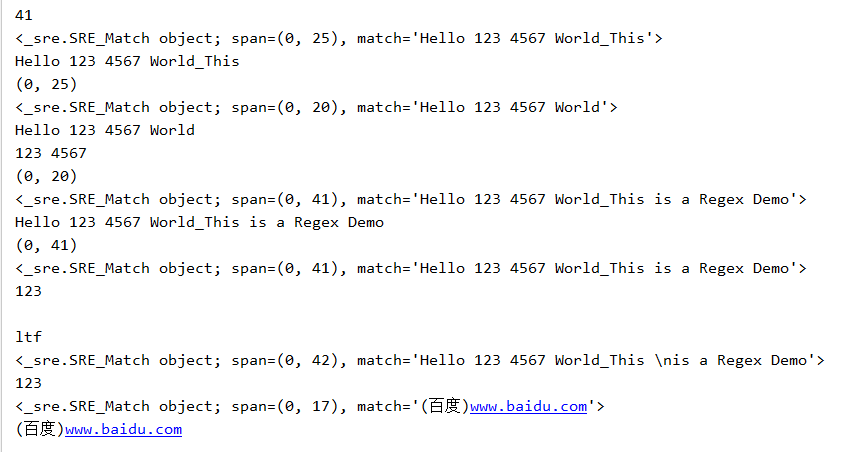
运行结果如下:
re的search,findall,sub,compile用法:
代码如下:
import re

con='EXO hero Hello 123 4567 World_This is a Regex Demo'

result=re.search('Hell.*?Demo',con)

print(result)

print(result.group())

html=''''

<li>

<input type="checkbox" value="9762@" name="Url" class="check">

<span class="songNum ">24.</span>

<a target="_1" href="/play/9762.htm" class="songName ">一生有你 </a>

</li>

<li>

<input type="checkbox" value="2247@" name="Url" class="check">

<span class="songNum ">25.</span>

<a target="_1" href="/play/2247.htm" class="songName ">红豆 </a>

</li>

<li>

<input type="checkbox" value="671@" name="Url" class="check">

<span class="songNum ">26.</span>

<a target="_1" href="/play/671.htm" class="songName ">真的爱你 </a>

</li>

<li>

<input type="checkbox" value="22985@" name="Url" class="check">

<span class="songNum ">27.</span>

<a target="_1" href="/play/22985.htm" class="songName ">容易受伤的女人 </a>

</li>

<li>

<input type="checkbox" value="649@" name="Url" class="check">

<span class="songNum ">28.</span>

<a target="_1" href="/play/649.htm" class="songName ">海阔天空 </a>

</li>

<li>

<input type="checkbox" value="1545@" name="Url" class="check">

<span class="songNum ">29.</span>

<a target="_1" href="/play/1545.htm" class="songName cRed">同桌的你 </a>

</li>

'''

result=re.search('li.*?songNum ">(.*?)</span>.*?>(.*?)</a>',html,re.S)

#print(result)

#print(result.group())

print(result.group(1))

print(result.group(2))

results=re.findall('li.*?songNum ">(.*?)</span>.*?>(.*?)</a>',html,re.S)

print(results)

print(results[0])

conte='ahfgi123ahfuo358bjhif134'

conten=re.sub('\d+',' afanti ',conte)

print(conten)

content1='2015-9-12 12:00'

content2='2016-12-22 13:55'

content3='2017-10-1 11:40'

pattern=re.compile('\d{2}:\d{2}')

print(pattern)

result1=re.sub(pattern,'',content1)

result2=re.sub(pattern,'',content2)

result3=re.sub(pattern,'',content3)

print(result1,result2,result3)
运行结果:

以上就是python中的正则表达式的详细用法了。
python中正则表达式re模块详解的更多相关文章
- Python Deque 模块使用详解,python中yield的用法详解
Deque模块是Python标准库collections中的一项. 它提供了两端都可以操作的序列, 这意味着, 你可以在序列前后都执行添加或删除. https://blog.csdn.net/qq_3 ...
- Python中的高级数据结构详解
这篇文章主要介绍了Python中的高级数据结构详解,本文讲解了Collection.Array.Heapq.Bisect.Weakref.Copy以及Pprint这些数据结构的用法,需要的朋友可以参考 ...
- Python 单向队列Queue模块详解
Python 单向队列Queue模块详解 单向队列Queue,先进先出 '''A multi-producer, multi-consumer queue.''' try: import thread ...
- Kali linux 2016.2(Rolling)中的payloads模块详解
不多说,直接上干货! 前期博客 Kali linux 2016.2(Rolling)中的Exploits模块详解 payloads模块,也就是shellcode,就是在漏洞利用成功后所要做的事情.在M ...
- Python中格式化format()方法详解
Python中格式化format()方法详解 Python中格式化输出字符串使用format()函数, 字符串即类, 可以使用方法; Python是完全面向对象的语言, 任何东西都是对象; 字符串的参 ...
- python中的tcp示例详解
python中的tcp示例详解 目录 TCP简介 TCP介绍 TCP特点 TCP与UDP的不同点 udp通信模型 tcp客户端 tcp服务器 tcp注意点 TCP简介 TCP介绍 TCP协议 ...
- (转)python之os,sys模块详解
python之sys模块详解 原文:http://www.cnblogs.com/cherishry/p/5725184.html sys模块功能多,我们这里介绍一些比较实用的功能,相信你会喜欢的,和 ...
- python中的 zip函数详解
python中zip()函数用法举例 定义:zip([iterable, ...]) zip()是Python的一个内建函数,它接受一系列可迭代的对象作为参数,将对象中对应的元素打包成一个个tuple ...
- python中的buildin函数详解(第一篇)
这会是很长的一个帖子,因为我打算从python最基础的东西开始,尝试去完全的掌握它,buildin中有一些常用的函数比如 abs, open, setattr, getattr, 大家都很了解他们的用 ...
随机推荐
- Redis源码学习1-sds.c
https://github.com/huangz1990/redis-3.0-annotated/blob/unstable/src/sds.c#L120 /* SDSLib, A C dynami ...
- onchange,onfocus ,oninput事件
compositionstart 在输入一段需要确认的文本如拼音to汉字.语音时会触发 compositionend 在拼音选词完成.语音输入完毕时会触发 addEventListener() 方法 ...
- 【Leetcode】【Medium】Convert Sorted Array to Binary Search Tree
Given an array where elements are sorted in ascending order, convert it to a height balanced BST. 解题 ...
- Linux配置临时IP和网关命令
配置IP以及子网掩码: ifconfig eth0 192.168.1.33 netmask 255.255.255.0 up 设置网关: route add default gw 192.168 ...
- 常用的邮箱服务器(SMTP、POP3)地址、端口
sina.com: POP3 服务器地址:pop3.sina.com.cn(端口:110) SMTP 服务器地址:smtp.sina.com.cn(端口:25) sinaVIP: POP3 服务器:p ...
- Cocos2dx打包apk时变更NDK引发问题及解决
现在官方的Cocos Studio已经支持打包apk文件,写该随笔的时候还没试过官方的打包功能,所以就按自己的学习顺序先把打包的心得写下. 问题及最终解决方案: 其中耗时最长的问题就是ndk-r10改 ...
- matlab中boxplot字体大小设置
网上找到的:set(findobj(gca,'Type','text'),'FontSize',18) boxplot() uses the default axes labeling for the ...
- Redis(RedisTemplate)运算、算法(incr、decr、increment)
RedisTemplate配置:https://www.cnblogs.com/weibanggang/p/10188682.html package com.wbg.springRedis.test ...
- 微信小程序开发——进阶篇
由于项目的原因,最近的工作一直围绕着微信小程序.现在也算告一段落,是时候整理一下这段时间的收获了.我维护的小程序有两个,分别是官方小程序和一个游戏为主的小程序.两个都是用了wepy进行开发,就是这个: ...
- DIAView组态软件笔记
1.为了节省成本,我们往往会在PLC将多个开关量整合到同一个word中,这样关联的变量可以从原有的16个变成现在的一个.这样做带来的麻烦就是需要我们在脚本中自己来解析出数据,通过对2求余(mod 2) ...