简单的物流项目实战,WPF的MVVM设计模式(五)
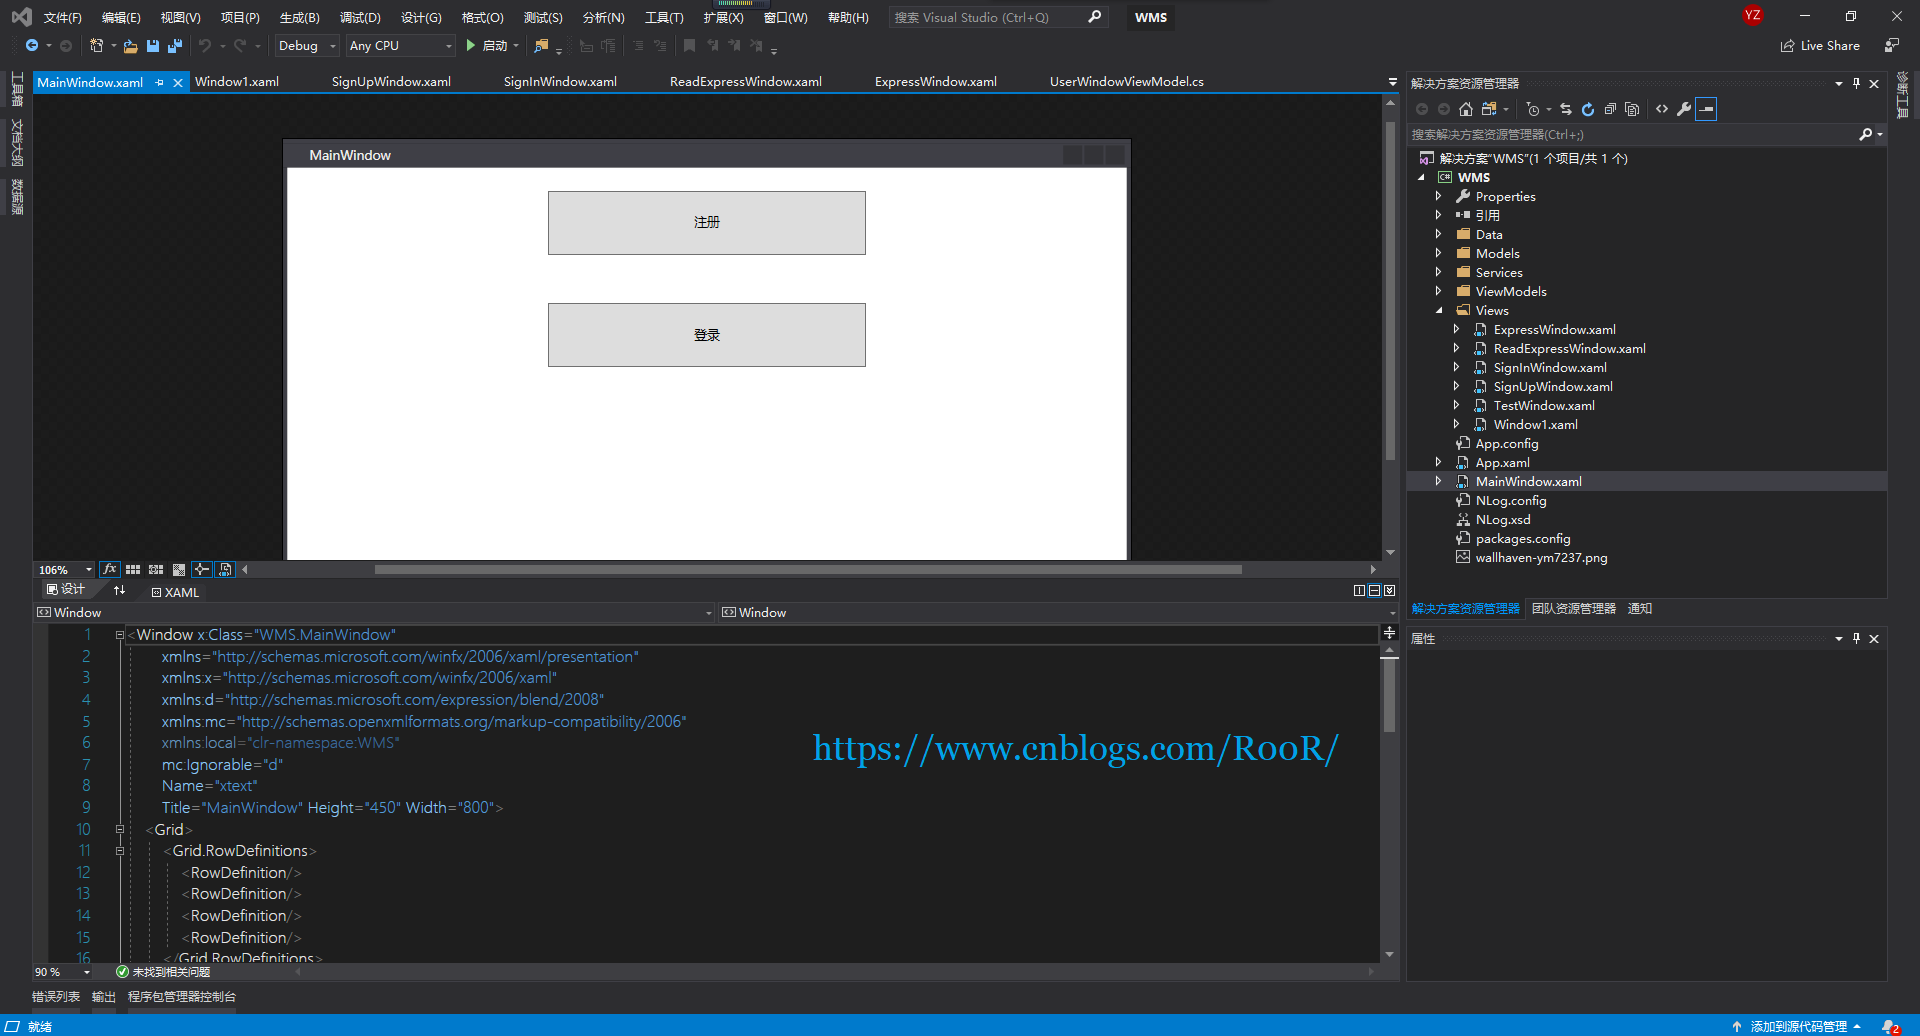
开始界面
    <Grid>

        <Grid.RowDefinitions>

            <RowDefinition/>

            <RowDefinition/>

            <RowDefinition/>

            <RowDefinition/>

        </Grid.RowDefinitions>

        <Button Grid.Row=""

                Content="注册"

                Height=""

                Width=""

                Name="SignUpButton"

                Click="SignUpButton_Click"

                />

        <Button Grid.Row=""

                Content="登录"

                Height=""

                Width=""

                Name="SignInButton"

                Click="SignInButton_Click"/>

        <!--<Button Grid.Row=""

                Content="下单"

                Height=""

                Width=""

                Name="DownButton"

                Click="DownButton_Click"/>

        <Button Grid.Row=""

                Content="查看"

                Height=""

                Width=""

                Name="ReadButton"

                Click="ReadButton_Click"/>-->

    </Grid>
注册界面
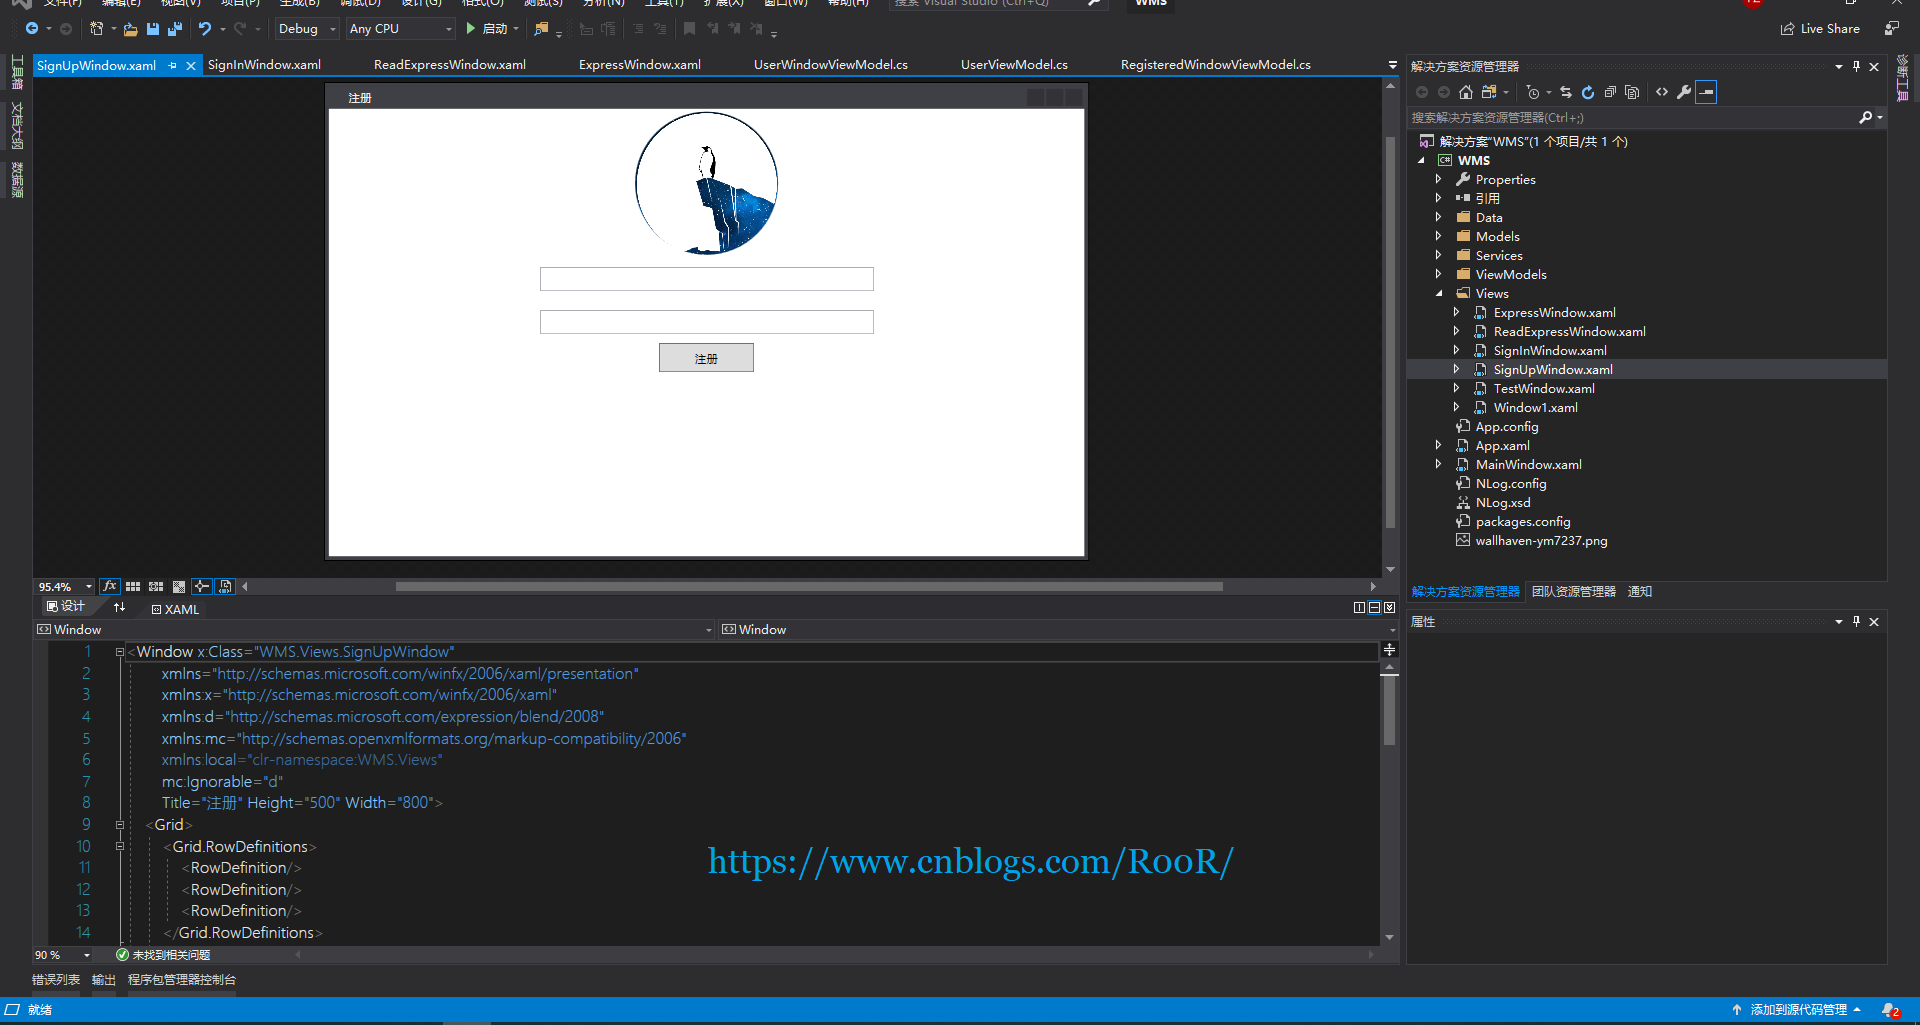
    <Grid>

        <Grid.RowDefinitions>

            <RowDefinition/>

            <RowDefinition/>

            <RowDefinition/>

        </Grid.RowDefinitions>

        <Ellipse Height="" Width="">

            <Ellipse.Fill>

                <ImageBrush ImageSource="F:\5\WMS\WMS\wallhaven-ym7237.png"/>

            </Ellipse.Fill>

        </Ellipse>

        <StackPanel Grid.Row="">

            <TextBox Name="UserAccount"

                     Text="{Binding UserAccount}"

                     Width=""

                     Height=""

                     Margin="0 10 0 10"/>

            <TextBox Name="Password"

                     Text="{Binding Password}"

                     Width=""

                     Height=""

                     Margin="0 10 0 10"/>

            <Button Name="SignUpButton" Command="{Binding InsertCommand}"

                    Width=""

                    Height=""

                    Content="注册"/>

        </StackPanel>

    </Grid>
登录界面
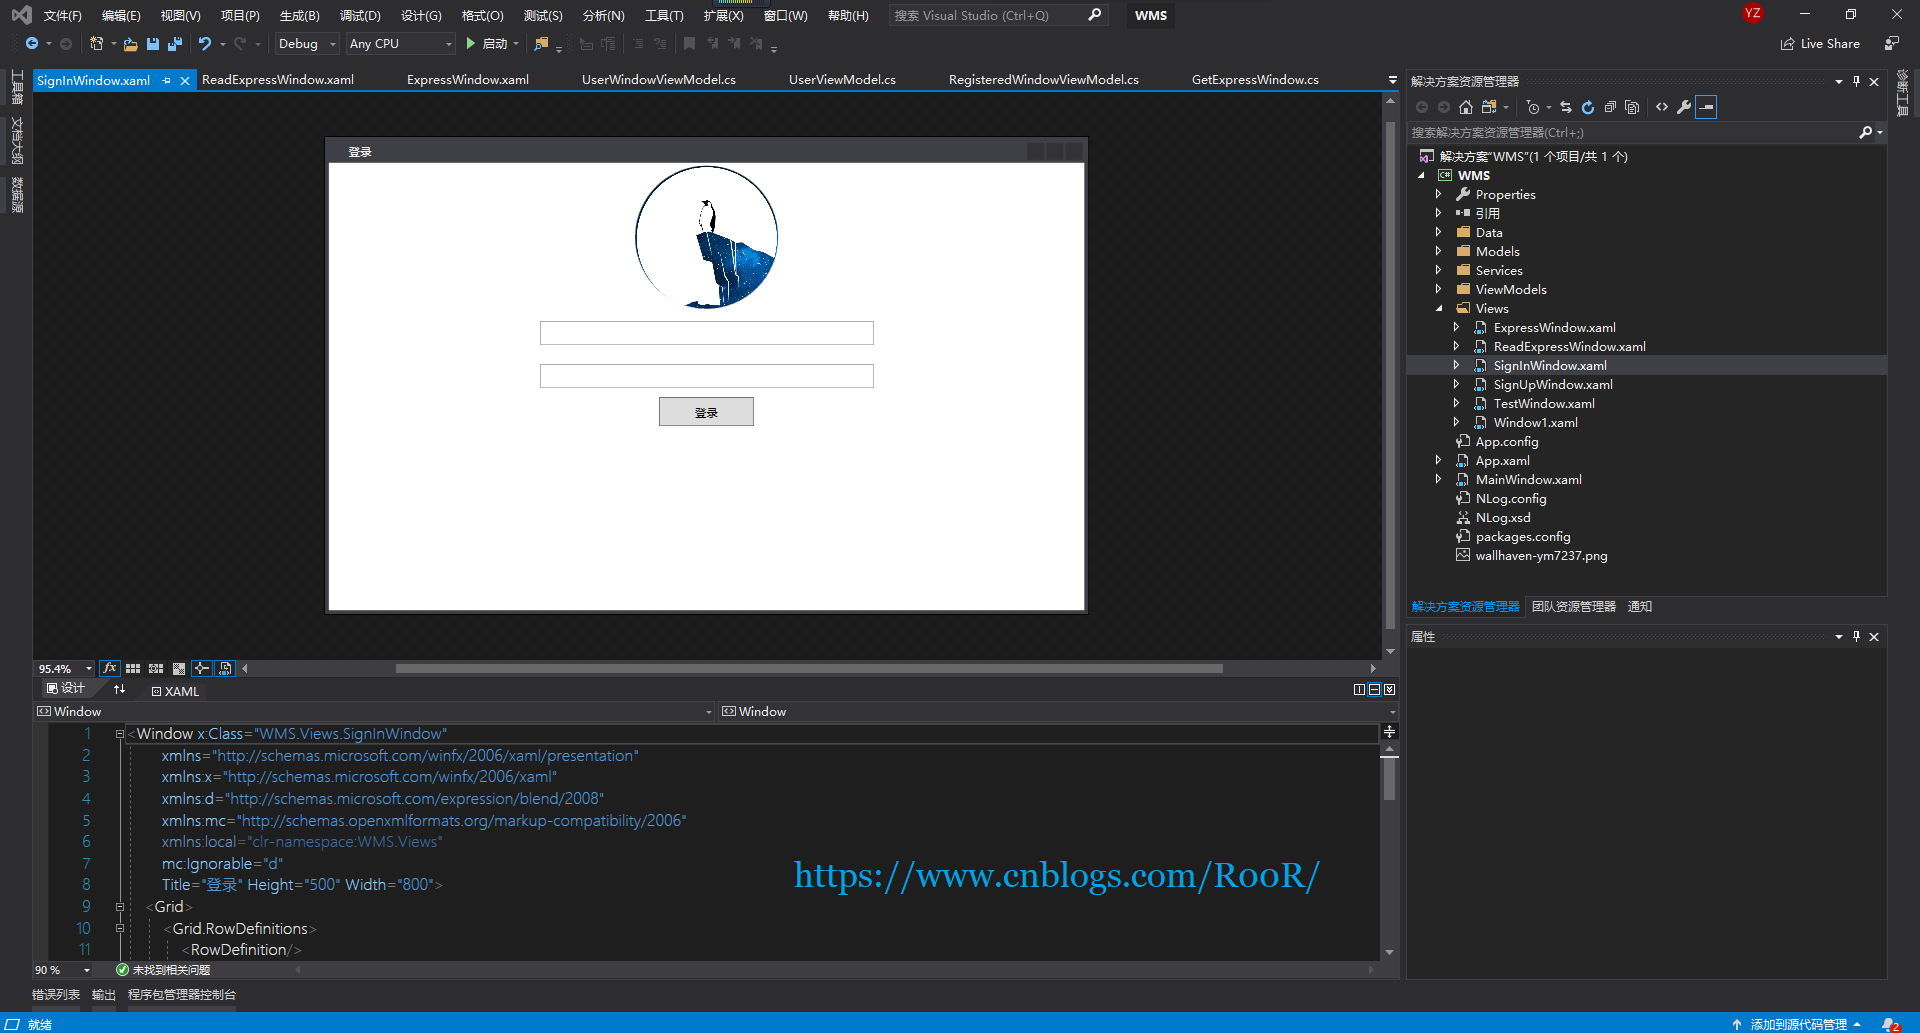
    <Grid>

        <Grid.RowDefinitions>

            <RowDefinition/>

            <RowDefinition/>

            <RowDefinition/>

        </Grid.RowDefinitions>

        <Ellipse Height="" Width="">

            <Ellipse.Fill>

                <ImageBrush ImageSource="F:\5\WMS\WMS\wallhaven-ym7237.png"/>

            </Ellipse.Fill>

        </Ellipse>

        <StackPanel Grid.Row="">

            <TextBox Name="UserAccount"

                     Text="{Binding Username}"

                     Width=""

                     Height=""

                     Margin="0 10 0 10"/>

            <TextBox Name="Password"

                     Text="{Binding Userpassword}"

                     Width=""

                     Height=""

                     Margin="0 10 0 10"/>

            <Button Name="SignUpButton" Command="{Binding GetCommand}"

                    Width=""

                    Height=""

                    Content="登录"/>

        </StackPanel>

    </Grid>
下单界面
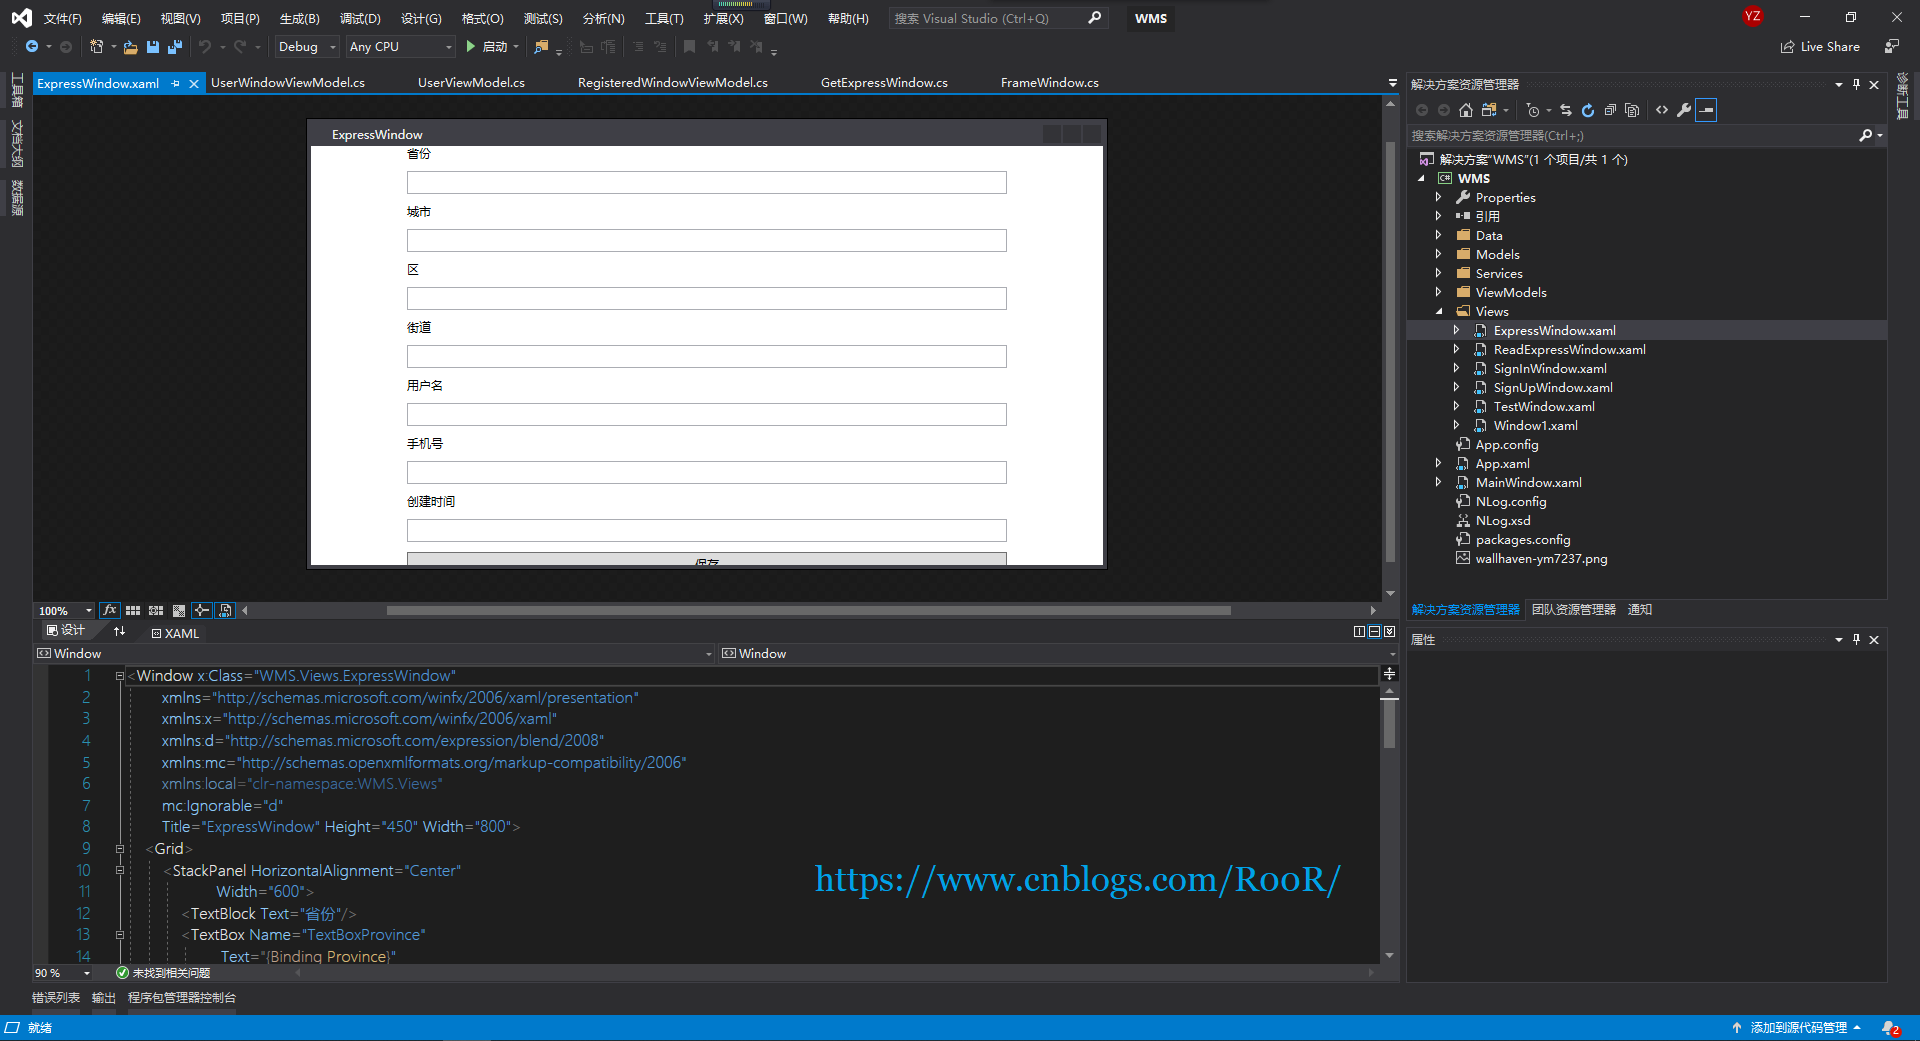
    <Grid>

        <StackPanel HorizontalAlignment="Center"

                    Width="">

            <TextBlock Text="省份"/>

            <TextBox Name="TextBoxProvince"

                     Text="{Binding Province}"

                     Margin="0 10 0 10"

                     Height=""/>

            <TextBlock Text="城市"/>

            <TextBox Name="TextBoxCity"

                     Text="{Binding City}"

                     Margin="0 10 0 10"

                     Height=""/>

            <TextBlock Text="区"/>

            <TextBox Name="TextBoxArea"

                     Text="{Binding Area}"

                     Margin="0 10 0 10"

                     Height=""/>

            <TextBlock Text="街道"/>

            <TextBox Name="TextBoxStreet"

                     Text="{Binding Street}"

                     Margin="0 10 0 10"

                     Height=""/>

            <TextBlock Text="用户名"/>

            <TextBox Name="TextBoxUserName"

                     Text="{Binding Username}"

                     Margin="0 10 0 10"

                     Height=""/>

            <TextBlock Text="手机号"/>

            <TextBox Name="TextBoxPhoneNumber"

                     Text="{Binding Phonenumber}"

                     Margin="0 10 0 10"

                     Height=""/>

            <TextBlock Text="创建时间"/>

            <TextBox Name="TextBoxCteateTime"

                     Text="{Binding Createtime}"

                     Margin="0 10 0 10"

                     Height=""/>

            <Button Content="保存"

                    Height=""

                    Command="{Binding CreateExpressCommand}"/>

        </StackPanel>

    </Grid>
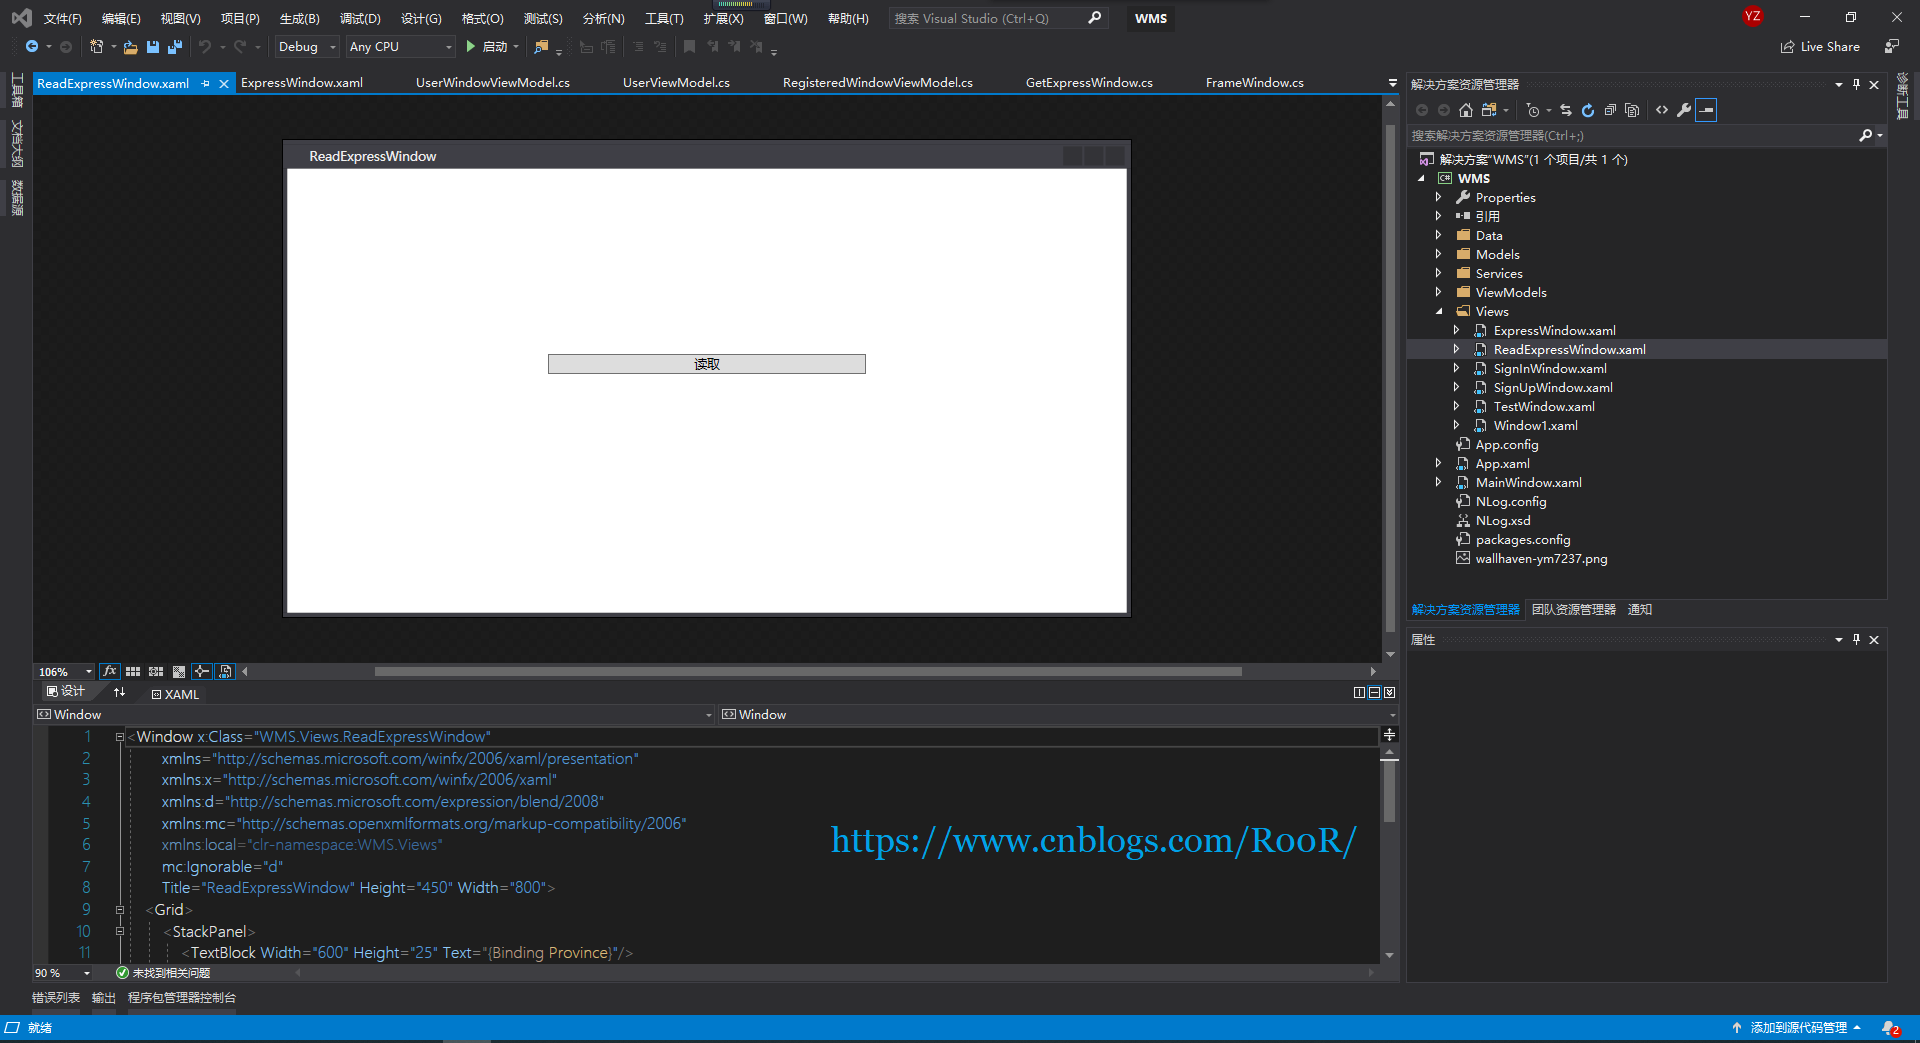
查看下单信息
    <Grid>

        <StackPanel>

            <TextBlock Width="" Height="" Text="{Binding Province}"/>

            <TextBlock Width="" Height="" Text="{Binding City}"/>

            <TextBlock Width="" Height="" Text="{Binding Area}"/>

            <TextBlock Width="" Height="" Text="{Binding Street}"/>

            <TextBlock Width="" Height="" Text="{Binding Username}"/>

            <TextBlock Width="" Height="" Text="{Binding Phonenumber}"/>

            <TextBlock Width="" Height="" Text="{Binding Createtime}"/>

            <Button Content="读取" Command="{Binding GetExpressCommand}"

                    Width=""/>

        </StackPanel>

    </Grid>
实际上到这里就已经完了,但是每个页面的后台都有代码,还没有完,嘻嘻嘻


如下效果图

每个页面的后面都没有什么代码就一句代码作为Views和Models连接起来,达到了代码上的解耦,由于博主后面部分没有太多的讲解,时间真的太紧了,这两篇博客也是脱了好久,我猜这么菜的技术,应该没有人看吧,哈哈哈。不过没有什么所谓吧,如果觉得有用的话点个推荐吧,谢谢!
简单的物流项目实战,WPF的MVVM设计模式(五)的更多相关文章
- 简单的物流项目实战,WPF的MVVM设计模式(一)
新建一个WPF项目,命名为WMS 然后分别新建文件夹,Data,Models,Views,ViewModels,Services,如下图所示 然后通过NuGet安装连个Nuget包,分别为SQLite ...
- 简单的物流项目实战,WPF的MVVM设计模式(四)
接下来写ViewModels 创建运单的ViewModel类 public class CreateExpressWindowViewModel: NotificationObject { priva ...
- 简单的物流项目实战,WPF的MVVM设计模式(三)
往Services文件里面添加接口以及实现接口 IUserService接口 List<User> GetAllUser(); GetUserService类 ConnectToDatab ...
- 简单的物流项目实战,WPF的MVVM设计模式(二)
往Models文件添加一个类,ConnectObject /// <summary> /// 链接数据库字符串 /// </summary ...
- 使用MVVM设计模式构建WPF应用程序
使用MVVM设计模式构建WPF应用程序 本文是翻译大牛Josh Smith的文章,WPF Apps With The Model-View-ViewModel Design Pattern,译者水平有 ...
- WPF系列教程——(二)使用Prism实现MVVM设计模式 - 简书
原文:WPF系列教程--(二)使用Prism实现MVVM设计模式 - 简书 本文假设你已经知道MVVM设计模式是什么,所以直接进入正题,今天我们就用Prism来实现WPF的MVVM设计模式,百度上关于 ...
- 15套java架构师、集群、高可用、高可扩展、高性能、高并发、性能优化、Spring boot、Redis、ActiveMQ、Nginx、Mycat、Netty、Jvm大型分布式项目实战视频教程
* { font-family: "Microsoft YaHei" !important } h1 { color: #FF0 } 15套java架构师.集群.高可用.高可扩展. ...
- 15套java互联网架构师、高并发、集群、负载均衡、高可用、数据库设计、缓存、性能优化、大型分布式 项目实战视频教程
* { font-family: "Microsoft YaHei" !important } h1 { color: #FF0 } 15套java架构师.集群.高可用.高可扩 展 ...
- java架构师负载均衡、高并发、nginx优化、tomcat集群、异步性能优化、Dubbo分布式、Redis持久化、ActiveMQ中间件、Netty互联网、spring大型分布式项目实战视频教程百度网盘
15套Java架构师详情 * { font-family: "Microsoft YaHei" !important } h1 { background-color: #006; ...
随机推荐
- http response压缩
http response压缩 一.Spring boot启用Gzip压缩 application.xml新增配置: 未启用压缩时试验接口传输大小不变为61.88M,耗时1分多钟 启动压缩时试验接口传 ...
- 当SQL Server出现当 MUST_CHANGE 为 ON (开)时
取消账号强制策略时出现错误 当 MUST_CHANGE 为 ON (开)时,不能将 CHECK_POLICY 和 CHECK_EXPIRATION 选项设为 OFF (关). (Microsoft S ...
- Prometheus 后续杂记
在后续prometheus的使用中遇到的一些问题我会在此记录 搭建初期几个问题 rule.yml中对每条告警加上主机名? 要在告警通知中加上故障机器主机名不能从prometheus的采集监控项数据中的 ...
- Spring Data JPA学习笔记
下面先来介绍一下JPA中一些常用的查询操作: //And --- 等价于 SQL 中的 and 关键字,比如 findByHeightAndSex(int height,char sex): publ ...
- ACM ICPC 2011-2012 Northeastern European Regional Contest(NEERC)E Eve
E: 模拟题,一开始有n个人(有男有女),对于子女来说线粒体DNA是继承母亲的.然后有m个操作(按时间顺序),一种就是给了父亲,母亲的ID,生了一个孩子(编号从n+1开始往下):还有一个就是 -x , ...
- PM项目跟进护航文档模板
护航文档 版本需求列表 需求 开发责任人 MMDrawerController.GCDTimer.Speex_armv7s等11个库迁移 熊文杰 相关人员 职称 开发人员 开发 熊文杰 测试 xxx ...
- phpmyadmin普通用户使用配置
正常情况需求是,普通用户可以管理特定的数据库,可能也需要能新建数据库,配置如下: 1.添加用户,phpmyadmin和应用访问,所以主机设置127.0.0.1访问即可 2.如果只管理一个数据,可以选择 ...
- MyBaits动态sql语句
1 在接口中书写方法 public interface EmployeeMapperDynamicSQL { public List<Employee> getEmpsTestInnerP ...
- 阶段3 1.Mybatis_04.自定义Mybatis框架基于注解开发_3 基于注解的自定义再分析
这里只需要 一是连接数据库的 二是映射的 注解是class的方式 dom4j技术获取xml的数据,这是xml的方式获取的下面几个关键的点 注解的方式回去dao类里面的几个主要的信息 User黄色的部 ...
- Oracle 查询库文件信息
--.查看Oracle数据库中数据文件信息的命令方法 select b.file_name 物理文件名, b.tablespace_name 表空间, b.bytes// 大小M, (b.bytes- ...