GitLab安装及使用
GitLab是一个利用 Ruby on Rails 开发的开源应用程序,实现一个自托管的Git项目仓库,可通过Web界面进行访问公开的或者私人项目。
GitLab拥有与Github类似的功能,能够浏览源代码,管理缺陷和注释。可以管理团队对仓库的访问,它非常易于浏览提交过的版本并提供一个文件历史库。它还提供一个代码片段收集功能可以轻松实现代码复用,便于日后有需要的时候进行查找。
1. GitLab安装与配置
1.1. 基础环境准备
 [root@mini04 ~]# yum install -y curl policycoreutils openssh-server openssh-clients postfix

 ………………

 [root@mini04 ~]# systemctl start postfix
1.2. 配置yum源
注:由于网络问题,国内用户,建议使用清华大学的镜像源进行安装:
 [root@mini04 ~]# vim /etc/yum.repos.d/gitlab-ce.repo

 [gitlab-ce]

 name=gitlab-ce

 baseurl=https://mirrors.tuna.tsinghua.edu.cn/gitlab-ce/yum/el7/

 repo_gpgcheck=

 gpgcheck=

 enabled=

 gpgkey=https://packages.gitlab.com/gpg.key
1.3. 更新本地yum缓存
 [root@mini04 ~]# yum makecache

 ………………
1.4. 安装GitLab
 [root@mini04 ~]# yum install -y gitlab-ce

 ………………
1.5. 配置修改
 [root@mini04 ~]# vim /etc/gitlab/gitlab.rb

 ………………

 ## GitLab URL

 ##! URL on which GitLab will be reachable.

 ##! For more details on configuring external_url see:

 ##! https://docs.gitlab.com/omnibus/settings/configuration.html#configuring-the-external-url-for-gitlab

 # external_url 'http://gitlab.example.com'

 # 能够解析

 external_url 'http://mini04'
1.6. 配置并启动gitlab-ce
 [root@mini04 ~]# gitlab-ctl reconfigure

 ………………
1.7. 查看gitlab状态
 [root@mini04 ~]# gitlab-ctl status

 run: alertmanager: (pid ) 27s; run: log: (pid ) 25s

 run: gitaly: (pid ) 28s; run: log: (pid ) 28s

 run: gitlab-monitor: (pid ) 28s; run: log: (pid ) 27s

 run: gitlab-workhorse: (pid ) 28s; run: log: (pid ) 27s

 run: logrotate: (pid ) 90s; run: log: (pid ) 27s

 run: nginx: (pid ) 96s; run: log: (pid ) 27s

 run: node-exporter: (pid ) 78s; run: log: (pid ) 28s

 run: postgres-exporter: (pid ) 26s; run: log: (pid ) 25s

 run: postgresql: (pid ) 140s; run: log: (pid ) 29s

 run: prometheus: (pid ) 27s; run: log: (pid ) 27s

 run: redis: (pid ) 146s; run: log: (pid ) 28s

 run: redis-exporter: (pid ) 66s; run: log: (pid ) 27s

 run: sidekiq: (pid ) 103s; run: log: (pid ) 29s

 run: unicorn: (pid ) 110s; run: log: (pid ) 30s
1.8. GitLab常用命令
 gitlab-ctl start    # 启动所有 gitlab 组件;

 gitlab-ctl stop        # 停止所有 gitlab 组件;

 gitlab-ctl restart        # 重启所有 gitlab 组件;

 gitlab-ctl status        # 查看服务状态;

 gitlab-ctl reconfigure        # 启动服务;

 vim /etc/gitlab/gitlab.rb        # 修改默认的配置文件;

 gitlab-ctl tail        # 查看日志;

 gitlab-rake gitlab:check SANITIZE=true --trace    # 检查gitlab;
2. GitLab使用
2.1. 首次登陆
http://10.0.0.14

首次登陆会要求修改root用户的密码。
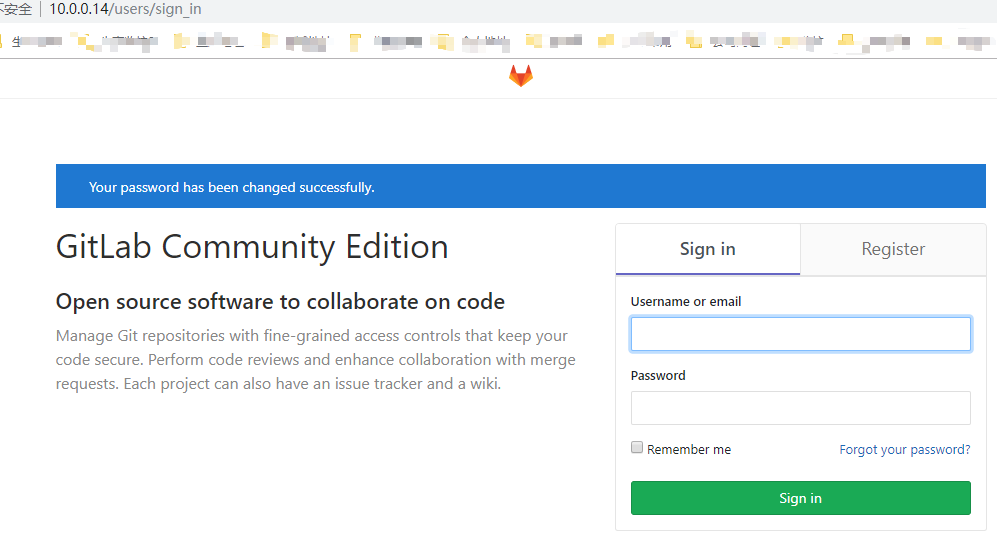
之后对到登陆页面,使用root用户登录即可。
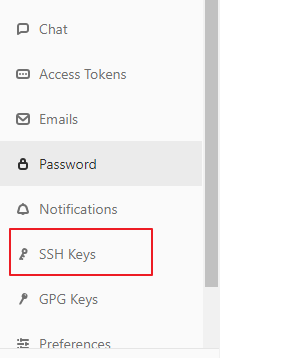
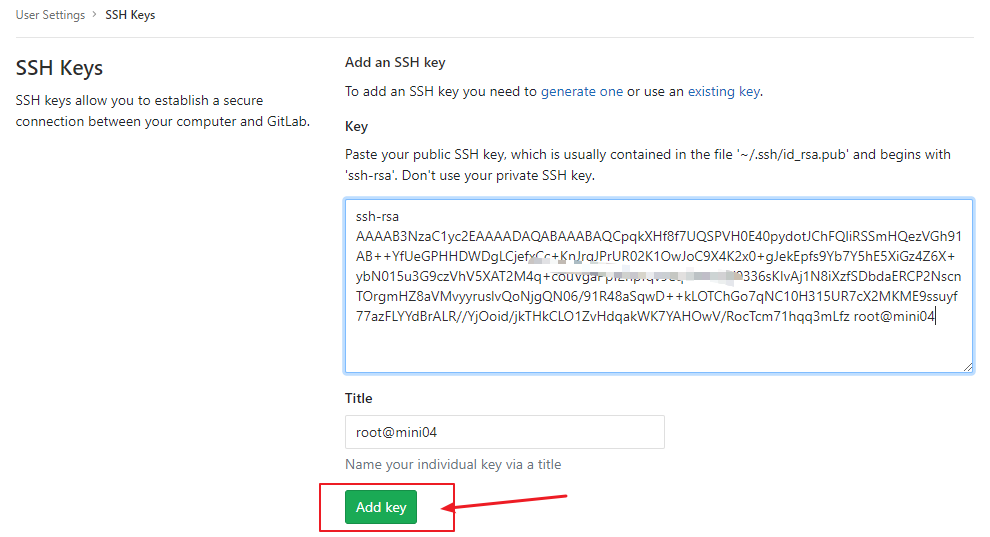
2.2. 添加SSH Key信息
 [root@mini04 ~]# ssh-keygen -t rsa

 Generating public/private rsa key pair.

 Enter file in which to save the key (/root/.ssh/id_rsa):

 Created directory '/root/.ssh'.

 Enter passphrase (empty for no passphrase):

 Enter same passphrase again:

 Your identification has been saved in /root/.ssh/id_rsa.

 Your public key has been saved in /root/.ssh/id_rsa.pub.

 The key fingerprint is:

 SHA256:ACvHut11cMKDaL1QzsrL3x23OyUl9cd7+kLfFW30cLM root@mini04

 The key's randomart image is:

 +---[RSA ]----+

 |    . .          |

 |   . O o      o.o|

 |  . B * = .  . *=|

 |   * o o =  . .EB|

 |  . o . S .  o .+|

 |   + o . .  . o.o|

 |  . + .   . .+ o+|

 |     . . . o..o o|

 |      . . . oo o.|

 +----[SHA256]-----+

 [root@mini04 ~]# ll -d .ssh/

 drwx------  root root  Sep  : .ssh/

 [root@mini04 ~]# cd .ssh/

 [root@mini04 .ssh]# ll

 total

 -rw-------  root root  Sep  : id_rsa

 -rw-r--r--  root root   Sep  : id_rsa.pub

 [root@mini04 .ssh]# cat id_rsa.pub

 ssh-rsa AAAAB3NzaC1yc2EAAAADAQABAAABAQCpqkXHf8f7UQSPVH0E40pydotJChFQliRSSmHQezVGh91AB++YfUeGPHHDWDgLCjefxCc+KnJrqJPrUR02K1OwJoC9X4K2x0+gJekEpfs9Yb7Y5hE5XiGz4Z6X+ybN015u3G9czVhV5XAT2M4q+couVgaPpf2npfqv9eqhTuh1W0336sKIvAj1N8iXzfSDbdaERCP2NscnTOrgmHZ8aVMvyyruslvQoNjgQN06/91R48aSqwD++kLOTChGo7qNC10H315UR7cX2MKME9ssuyf77azFLYYdBrALR//YjOoid/jkTHkCLO1ZvHdqakWK7YAHOwV/RocTcm71hqq3mLfz root@mini04

GitLab的页面使用,请自行百度参考。git的命令行使用,可参考前面的几篇博文。
GitLab安装及使用的更多相关文章
- GitLab安装说明
GitLab,是一个使用 Ruby on Rails 开发的开源应用程序,与Github类似,能够浏览源代码,管理缺陷和注释,非常适合在团队内部使用. gitlab是基于Ruby on Rails的, ...
- Gitlab安装、汉化及使用
环境:centos 关闭防火墙和selinux [root@Gitlab ~]# setenforce [root@Gitlab ~]# service iptables stop && ...
- git\CentOS6.5中gitlab安装教程
一.Git 起源: Git是一个开源的分布式版本控制系统,用于敏捷高效地处理任何或小或大的项目. Git 是 Linus Torvalds 为了帮助管理 Linux 内核开发而开发的一个开放源码的版本 ...
- Ubuntu gitlab安装文档及邮件通知提醒配置
1.安装依赖包,运行命令 sudo apt-get install curl openssh-server ca-certificates postfix 2.由于gitlab官方源可能被“墙”,首先 ...
- gitlab安装随记
gitlab安装 配置yum源 sudo vim /etc/yum.repos.d/gitlab-ce.repo 按照网上别人的例子,修改为清华的源 [gitlab-ce] name=Gitlab C ...
- CentOS 7 环境下GitLab安装及基本配置
新实验室要求重新建设GitLab,对于我来讲,是第一次有机会当元老参与实验室的建设.下面分享我自己的实测经验: 1. 安装依赖软件并设置开机启动 yum install curlpolicycoreu ...
- gitlab之一: gitlab安装配置使用
参考: gitlab 安装和配置 gitlab下载地址: https://mirror.tuna.tsinghua.edu.cn/gitlab-ce/ 官方教程: https://about.gitl ...
- Gitlab安装以及汉化
Gitlab安装以及汉化 系统环境: CentOS 7.5 IP:192.168.1.2 关闭selinux.firewalld gitlab-ce-10.8.4 rpm包:下载地址 一.下载并安装g ...
- GITLAB安装笔记
CentOS 7 最小安装后操作 设置时区timedatectl set-timezone Asia/Shanghai 添加 Gitlab 清华源 vi /etc/yum.repos.d/gitlab ...
随机推荐
- Perl文件句柄相关常量变量
文件句柄相关变量 对应的官方手册:http://perldoc.perl.org/perlvar.html#Variables-related-to-filehandles 默认情况下: $/:输入行 ...
- NLP入门(二)探究TF-IDF的原理
TF-IDF介绍 TF-IDF是NLP中一种常用的统计方法,用以评估一个字词对于一个文件集或一个语料库中的其中一份文件的重要程度,通常用于提取文本的特征,即关键词.字词的重要性随着它在文件中出现的 ...
- NPOI导出EXCEL报_服务器无法在发送 HTTP 标头之后追加标头
虽然发表了2篇关于NPOI导出EXCEL的文章,但是最近再次使用的时候,把以前的代码粘贴过来,居然报了一个错误: “服务器无法在发送 HTTP 标头之后追加标头” 后来也查询了很多其他同学的文章,都没 ...
- 【微服务No.4】 API网关组件Ocelot+Consul
介绍: Ocelot是一个.NET API网关.该项目针对的是使用.NET运行微服务/面向服务架构的人员,他们需要一个统一的入口进入他们的系统.然而,它可以处理任何说HTTP并在ASP.NET Cor ...
- [angularjs] angularjs系列笔记(一)简介
Angularjs通过新的属性和表达式扩展了html Andularjs 可以构建一个单一页面的应用程序(SPAS SinglePageApplications) Angularjs通过指令扩展了ht ...
- 【Java每日一题】20170316
20170315问题解析请点击今日问题下方的“[Java每日一题]20170316”查看(问题解析在公众号首发,公众号ID:weknow619) package Mar2017; public cla ...
- 自己用HashMap来模拟一个Session缓存(简易版)
本文记录:Hibernate中一级缓存的特点. 一级缓存的细节什么操作会向一 1.级缓存放入数据 save,update,saveOrUpdate,load,get,list,iterate,lock ...
- Http(s)与后台交互方式
前言 Http(s)是前后端交互的主要方式之一,交互技术主要有:Ajax(XMLHttpRequest).Fetch.地址跳转(window.open.location.href).Http(s)与后 ...
- Docker命令行与守护进程如何交互?
译者按: Docker是典型的C/S架构,其守护进程(daemon)与命令行(CLI)是通过REST API进行交互的. 原文: Understanding how the Docker Daemon ...
- cf1121F. Compress String(后缀自动机)
题意 题目链接 Sol 居然出个SAM板子也是没谁了233 #include<bits/stdc++.h> #define Pair pair<int, int> #defin ...