.NET Core + Ocelot + IdentityServer4 + Consul 基础架构实现
先决条件
- 关于 Ocelot
- 针对使用 .NET 开发微服务架构或者面向服务架构提供一个统一访问系统的组件。 参考
- 本文将使用 Ocelot 构建统一入口的 Gateway。
- 关于 IdentityServer4
- IdentityServer4 是一个 OpenID Connect 和 OAuth 2.0 框架用于 ASP.NET Core 。IdentityServer4 在你的应用程序中集成了基于令牌认证、单点登录、API访问控制所需的所有协议和扩展点。参考
- 本文将使用 IdentityServer4 搭建独立认证服务器。
- 关于 Consul
- Consul 是一个服务网格解决方案,通过服务发现、配置、功能分割提供一个全功能的控制层。这些功能可以单独使用,也可以同时使用以形成一个完整的网格服务。参考
- 本文将使用 Consul 注册多个服务。
- 关于 .Net Core
- 将使用 WebApi 构建多个服务
构建 IdentityServer 服务
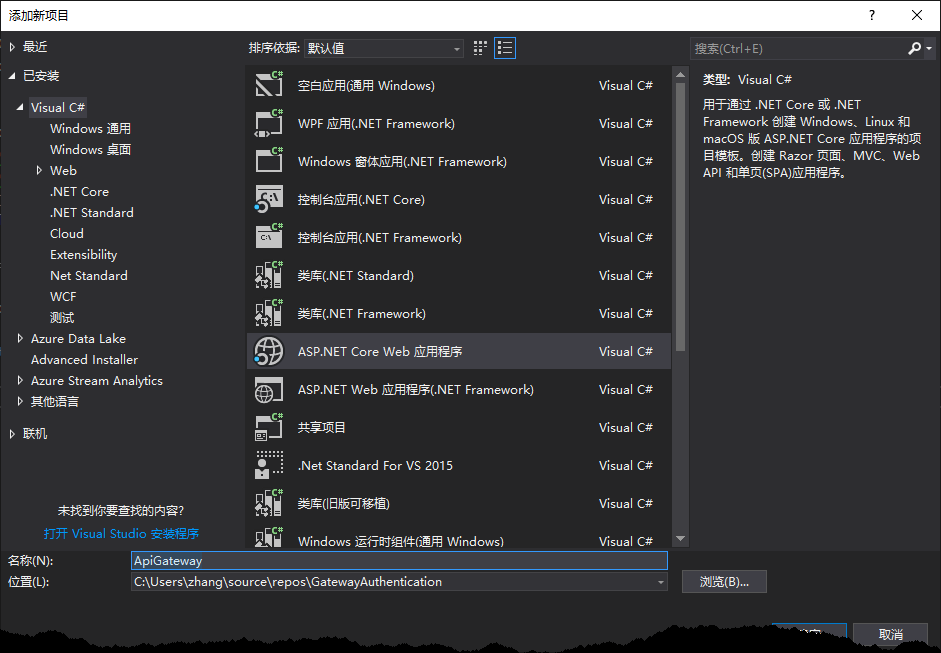
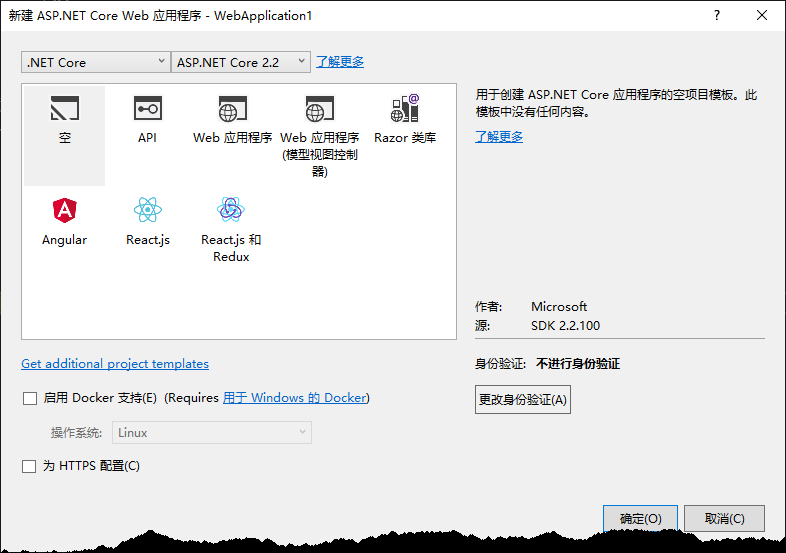
添加 ASP.Net Core Web 项目
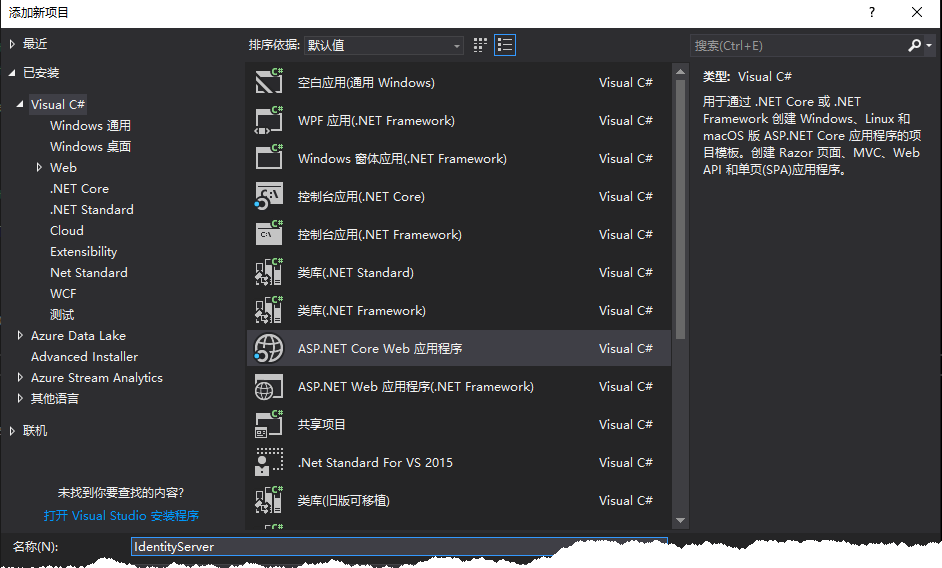
添加空项目

在程序包管理控制台中输入:Install-Package IdentityServer4.AspNetIdentity
添加 Config.cs 文件,并添加内容如下:
 using System.Collections.Generic;

 using IdentityServer4.Models;

 using IdentityServer4.Test;

 namespace IdentityServer

 {

     public sealed class Config

     {

         public static IEnumerable<ApiResource> GetApiResources()

         {

             return new List<ApiResource>

             {

                 new ApiResource("ServiceA", "ServiceA API"),

                 new ApiResource("ServiceB", "ServiceB API")

             };

         }

         public static IEnumerable<Client> GetClients()

         {

             return new List<Client>

             {

                 new Client

                 {

                     ClientId = "ServiceAClient",

                     AllowedGrantTypes = GrantTypes.ResourceOwnerPassword,

                     ClientSecrets =

                     {

                         new Secret("ServiceAClient".Sha256())

                     },

                     AllowedScopes = new List<string> {"ServiceA"},

                     AccessTokenLifetime = 60 * 60 * 1

                 },

                 new Client

                 {

                     ClientId = "ServiceBClient",

                     AllowedGrantTypes = GrantTypes.ResourceOwnerPassword,

                     ClientSecrets =

                     {

                         new Secret("ServiceBClient".Sha256())

                     },

                     AllowedScopes = new List<string> {"ServiceB"},

                     AccessTokenLifetime = 60 * 60 * 1

                 }

             };

         }

         public static List<TestUser> GetUsers()

         {

             return new List<TestUser>

             {

                 new TestUser

                 {

                     Username = "test",

                     Password = "123456",

                     SubjectId = "1"

                 }

             };

         }

         public static IEnumerable<IdentityResource> GetIdentityResources()

         {

             return new List<IdentityResource>();

         }

     }

 }
注意:这里添加了两个 Client ,分别为 ServiceA、ServiceB ,因此接下来将构建这两个服务。
删掉StartUp.cs文件,在Program.cs中添加内容如下:
 using Microsoft.AspNetCore;

 using Microsoft.AspNetCore.Builder;

 using Microsoft.AspNetCore.Hosting;

 using Microsoft.AspNetCore.Mvc;

 using Microsoft.Extensions.DependencyInjection;

 namespace IdentityServer

 {

     public class Program

     {

         public static void Main(string[] args)

         {

             CreateWebHostBuilder(args).Build().Run();

         }

         public static IWebHostBuilder CreateWebHostBuilder(string[] args)

         {

             return WebHost.CreateDefaultBuilder(args).ConfigureServices(services =>

             {

                 services.AddMvc().SetCompatibilityVersion(CompatibilityVersion.Version_2_2);

                 services.AddIdentityServer()

                     .AddDeveloperSigningCredential()

                     .AddInMemoryIdentityResources(Config.GetIdentityResources())

                     .AddInMemoryApiResources(Config.GetApiResources())

                     .AddInMemoryClients(Config.GetClients())

                     .AddTestUsers(Config.GetUsers());

             }).Configure(app =>

             {

                 app.UseIdentityServer();

             });

         }

     }

 }
注意:AddDeveloperSigningCredential() 方法用于添加开发时使用的 Key material ,生产环境中不要使用该方法。在 .NET Core 2.2 中新建的 Web 项目文件 csproj 中包含了如下内容:
<PropertyGroup>

    <TargetFramework>netcoreapp2.2</TargetFramework>

    <AspNetCoreHostingModel>InProcess</AspNetCoreHostingModel>

</PropertyGroup>
这里更改
<AspNetCoreHostingModel>InProcess</AspNetCoreHostingModel>
为或直接删除该行,这么做的原因是当值为 InProcess 时,读写 tempkey.rsa 将产生权限问题。关于 AspNetCoreHostingModel 可参考 ASP.NET Core Module 。
<AspNetCoreHostingModel>OutOfProcess</AspNetCoreHostingModel>
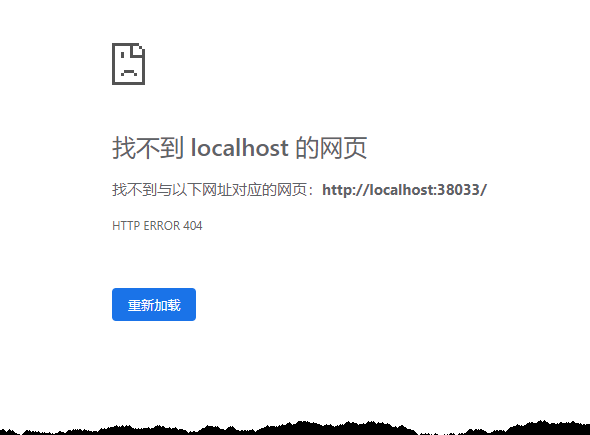
F5 启动该服务,显示如下:
在浏览器中输入 http://localhost:38033/.well-known/openid-configuration ,得到以下内容
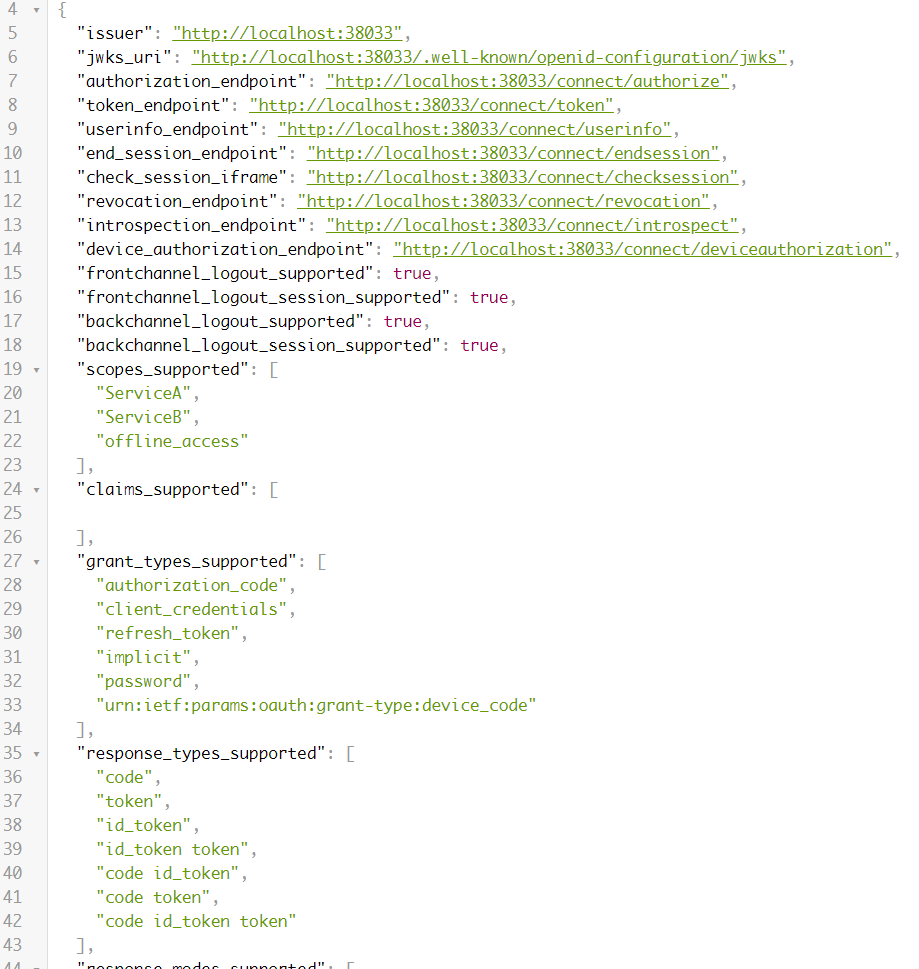
至此,一个包含两个服务认证的认证服务搭建完毕。
构建 ServiceA、ServiceB
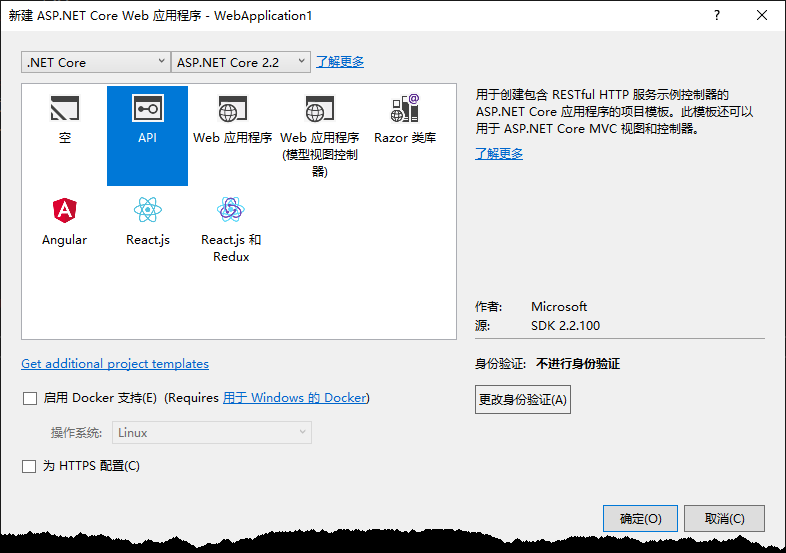
添加 ASP.Net Core Web 项目,这里以 ServiceA 为例进行构建

添加 ASP.Net Core API
在程序包管理控制台中运行
Install-Package IdentityModel
在 StartUp.cs 中添加内容如下:
 using Microsoft.AspNetCore.Builder;

 using Microsoft.AspNetCore.Hosting;

 using Microsoft.AspNetCore.Mvc;

 using Microsoft.Extensions.Configuration;

 using Microsoft.Extensions.DependencyInjection;

 namespace ServiceA

 {

     public class Startup

     {

         public Startup(IConfiguration configuration)

         {

             Configuration = configuration;

         }

         public IConfiguration Configuration { get; }

         // This method gets called by the runtime. Use this method to add services to the container.

         public void ConfigureServices(IServiceCollection services)

         {

             services.AddMvc().SetCompatibilityVersion(CompatibilityVersion.Version_2_2);

             services.AddAuthentication("Bearer")

                 .AddJwtBearer("Bearer", options =>

                 {

                     options.Authority = "http://127.0.0.1:8021";

                     options.RequireHttpsMetadata = false;

                     options.Audience = "ServiceA";

                 });

         }

         // This method gets called by the runtime. Use this method to configure the HTTP request pipeline.

         public void Configure(IApplicationBuilder app, IHostingEnvironment env)

         {

             if (env.IsDevelopment())

             {

                 app.UseDeveloperExceptionPage();

             }

             app.UseAuthentication();

             app.UseMvc();

         }

     }

 }
添加 SessionController 用于用户登录,内容如下:
 using System.ComponentModel.DataAnnotations;

 using System.Net.Http;

 using System.Threading.Tasks;

 using IdentityModel.Client;

 using Microsoft.AspNetCore.Mvc;

 namespace ServiceA.Controllers

 {

     [Route("api/[controller]")]

     [ApiController]

     public class SessionController : ControllerBase

     {

         public async Task<string> Login(UserRequestModel userRequestModel)

         {

             // discover endpoints from metadata

             var client = new HttpClient();

             DiscoveryResponse disco = await client.GetDiscoveryDocumentAsync("http://127.0.0.1:8021");

             if (disco.IsError)

             {

                 return "认证服务器未启动";

             }

             TokenResponse tokenResponse = await client.RequestPasswordTokenAsync(new PasswordTokenRequest

             {

                 Address = disco.TokenEndpoint,

                 ClientId = "ServiceAClient",

                 ClientSecret = "ServiceAClient",

                 UserName = userRequestModel.Name,

                 Password = userRequestModel.Password

             });

             return tokenResponse.IsError ? tokenResponse.Error : tokenResponse.AccessToken;

         }

     }

     public class UserRequestModel

     {

         [Required(ErrorMessage = "用户名称不可以为空")]

         public string Name { get; set; }

         [Required(ErrorMessage = "用户密码不可以为空")]

         public string Password { get; set; }

     }

 }
添加 HealthController 用于 Consul 进行服务健康检查,内容如下:
 using Microsoft.AspNetCore.Mvc;

 namespace ServiceA.Controllers

 {

     [Route("api/[controller]"), ApiController]

     public class HealthController : ControllerBase

     {

         /// <summary>

         /// 健康检查

         /// </summary>

         /// <returns></returns>

         [HttpGet]

         public IActionResult Get()

         {

             return Ok();

         }

     }

 }
更改 ValuesController.cs 内容如下:
 using System.Collections.Generic;

 using Microsoft.AspNetCore.Authorization;

 using Microsoft.AspNetCore.Mvc;

 namespace ServiceA.Controllers

 {

     [Authorize] //添加 Authorize Attribute 以使该控制器启用认证

     [Route("api/[controller]")]

     [ApiController]

     public class ValuesController : ControllerBase

     {

         // GET api/values

         [HttpGet]

         public ActionResult<IEnumerable<string>> Get()

         {

             return new[] { "value1", "value2" };

         }

     }

 }
注意,以上基本完成了 ServiceA 的服务构建,但在实际应用中应做一些修改,例如:IdentityServer 地址应在 appsettings.json 中进行配置,不应把地址分散于项目中各处;认证服务启用最好在全局启用,以防止漏写等等。ServiceB 的内容与 ServiceA 大致相似,因此文章中将不再展示 ServiceB 的构建过程。
Gateway 构建
添加ASP.Net Web
添加空项目
打开程序包管理器控制台输入命令:
install-package Ocelot //添加 Ocelot
install-package Ocelot.Provider.Consul // 添加 Consul 服务发现
添加 ocelot.json 文件,内容如下
 {

 "ReRoutes": [

     {

     "DownstreamPathTemplate": "/api/{everything}",

     "DownstreamScheme": "http",

     "UpstreamPathTemplate": "/ServiceA/{everything}",

     "UpstreamHttpMethod": [ "GET", "POST", "DELETE", "PUT" ],

     "ServiceName": "ServiceA", //consul 服务中 ServiceA 的名称

     "LoadBalancerOptions": {

         "Type": "LeastConnection"

     }

     },

     {

     "DownstreamPathTemplate": "/api/{everything}",

     "DownstreamScheme": "http",

     "UpstreamPathTemplate": "/ServiceB/{everything}",

     "UpstreamHttpMethod": [ "GET", "POST", "DELETE", "PUT" ],

     "ServiceName": "ServiceB", //consul 服务中 ServiceB 的名称

     "LoadBalancerOptions": {

         "Type": "LeastConnection"

     }

     }

 ],

 "GlobalConfiguration": {

     "ServiceDiscoveryProvider": {    // Consul 服务发现配置

     "Host": "localhost",    // Consul 地址

     "Port": 8500,

     "Type": "Consul"

     }

 }

 }
删除 StartUp.cs 文件,在 Program.cs 文件中添加如下内容
 using System.IO;

 using Microsoft.AspNetCore.Hosting;

 using Microsoft.Extensions.Configuration;

 using Ocelot.DependencyInjection;

 using Ocelot.Middleware;

 using Ocelot.Provider.Consul;

 namespace ApiGateway

 {

     public class Program

     {

         public static void Main(string[] args)

         {

             new WebHostBuilder()

                 .UseKestrel()

                 .UseContentRoot(Directory.GetCurrentDirectory())

                 .ConfigureAppConfiguration((hostingContext, config) =>

                 {

                     config

                         .SetBasePath(hostingContext.HostingEnvironment.ContentRootPath)

                         .AddJsonFile("appsettings.json", true, true)

                         .AddJsonFile($"appsettings.{hostingContext.HostingEnvironment.EnvironmentName}.json", true, true)

                         .AddJsonFile("ocelot.json")

                         .AddEnvironmentVariables();

                 })

                 .ConfigureServices(services =>

                 {

                     services.AddOcelot().AddConsul();

                 })

                 .ConfigureLogging((hostingContext, logging) =>

                 {

                     //add your logging

                 })

                 .UseIISIntegration()

                 .Configure(app =>

                 {

                     app.UseOcelot().Wait();

                 })

                 .Build()

                 .Run();

         }

     }

 }
注意:打开 Gateway.csproj 文件,更改
<PropertyGroup>

    <TargetFramework>netcoreapp2.2</TargetFramework>

    <AspNetCoreHostingModel>InProcess</AspNetCoreHostingModel>

</PropertyGroup>
为
<PropertyGroup>

    <TargetFramework>netcoreapp2.2</TargetFramework>

    <AspNetCoreHostingModel>OutOfProcess</AspNetCoreHostingModel>

</PropertyGroup>
至此,一个基础网关基本构建完成。
构建 Consul 服务
使用 Chocoletey 安装 Consul,
choco install consul
新建一个文件夹以保存 Consul 服务配置
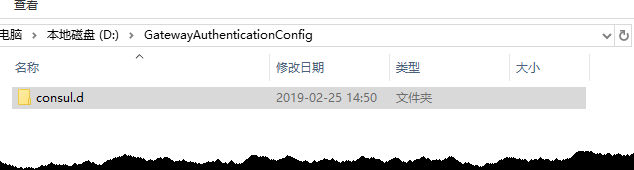
在 consul.d 文件夹中添加配置文件,内容如下:
{
"services": [{
"ID": "ServiceA",
"Name": "ServiceA",
"Tags": [
"ServiceAWebApi", "Api"
],
"Address": "127.0.0.1",
"Port": 8010,
"Check": {
"HTTP": "http://127.0.0.1:8010/Api/health",
"Interval": "10s"
}
}, {
"id": "ServiceB",
"name": "ServiceB",
"tags": [
"ServiceBWebApi","Api"
],
"Address": "127.0.0.1",
"Port": 8011,
"Check": [{
"HTTP": "http://127.0.0.1:8011/Api/health",
"Interval": "10s"
}
]
}
]
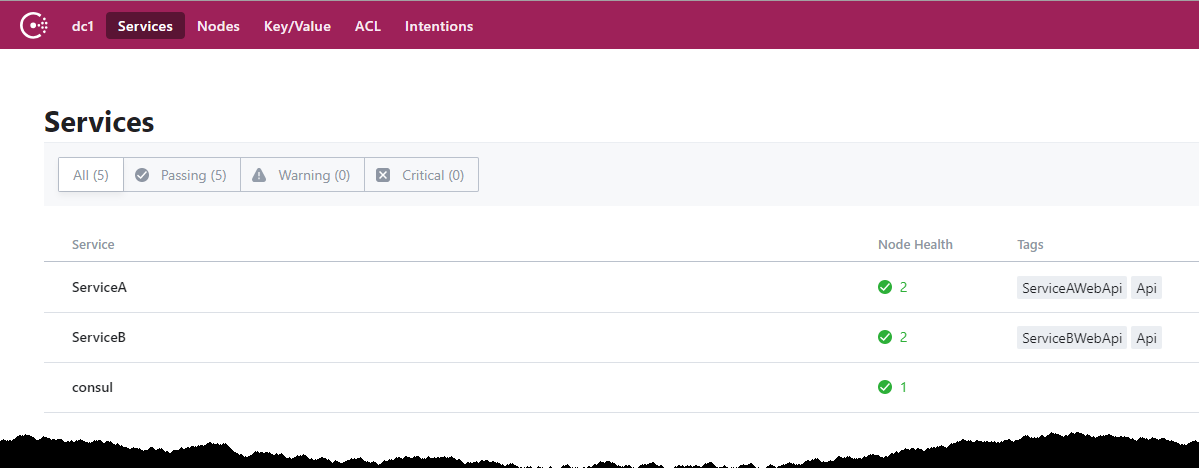
}启动 consul 服务
consul agent -dev -config-dir=./consul.d
启动后在浏览器中输入 http://localhost:8500/ui/ 以查看Consul服务
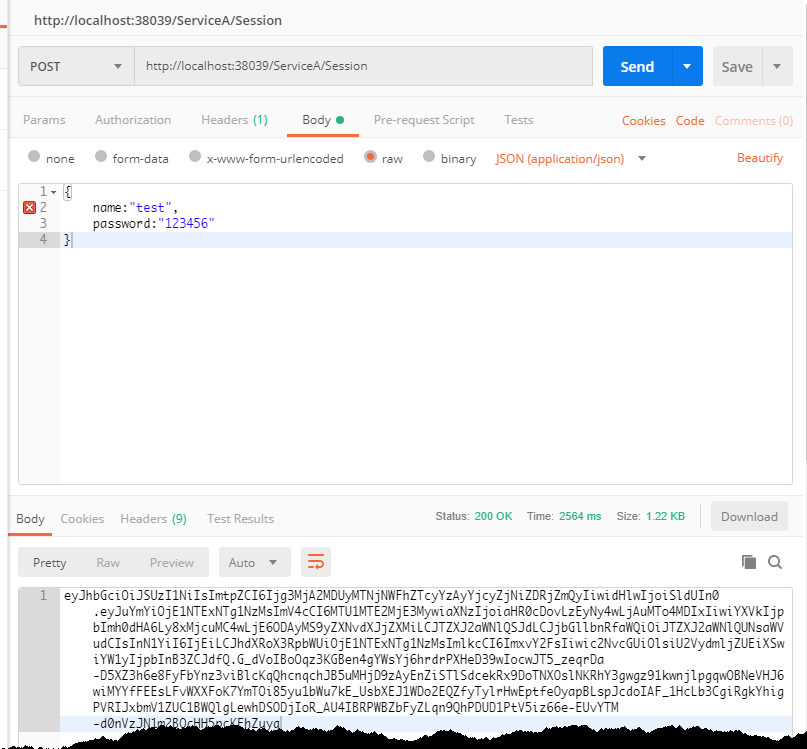
Postman 验证
F5 启动 Gateway 项目,启动 Postman 发送请求到 ServiceA 获取 Token。
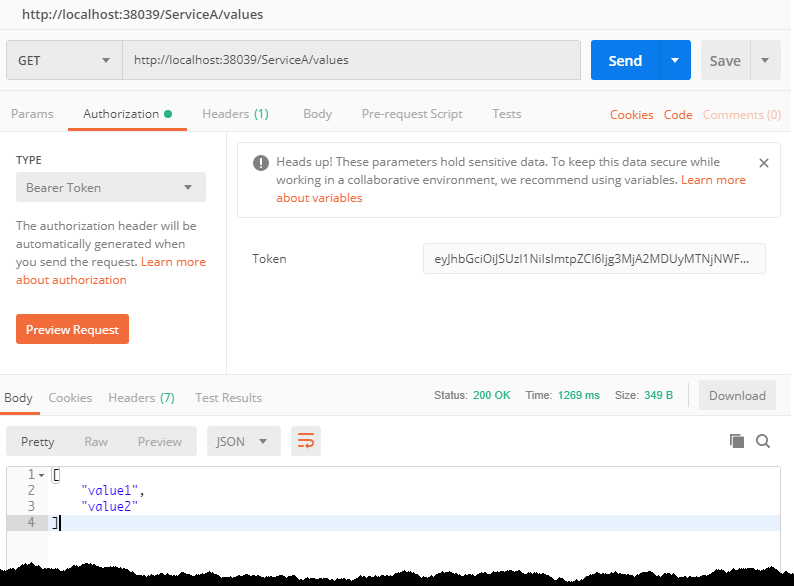
使用 Token 请求 ServiceA Values 接口
当尝试使用 ServiceA 获取到的 Token 去获取 ServiceB 的数据时,请求也如意料之中返回 401

总结
至此,一个由 .NET Core、IdentityServer4、Ocelot、Consul实现的基础架构搭建完毕。源码地址
.NET Core + Ocelot + IdentityServer4 + Consul 基础架构实现的更多相关文章
- 【转】.NET Core + Ocelot + IdentityServer4 + Consul 基础架构实现
作者:Zhang_Xiang 原文地址:.NET Core + Ocelot + IdentityServer4 + Consul 基础架构实现 先决条件 关于 Ocelot 针对使用 .NET 开发 ...
- NET Core + Ocelot + IdentityServer4 + Consul
.NET Core + Ocelot + IdentityServer4 + Consul 基础架构实现 先决条件 关于 Ocelot 针对使用 .NET 开发微服务架构或者面向服务架构提供一个统一访 ...
- 分享一个集成.NET Core+Swagger+Consul+Polly+Ocelot+IdentityServer4+Exceptionless+Apollo+SkyWalking的微服务开发框架
集成.NET Core+Swagger+Consul+Polly+Ocelot+IdentityServer4+Exceptionless+Apollo的微服务开发框架 Github源代码地址 htt ...
- .Net Core微服务——网关(2):ocelot集成consul
有consul基础的都知道,consul可以发现新增的服务,剔除掉无效的服务,赋予应用自动伸缩的能力.而ocelot如果集成了consul,那ocelot也能拥有这些能力,还可以自主选择负载均衡策略, ...
- .NET Core微服务系列基础文章索引(目录导航Final版)
一.为啥要总结和收集这个系列? 今年从原来的Team里面被抽出来加入了新的Team,开始做Java微服务的开发工作,接触了Spring Boot, Spring Cloud等技术栈,对微服务这种架构有 ...
- .NET Core微服务系列基础文章
今年从原来的Team里面被抽出来加入了新的Team,开始做Java微服务的开发工作,接触了Spring Boot, Spring Cloud等技术栈,对微服务这种架构有了一个感性的认识.虽然只做了两个 ...
- ASP.NET Core OceLot 微服务实践
1.OceLot中间件介绍 在传统的BS应用中,随着业务需求的快速发展变化,需求不断增长,迫切需要一种更加快速高效的软件交付方式.微服务可以弥补单体应用不足,是一种更加快速高效软件架构风格.单体应用被 ...
- Asp.Net Core 中IdentityServer4 授权中心之自定义授权模式
一.前言 上一篇我分享了一篇关于 Asp.Net Core 中IdentityServer4 授权中心之应用实战 的文章,其中有不少博友给我提了问题,其中有一个博友问我的一个场景,我给他解答的还不够完 ...
- Asp.Net Core 中IdentityServer4 实战之 Claim详解
一.前言 由于疫情原因,让我开始了以博客的方式来学习和分享技术(持续分享的过程也是自己学习成长的过程),同时也让更多的初学者学习到相关知识,如果我的文章中有分析不到位的地方,还请大家多多指教:以后我会 ...
随机推荐
- UE4中创建第一、第三人称角色,并进行角色间的切换
在游戏中经常会出现第一人称和第三人称的视角切换场景,笔者在这里简单介绍如何进行这步操作. 1.创建角色 在内容浏览器中添加2个Character蓝图,分别命名为FirstPersonalCharact ...
- 对cordova插件配置文件plugin.xml的理解
1.配置文件表头包括了插件id,是用于唯一标识插件的.同时插件配置了一个插件名称. 2.这个文件从工作机制,也就是js代码一直到native的java插件代码工作分成两个流程.第一个流程是从代码到插件 ...
- Spring JTA multiple resource transactions in Tomcat with Atomikos example
http://www.byteslounge.com/tutorials/spring-jta-multiple-resource-transactions-in-tomcat-with-atomik ...
- RabbitMQ windows安装(一 )
RabbitMQ 简单介绍: 是可以实现应用程序的解耦和异步,也可用作消息缓冲和消息分发的消息队列(MQ): 安装: 1.安装RabbitMQ前先安装Erlang语言开发包,下载地址:http://w ...
- Java接口和抽象类以及接口的意义,instanceof的利用
接口interface: 1. 在接口中没有变量,成员无论如何定义,都是公共常量,public static final即使不显式声明也如此. 2. 所有接口方法均隐含public abstract即 ...
- react 高阶组件的 理解和应用
高阶组件是什么东西 简单的理解是:一个包装了另一个基础组件的组件.(相对高阶组件来说,我习惯把被包装的组件称为基础组件) 注意:这里说的是包装,可以理解成包裹和组装: 具体的是高阶组件的两种形式吧: ...
- Diffie-Hellman密钥协商算法
一.概述 Diffie-Hellman密钥协商算法主要解决秘钥配送问题,本身并非用来加密用的:该算法其背后有对应数学理论做支撑,简单来讲就是构造一个复杂的计算难题,使得对该问题的求解在现实的时间内无法 ...
- 安装Twisted
Python看到网络编程,讲到Twisted这个强大的网络框架,很有兴趣,配合 官方文档,打算研究一哈,但是一开始就碰壁了. 安装的时候 pip install Twisted报错了: 提示没有装什么 ...
- centos6.9 升级内核版本
想在centos6.9上安装docket,不过因为内核版本是2.6的故而想升级到最新的内核版本 晚上有编译升级的比较麻烦,不过有助于理解内核升级,我使用的直接升级到最新版方法 1. 导入public ...
- Cassadra & presto 集群部署
四台服务器部署cassandra集群 和 presto搜索引擎 及代码演示: 还有很多细节没有补充,有问题和疑问的地方 咋们一起探讨哇!1.创建用户 使用root用户登录应用服务器,执行以下操作 ...