(转载)UnityShader学习笔记(七) 让贴图纹理动起来(河流瀑布特效、精灵序列帧实现)
大家好,我是Zander。这一章我们将使用纹理贴图实现动画、混合和真实特效来达到理想的效果。
纹理贴图可以使我们的着色器快速的实现逼真的效果,但是如果添加的纹理贴图过多,会非常影响游戏性能,特别是在移动设备上,需要将纹理贴图的数目降到最小,这样才能使应用程序加载更快,运行起来更加流畅。
下面带着大家用图片来实现一个河流的效果:
首先创建一个材质和一个新的着色器文件。为着色器添加属性如下:
Properties {

		_MainTint ("Diffuse Tint", Color) = (1,1,1,1)

		_MainTex ("Base (RGB)", 2D) = "white" {}

		_ScrollXSpeed ("X Scroll Speed",Range(0,10)) = 2

		_ScrollYSpeed ("Y Scroll Speed",Range(0,10)) = 2

	}
然后在SubShader中修改CGPROGRAM部分的CG属性,添加变量便于访问
                fixed4  _MianTint;

		fixed   _ScrollXSpeed;

		fixed   _ScrollYSpeed;

		sampler2D _MainTex;
修改surf()函数,通过tex2D()函数来改变UV坐标,然后使用内置的_Time变量来实现动态纹理
void surf (Input IN, inout SurfaceOutputStandard o)

		{

		    //创建一个变量 存储图片UV

		    fixed2 scrolledUV  = IN.uv_MainTex;

			//创建临时变量存储 X Y

			fixed xScrollValue  = _ScrollXSpeed * _Time;

			fixed yScrollValue  = _ScrollYSpeed * _Time;

			//计算X Y 的偏移

			scrolledUV += fixed2(xScrollValue,yScrollValue);

			half4 c = tex2D(_MainTex,scrolledUV);

			o.Albedo = c.rgb;

			o.Alpha = c.a;

		}
所用的贴图
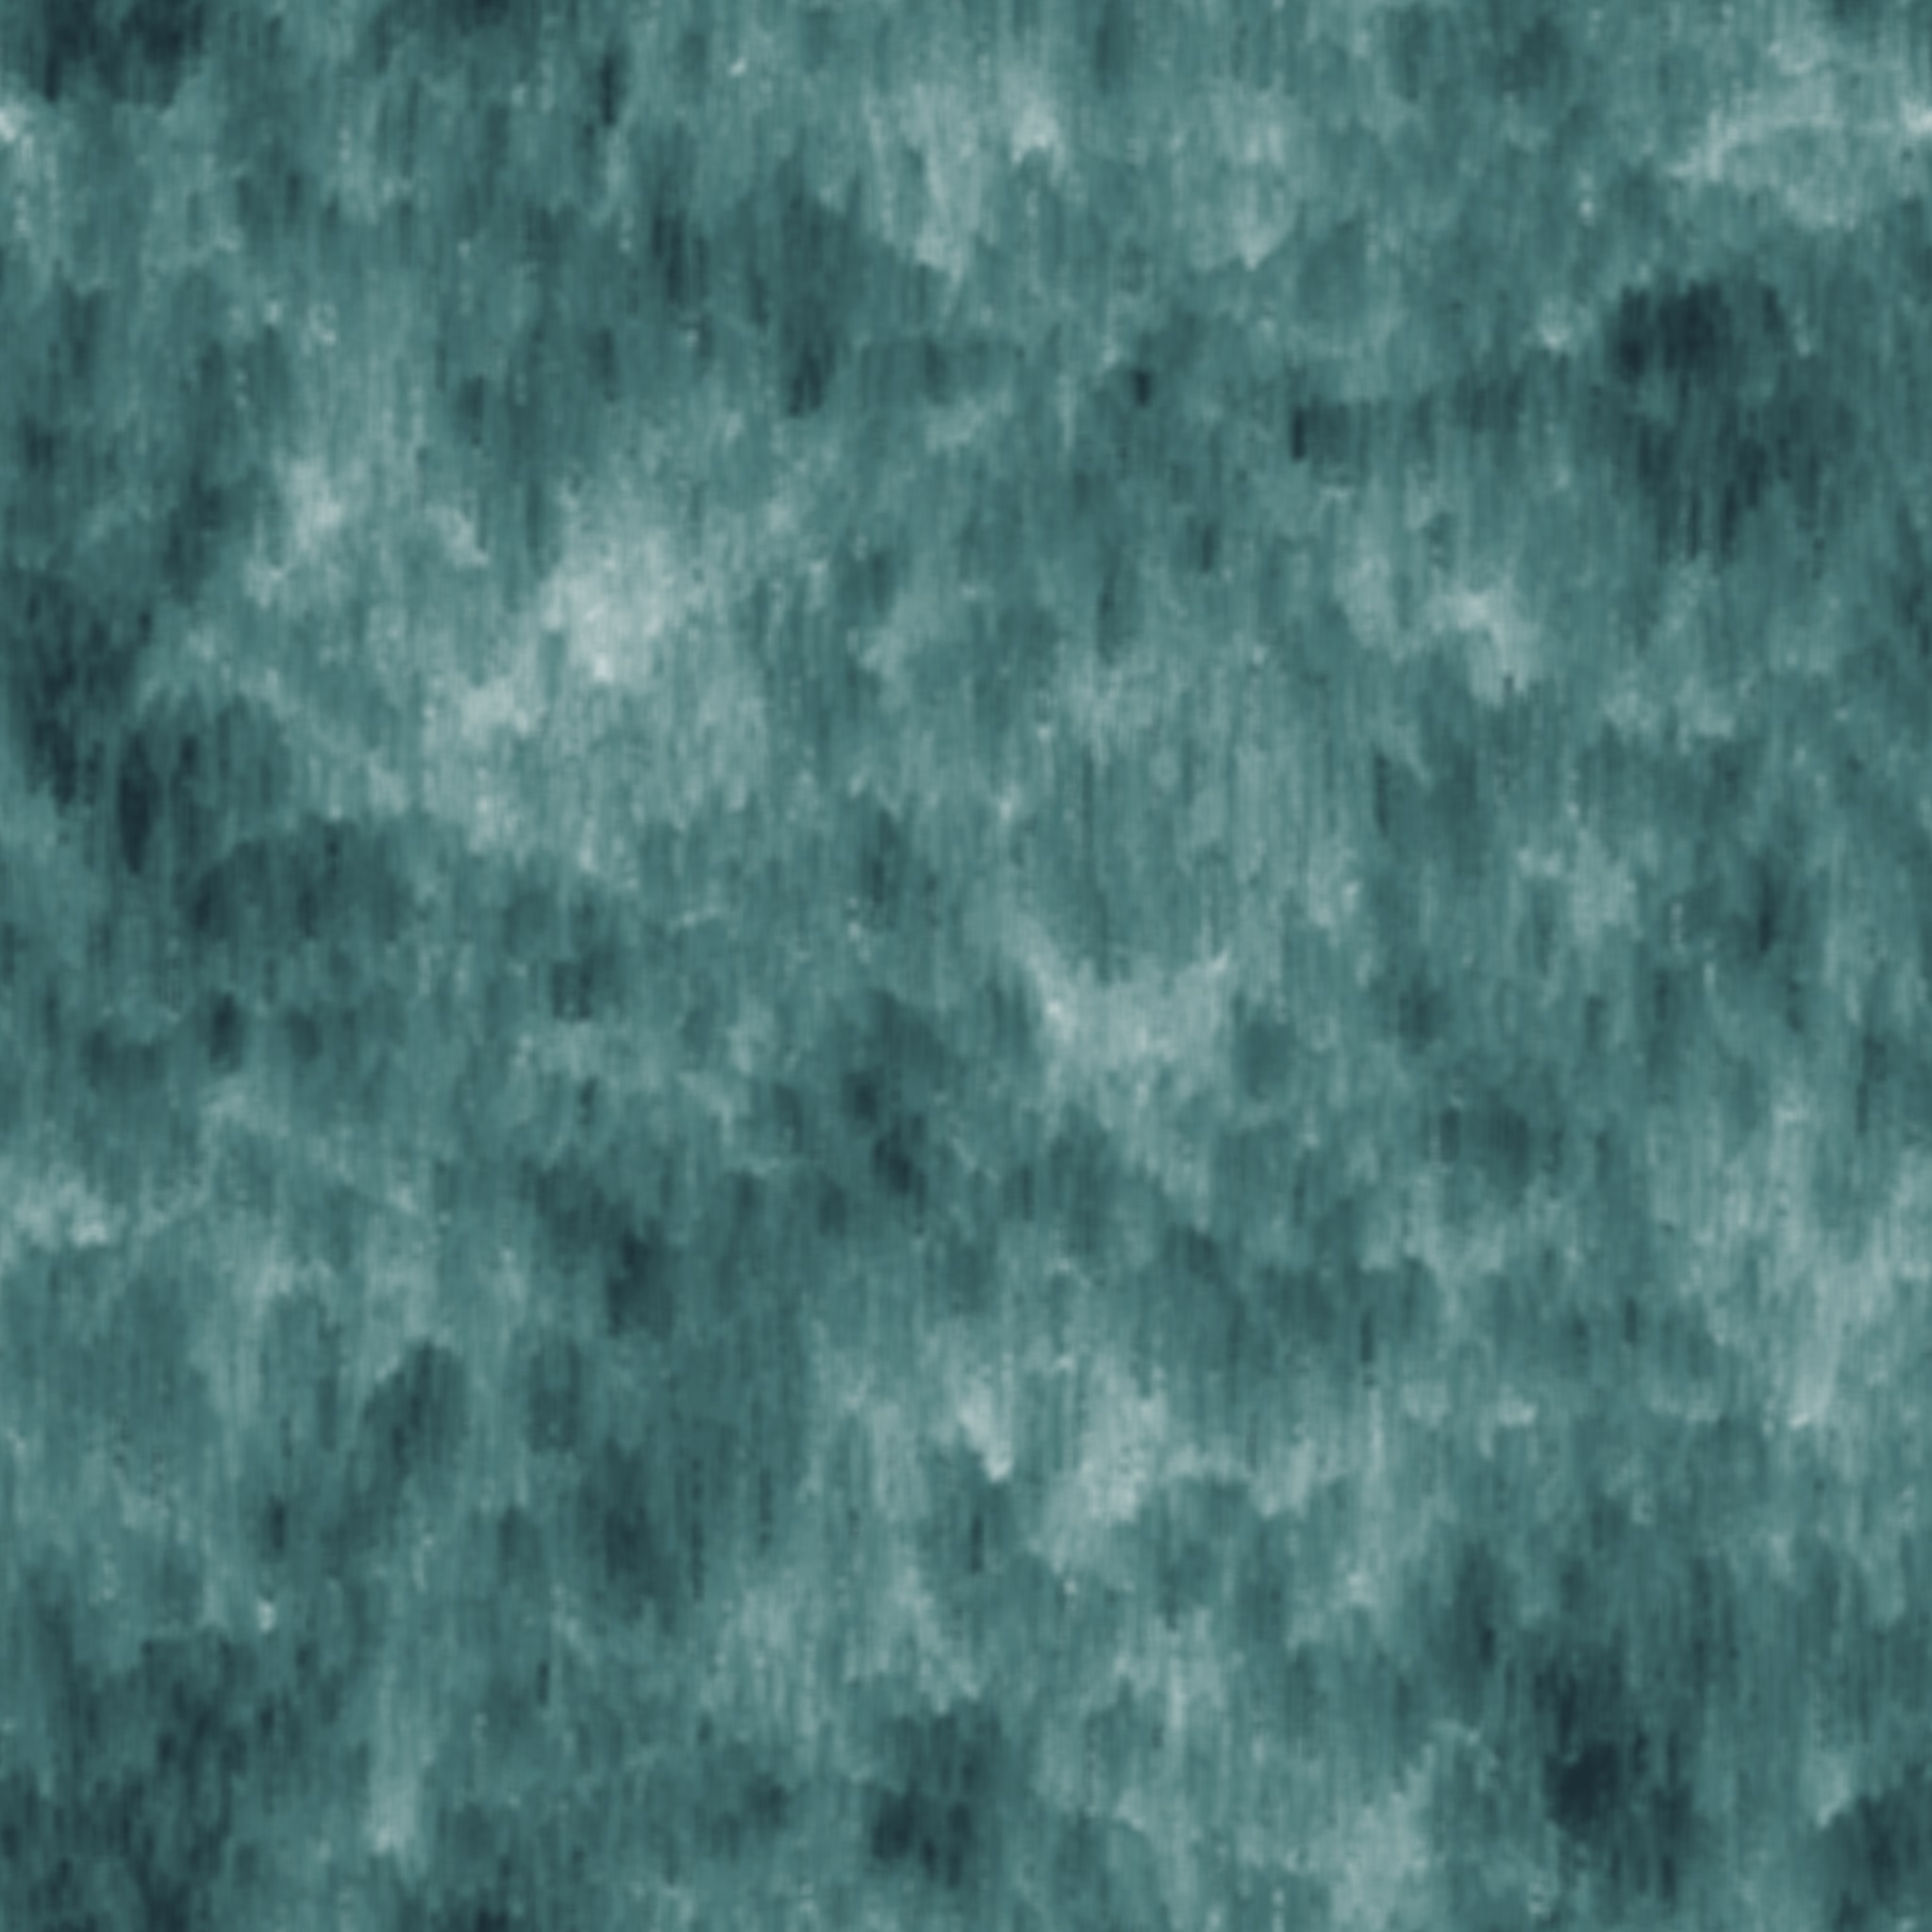
运行Unity,就可以看到河流的效果了
全部代码如下:
Shader "Custom/TexSurfaceShader" {

	Properties {

		_MainTint ("Diffuse Tint", Color) = (1,1,1,1)

		_MainTex ("Base (RGB)", 2D) = "white" {}

		_ScrollXSpeed ("X Scroll Speed",Range(0,10)) = 2

		_ScrollYSpeed ("Y Scroll Speed",Range(0,10)) = 2

	}

	SubShader {

		Tags { "RenderType"="Opaque" }

		LOD 200

		CGPROGRAM

		// Physically based Standard lighting model, and enable shadows on all light types

		#pragma surface surf Standard fullforwardshadows

		// Use shader model 3.0 target, to get nicer looking lighting

		#pragma target 3.0

		fixed4  _MianTint;

		fixed   _ScrollXSpeed;

		fixed   _ScrollYSpeed;

		sampler2D _MainTex;

		struct Input {

			float2 uv_MainTex;

		};

		void surf (Input IN, inout SurfaceOutputStandard o)

		{

		    //创建一个变量 存储图片UV

		    fixed2 scrolledUV  = IN.uv_MainTex;

			//创建临时变量存储 X Y

			fixed xScrollValue  = _ScrollXSpeed * _Time;

			fixed yScrollValue  = _ScrollYSpeed * _Time;

			//计算X Y 的偏移

			scrolledUV += fixed2(xScrollValue,yScrollValue);

			half4 c = tex2D(_MainTex,scrolledUV);

			o.Albedo = c.rgb;

			o.Alpha = c.a;

		}

		ENDCG

	}

	FallBack "Diffuse"

}
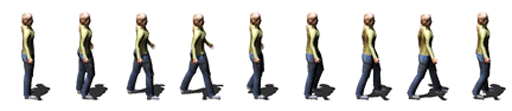
接下来 我们来进一步扩展 。来实现一个类似于2D序列帧动画的效果。
首先准备一张序列帧的图,
创建一个新的材质 和一个shader,
在新的着色器中添加属性:
Properties {

		_MainTex ("Base (RGB)", 2D) = "white" {}

		_TexWidth("Sheet Width",float)=0.0

		_CellAmout("Cell Amount",float) = 0.0

		_Speed("Speed",Range(0.01,32)) = 12

	}
修改Surf()函数里面的内容:
void surf (Input IN, inout SurfaceOutputStandard o)

		{

		    float2 spriteUV  = IN.uv_MainTex; //将输入的UV值存储到临时变量

			float cellPixelWidth  = _TexWidth/_CellAmout; //得到每个精灵的宽度

			float cellUVPercentage = cellPixelWidth/_TexWidth ;  //计算每个精灵在整张图中的百分比

			float timeVal = fmod(_Time.y *_Speed , _CellAmout);

			timeVal  = ceil(timeVal);

			float xValue  = spriteUV.x;

			//计算精灵在X方向上UV偏移量

			xValue += cellUVPercentage * timeVal * _CellAmout;

			xValue *= cellUVPercentage;

			spriteUV = float2(xValue,spriteUV.y);

			// Albedo comes from a texture tinted by color

			fixed4 c = tex2D (_MainTex, spriteUV) ;

			o.Albedo = c.rgb;

			o.Alpha = c.a;

		}
里面用到的两个数学函数:
| 函数 | 描述 |
| fmod(x,y) | 返回x/y的余数,符号同x。如果y为0,结果不可预料 |
| ceil(x) | 对输入参数向上取整 |
全部代码如下:
Shader "Custom/SpriteAnimationShader" {

	Properties {

		_MainTex ("Base (RGB)", 2D) = "white" {}

		_TexWidth("Sheet Width",float)=0.0

		_CellAmout("Cell Amount",float) = 0.0

		_Speed("Speed",Range(0.01,32)) = 12

	}

	SubShader {

		Tags { "RenderType"="Opaque" }

		LOD 200

		CGPROGRAM

		// Physically based Standard lighting model, and enable shadows on all light types

		#pragma surface surf Standard fullforwardshadows

		// Use shader model 3.0 target, to get nicer looking lighting

		#pragma target 3.0

		sampler2D _MainTex;

		fixed  _TexWidth;

		fixed   _CellAmout;

		fixed   _Speed;

		struct Input {

			float2 uv_MainTex;

		};

		void surf (Input IN, inout SurfaceOutputStandard o)

		{

		    float2 spriteUV  = IN.uv_MainTex; //将输入的UV值存储到临时变量

			float cellPixelWidth  = _TexWidth/_CellAmout; //得到每个精灵的宽度

			float cellUVPercentage = cellPixelWidth/_TexWidth ;  //计算每个精灵在整张图中的百分比

			float timeVal = fmod(_Time.y *_Speed , _CellAmout);

			timeVal  = ceil(timeVal);

			float xValue  = spriteUV.x;

			//计算精灵在X方向上UV偏移量

			xValue += cellUVPercentage * timeVal * _CellAmout;

			xValue *= cellUVPercentage;

			spriteUV = float2(xValue,spriteUV.y);

			// Albedo comes from a texture tinted by color

			fixed4 c = tex2D (_MainTex, spriteUV) ;

			o.Albedo = c.rgb;

			o.Alpha = c.a;

		}

		ENDCG

	}

	FallBack "Diffuse"

}
---------------------
作者:Zander_zhang
来源:CSDN
原文:https://blog.csdn.net/zjw1349547081/article/details/54341125
(转载)UnityShader学习笔记(七) 让贴图纹理动起来(河流瀑布特效、精灵序列帧实现)的更多相关文章
- 学习笔记:APP切图那点事儿–详细介绍android和ios平台
学习笔记:APP切图那点事儿–详细介绍android和ios平台 转载自:http://www.woofeng.cn/articles/168.html 版权归原作者所有 作者:亚茹有李 原文地址 ...
- 【opencv学习笔记七】访问图像中的像素与图像亮度对比度调整
今天我们来看一下如何访问图像的像素,以及如何改变图像的亮度与对比度. 在之前我们先来看一下图像矩阵数据的排列方式.我们以一个简单的矩阵来说明: 对单通道图像排列如下: 对于双通道图像排列如下: 那么对 ...
- (转)Qt Model/View 学习笔记 (七)——Delegate类
Qt Model/View 学习笔记 (七) Delegate 类 概念 与MVC模式不同,model/view结构没有用于与用户交互的完全独立的组件.一般来讲, view负责把数据展示 给用户,也 ...
- Learning ROS for Robotics Programming Second Edition学习笔记(七) indigo PCL xtion pro live
中文译著已经出版,详情请参考:http://blog.csdn.net/ZhangRelay/article/category/6506865 Learning ROS forRobotics Pro ...
- Typescript 学习笔记七:泛型
中文网:https://www.tslang.cn/ 官网:http://www.typescriptlang.org/ 目录: Typescript 学习笔记一:介绍.安装.编译 Typescrip ...
- python3.4学习笔记(七) 学习网站博客推荐
python3.4学习笔记(七) 学习网站博客推荐 深入 Python 3http://sebug.net/paper/books/dive-into-python3/<深入 Python 3& ...
- Go语言学习笔记七: 函数
Go语言学习笔记七: 函数 Go语言有函数还有方法,神奇不.这有点像python了. 函数定义 func function_name( [parameter list] ) [return_types ...
- iOS 学习笔记七 【博爱手把手教你使用2016年gitHub Mac客户端】
iOS 学习笔记七 [博爱手把手教你使用gitHub客户端] 第一步:首先下载git客户端 链接:https://desktop.github.com 第二步:fork 大神的代码[这里以我的代码为例 ...
- Linux学习笔记(七) 查询系统
1.查看命令 (1)man 可以使用 man 命令名称 命令查看某个命令的详细用法,其显示的内容如下: NAME:命令名称 SYNOPSIS:语法 DESCRIPTION:说明 OPTIONS:选项 ...
随机推荐
- yarn配置日志聚合
[原文地址] 日志聚集是YARN提供的日志中央化管理功能,它能将运行完成的Container/任务日志上传到HDFS上,从而减轻NodeManager负载,且提供一个中央化存储和分析机制.默认情况下, ...
- swiper嵌套小demo(移动端触摸滑动插件)
swiper(移动端触摸滑动插件) tip:自己敲得Swiper 的小demo,可以复制粘贴看看效果哦. swiper的js包css包下链接地址 : https://github.com/Clear ...
- Linux在终端命令行模式下智能补全功能以及组合键
linux命令行下也有很多热键(快捷键).先来看看tab键 1.如果想看看linux下以c开头的命令可直接在命令行下敲入c然后连续敲两次tab,再选择y,会显示所有以c开头的命令. 2.涉及到文件时, ...
- JavaScript基础知识(函数)
函数的基础 函数: 把实现相同功能的代码放到一个函数体中,当想实现这个功能时,直接执行这个函数即可:减少了的冗余:高内聚,低耦合--> 函数的封装: 函数:引用数据类型: var a = 10; ...
- Web开发——HTML基础
文档资料参考: 参考:MDN官网 参考:http://www.runoob.com,W3School 参考:https://developer.mozilla.org/zh-CN/docs/Learn ...
- Elasticsearch学习笔记(二)Search API 与 Query DSL
一. Search API eg: GET /mall/product/_search?q=name:productName&sort=price desc 特点:search的请求参数都是以 ...
- 前端的图片压缩image-compressor(可在图片上传前实现图片压缩)
https://www.imooc.com/article/40038 https://www.jianshu.com/p/3ce3e3865ae2 前端的图片压缩image-compressor(可 ...
- 归并排序(Python实现)
目录 1. 归并排序--while版本 2. 测试用例 3. 算法时间复杂度分析 1. 归并排序--while版本 def merge_sort_while(b_list): '''归并排序--whi ...
- python中Hadamard product和matrix product的区分
先简单说一下Hadamard product: (参照维基百科:https://en.wikipedia.org/wiki/Hadamard_product_(matrices)) 而matrix ...
- 利用python脚本(re)抓取美空mm图片
很久没有写博客了,这段时间一直在搞风控的东西,过段时间我把风控的内容整理整理发出来大家一起研究研究. 这两天抽空写了两个python爬虫脚本,一个使用re,一个使用xpath. 直接上代码——基于re ...