CentOS 6.2安装nagios
1. 创建nagios组和用户
#make install

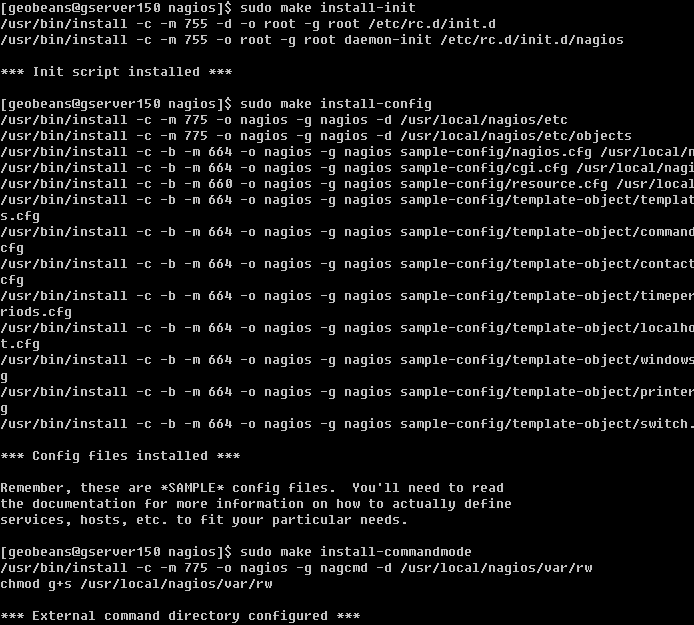


#make install-daemon


CentOS 6.2安装nagios的更多相关文章
- Centos 6.x 安装Nagios及WEB管理nagiosql实现windows及linux监控指南
一.Nagios简介 Nagios是一款开源的电脑系统和网络监视工具,能有效监控Windows.Linux和Unix的主机状态,交换机路由器等网络设置,打印机等.在系统或服务状态异常时发出邮件或短信报 ...
- CentOS 安装nagios
Nagios的介绍: 1.Nagios是一个监控系统运行状态和网络信息的监控系统.它能监控所指定的本地或远程主机的系统状态以及运行的服务,同时提供异常通知的功能. 2. Nagios可运行在Linux ...
- CentOS 6.7 安装配置 nagios
一.简介 Nagios是一款开源的免费网络监视工具,能有效监控Windows.Linux和Unix的主机状态,交换机路由器等网络设置,打印机等.在系统或服务状态异常时发出邮件或短信报警,第一时间 ...
- Nagios监控平台之一:在Centos上安装Nagios服务
1.安装依赖包 #yum install httpd httpd-devel php openssl-devel #yum install gcc glibc glibc-common #yum in ...
- centos下安装nagios
摘要Nagios是一款开源的免费网络监视工具,能有效监控Windows.Linux和Unix的主机状态,交换机路由器等网络设置,打印机等. Nagios是一款开源的免费网络监视工具,能有效监控Wind ...
- CentOS下一键安装Openstack
CentOS下一键安装Openstack 系统环境:Oracle VirtualBox 4.38CentOS-6.5-x86_64-bin-DVD1.iso 安装前需要修改 /etc/hosts文件, ...
- 通过yum安装Nagios
通过yum安装Nagios 2012年04月05日 ⁄ Nagios ⁄ 暂无评论 QQ空间新浪微博腾讯微博人人网更多3 前提先自行安装好Apache+php 测试环境主监控机:CentOS ...
- CentOS 6.2+Nginx+Nagios,手机短信和qq邮箱提醒
http://chenhao6.blog.51cto.com/6228054/1323192 标签:软件包 配置文件 nagios 服务端 监控 原创作品,允许转载,转载时请务必以超链接形式标明文章 ...
- CentOS 6.7 安装配置 nagios-server
作者博文地址:https://www.cnblogs.com/liu-shuai/ 一.简介 Nagios是一款开源的免费网络监视工具,能有效监控Windows.Linux和Unix的主机状态, ...
随机推荐
- HTTP之首部
http报文包括起始行.首部和主体. HTTP请求/响应起始行 请求组成: 方法 + 请求URL + HTTP版本 响应组成: HTTP版本 + 数字状态码 + 描述状态的原因短语 HT ...
- JavaScript中的BOM知识框架
浏览器对象模型(BOM)以window对象为依托,表示浏览器窗口及可见区域.同时,window对象和还是全局对象,因此所有求安局变量和函数都是它的属性,所有原生框架及其他函数都在它命名之下.BOM中对 ...
- Java探索之旅(3)——选择与循环
1.选择结构与输出 ❶Switch语句: Switch表达式必须算出 char,byte,short,int类型数值之一,总是括号括住:Value1----ValueN,对应有相同数据类型且为常量或者 ...
- 菜鸟级的Git与GitHub使用总结(转)
菜鸟级的Git与GitHub使用总结 原创 2016年12月01日 14:58:30 1792 前言 这几天一直在折腾学习Git和GitHub的使用.几天下来,在网上查阅了大量的资料,总算有一些成果. ...
- Ajax 执行流程 有用 一点
l 1.1使用JavaScript获得浏览器内置的AJAX引擎(XMLHttpRequest对象) l 1.2 通过AJAX引擎确定请求路径和请求参数 l 1.3 通知AJAX引擎发送请求 l AJA ...
- 哪个U盘启动工具能安装红帽系统,
安装红帽子,不要使用windows系统下的PE启动盘,两者引导方式不一样,不通用的.正确的方法是网上下载红帽子的ISO镜像文件后,用UltraISO这个工具写入优盘或者光盘,得到的系统盘才可以启动电脑 ...
- Entity Framework Code-First(7):Inheritance Strategy
Inheritance Strategy in Code-First: We have seen in the Code First Conventions section that it creat ...
- 为什么Java的hash表的长度一直是2的指数次幂?为什么这个(hash&(h-1)=hash%h)位运算公式等价于取余运算?
1.什么是hash表? 答:简单回答散列表,在hash结构散列(分散)存放的一种数据集结构. 2.如何散列排布,如何均匀排布? 答:取余运算 3.Java中如何实现? 答:hash&(h-1) ...
- Black Beauty
Chapter 1 My Early Home While I was young, I live upon my mother's milk, as I could not eat grass. W ...
- 使用tuple统计文件中单词的个数
name = input("Enter file:") if len(name) < 1 : name = "input.txt" fhand = ope ...