
Spring的增强模式
一、前置增强
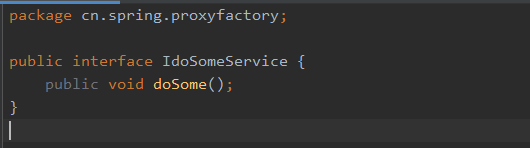
1、IdoSomeService
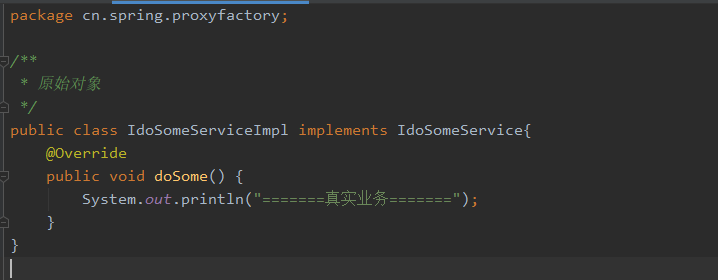
2、IdoSomeServiceImpl类实现IdoSomeService接口
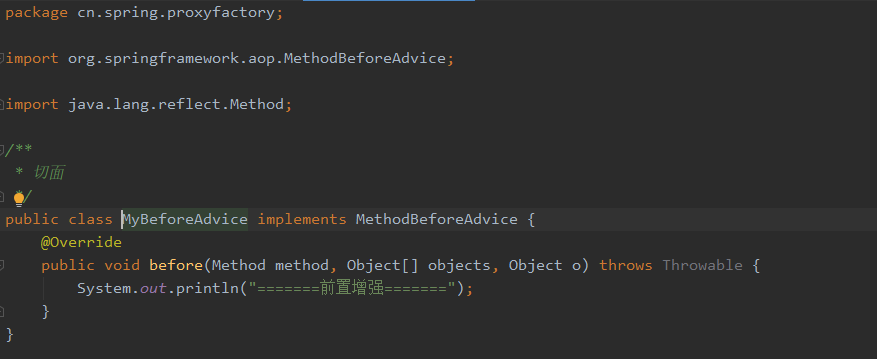
3、MyBeforeAdvice 实现前置增强方法
4、applicationContext.xml配置文件
<?xml version="1.0" encoding="UTF-8"?>

<beans xmlns="http://www.springframework.org/schema/beans"

       xmlns:xsi="http://www.w3.org/2001/XMLSchema-instance"

       xmlns:aop="http://www.springframework.org/schema/aop"

       xmlns:p="http://www.springframework.org/schema/p"

       xsi:schemaLocation="http://www.springframework.org/schema/beans

       http://www.springframework.org/schema/beans/spring-beans.xsd

       http://www.springframework.org/schema/aop

       http://www.springframework.org/schema/aop/spring-aop.xsd">

    <!--代理工厂增强-->

    <!--注入业务Bean-->

    <bean id="idoSomeService1" class="cn.spring.proxyfactory.IdoSomeServiceImpl"></bean>

    <!--增强:切面-->

    <bean id="myBeforeAdvice" class="cn.spring.proxyfactory.MyBeforeAdvice"></bean>

    <!--使用代理工厂实现增强-->

    <bean id="proxyFactory1" class="org.springframework.aop.framework.ProxyFactoryBean">

        <!--将增强和业务织入到一起-->

        <property name="target" ref="idoSomeService1"></property>

        <!--拦截增强类-->

        <property name="interceptorNames" value="myBeforeAdvice"></property>

        <!--更换代理方式    proxyTargetClass默认值为false 即JDK动态代理,但是当目标对象没有接口时,自动改为CGLIB-->

        <property name="proxyTargetClass" value="true"></property>

    </bean>
</beans>
5、测试类
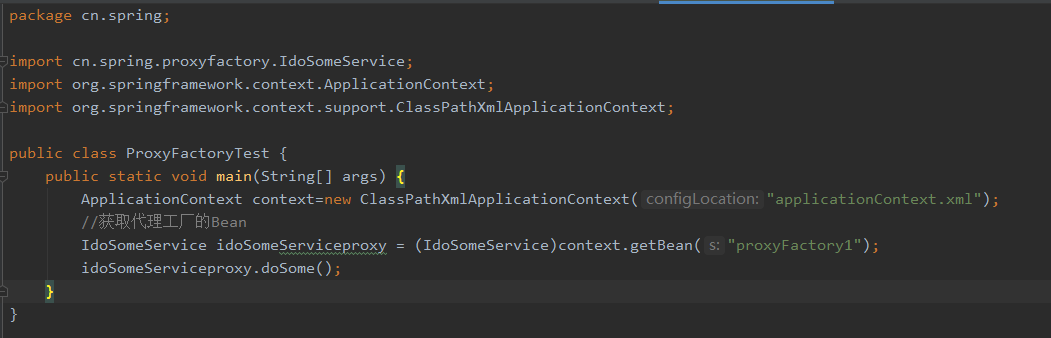
6、控制台

二、环绕增强
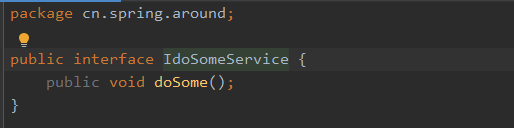
1、IdoSomeService
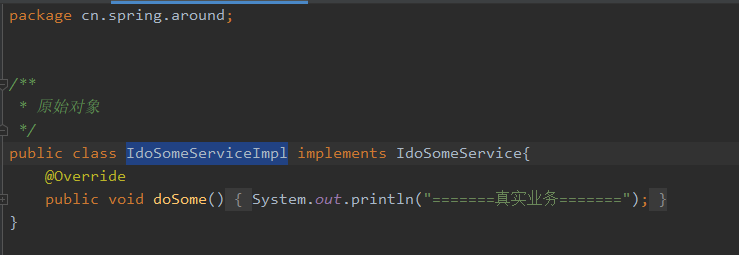
2、IdoSomeServiceImpl类实现IdoSomeService接口
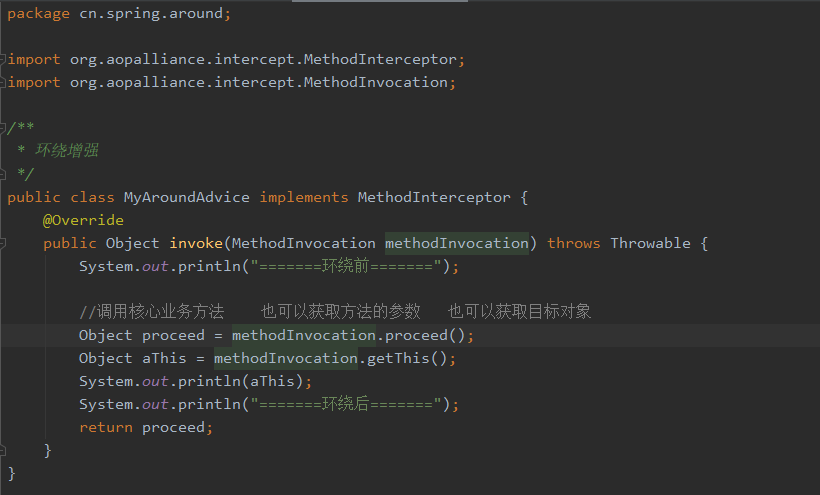
3、MyAroundAdvice 实现环绕增强方法
4、applicationContext.xml配置文件
 <!--环绕增强实现-->

    <!--注入业务Bean-->

    <bean id="idoSomeService2" class="cn.spring.around.IdoSomeServiceImpl"></bean>

    <!--增强:切面-->

    <bean id="myAroundAdvice" class="cn.spring.around.MyAroundAdvice"></bean>

    <!--使用代理工厂实现增强-->

    <bean id="proxyFactory2" class="org.springframework.aop.framework.ProxyFactoryBean">

        <!--将增强和业务织入到一起-->

        <property name="target" ref="idoSomeService2"></property>

        <!--拦截增强类-->

        <property name="interceptorNames" value="myAroundAdvice"></property>

        <!--更换代理方式    proxyTargetClass默认值为false 即JDK动态代理,但是当目标对象没有接口时,自动改为CGLIB-->

        <property name="proxyTargetClass" value="true"></property>

    </bean>
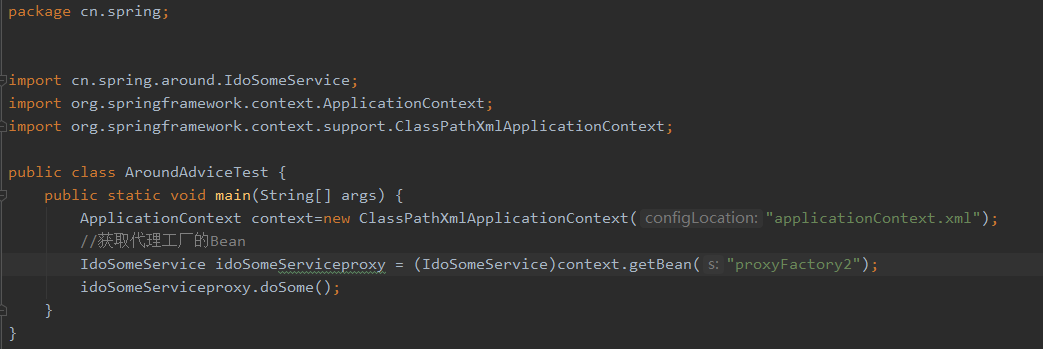
5、测试类
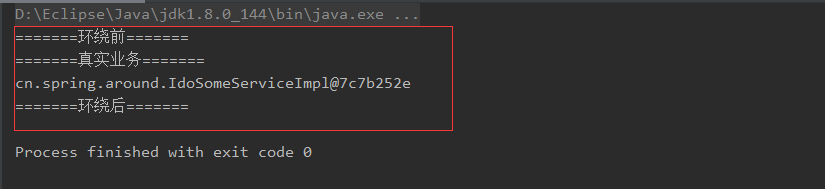
6、控制台
三、异常增强
1、IdoSomeService
2、IdoSomeServiceImpl类实现IdoSomeService接口
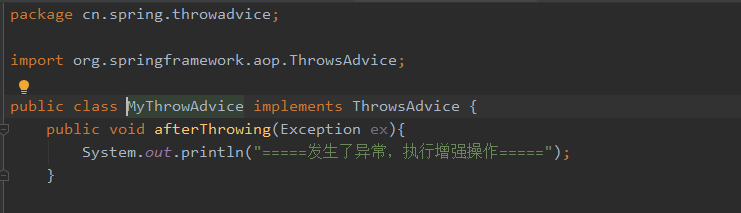
3、MyThrowAdvice实现异常增强
4、applicationContext.xml配置文件
<!--异常增强实现-->

    <!--注入业务Bean-->

    <bean id="idoSomeService3" class="cn.spring.throwadvice.IdoSomeServiceImpl"></bean>

    <!--增强:切面-->

    <bean id="myThrowAdvice" class="cn.spring.throwadvice.MyThrowAdvice"></bean>

    <!--使用代理工厂实现增强-->

    <bean id="proxyFactory" class="org.springframework.aop.framework.ProxyFactoryBean">

        <!--将增强和业务织入到一起-->

        <property name="target" ref="idoSomeService3"></property>

        <!--拦截增强类-->

        <property name="interceptorNames" value="myThrowAdvice"></property>

        <!--更换代理方式    proxyTargetClass默认值为false 即JDK动态代理,但是当目标对象没有接口时,自动改为CGLIB-->

        <property name="proxyTargetClass" value="true"></property>

    </bean>
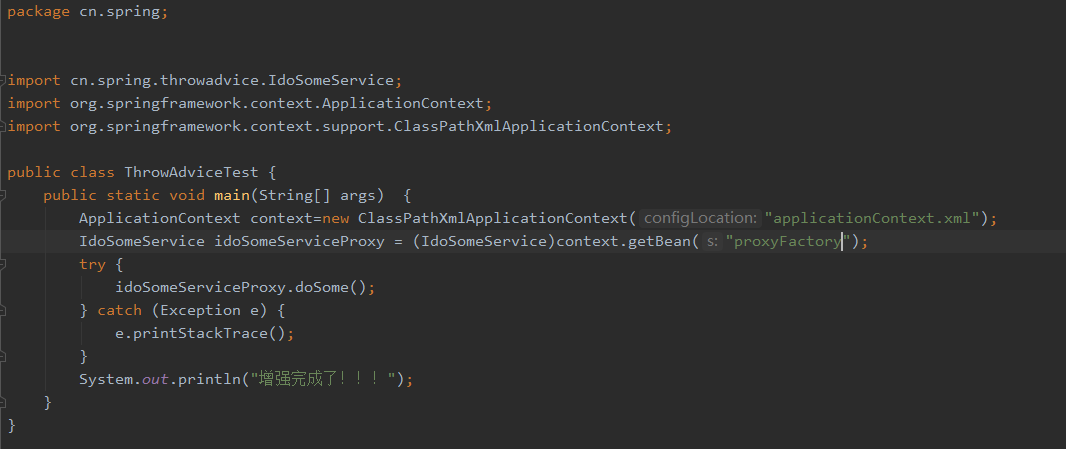
5、测试类
6、控制台

四、最终增强
1、IdoSomeService
2、IdoSomeServiceImpl类实现IdoSomeService接口
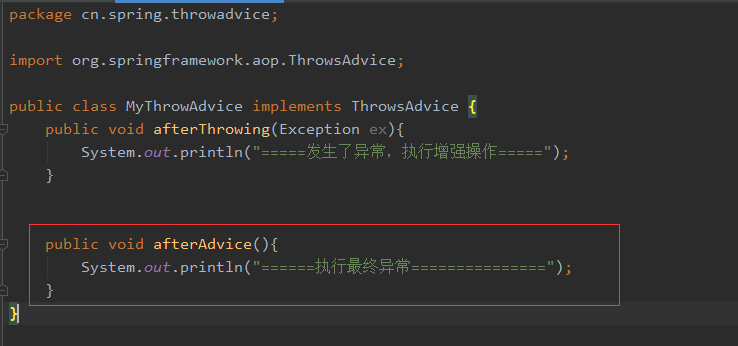
3、MyThrowAdvice实现最终增强
4、applicationContext.xml配置文件
<!--最终增强实现-->

    <!--注入业务Bean-->

    <bean id="idoSomeService4" class="cn.spring.throwadvice.IdoSomeServiceImpl"></bean>

    <!--增强:切面-->

    <bean id="myThrowAdvice1" class="cn.spring.throwadvice.MyThrowAdvice"></bean>

    <aop:config>

        <aop:pointcut id="pointcut" expression="execution(* *..throwadvice.*.*(..))"/>

        <aop:aspect ref="myThrowAdvice1">

            <aop:after-throwing method="afterThrowing" throwing="ex" pointcut-ref="pointcut"></aop:after-throwing>

            <aop:after method="afterAdvice" pointcut-ref="pointcut"></aop:after>

        </aop:aspect>

    </aop:config>
5、测试类
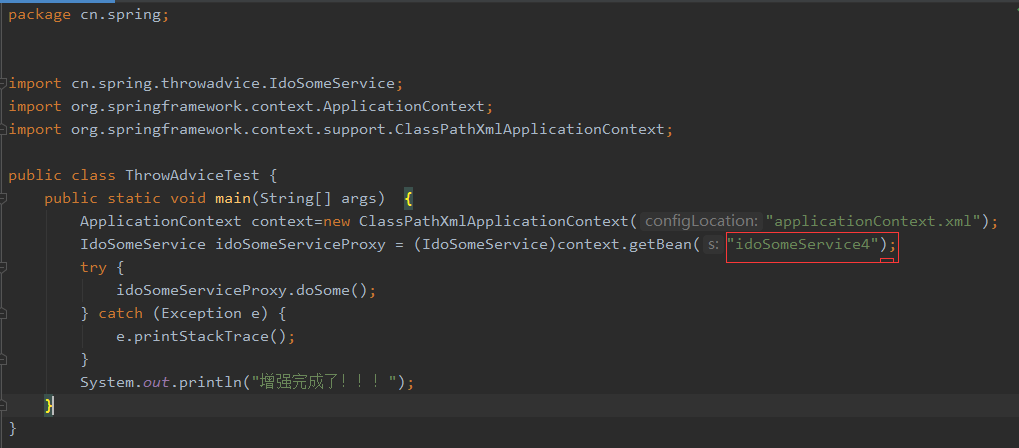
6、控制台

Spring的增强模式的更多相关文章
- Spring4.1新特性——Spring MVC增强
目录 Spring4.1新特性——综述 Spring4.1新特性——Spring核心部分及其他 Spring4.1新特性——Spring缓存框架增强 Spring4.1新特性——异步调用和事件机制的异 ...
- spring通过工厂模式解决页面耦合问题
spring通过工厂模式解决页面耦合问题
- hyper-v安装虚拟机ubuntu 18.04 64bit后无法使能增强模式怎么办
1.获取脚本来使能增强模式 $ sudo apt-get update $ sudo apt install git $ git clone https://github.com/jterry75/x ...
- 跟Evan学Sprign编程思想 | Spring注解编程模式【译】
Spring注解编程模式 概况 多年来,Spring Framework不断发展对注解.元注解和组合注解的支持. 本文档旨在帮助开发人员(Spring的最终用户以及Spring Framework和S ...
- Spring AOP /代理模式/事务管理/读写分离/多数据源管理
参考文章: http://www.cnblogs.com/MOBIN/p/5597215.html http://www.cnblogs.com/fenglie/articles/4097759.ht ...
- Java进阶知识20 Spring的代理模式
本文知识点(目录): 1.概念 2.代理模式 2.1.静态代理 2.2.动态代理 2.3.Cglib子类代理 1.概念 1.工厂模式 2. 单例模式 代理(Proxy ...
- 基于XML配置的spring aop增强配置和使用
在我的另一篇文章中(http://www.cnblogs.com/anivia/p/5687346.html),通过一个例子介绍了基于注解配置spring增强的方式,那么这篇文章,只是简单的说明,如何 ...
- spring的代理模式
静态代理: 首先定义一个接口,随便写一个方法 定义2个实现接口的方法 (被代理的对象) (代理对象) 需要将接口 定义get set 方法 代理增强的方法 然后实现 输出结果如下: 动态代理(jdk动 ...
- Spring中Template模式与callback的结合使用浅析
Spring不论是与ibatis,还是与Hibernate的结合中,都使用到了Template模式与callback技术,来达到简化代码实现的目的.Template模式也即模板模式,用于对一些不太变化 ...
随机推荐
- Python内置装饰器@property
在<Python装饰器(Decorators )>一文中介绍了python装饰器的概念,日常写代码时有一个装饰器很常见,他就是内置的@property. 我们一步步的来接近这个概念. 一个 ...
- MYSQL5.7 INDEXES之如何使用索引(一)
Most MySQL indexes (PRIMARY KEY, UNIQUE, INDEX, and FULLTEXT) are stored in B-trees. Exceptions: Ind ...
- [Go] 轻量服务器框架基础TCP连接的抽象和封装
对tcp连接部分以及与连接绑定的业务部分进行抽象和封装 主要是对连接的开启关闭和读写进行封装,抽象出接口,使用回调进行具体业务的绑定 zinterface/iconnection.go package ...
- 安装CentOS 6.x报错"Disk sda contains BIOS RAID metadata"解决方法
今天在安装CentOS 6.2的时候,当进到检测硬盘的时候,总是过不去,报错如下: Disk sda contains BIOS RAID metadata, but is not part of a ...
- Spring学习的第二天
第二天总共学习了以下内容: spring中的ioc常用注解: 案例使用xml方式和注解方式实现单表的CRUD操作(但还是需要xml配置文件,并不是纯注解的配置): 改造基于注解的Ioc案例,使用纯注解 ...
- Excel 2003 与 Excel 2007之间有什么不同?
如果您使用Excel 2003已有数年,您可能会意识到使用更多最新版本的Excel(2007.2010.2013或Excel 2016)的人员或组织的数量正在增加.您甚至可能收到了自己的Excel工作 ...
- 【Golang基础】defer执行顺序
defer 执行顺序类似栈的先入后出原则(FILO) 一个defer引发的小坑:打开文件,读取内容,删除文件 // 原始问题代码 func testFun(){ // 打开文件 file, ...
- java全栈项目
文档地址:https://course.7yue.pro/lin/sleeve/ http://talelin.unna.com.cn/ 1.小程序里,我把结构分为三部分:wxml(view).pag ...
- 为什么有的插件安装需要用Vue.use()方法
问题 相信很多人在用Vue使用别人的组件时,会用到 Vue.use() .例如:Vue.use(VueRouter).Vue.use(MintUI).但是用 axios时,就不需要用 Vue.use( ...
- 基于V7的emWin多屏显示方案模板,同时驱动LCD和OLED例程
说明: 1.多屏驱动跟多图层驱动是类似的,可以使用函数GUI_SelectLayer做切换选择. 2.为了避免OLED闪烁问题,创建一个128*64bit的显存空间,然后使用emWin的GUI_TIM ...