
A Deep Dive Into Draggable and DragTarget in Flutter
https://medium.com/flutter-community/a-deep-dive-into-draggable-and-dragtarget-in-flutter-487919f6f1e4
This article is the sixth in a series of articles which take an in-depth look at Flutter’s built in widgets.
In this article, we will look at Draggable and DragTarget.
Exploring Draggable and DragTargets
Draggable and DragTarget allows us drag a widget across screen. First we will look at the basics of Draggables and DragTargets then dive into details of customizing them.
Draggable
A “Draggable” makes a widget movable around the screen. Let’s use a chess knight as our example.

Using a DragTarget to drag a chess knight around
The code for this is relatively straightforward:
Draggable(
  child: WhiteKnight(
    size: 90.0,
  ),
  feedback: WhiteKnight(
    size: 90.0,
  ),
  childWhenDragging: Container(),
),
There are three main parts to the Draggable widget:
- Child: The child parameter is the widget that will be displayed when the draggable is stationary
- Feedback: The feedback is the widget that will be displayed when the widget is being dragged.
- Child When Dragging: The childWhenDragging parameter takes the widget to display in the original place of
childwhen the widget is being dragged.
In the example above,we have a white knight as the child.When the knight is being dragged, we show an empty Container in its place.
Let’s customize the widget
First, let’s change the feedback parameter.
In the example below, we change the feedback parameter to a white bishop. Now, when the widget is not being dragged, a white knight is shown however as you start dragging, our bishop is shown.
Draggable(
  child: WhiteKnight(
    size: 90.0,
  ),
  feedback: WhiteBishop(
    size: 90.0,
  ),
  childWhenDragging: Container(),
),
Result of the above code:
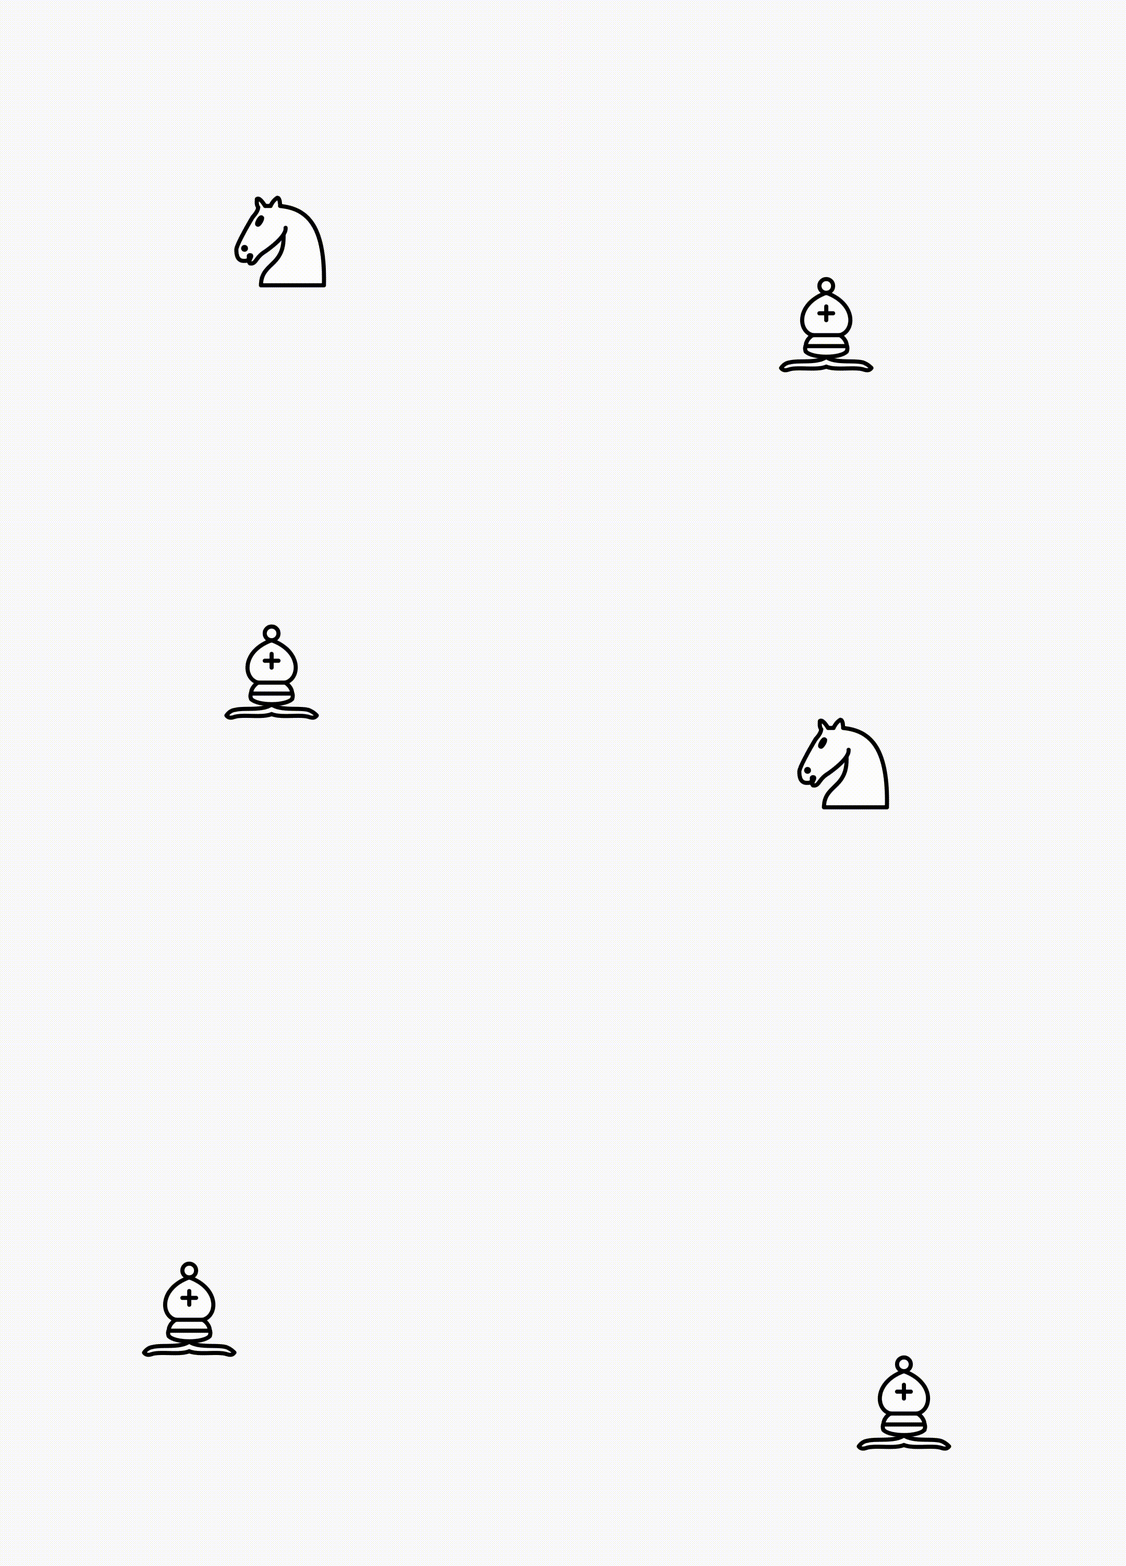
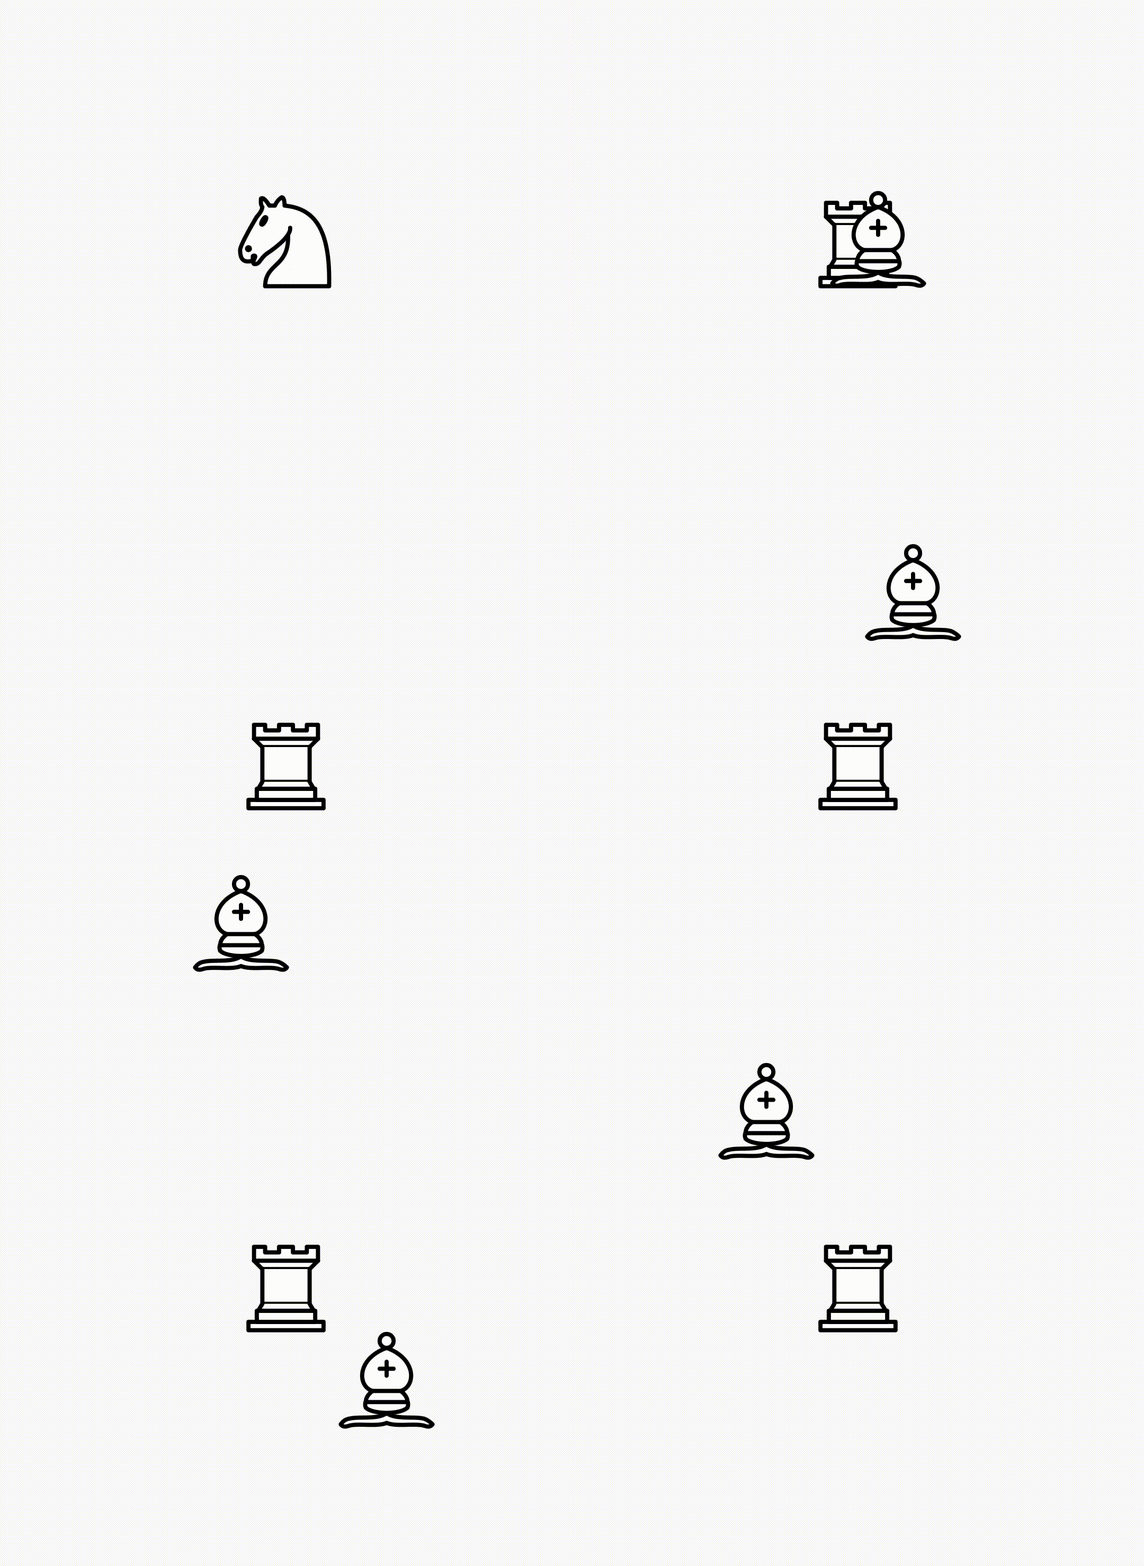
Now let’s move on to the third parameter, childWhenDragging. This takes a widget to be displayed in the original position of child as the widget is being dragged.
We’ll display a white rook when the widget is being dragged:
Draggable(
  child: WhiteKnight(
    size: 90.0,
  ),
  feedback: WhiteBishop(
    size: 90.0,
  ),
  childWhenDragging: WhiteRook(
    size: 90.0,
  ),
),
This becomes:
Restricting motion for Draggables
Setting the axis parameter helps us restrict motion in one dimension only.
Axis.horizontal makes the feedback widget on,y move in the horizontal axis.
Draggable(
  axis: Axis.horizontal,
  child: WhiteKnight(
    size: 90.0,
  ),
  feedback: WhiteBishop(
    size: 90.0,
  ),
  childWhenDragging: Container(),
),

Similarly, we also have Axis.vertical for vertical movement.
Adding data to Draggable
Data can be attached to a Draggable. This is useful to us since we use Draggables and DragTargets.
Considering our example, if we were to have multiple chess pieces, each piece would need to have unique data associated with it. Pieces would need properties such as color (White, Black) and type (ie: Rook, Bishop, Knight).
Below shows an example of how data can be attached to a Draggable for use with DragTarget.
We will take a look at this more in-depth in the DragTarget section.
Draggable(
  child: WhiteKnight(
    size: 90.0,
  ),
  feedback: WhiteKnight(
    size: 90.0,
  ),
  childWhenDragging: Container(),
  data: [
    "White",
    "Knight"
  ],
),
Callbacks
The draggable widget supplies callbacks for actions on the widget.
These callbacks are:
onDragStarted : This is called when a drag is started on a widget.
onDragCompleted : When a draggable is dragged to a DragTarget and accepted, this callback is called. We will look atDragTarget is in the next section.
onDragCancelled : When a draggable does not reach a DragTarget or is rejected, this callback is fired.
DragTarget
While a Draggable allows a widget to be dragged, a DragTarget provides a destination for the draggable.
For example, in chess, a chess piece is a draggable whereas a square box on the chessboard is a drag target.
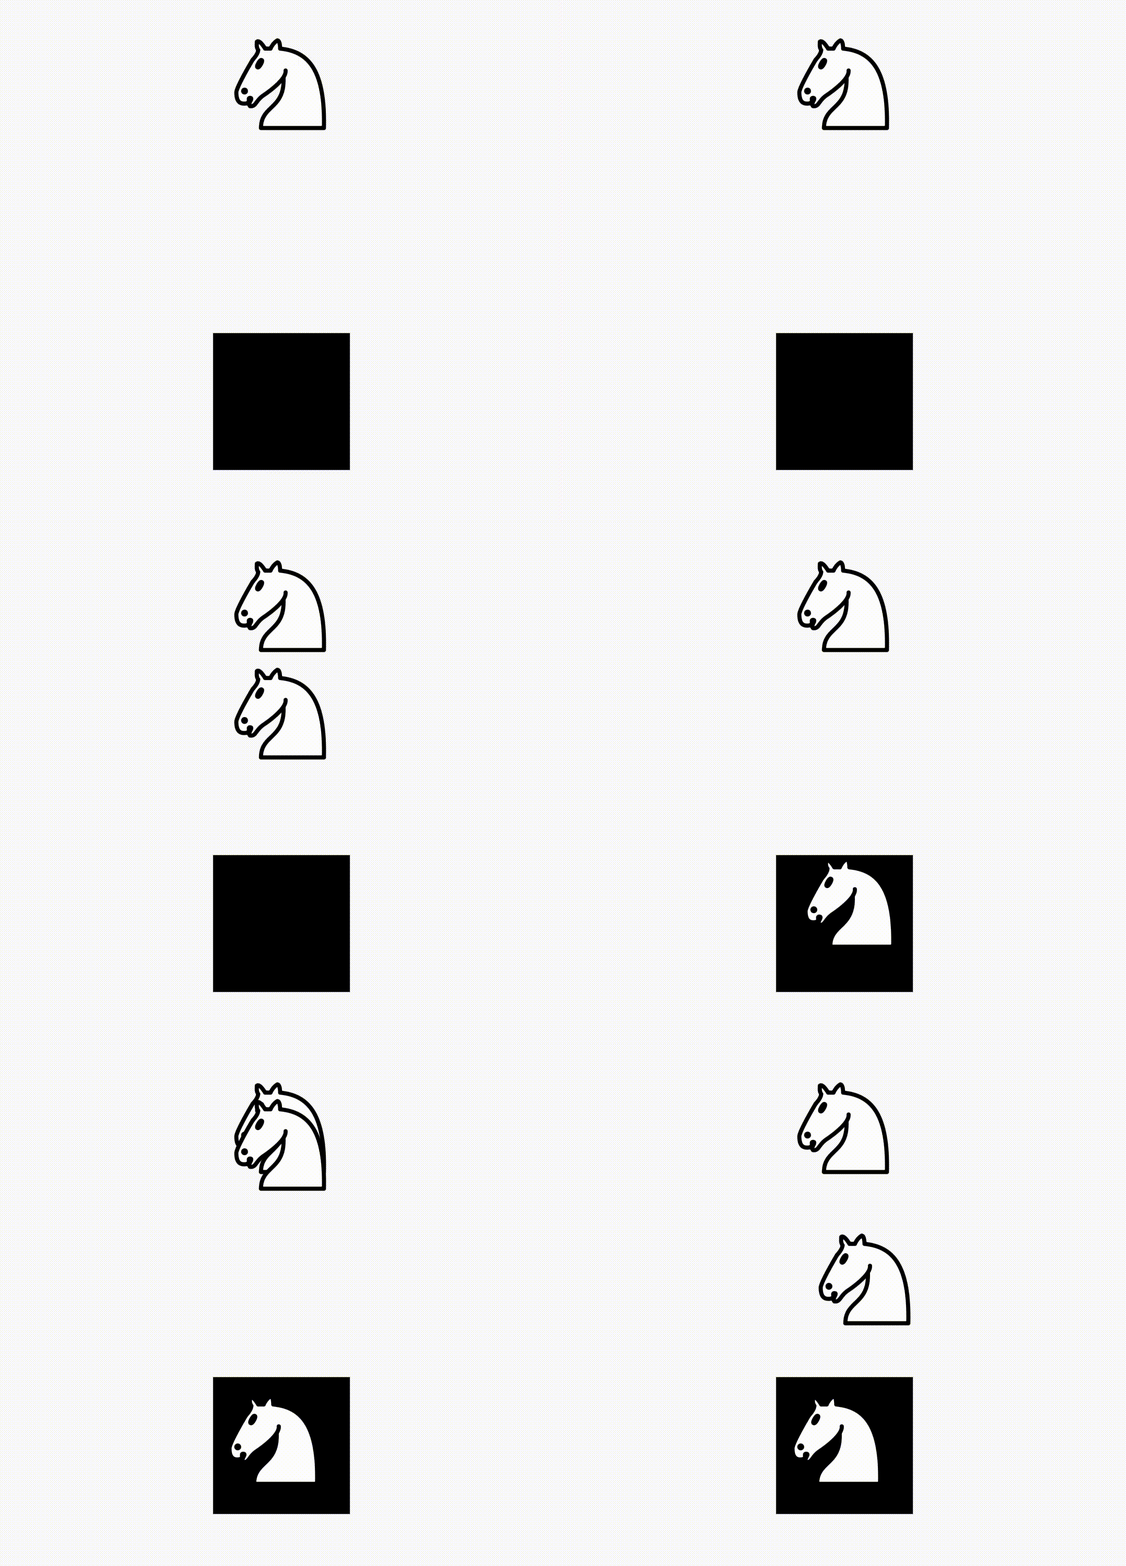
Here, the knight is accepted by the DragTarget.
The code for this example goes:
bool accepted = false;
DragTarget(builder: (context, List<String> candidateData, rejectedData) {
  return accepted ? WhiteKnight(size: 90.0,) : Container();
}, onWillAccept: (data) {
  return true;
}, onAccept: (data) {
   accepted = true;
},),
NB: The DragTarget is surrounded by a black colored container which is not shown in the code for brevity.
Let’s look at the parameters of the DragTarget in more detail.
Note: The “data” in the following sections refers to the data parameter of the Draggable.
Builder
The builder builds the actual widget inside the DragTarget. This function is called every time a Draggable is hovered over the DragTarget or is dropped onto it.
This function has three parameters, context, candidateData and rejectedData.
candidateData is the data of a Draggable whilst it is hovering over the DragTarget, ready for acceptance by DragTarget.
rejectedData is the data of a Draggable hovering over a DragTarget at moment it is not accepted.
Note that both of these are dealing with Draggables which are hovering over the DragTarget. At this point, they are not dropped onto it yet.
Now, how does the DragTarget know what to accept?
onWillAccept
onWillAccept is a function which gives us the Draggable data for us to decide whether to accept or reject it.
This is where the data we attached onto the Draggable becomes important. We use the data passed to accept or reject specific Draggables.
For example if our Draggable is:
Draggable(
  data: "Knight",
  // ...
),
then we can do:
DragTarget(
  // ...
  onWillAccept: (data) {
    if(data == "Knight") {
      return true;
    } else {
      return false;
    }
  },
),
This will only accept the Draggable if the data is “Knight”.
This function is called when the Draggable is first hovered over the DragTarget.
onAccept
If the Draggable is dropped onto the DragTarget and onWillAccept returns true, then onAccept is called.
onAccept also gives us the data of the Draggable and is usually used for storing the Draggable dropped over DragTarget.
onLeave
This was not implemented in the example. onLeave is called when a Draggable is hovered over the DragTarget and leaves without being dropped.
A Demo
Let’s create a simple demo app where the user is given a number and they are required to sort it as either “even” or “odd’. Depending on the choice, we will then display a message stating whether the choice is correct or wrong.
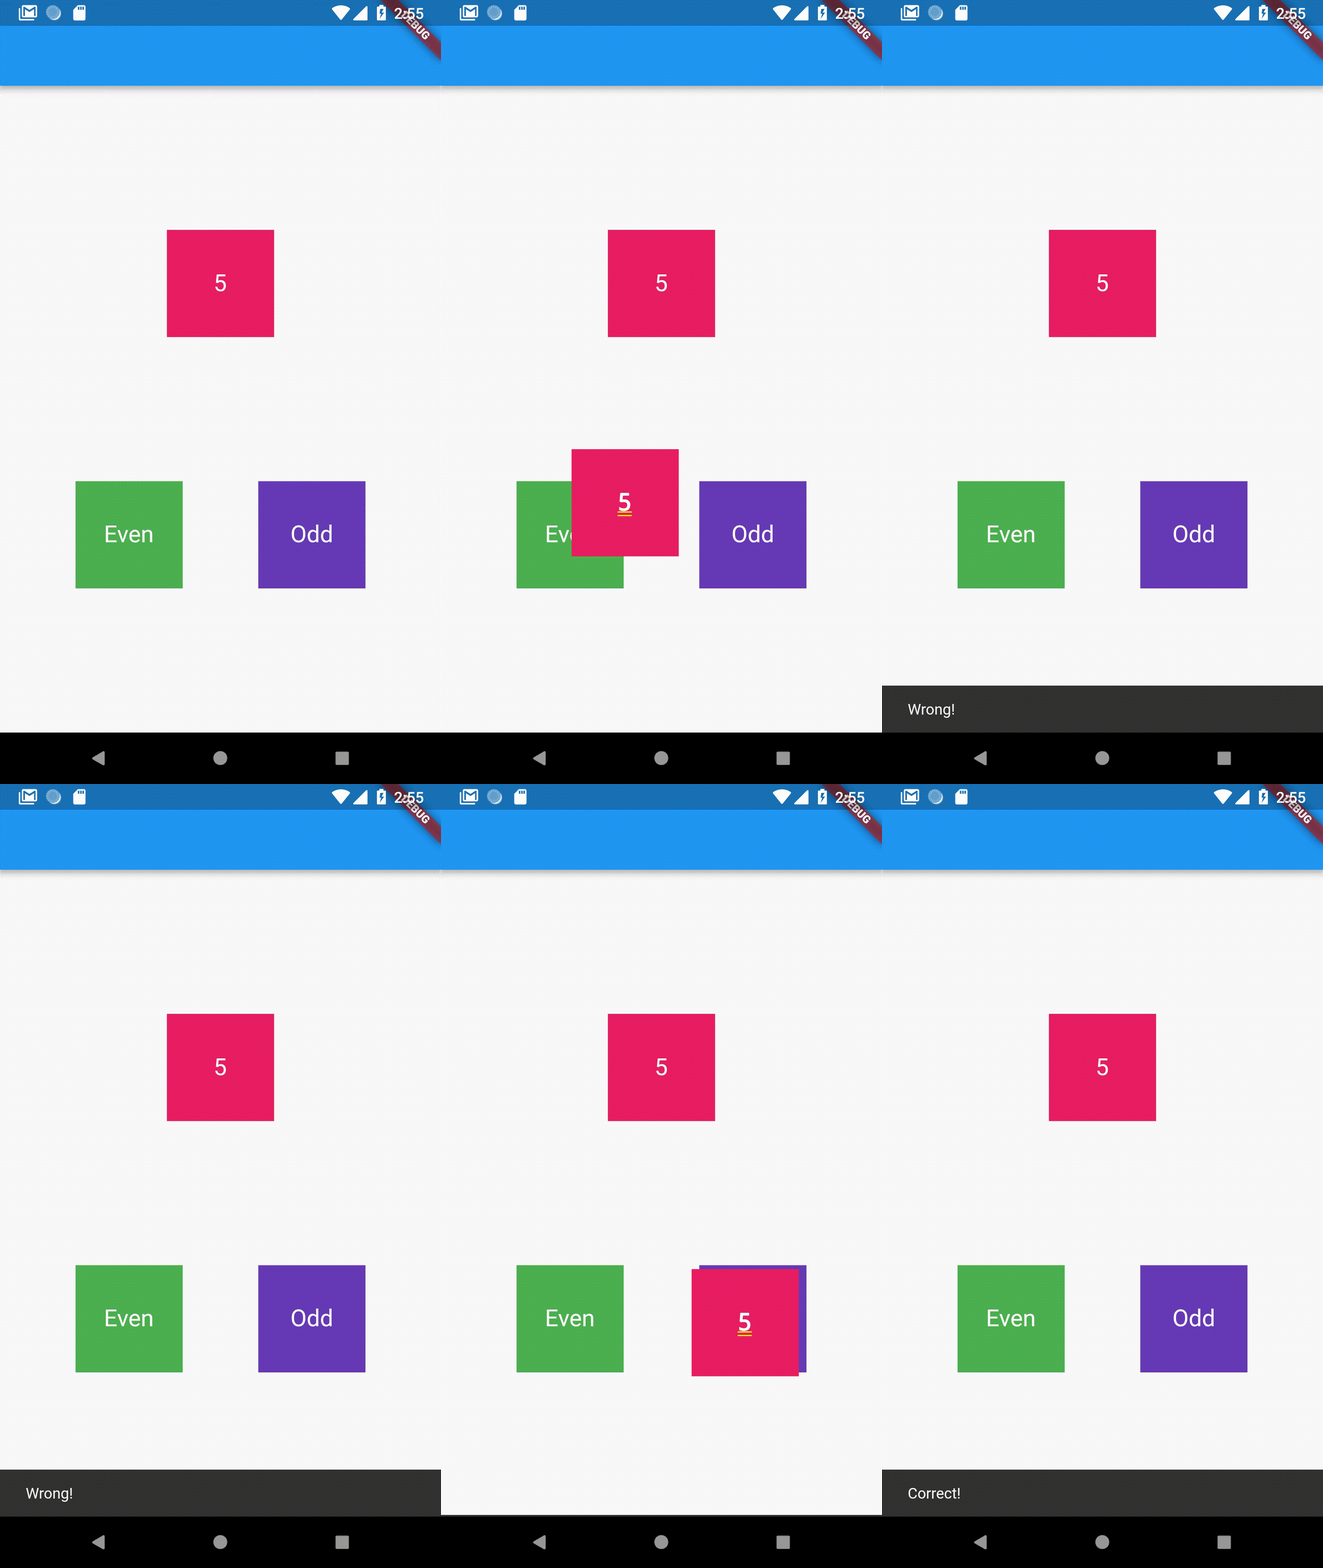
Source code:
A few more things
Draggable customisations
Draggable gives us a few more customizations.
One such customization is maxSimultaneousDrags. Multi-touch devicesare able to drag the same Draggable with two or more pointers and hence we can have multiple feedback on screen. For instance if the user is using a second finger to drag a child while one drag is already progress, we receive two feedback widgets at the same time.
maxSimultaneousDrags lets us decide the maximum number of times a draggable can be dragged at one time.
The feedbackOffset property also lets us set the offset of the feedback widget that displays on the screen.
Common error: DragTarget not accepting data
In the builder function, consider giving a type to the parameter candidateData. It returns a List by default, so if the data you’re passing is a string, the type would be List<String>.
builder: (context, List<String> candidateData, rejectedData) {
  // ...
}
This solves a few type errors that occasionally comes up when passing data.
A more complete real-world example using Draggable and DragTarget
Sometime ago, I wrote a complete chessboard package using Draggables and DragTargets.
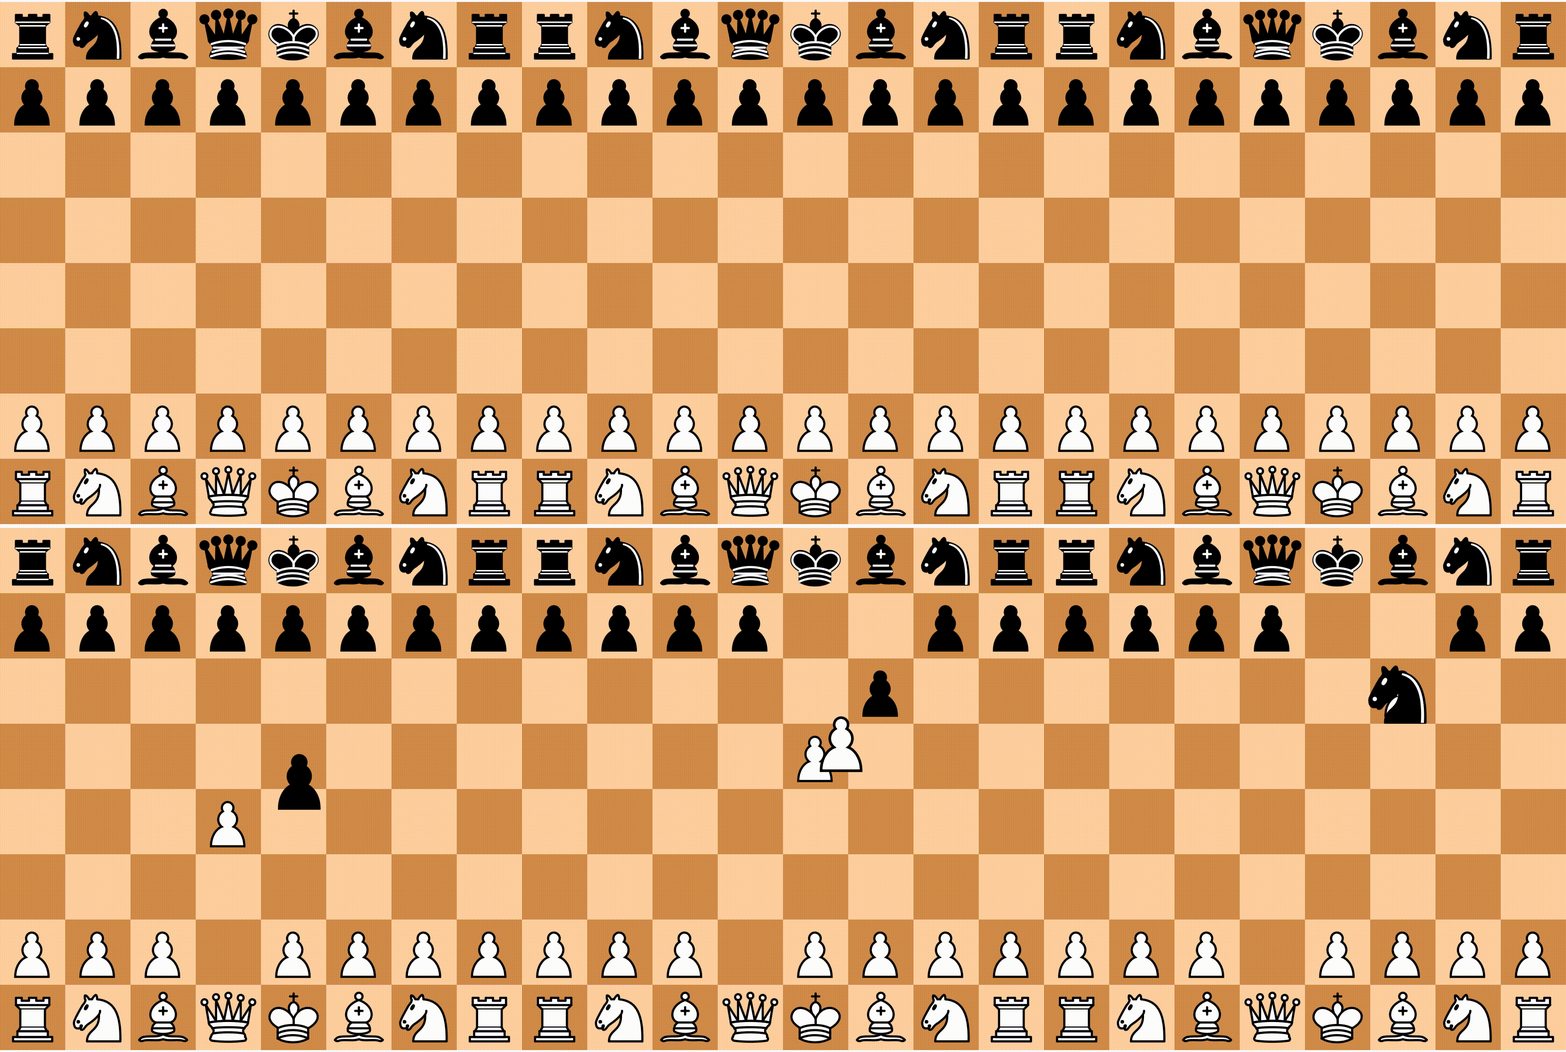
For the complete source code, you can check it out here.
Note: There is an update coming up to the package which includes a better architecture for the package, more boards, etc.
I used the chess_vectors_flutter package for the examples on this article.
A Deep Dive Into Draggable and DragTarget in Flutter的更多相关文章
- Deep Dive into Spark SQL’s Catalyst Optimizer(中英双语)
文章标题 Deep Dive into Spark SQL’s Catalyst Optimizer 作者介绍 Michael Armbrust, Yin Huai, Cheng Liang, Rey ...
- X64 Deep Dive
zhuan http://www.codemachine.com/article_x64deepdive.html X64 Deep Dive This tutorial discusses some ...
- 《Docker Deep Dive》Note - Docker 引擎
<Docker Deep Dive>Note Docker 引擎 1. 概览 graph TB A(Docker client) --- B(daemon) subgraph Docker ...
- 《Docker Deep Dive》Note - 纵观 Docker
<Docker Deep Dive>Note 由于GFW的隔离,国内拉取镜像会报TLS handshake timeout的错误:需要配置 registry-mirrors 为国内源解决这 ...
- Deep Dive into Neo4j 3.5 Full Text Search
In this blog we will go over the Full Text Search capabilities available in the latest major release ...
- 重磅解读:K8s Cluster Autoscaler模块及对应华为云插件Deep Dive
摘要:本文将解密K8s Cluster Autoscaler模块的架构和代码的Deep Dive,及K8s Cluster Autoscaler 华为云插件. 背景信息 基于业务团队(Cloud BU ...
- vue3 deep dive
vue3 deep dive vue core vnode vue core render / mount / patch refs https://www.vuemastery.com/course ...
- Flutter: Draggable和DragTarget 可拖动小部件
API class _MyHomeState extends State<MyHome> { List<Map<String, String>> _data1 = ...
- SQL optimizer -Query Optimizer Deep Dive
refer: http://sqlblog.com/blogs/paul_white/archive/2012/04/28/query-optimizer-deep-dive-part-1.aspx ...
随机推荐
- Win7下如何使用tracert命令查看网络状况?
大家平时在访问的网站中,是不是有一些网站访问速度很快,而有些网站却访问的很慢呢?甚至有些网站无法访问.那你们知道该怎么判断这些网站的访问速度呢?不知道的话,那就使用Windows的tracert命令来 ...
- window.showModelessDialog传值
参数传递:1. 要想对话框传递参数,是通过vArguments来进行传递的.类型不限制,对于字符串类型,最大为4096个字符.也可以传递对象,例如:------------------------ ...
- .Net Core NOPI操作word(二) 表格操作
一.创建表格操作 private void btnExport_Click(object sender, EventArgs e) { var dbcontext = new BlogModel(); ...
- OpenGL的核心模式与立即渲染模式
早期的OpenGL使用立即渲染模式(Immediate mode,也就是固定渲染管线),这个模式下绘制图形很方便.OpenGL的大多数功能都被库隐藏起来,开发者很少能控制OpenGL如何进行计算的自由 ...
- 科研黑帮 | Molecular Genetic Anatomy and Risk Profile of Hirschsprung’s Disease
PNAS又来一篇:Gene- and tissue-level interactions in normal gastrointestinal development and Hirschsprung ...
- 【转】PostgreSQL与MySQL比较
转自:https://www.cnblogs.com/geekmao/p/8541817.html PostgreSQL与MySQL比较 特性 MySQL PostgreSQL 实例 通过执行 M ...
- springboot放到linux启动报错:The temporary upload location [/tmp/tomcat.8524616412347407692.8111/work/Tomcat/localhost/ROOT/asset] is not valid
1.背景 笔者的springboot在一个非root用户环境下运行,这种环境下可以保证不被潜在的jar/开源框架漏洞提权. 比如在防火墙上把外网访问来的443端口映射到本地8443的java web端 ...
- 工控随笔_C#连接PLC_之_C#入门_02_程序性结构和注释
前段时间看C#本质论,发现内容有点抽象,不适合入门,现在换了一本适合入门的书籍: C#图解教程. //引用命名空间,命名空间相当于一个容器,通过不同的容器来区分同名的内容 //System命名空间是. ...
- Docker容器部署Mysql数据库服务器
本节会用到的Docker命令如下: docker images 查看mysql镜像id docker run -d -p xxxxxxxxxxxxxxx/zhufc/mysql:v2 通过镜像生成 启 ...
- 问题解决: 此文件来自其他计算机,可能被阻止以帮助保护该计算机/WORD在试图打开文件时遇到错误……
最近,在打开下载的office文档(包括word.excel.ppt等)时候,总是无法直接打开,错误提示如下: 无论是邮件中的还是别的网站下载的,均提示该错误.后来搜索相关资料发现,修改其文件属性即可 ...