07Axios
详情:https://pizzali.github.io/2018/10/30/Axios/
JQuery时代,我们使用ajax向后台提交数据请求,Vue时代,Axios提供了前端对后台数据请求的各种方式。
1. 什么是Axios
Axios是基于Promise的Http客户端,可以在浏览器和node.js中使用。
2.为什么使用Axios
Axios非常适合前后端数据交互,另一种请求后端数据的方式是vue-resource,vue-resource已经不再更新了,且只支持浏览器端使用,而Axios同时支持浏览器和Node端使用Vue开发者推荐使用更好的第三方工具,这就是Axios,详细的文件,请参考Evan You的这篇文章。 3. 安装
3.Axios的安装 支持多种方式
3.1npm安装 : npm install axios
cdn
<script src="https://cdn.bootcss.com/axios/0.18.0/axios.min.js"></script>
使用方式介绍 :接下来,我们使用Django,搭建一个后台程序,并使用Vue Cli搭建一个前端程序,使用Axios进行前后端数据交互。
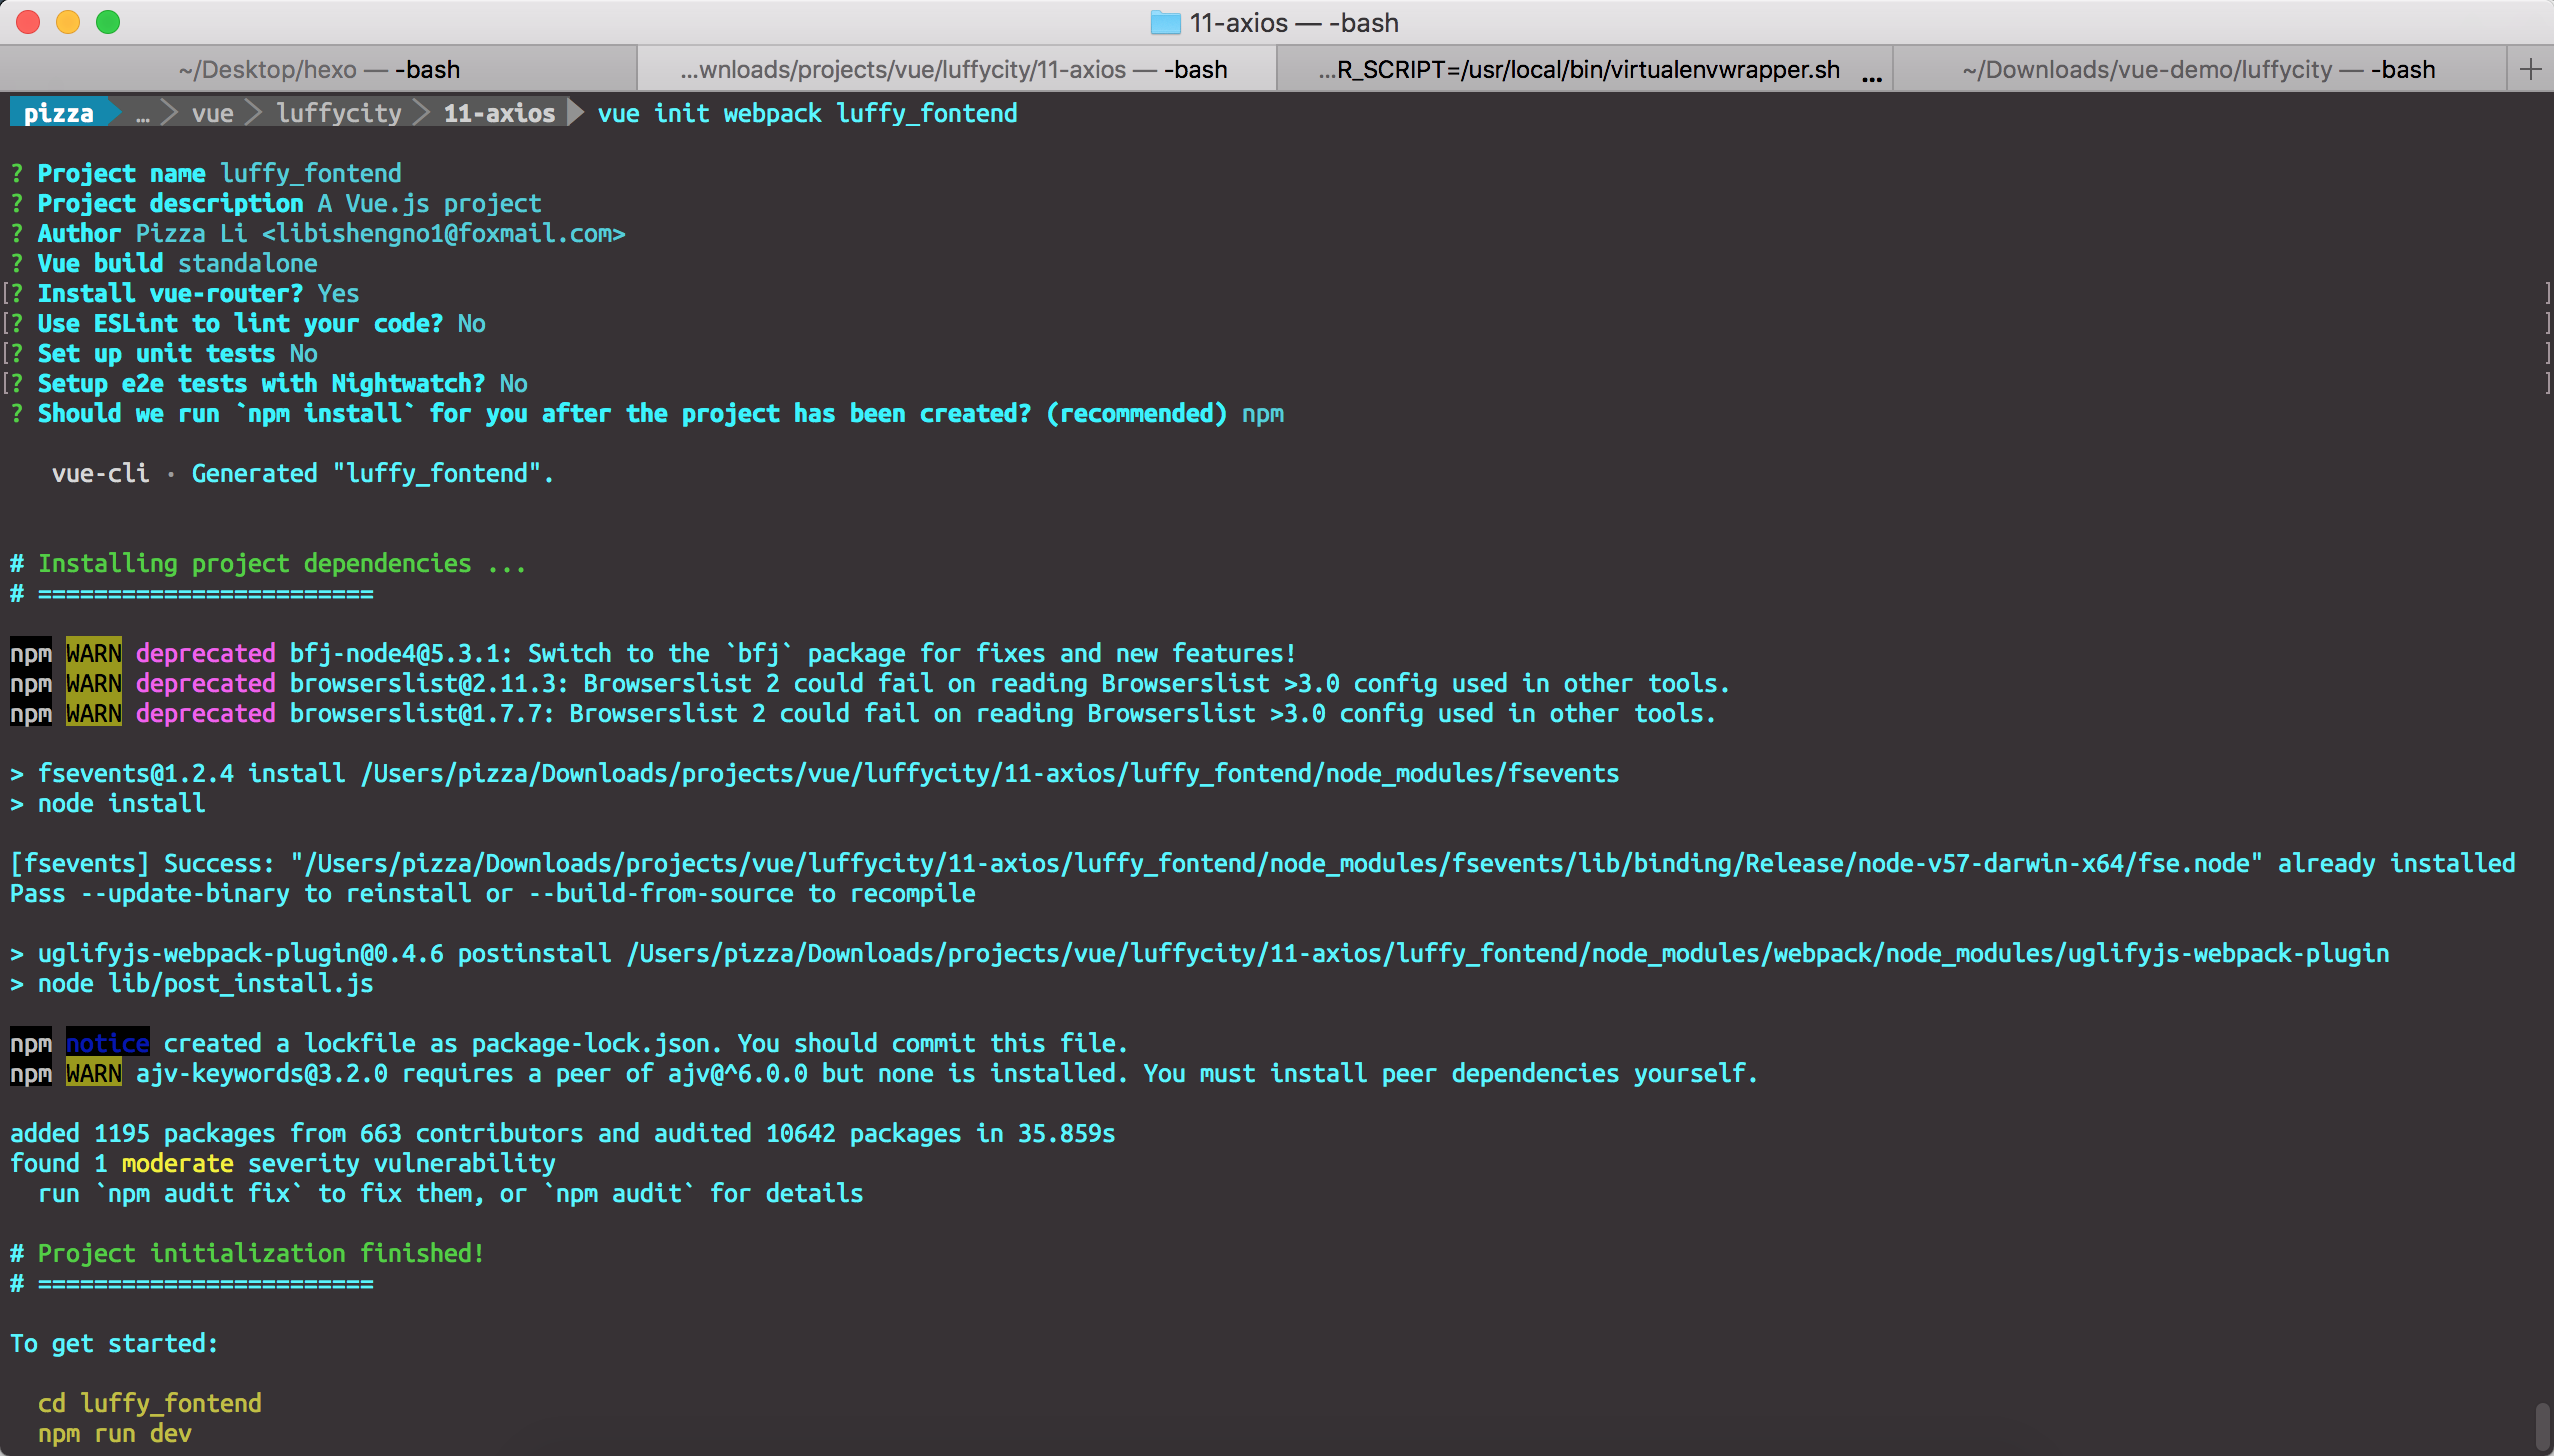
使用Vue Cli创建一个前端程序
vue init webpack luffy_fontend
使用Django创建一个后端程序luffy_backend
django-admin startproject luffy_backend
创建一个courses应用
cd luffy_backend

python manage.py startapp courses
在models.py中创建两个类
from django.db import models

# Create your models here.

class Courses(models.Model):

    course_name = models.CharField(max_length=32)

    course_price = models.IntegerField()

    course_teacher = models.CharField(max_length=16)

    start_date = models.DateField(auto_now=True, null=False)

    end_date = models.DateField(auto_now=True, null=False)

    def __str__(self):

        return self.course_name

class Students(models.Model):

    student_name = models.CharField(max_length=16)

    student_id = models.IntegerField()

    student_phone = models.IntegerField()

    student_address = models.CharField(max_length=128)
插入数据
1 |
// courses_courses |
在views.py中写好接口
1 |
from django.shortcuts import render, HttpResponse |
定义接口:
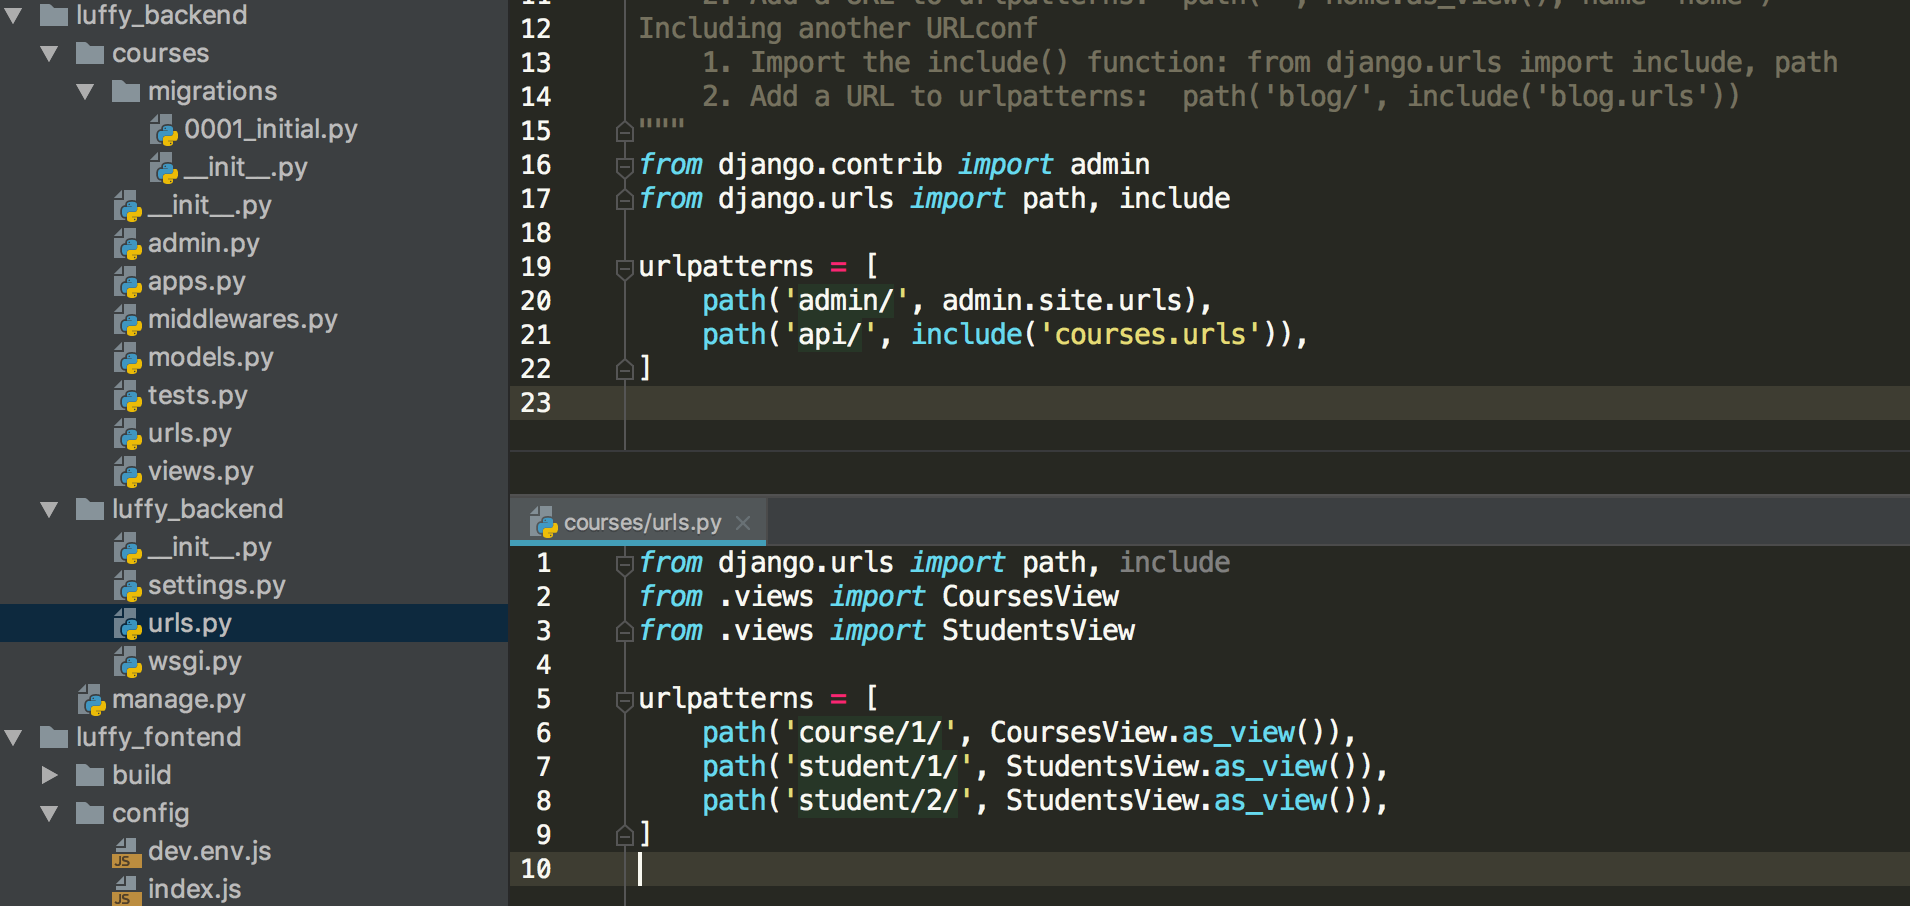
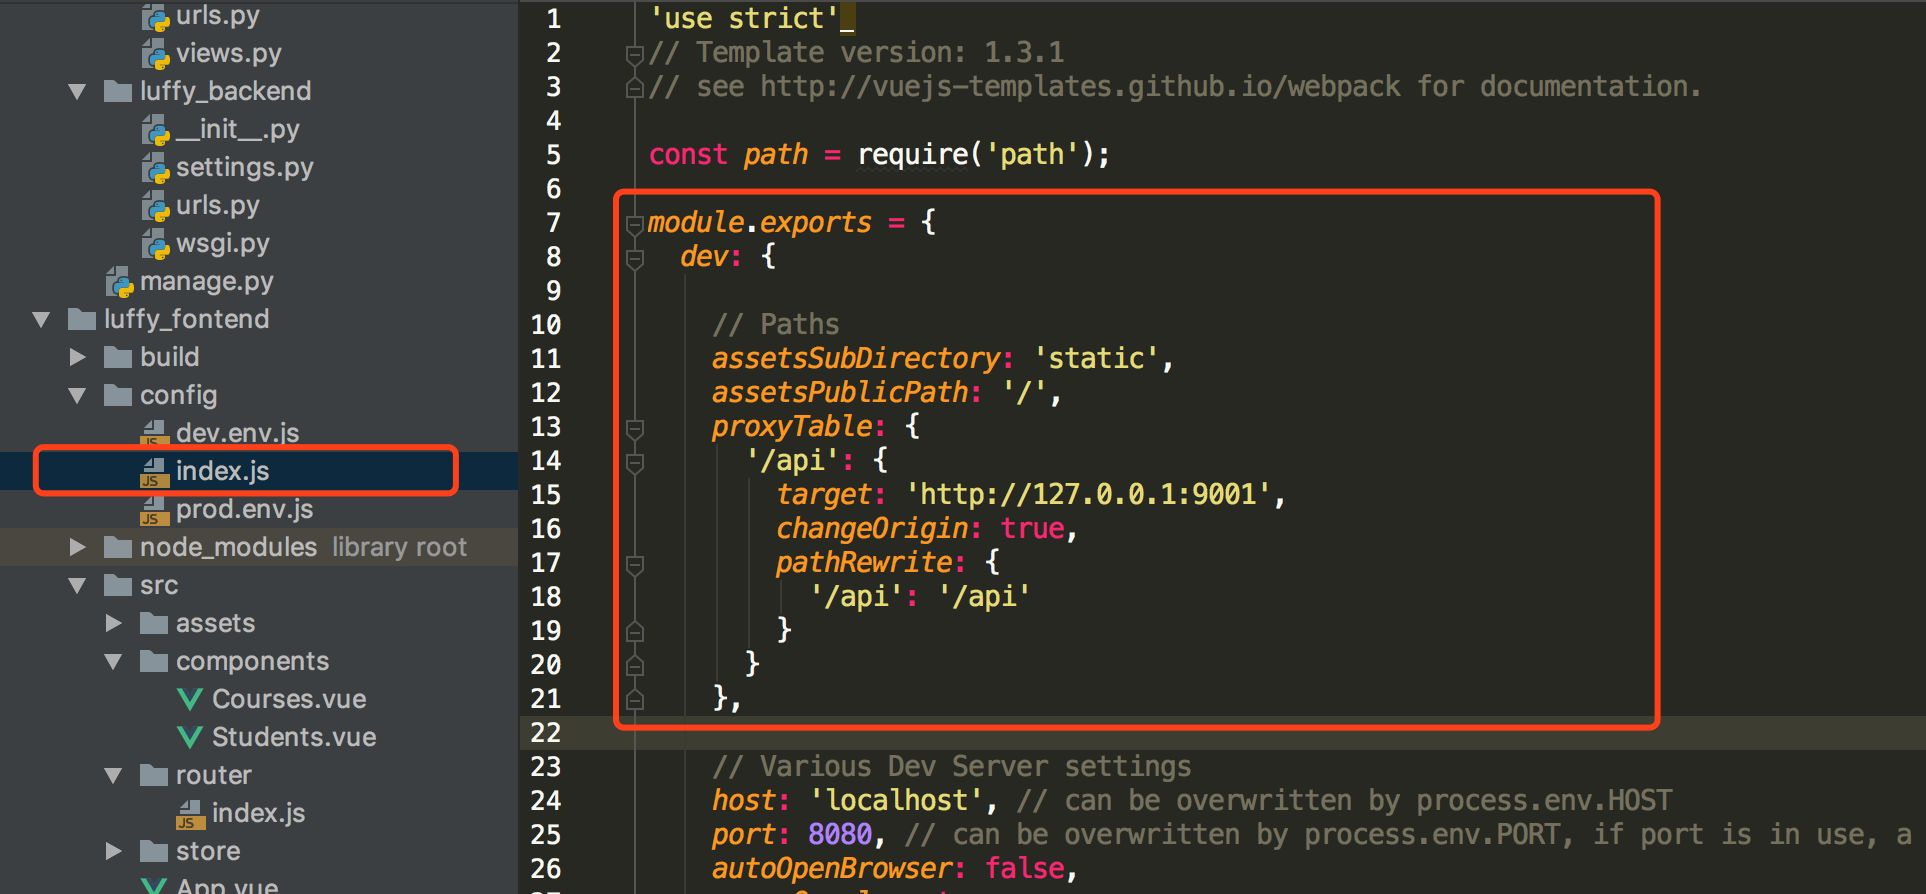
配置后台接口
注意,修改配置文件后,需要重启前端服务器。
在Vue Cli中使用axios
// The Vue build version to load with the `import` command

// (runtime-only or standalone) has been set in webpack.base.conf with an alias.

import Vue from 'vue'

import App from './App'

import router from './router'

import store from './store'

import axios from "axios"

Vue.prototype.$axios = axios;

Vue.config.productionTip = false;

new Vue({

  el: '#app',

  router,

  template: '<App></App>',

  components: {

    App

  },

  store: store

});
获取课程信息
<template>

  <div>

    <span>这是课程详情页面</span>

    <button @click="getCourses">点击获取全部课程</button>

    <div v-if="isShow">

      <table border="1">

        <thead>

          <tr>

            <th>课程名称</th>

            <th>课程价格</th>

            <th>授课老师</th>

            <th>开课日期</th>

            <th>结课日期</th>

          </tr>

        </thead>

        <tbody>

          <tr v-for="(course, index) in courses" :key="index">

            <td>{{ course.course_name }}</td>

            <td>{{ course.course_price }}</td>

            <td>{{ course.course_teacher }}</td>

            <td>{{ course.start_date }}</td>

            <td>{{ course.end_date }}</td>

          </tr>

        </tbody>

      </table>

    </div>

  </div>

</template>

<script>

  export default {

    name: "Courses",

    data() {

      return {

        isShow: false,

        courses: []

      }

    },

    methods: {

      getCourses: function () {

        let ts = this;

        this.$axios.get('/api/course/1/')

        .then(function (response) {

          ts.isShow = true;

          ts.courses = response.data;

        })

        .catch(function (error) {

          console.log(error);

      });

      }

    }

  }

</script>

<style scoped>

</style>
获取学生信息
<template>

  <div>

    <span>这是学员信息页面</span>

    <button @click="getStudents">点击获取学生信息</button>

    <button @click="changeStudents">点击修改学生信息</button>

    <div v-if="isShow">

      <table border="1">

      <thead>

        <tr>

          <th>学生ID</th>

          <th>学生姓名</th>

          <th>学生电话</th>

          <th>学生地址</th>

        </tr>

      </thead>

      <tbody>

        <tr v-for="(student, index) in students" :key="index">

          <td>{{ student.student_id }}</td>

          <td><input v-model="student.student_name"/></td>

          <td><input v-model="student.student_phone"/></td>

          <td><input v-model="student.student_address"/></td>

        </tr>

      </tbody>

    </table>

    </div>

  </div>

</template>

<script>

  export default {

    name: "Students",

    data() {

      return {

        isShow: false,

        students: []

      }

    },

    methods: {

      getStudents: function () {

        let ts = this;

        this.$axios.get('/api/student/1/')

          .then(function (response) {

            console.log(response);

            ts.isShow = true;

            ts.students = response.data;

          })

          .catch(function (error) {

            console.log(error);

          })

      },

      changeStudents: function () {

        let ts = this;

        this.$axios.post('/api/student/2/', {

          student_name: 1,

          student_id: 100001,

          student_phone: 1347658765,

          student_address: "北京市石景山区智障六中"

        })

          .then(function (response) {

          })

          .catch(function (error) {

            console.log(error);

          })

      }

    }

  }

</script>

<style scoped>

</style>
处理跨域问题
发送post请求时,需要解决跨域问题,我们采用在Django中自定义一个处理跨域问题的中间件来解决这个问题。
from django.utils.deprecation import MiddlewareMixin

class MyCore(MiddlewareMixin):

    def process_response(self, request, response):

        response["Access-Control-Allow-Origin"] = '*'

        if request.method == 'OPTIONS':

            response["Access-Control-Allow-Headers"] = 'Content-Type'

            response["Access-Control-Allow-Methods"] = 'POST, DELETE, PUT'

        return response
07Axios的更多相关文章
随机推荐
- ionic3 Modal组件
Modal组件主要用来弹出一些临时的框,如登录,注册的时候用 弹出页面html页面 <button ion-button small outline color="he" ...
- Fragment与Activity的生命周期对比
因为fragment是依赖于activity的,所以activity的创建相关都是先于fragment的,fragment的销毁相关都是先于activity的.
- QT获取本机IP和Mac地址
#include <QNetworkInterface> #include <QList> void MainWindow::getIPPath() { QString str ...
- 在Windows 10上利用seafile搭建个人云服务
参考seafile官方文档 安装Python 2.7.11 32位版 下载地址:https://www.python.org/downloads/release/python-2711/ 选择 32位 ...
- 关于MongoDB时间格式转换和时间段聚合统计的用法总结
一 . 背景需求 在日常的业务需求中,我们往往会根据时间段来统计数据.例如,统计每小时的下单量:每天的库存变化,这类信息数据对运营管理很重要. 这类数据统计依赖于各个时间维度,年月日.时分秒都有可能. ...
- iOS 限制TextField输入长度(支持删除)
if (textField == _phoneTF) { //支持删除 && ) { return YES; } ) { _phoneTF.text = [textField.text ...
- Task.Wait and “Inlining”
“What does Task.Wait do?” Simple question, right? At a high-level, yes, the method achieves what its ...
- vmware station-ubuntu18.04 共享剪贴板
辞职在家休息,买了台新电脑,装个虚拟机,安装visual studio, android studio, qt, everything, noptepad++,hbuilder,ditto,xx-ne ...
- 第五节 matplotlib库
一.Matplotlib基础知识 1.1Matplotlib中的基本图表包括的元素 x轴和y轴 axis水平和垂直的轴线 x轴和y轴刻度 tick刻度标示坐标轴的分隔,包括最小刻度和最大刻度 x轴和y ...
- JS检测浏览器是否最大化
function isFullScreen (){ if( window.outerHeight === screen.availHeight ){ i ...