Cypress测试工具
参考博客: https://testerhome.com/articles/19035
最近一段时间学习了cypress的测试工具, 她是一个端到端的测试web工具.
环境准备
1.工具:vs code;环境:node.js。
按网上教程安装即可。
2.安装 cypress
cd /your/project/path
npm install cypress --save-dev
3.安装插件:
npm install eslint-plugin-cypress --save-dev
npm install --save-dev eslint-plugin-chai-friendly
##4.配置:
在根目录下创建package.json:
{
  "scripts": {
    "cypress:open": "cypress open"
  },
  "devDependencies": {
    "eslint-plugin-chai-friendly": "^0.4.1",
    "eslint-plugin-cypress": "^2.2.1"
  }
}
在 // my-project/cypress/ 目录下创建 .eslintrc.json:
{
    "plugins": [
      "cypress",
      "chai-friendly"
    ],
    "rules": {
      "no-unused-expressions": 0,
      "chai-friendly/no-unused-expressions": 2
    },
    "env": {
      "cypress/globals": true
    },

        "extends": [
          "plugin:cypress/recommended"
        ]

  }
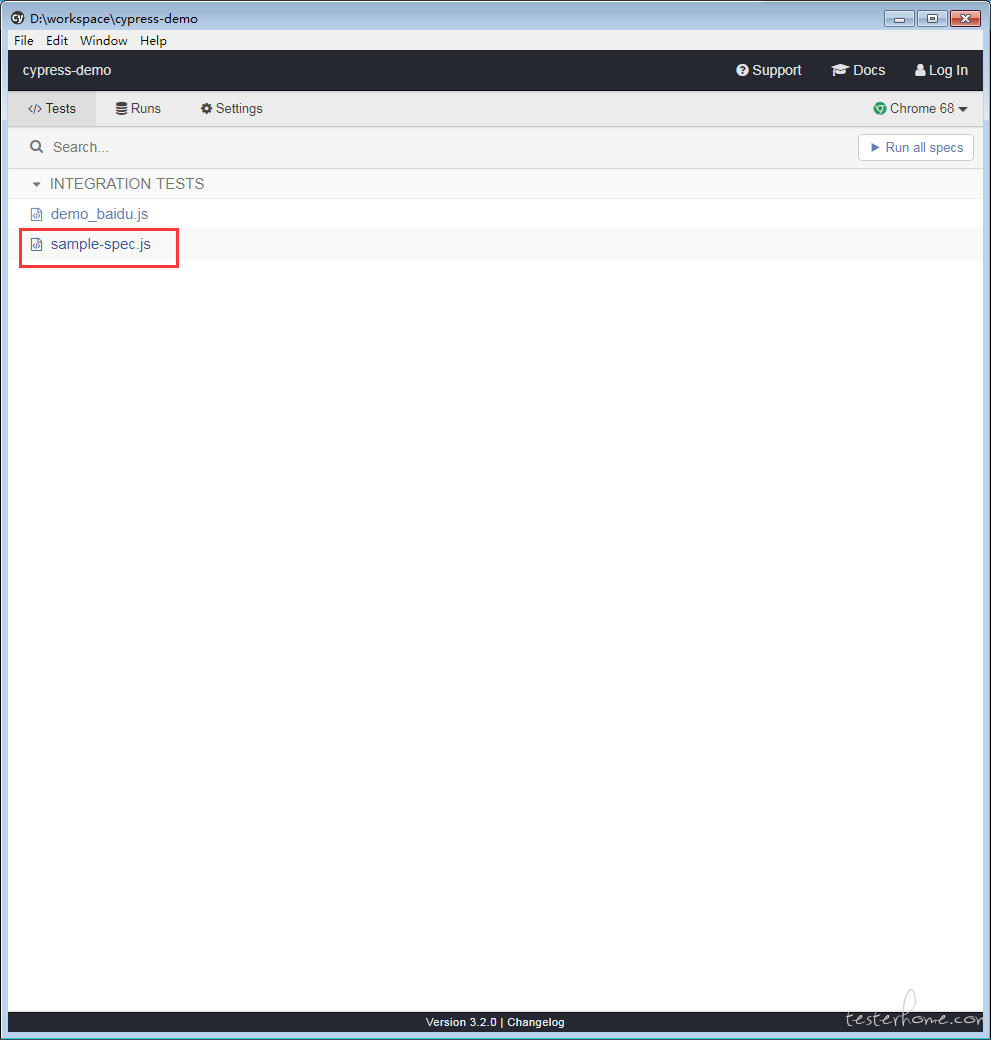
5.启动命令:
npm run cypress:open
helloworld:
your-project/cypress/intgration 目录下新建 sample-spec.js
describe('My first test case for cypress',function(){
    it('Does not match!',function(){
        expect(true).to.equal(true)
    })
})
在 cypress 窗口点击当前用例执行:
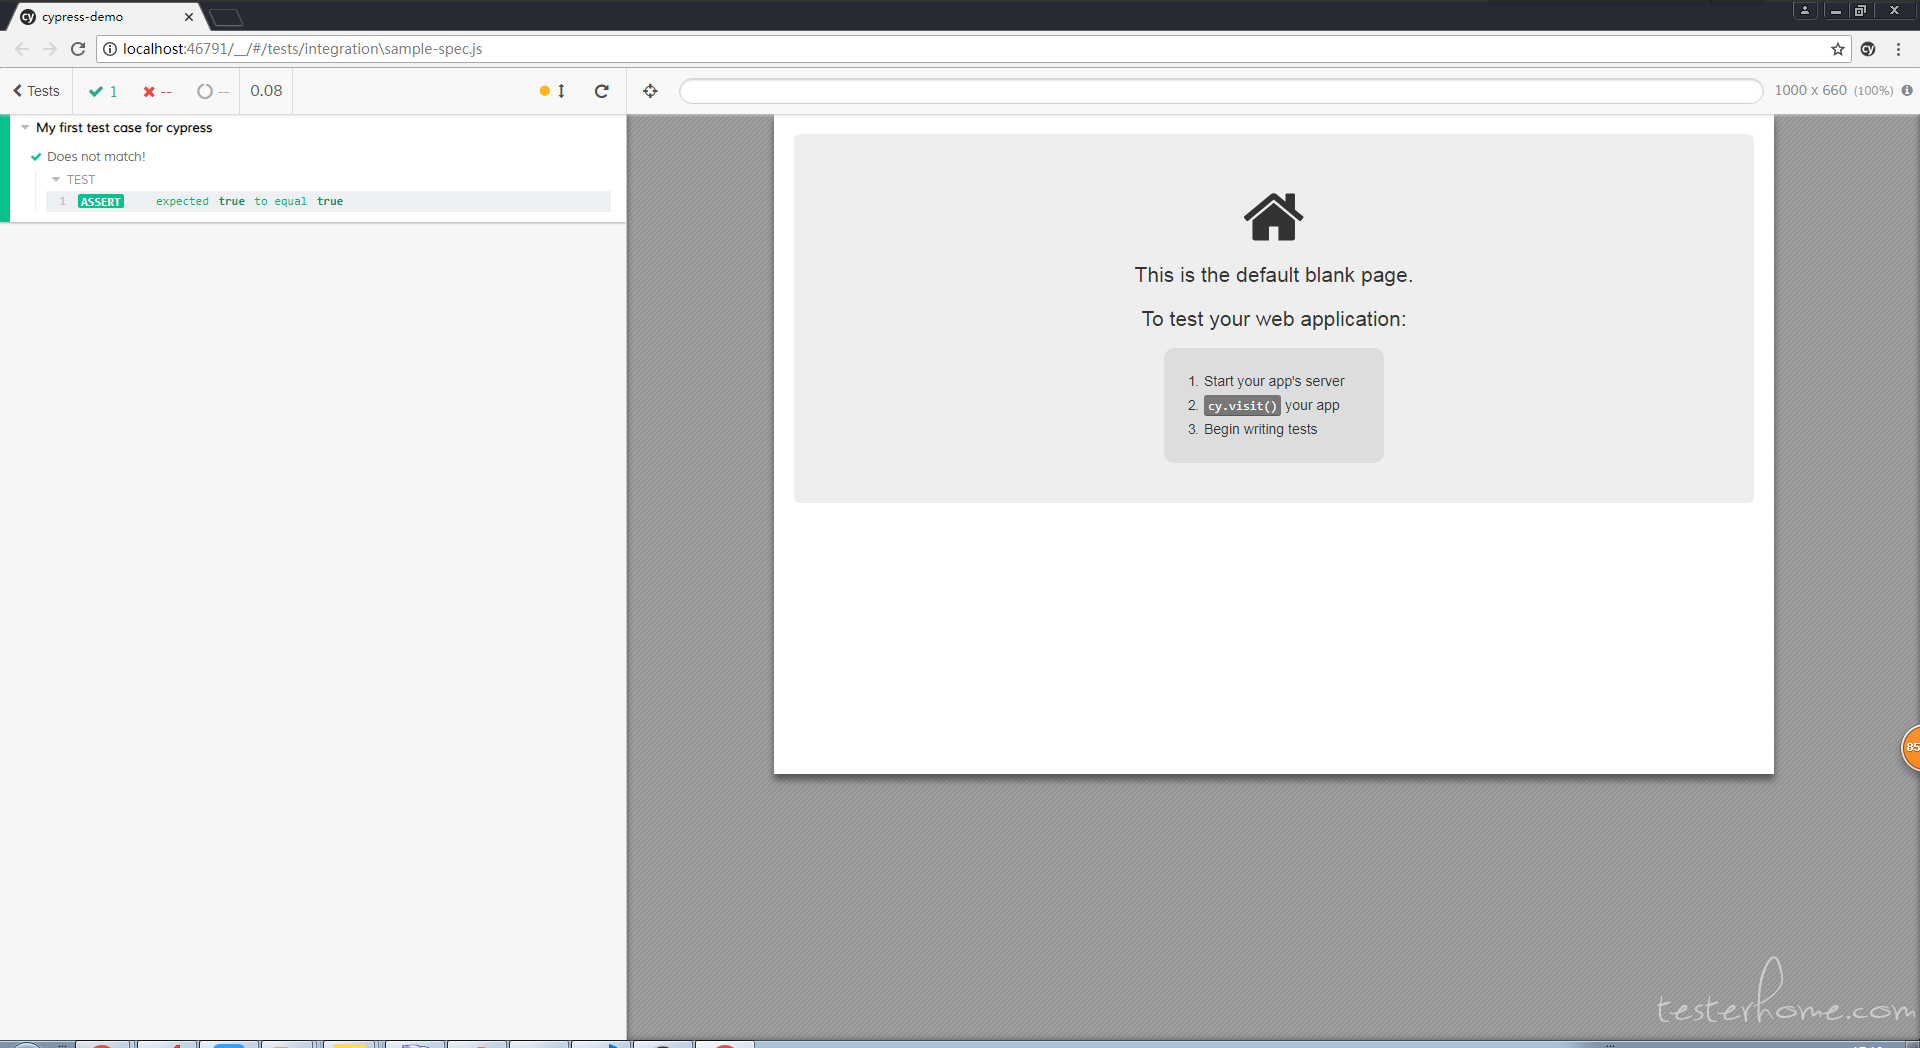
注意在编写用例时,每次保存会自动触发测试,对于调试来说是比较方便的。
第一个用例
访问百度首页并搜索 testerhome:
describe('My first test case for cypress',function(){
    it('visit baidu home page and search for testerhome:',function(){
        cy.visit('http://www.baidu.com') //访问url
        cy.title().should('contain','百度一下,你就知道')   //验证页面 title 是否正确
        cy.get('#kw')      //根据 css 定位搜索输入框
        .type('testerhome')        //输入关键字
        .should('have.value','testerhome')  //验证关键字自动是否展示正确
        cy.get('#su').click()   //根据 css 定位搜索按钮并点击
        cy.url().should('include','wd=testerhome')     //验证目标url 是否正确包含关键字
        cy.title().should('contain','testerhome_百度搜索')  //验证页面 title 是否正确
        cy.get('[id="1"]')
        .should('contain','TesterHome')   // 验证第一个结果中是否包含TesterHome
        cy.screenshot()
    })
})
生成的截图:
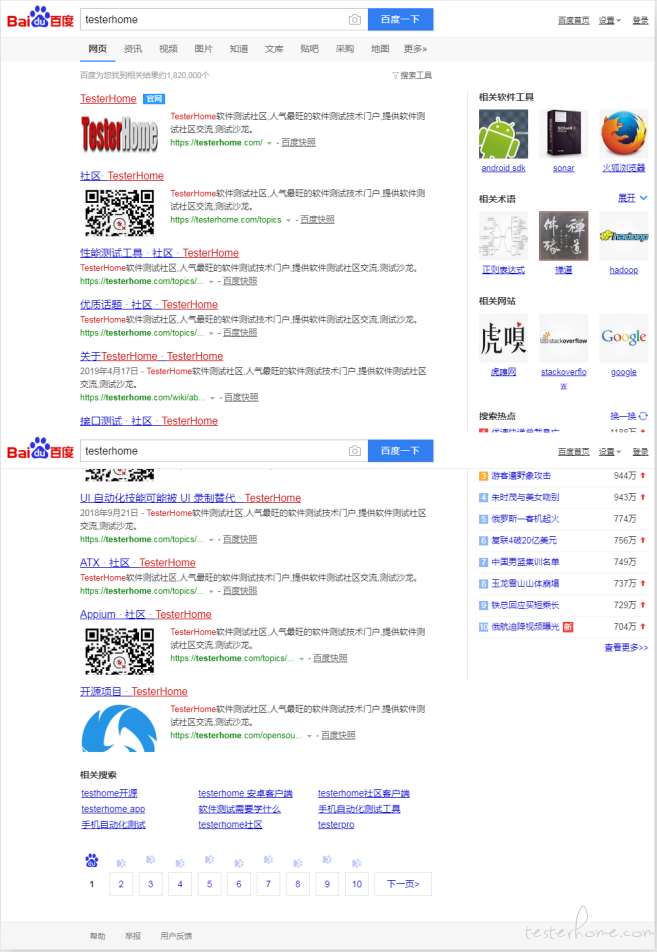
这里有一个比较特别的 snapshot 功能,可以记录下执行过程中的每一步,并可以查看当时的页面(真实的网页,不是图片)
元素定位方式
- get:按 css 或元素特定属性的方式定位元素
- contains:按特定字符串定位元素
使用request 请求进行登录
cypress 推荐在每个用例的登录步骤,不调用 UI ,直接使用 request 登录。下面是一个例子:
describe('My first test case for cypress',function(){
    it('login as admin without UI:',function(){
        const accountTypes = {   // 设置账号类型
            admin:{
                account:'admin',
                password:'123456'
            }
        }

        cy.request({
            url:'http://yourhost/login',
            method:'POST',
            form:true,
            body:accountTypes['admin']      // 使用 admin 账号登录(跳过 UI 的登录)
        })
        cy.visit('/profile')
        cy.url().should('include','profile')     //验证目标url 是否正确
        cy.get('#headerTitle')
        .should('have.text','个人信息')   // 验证是否包含标题 个人信息,
    })
})
提取登录方法为公共方法
Cypress.Commands.add('login', (userType, options = {}) => {
        const accountTypes = {   // 设置账号类型
            admin:{
                account:'admin',
                password:'123456'
            }
        }

        cy.request({
            url:'http://yourhost/login',
            method:'POST',
            form:true,
            body:accountTypes[userType]      // 使用 admin 账号登录
        })
    })

describe('login with different account',function(){
    beforeEach(function() {
        cy.login('admin')
        cy.visit('/')
    })

    it('进入商品列表页面',function(){

        cy.contains('商品列表').click()
        cy.get('#headerTitle')
        .should('have.text','商品列表')   // 验证是否包含标题 商品列表
    })

    it('进入订单列表页面',function(){
        cy.contains('订单列表').click()
        cy.get('#headerTitle')
        .should('have.text','订单列表')   // 验证是否包含标题 订单列表
    })
})
命令行执行所有用例
npm run cypress:run
具体运行参数可以在 package.json 下配置:
"scripts": {
   "cypress:run": "cypress run --browser chrome"
 }
解决chrome 下的跨域问题:
在 cypress.json 中添加:
"chromeWebSecurity": false
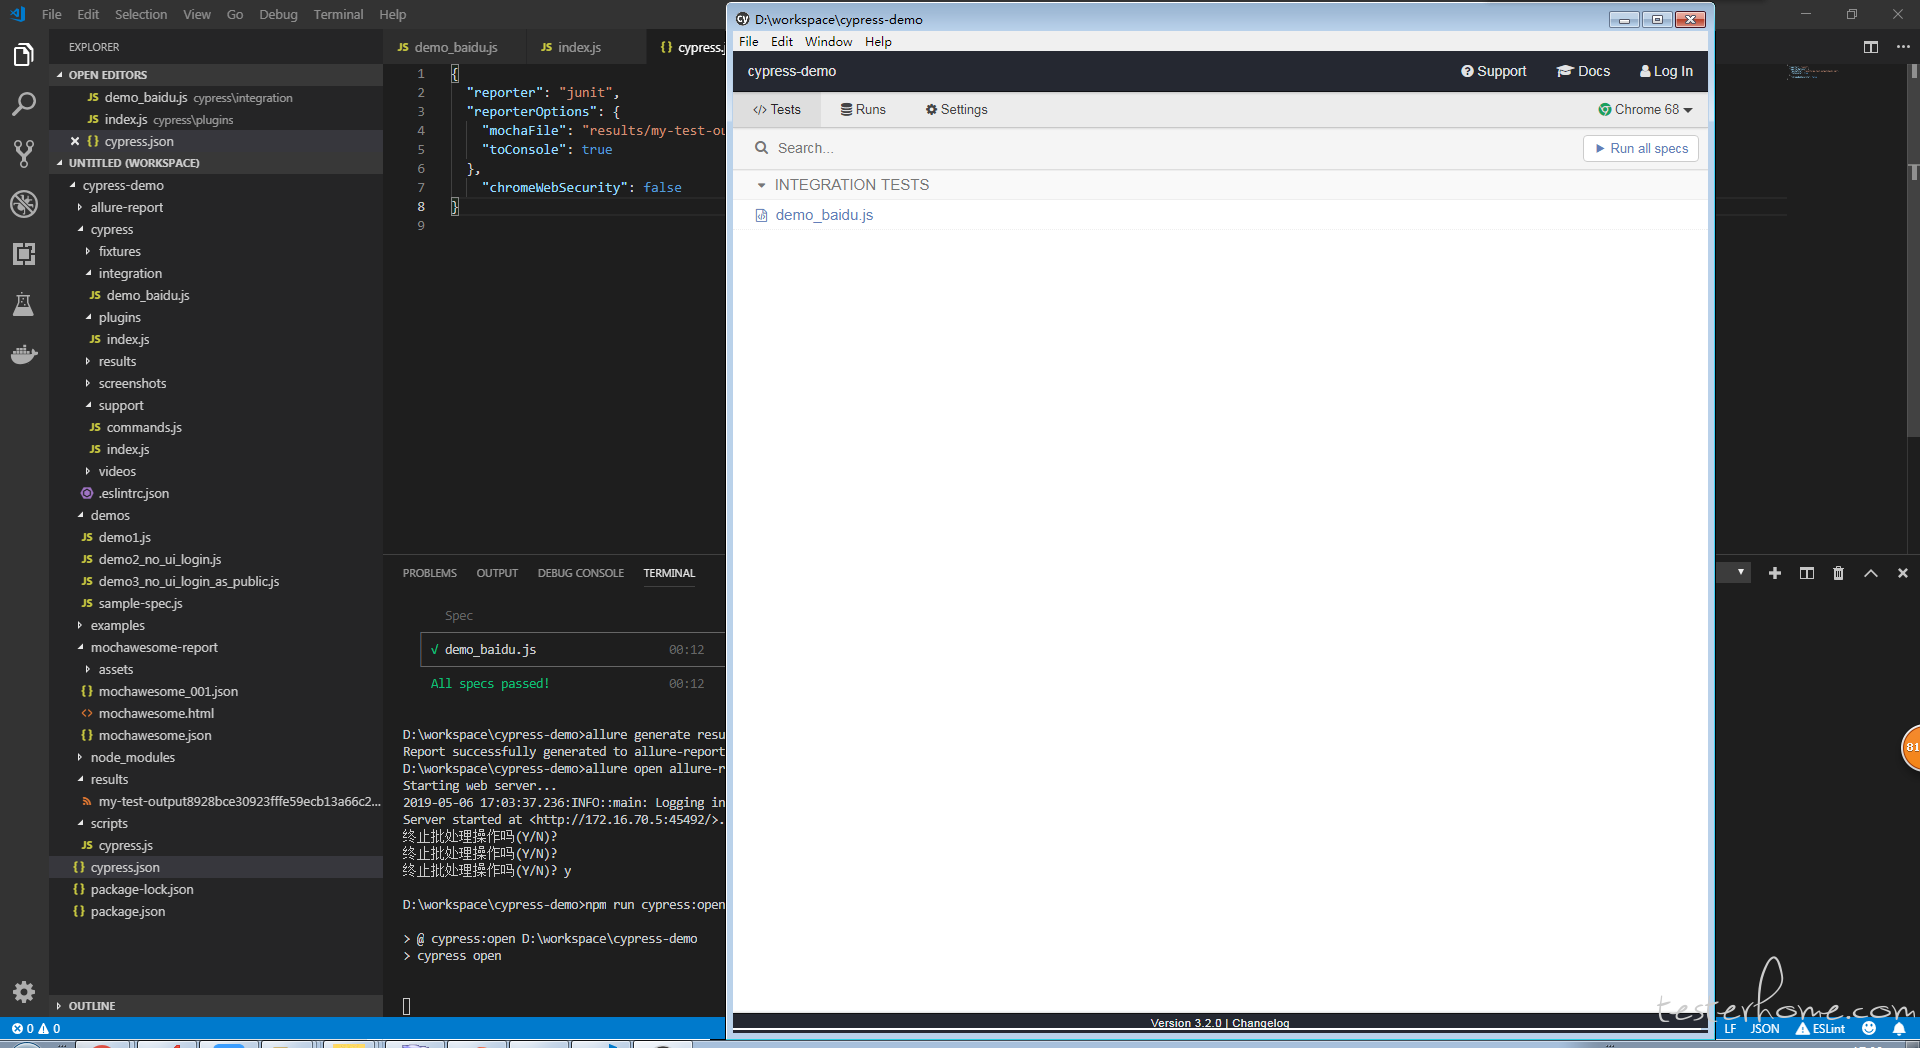
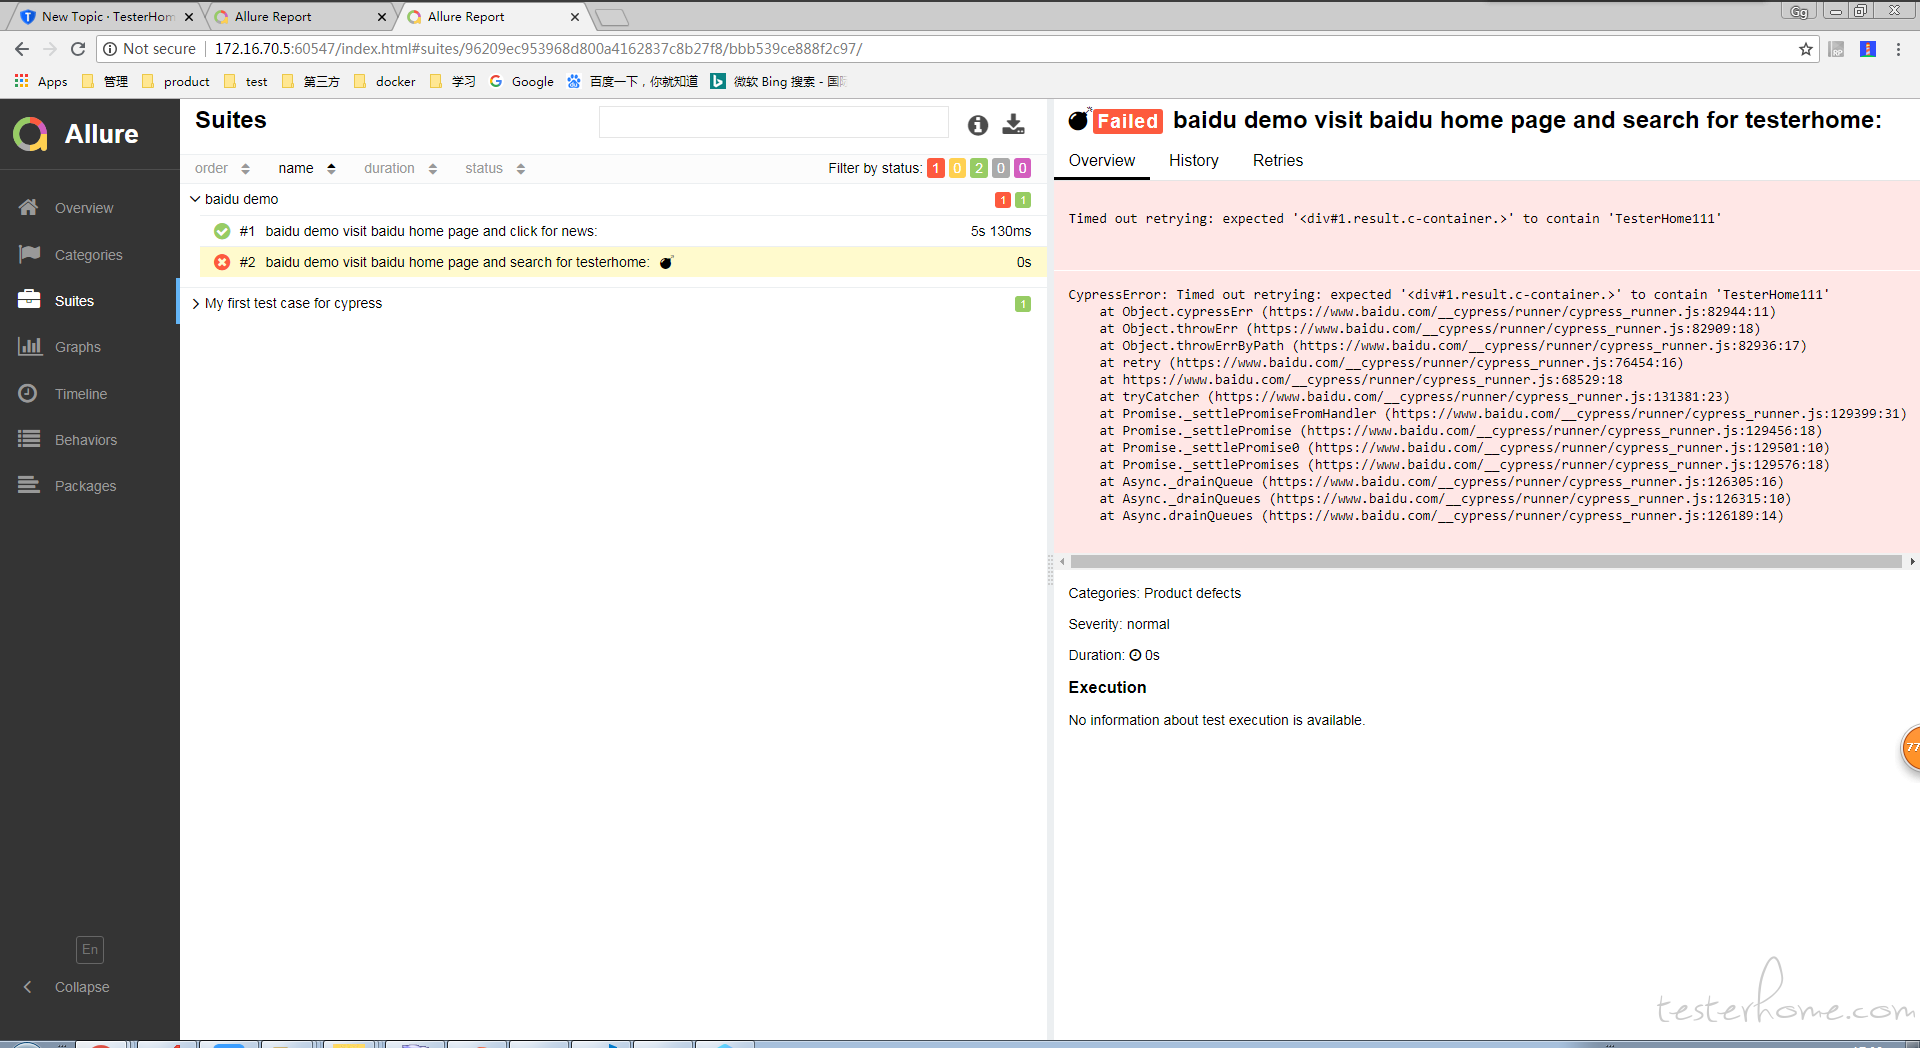
生成Junit-allure报表
在 cypress.json 中添加依赖:
"reporter": "junit",
"reporterOptions": {
  "mochaFile": "results/my-test-output[hash].xml",   // 通过hash 标签区分不同文件的用例结果
  "toConsole": true
}
执行 cypress run 的时候会自动生成xml文件
使用 allure 生成对应报告:
// 生成allure 报告
allure generate results --clean

// 打开报告
allure open allure-report
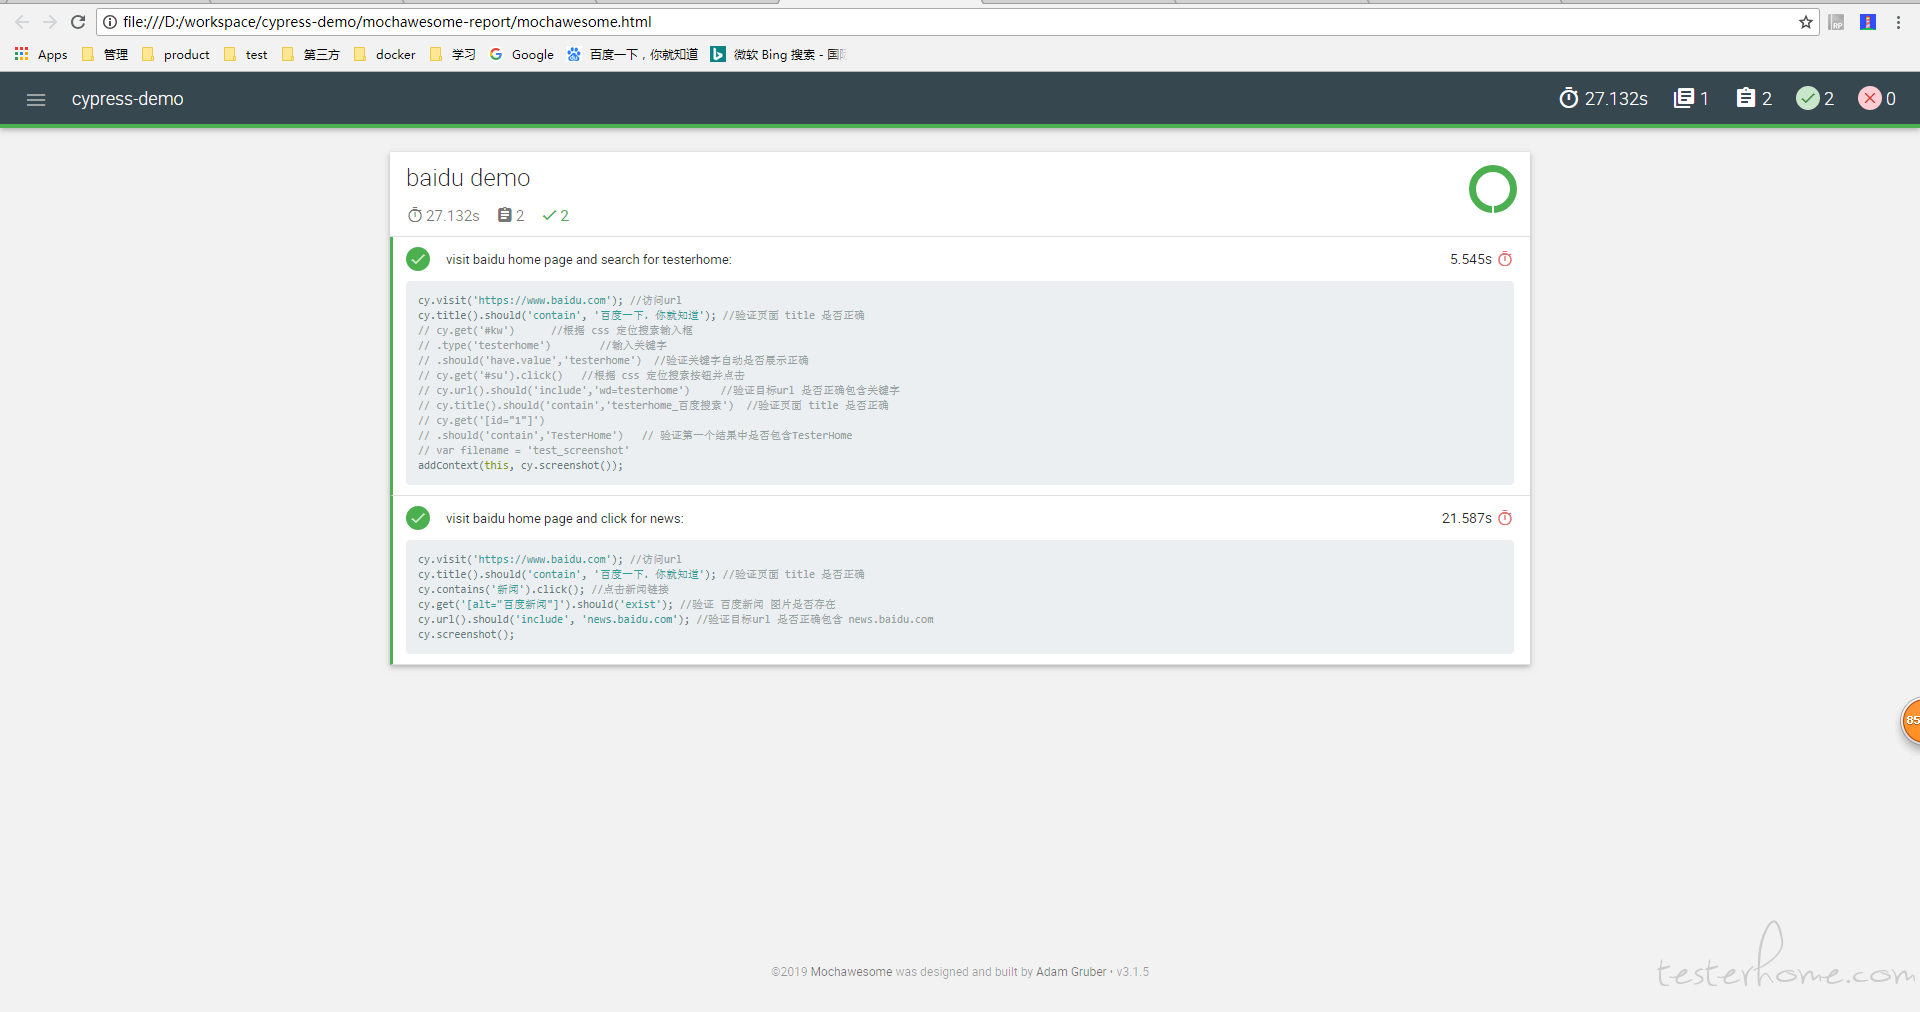
生成 mocha awsome 报告
安装对应模块:
注意: mocha 必须指定 5.2.0, 否则会报错
npm install --save-dev mocha@5.2.0 mochawesome mochawesome-merge mochawesome-report-generator
配置cypress 对应报告信息 cypress.json:
"reporter": "mochawesome",
"reporterOptions": {
  "overwrite": false,
  "html": false,
  "json": true
},
编写执行测试和生成报告的脚本:
scripts\cypress.js
const cypress = require('cypress')
const fse = require('fs-extra')
const { merge } = require('mochawesome-merge')
const generator = require('mochawesome-report-generator')

async function runTests() {
  await fse.remove('mochawesome-report')
  const { totalFailed } = await cypress.run()
  const jsonReport = await merge()
  await generator.create(jsonReport)
  process.exit(totalFailed)
}

runTests()
在 package.json 文件添加对应启动脚本:
"scripts": {
   "cypress:open": "cypress open",
   "cy:run": "node scripts/cypress.js"
 }
启动执行:
npm run cy:run
查看报告:
mochawesome-report\mochawesome.html
Cypress测试工具的更多相关文章
- 渗透测试工具BurpSuite做网站的安全测试(基础版)
渗透测试工具BurpSuite做网站的安全测试(基础版) 版权声明:本文为博主原创文章,未经博主允许不得转载. 学习网址: https://t0data.gitbooks.io/burpsuite/c ...
- linux压力测试工具stress
最近给PASS平台添加autoscaling的功能,根据服务器的负载情况autoscaling,为了测试这项功能用到了stress这个压力测试工具,这个工具相当好用了.具体安装方式就不说了.记录下这个 ...
- [.NET] WebApi 生成帮助文档及顺便自动创建简单的测试工具
==========最终的效果图========== ==========下面开始干活:生成帮助文档========== 一.创建 WebApi 项目 二.找到 HelpPageConfig.cs 并 ...
- RabbitMQ调试与测试工具-v1.0.1 -提供下载测试与使用
最近几天在看RabbitMQ,所以发了两天时间写了一个调试和测试工具.方便使用. 下载地址:RabbitMQTool-V1.0.1.zip
- HTTP压力测试工具
HttpTest4Net是一款基于C#实现的和HTTP压力测试工具,通过工具可以简单地对HTTP服务进行一个压力测试.虽然VS.NET也集成了压力测试项目,但由于VS自身占用的资源导致了在配置不高的P ...
- 微软压力测试工具 web application stress
转自 http://www.cnblogs.com/tonykan/p/3514749.html lbimba 铜牌会员 这里给广大的煤油推荐一个web网站压力测试工具.它可以用来模拟多个用户操作网 ...
- WebService如何调试及测试工具
http://www.cnblogs.com/zfanlong1314/archive/2012/04/06/2434788.html 通常,我们在Visual Studio里调试ASP.NET网站, ...
- Android高手速成--第四部分 开发工具及测试工具
第四部分 开发工具及测试工具 主要介绍和Android开发工具和测试工具相关的开源项目. 一.开发效率工具 Json2Java根据JSon数据自动生成对应的Java实体类,还支持Parcel.Gson ...
- Linux下四款Web服务器压力测试工具(http_load、webbench、ab、siege)介绍
一.http_load程序非常小,解压后也不到100Khttp_load以并行复用的方式运行,用以测试web服务器的吞吐量与负载.但是它不同于大多数压力测试工具,它可以以一个单一的进程运行,一般不会把 ...
随机推荐
- php学习笔记-可变变量
看一个例子. <?php $a = 'hello'; $hello = 'hi'; echo $$a; ?> 如果一个变量名前面有两个美元符号,那么这个变量就叫做可变变量.就拿上面这个举例 ...
- Django 之 JsonResponse 对象
JsonResponse 是 HttpResponse 的子类,与父类的区别在于: JsonResponse 默认 Content-Type 类型为 application/json HttpResp ...
- sqlserver2012——.Net
1.Connection 属性: ConnectionString:获取或者设置用于打开SQLServer数据库的字符串 Database:获取当前数据库或者连接打开后要使用的数据库名称 State: ...
- Ubuntu 与 Windows 共享文件夹
1. Ubuntu关机后 编辑虚拟机设置->option->共享文件夹->添加->确定 完成! 2.共享文件夹后在/mnt/hgfs/文件夹下无法看到共享的文件夹: 解决方法: ...
- 「学习笔记」Fast Fourier Transform
前言 快速傅里叶变换(\(\text{Fast Fourier Transform,FFT}\) )是一种能在\(O(n \log n)\)的时间内完成多项式乘法的算法,在\(OI\)中的应用很多,是 ...
- 2018杭电多校第二场1003(DFS,欧拉回路)
#include<bits/stdc++.h>using namespace std;int n,m;int x,y;int num,cnt;int degree[100007],vis[ ...
- RequireJS 2.0 API之配置项
转载自http://blog.csdn.net/kevinwon1985/article/details/8155267 RequireJS 把每一个依赖项当做一个script标签,使用 head.a ...
- 在JAVA中自定义连接数据库的工具类
为什么要自定义数据库连接的工具类: 在开发中,我们在对数据库进行操作时,必须要先获取数据库的连接,在上一篇随笔中提到的获取数据库连接的步骤为: 1.定义好4个参数并赋值 2.加载驱动类 3.获取数据库 ...
- Ryzen 移动平台上安装 Gentoo Linux
Linux 内核对于跟进支持 Ryzen 移动低压 CPU 的热情似乎和市面上寥寥无几的 Ryzen 笔记本热度十分吻合.虽然从 Linux 4.11 起就对 Ryzen 桌面 CPU 有较好的支持, ...
- Java 8 Optional类使用的实践经验
前言 Java中空指针异常(NPE)一直是令开发者头疼的问题.Java 8引入了一个新的Optional类,使用该类可以尽可能地防止出现空指针异常. Optional 类是一个可以为null的容器对象 ...