
gitblit安装使用
1.下载地址
http://www.gitblit.com/
2.安装jdk(自行安装)
3.解压gitblit
# tar -zxvf gitblit-1.8.0.tar.gz
4.配置
# cd gitblit-1.8.0/data
# vi gitblit.properties
添加以下信息:
# SINCE 1.7.0
include = defaults.properties
server.httpPort=81
server.httpBindInterface=192.168.28.130
server.httpsBindInterface=localhost
5.启动和停止
1)前台启动
# cd gitblit-1.8.0
# ./gitblit.sh
2)后台启动
# nohup ./gitblit.sh &
3)停止
# ./gitblit-stop.sh
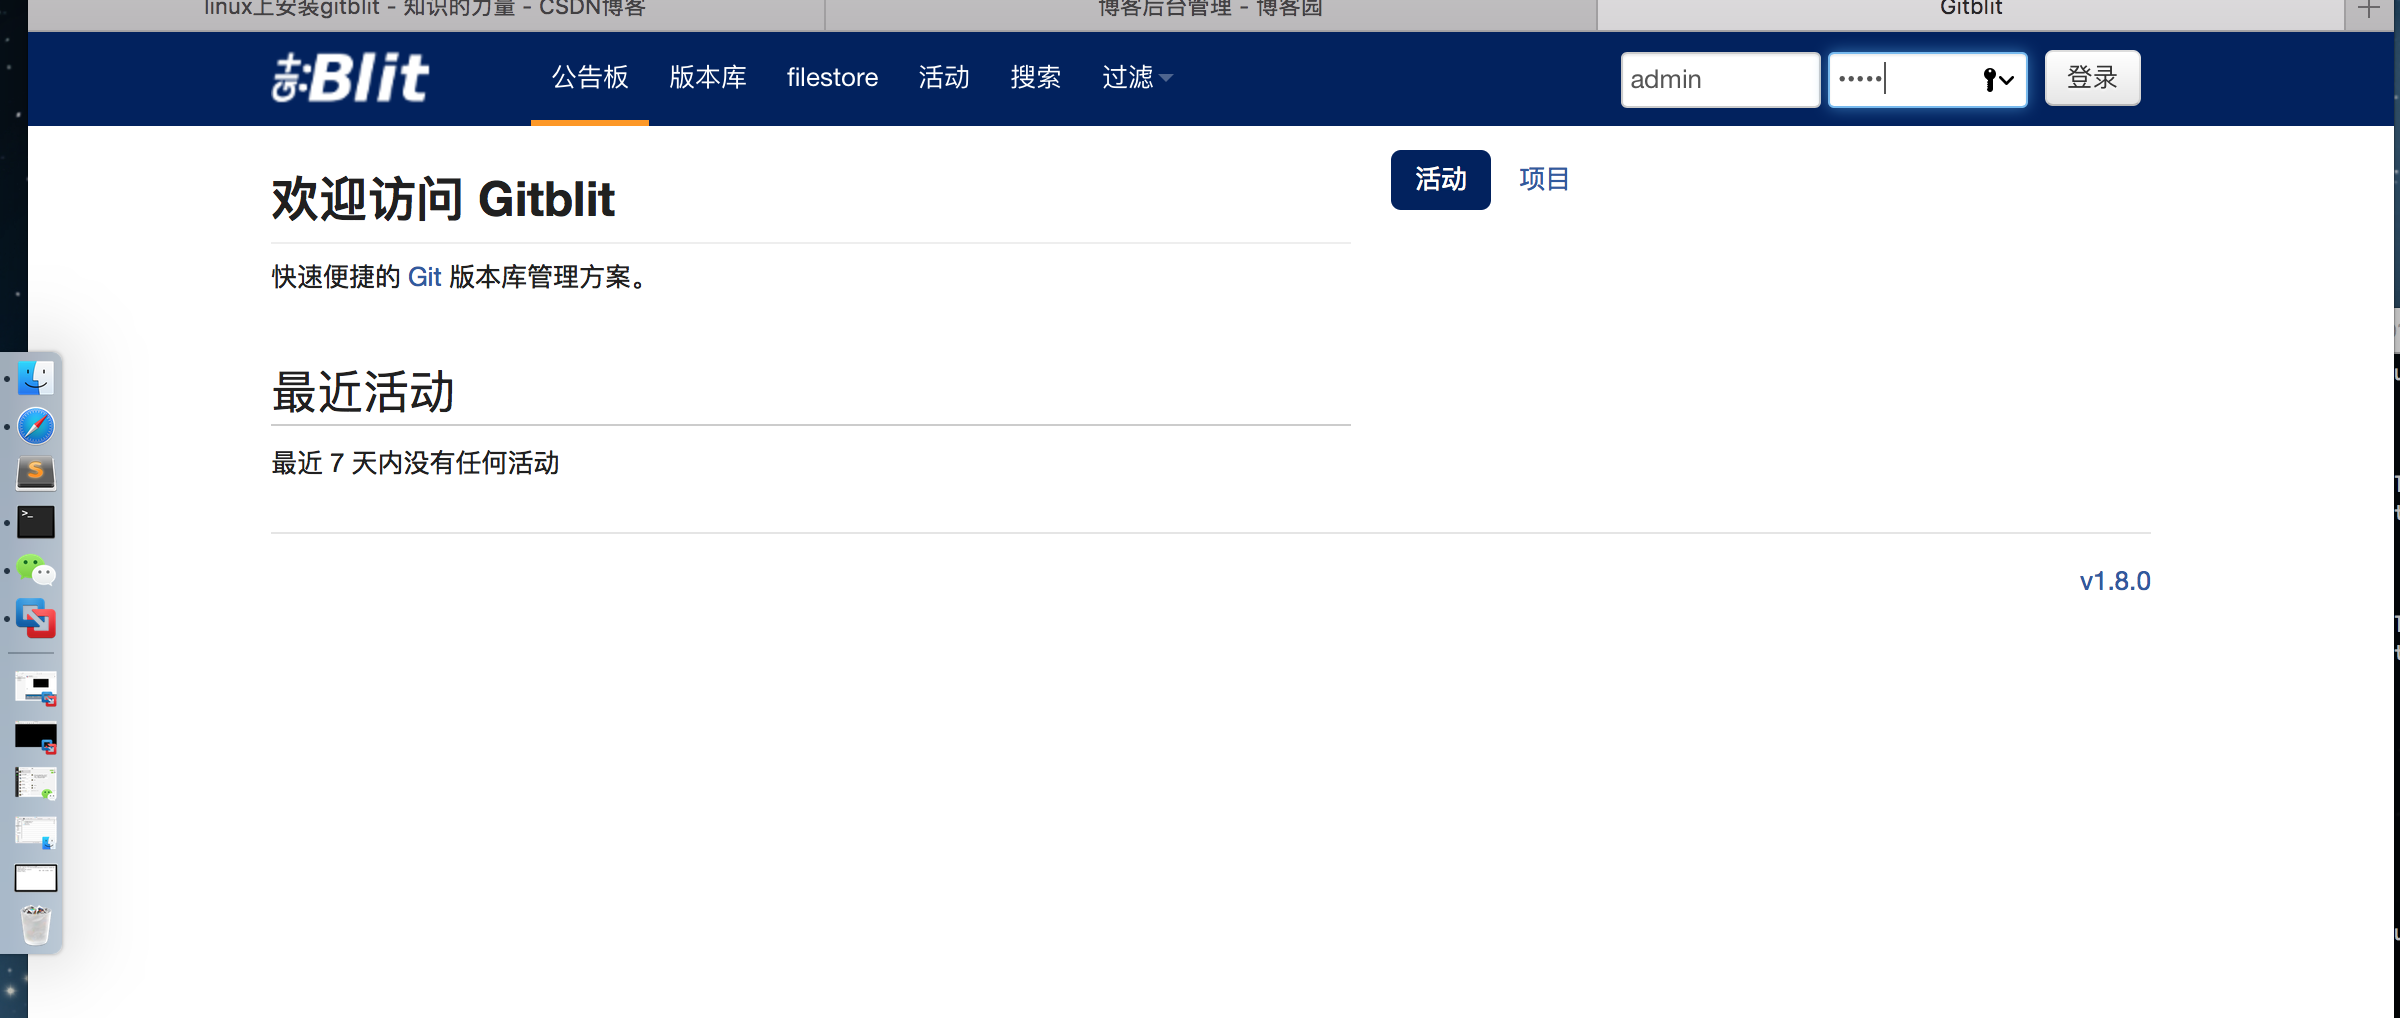
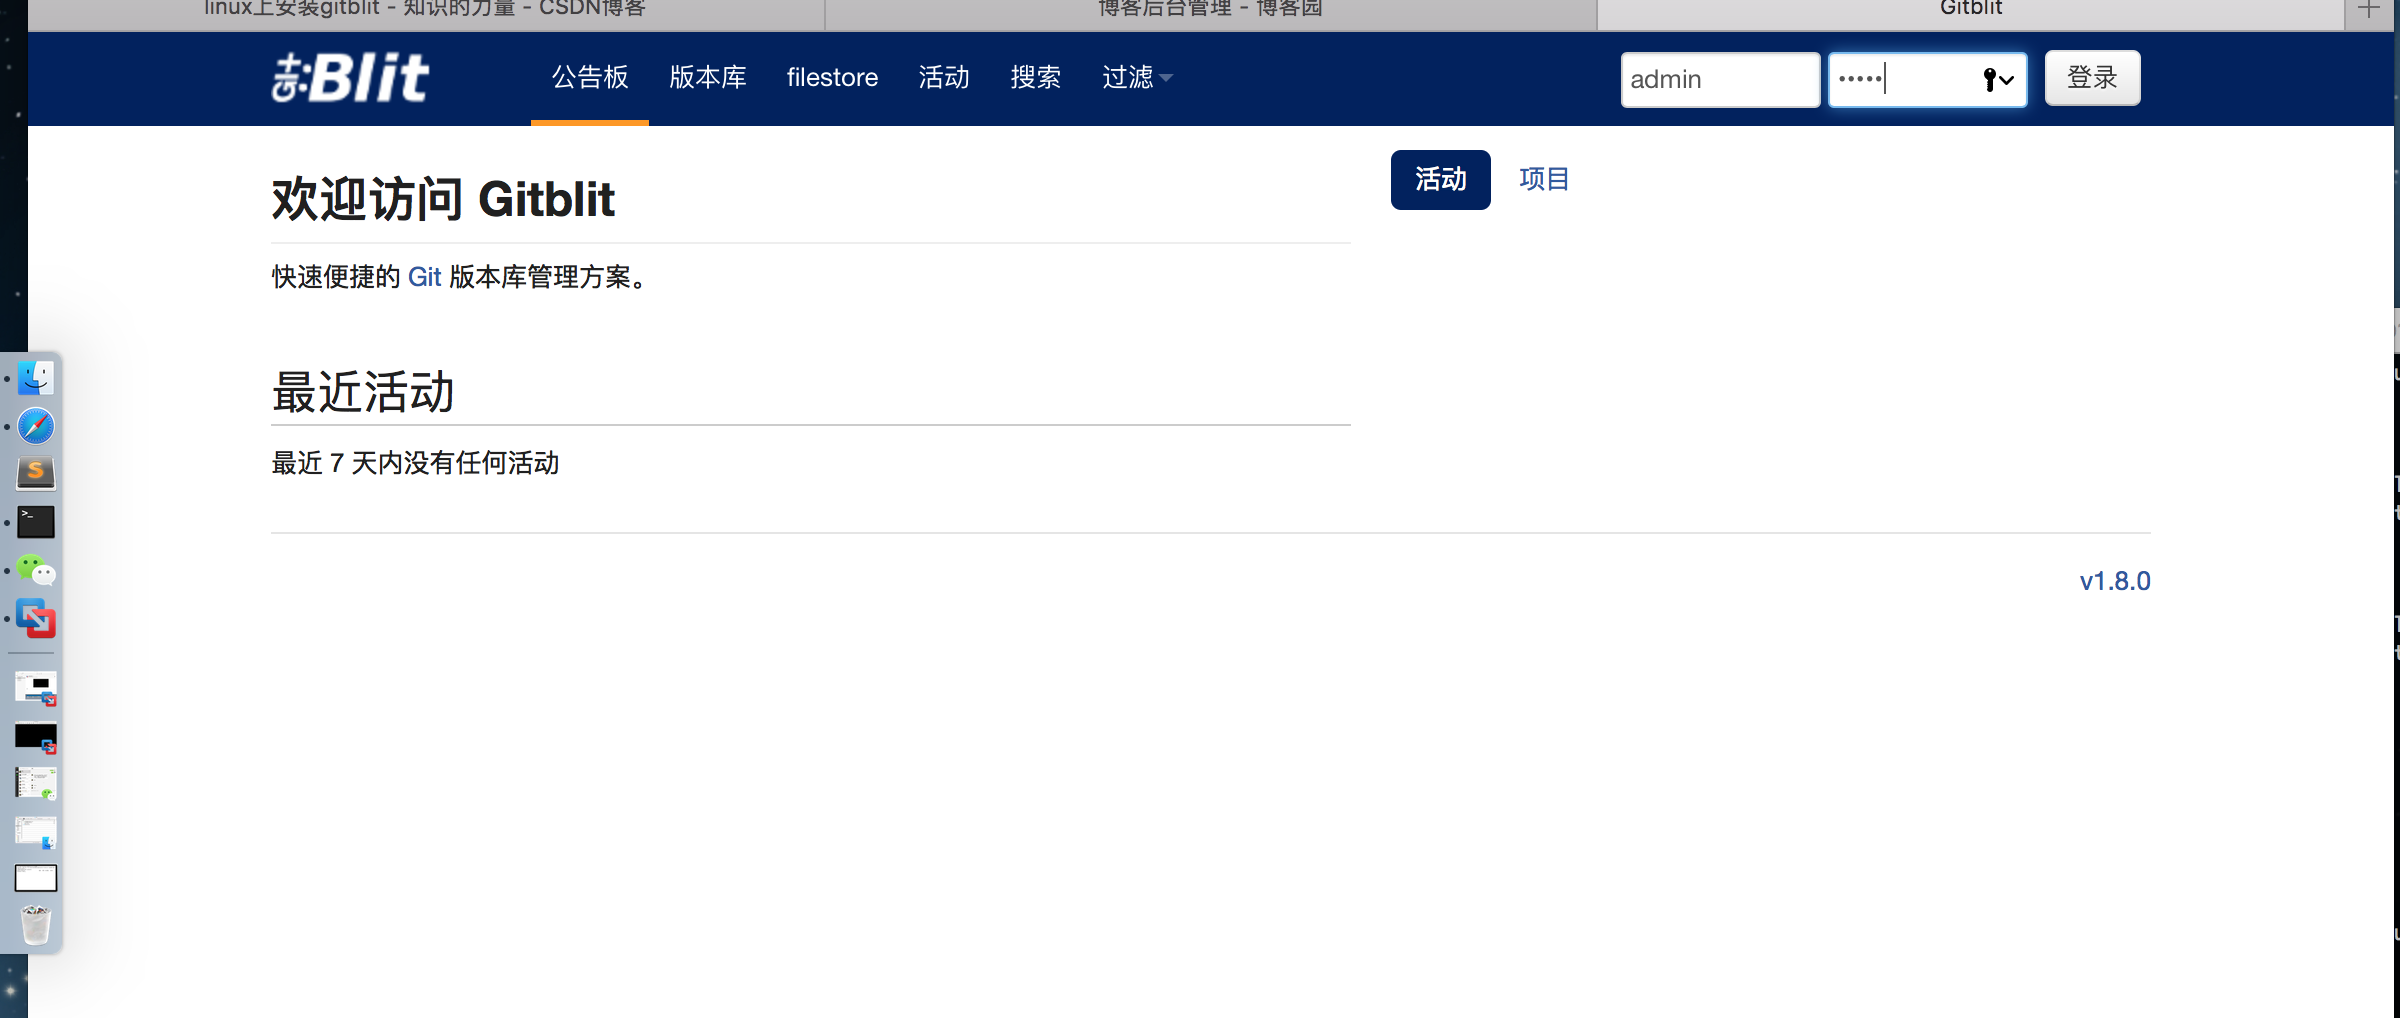
6.访问
http://192.168.28.130:81
登陆密码:admin/admin
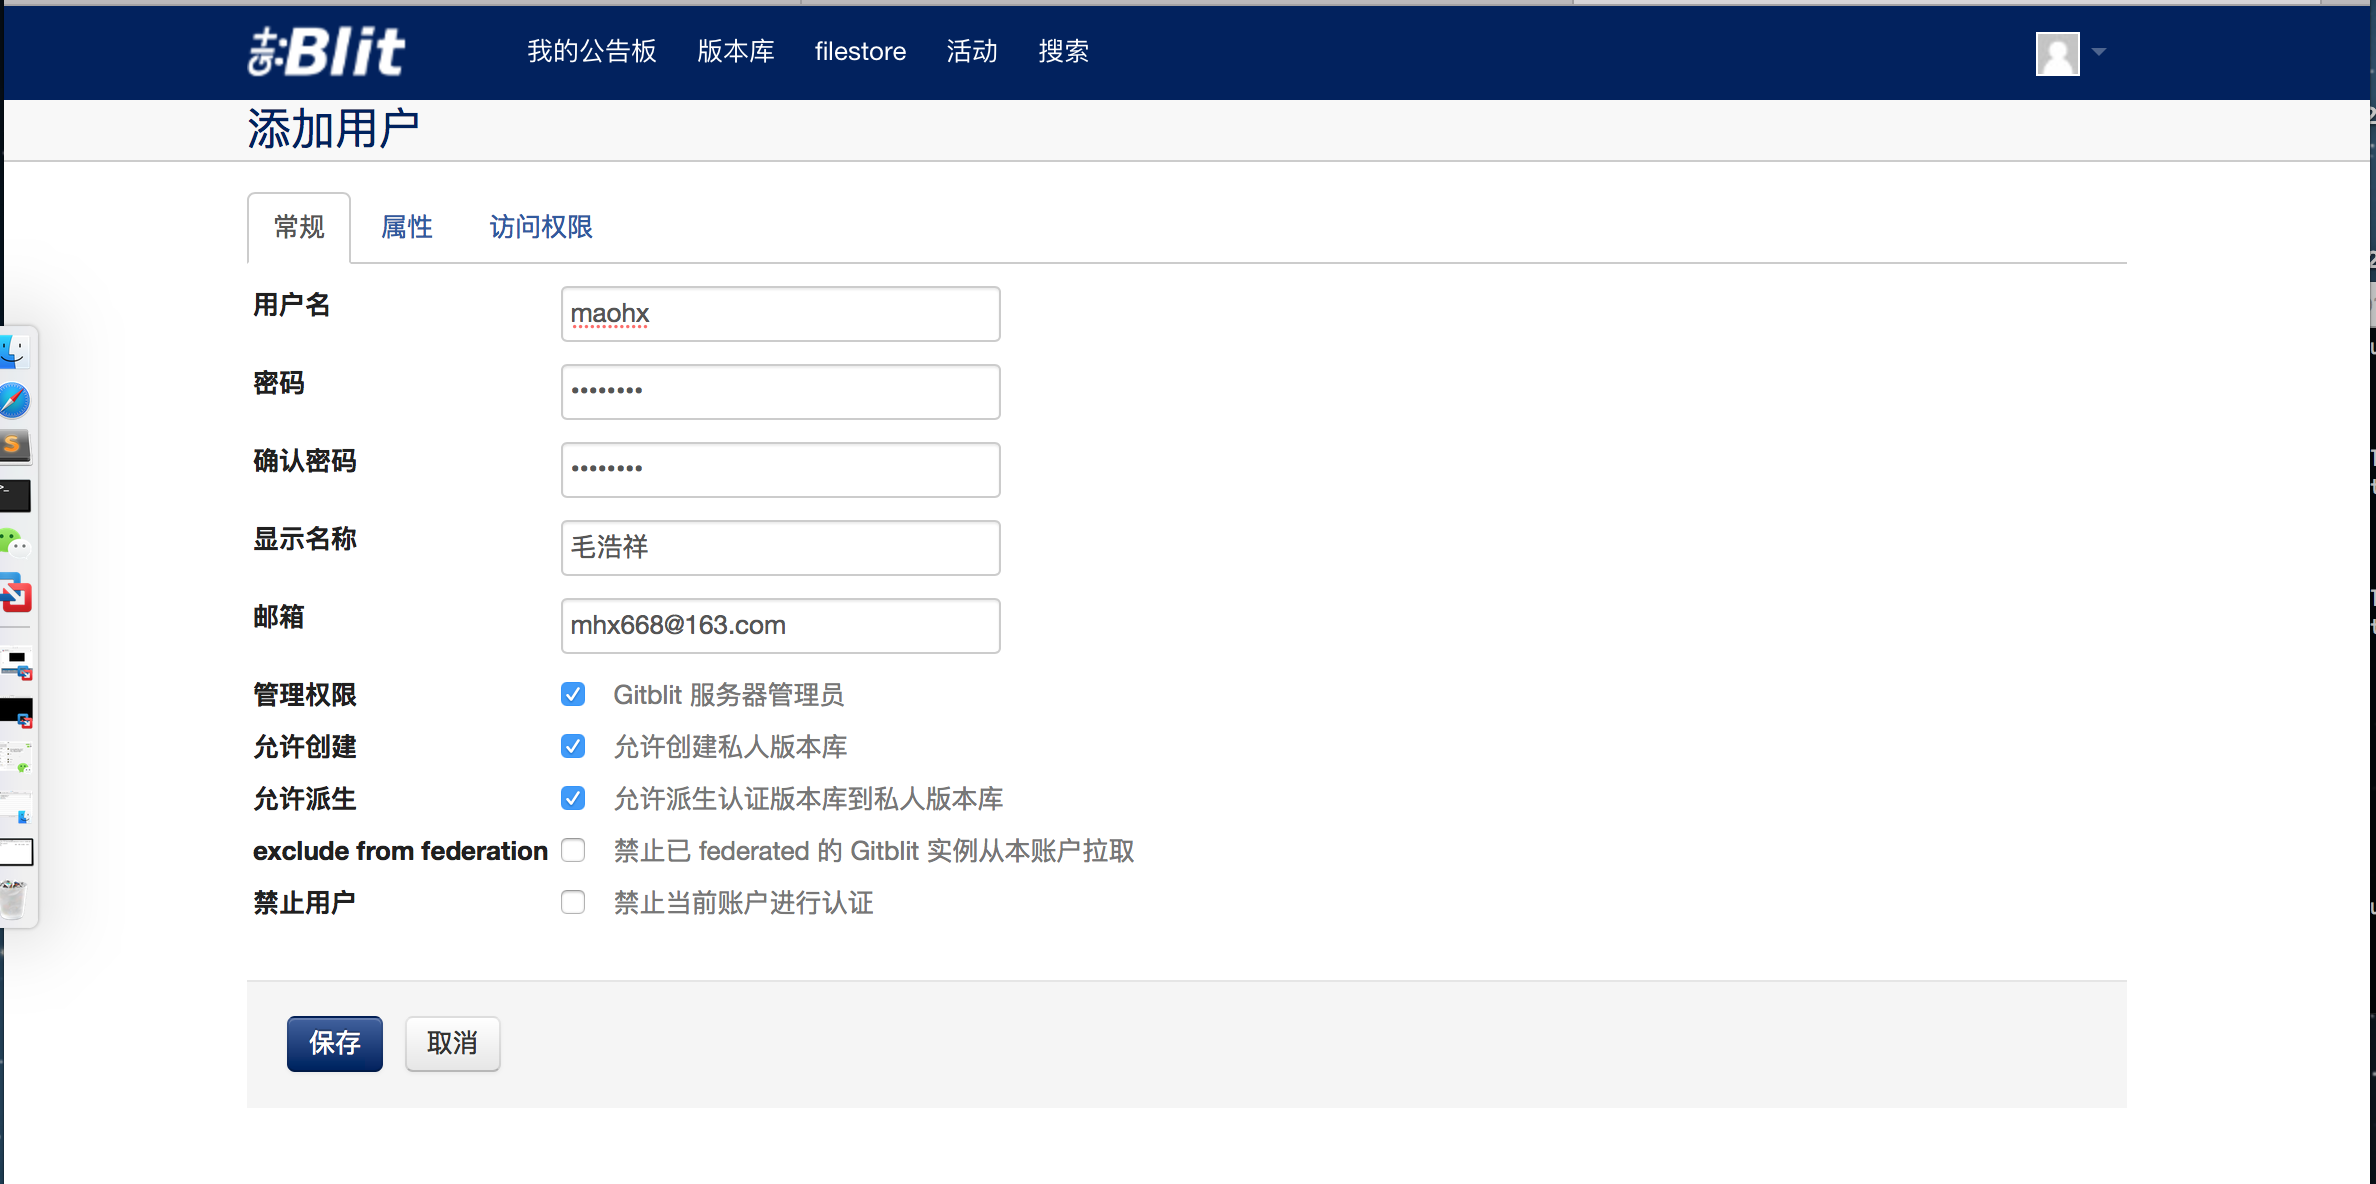
7.创建用户


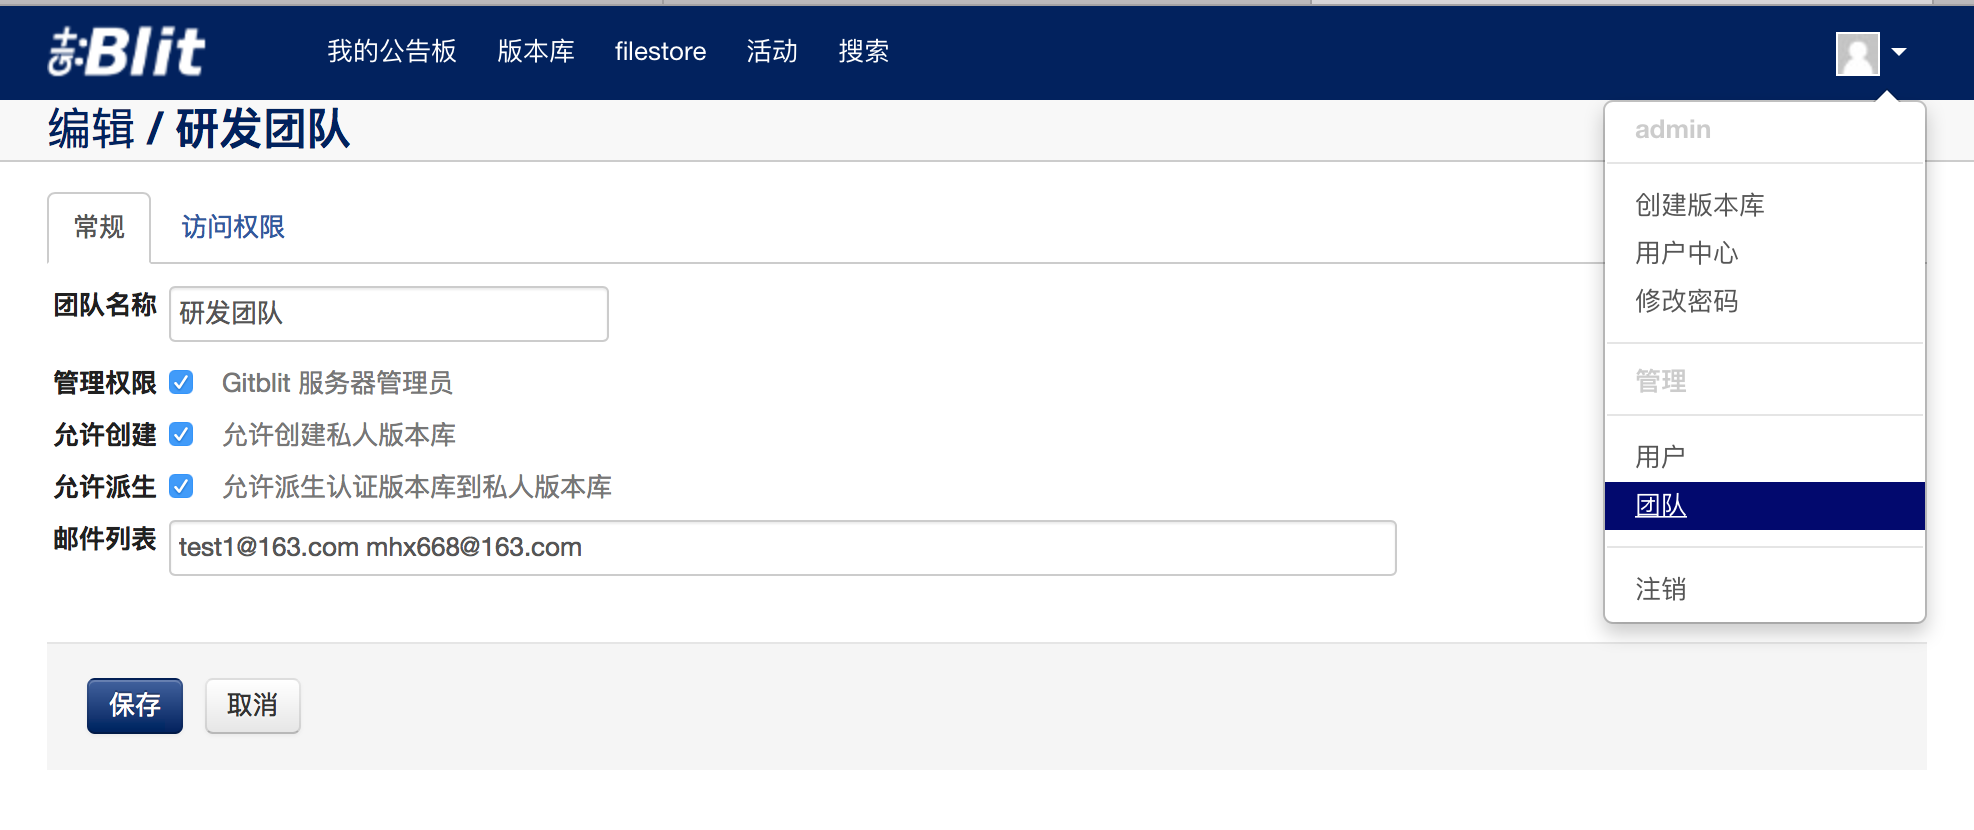
8.创建团队
9.创建版本库


10.分配项目给其他人员
先分配给组,再分配给组中的成员

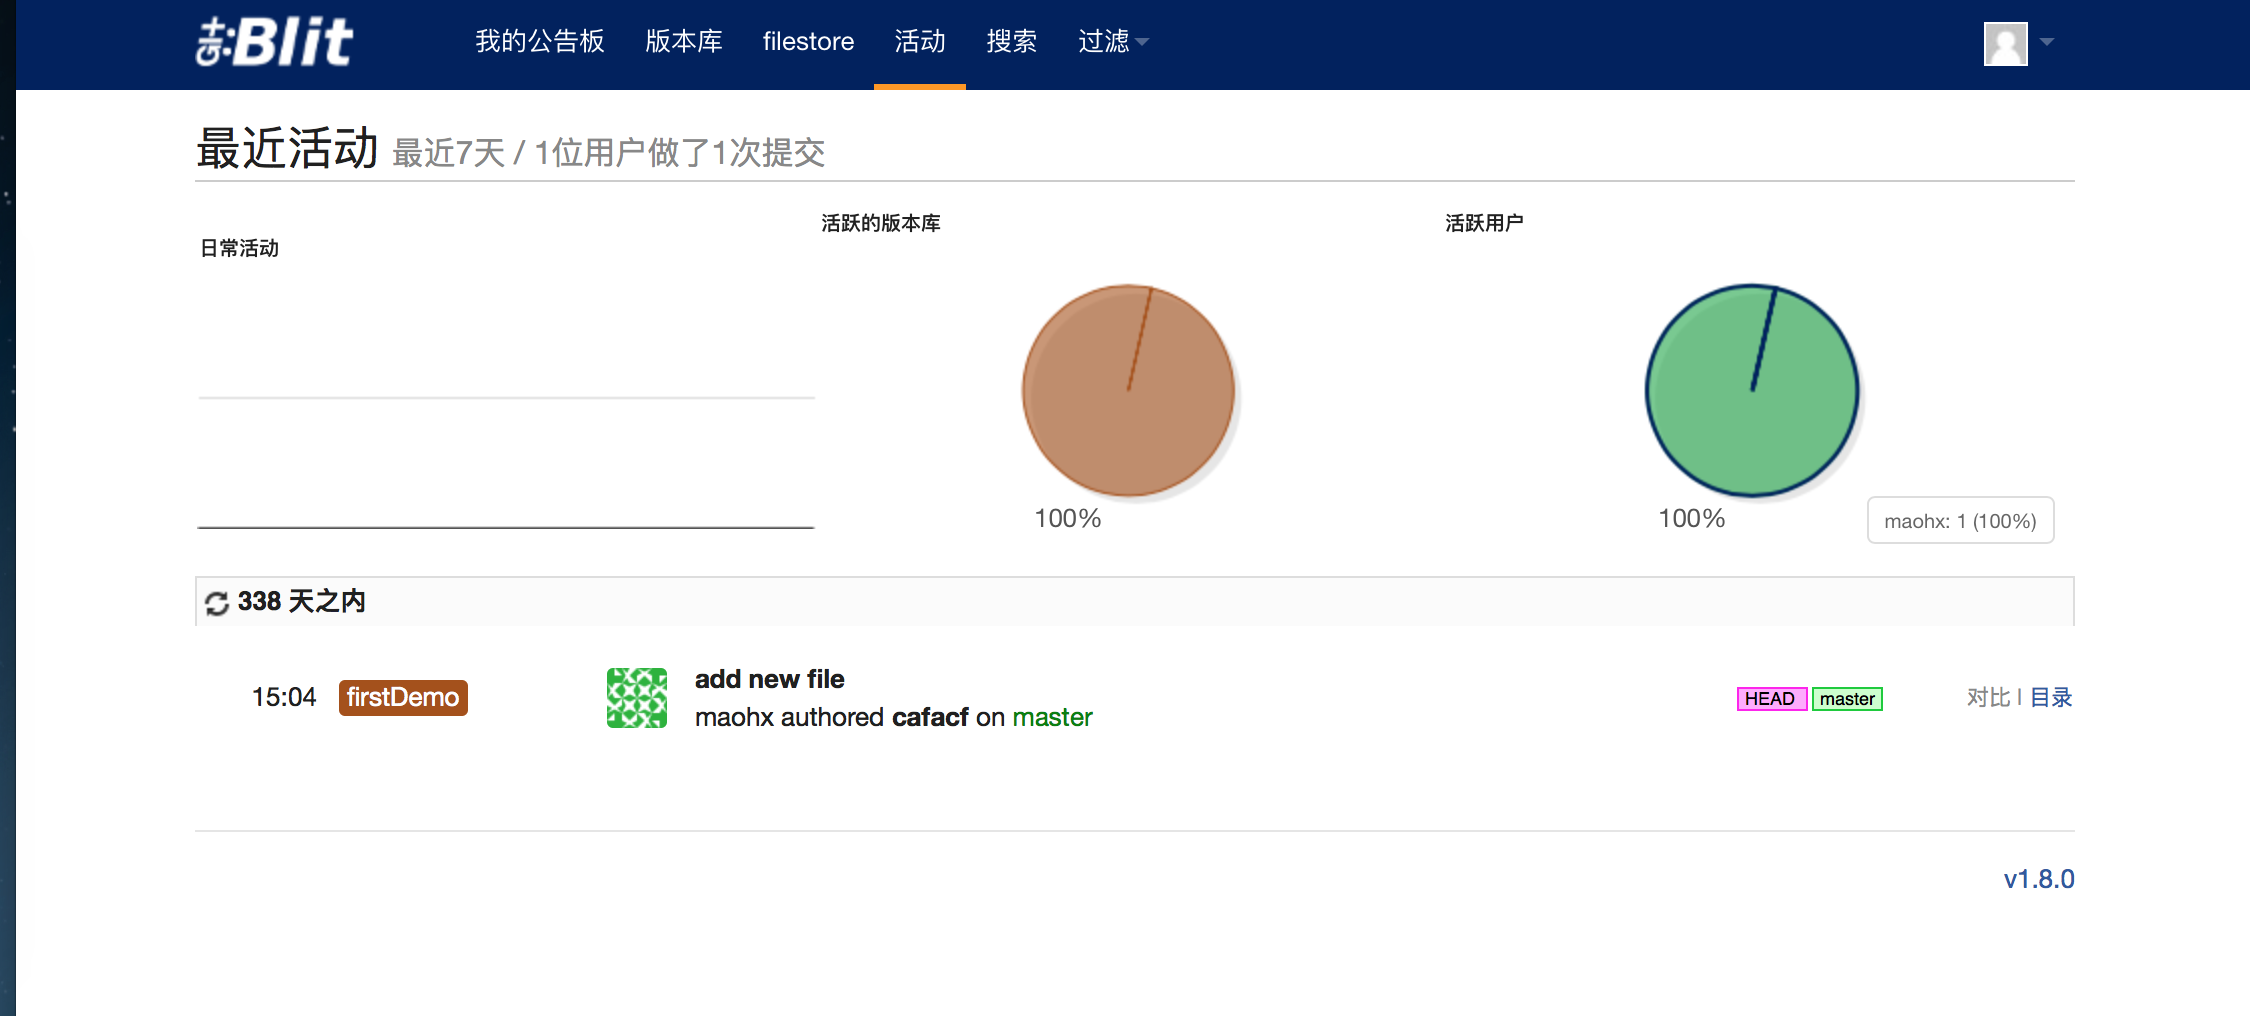
11. 把项目提交到创库中
首先需要在需要提交代码的机器上安装git
使用命令如下:
localhost:gitClient mhx$ git clone http://admin@192.168.28.130:81/r/firstDemo.git
Cloning into 'firstDemo'...
warning: You appear to have cloned an empty repository.
localhost:gitClient mhx$ ll
-bash: ll: command not found
localhost:gitClient mhx$ ls
firstDemo gitrepo
localhost:gitClient mhx$ cd firstDemo/
localhost:firstDemo mhx$ ls
localhost:firstDemo mhx$ cp -r /Users/mhx/Downloads/registerdiscovery .
localhost:firstDemo mhx$ ll
-bash: ll: command not found
localhost:firstDemo mhx$ ls
registerdiscovery
localhost:firstDemo mhx$ cd registerdiscovery/
localhost:registerdiscovery mhx$ ls
HELP.md mvnw mvnw.cmd pom.xml src
localhost:registerdiscovery mhx$ cd ..
localhost:firstDemo mhx$ ls
registerdiscovery
localhost:firstDemo mhx$ git add *
localhost:firstDemo mhx$ git commit -m "add new file"
[master (root-commit) cafacf4] add new file
16 files changed, 677 insertions(+)
create mode 100644 registerdiscovery/.DS_Store
create mode 100644 registerdiscovery/.gitignore
create mode 100644 registerdiscovery/.mvn/wrapper/MavenWrapperDownloader.java
create mode 100644 registerdiscovery/.mvn/wrapper/maven-wrapper.jar
create mode 100644 registerdiscovery/.mvn/wrapper/maven-wrapper.properties
create mode 100755 registerdiscovery/mvnw
create mode 100644 registerdiscovery/mvnw.cmd
create mode 100644 registerdiscovery/pom.xml
create mode 100644 registerdiscovery/src/.DS_Store
create mode 100644 registerdiscovery/src/main/.DS_Store
create mode 100644 registerdiscovery/src/main/java/.DS_Store
create mode 100644 registerdiscovery/src/main/java/com/.DS_Store
create mode 100644 registerdiscovery/src/main/java/com/maohx/.DS_Store
create mode 100644 registerdiscovery/src/main/java/com/maohx/registerdiscovery/RegisterdiscoveryApplication.java
create mode 100644 registerdiscovery/src/main/resources/application.properties
create mode 100644 registerdiscovery/src/test/java/com/maohx/registerdiscovery/RegisterdiscoveryApplicationTests.java
localhost:firstDemo mhx$ git push
Password for 'http://admin@192.168.28.130:81':
fatal: Authentication failed for 'http://admin@192.168.28.130:81/r/firstDemo.git/'
localhost:firstDemo mhx$ push
-bash: push: command not found
localhost:firstDemo mhx$ git push
Password for 'http://admin@192.168.28.130:81':
Counting objects: 33, done.
Delta compression using up to 4 threads.
Compressing objects: 100% (26/26), done.
Writing objects: 100% (33/33), 50.55 KiB | 12.64 MiB/s, done.
Total 33 (delta 5), reused 0 (delta 0)
remote: Resolving deltas: 100% (5/5)
remote: Updating references: 100% (1/1)
To http://192.168.28.130:81/r/firstDemo.git
* [new branch] master -> master
localhost:firstDemo mhx$
12.创建分支
localhost:firstDemo mhx$ ls
registerdiscovery
localhost:firstDemo mhx$ git checkout -b embrace1.0
Switched to a new branch 'embrace1.0'
localhost:firstDemo mhx$ git branch
* embrace1.0
master
localhost:firstDemo mhx$ git commit -m "add new branch"
On branch embrace1.0
nothing to commit, working tree clean
localhost:firstDemo mhx$ git push -u origin embrace1.0
Total 0 (delta 0), reused 0 (delta 0)
remote: Updating references: 100% (1/1)
To http://192.168.28.130:81/r/firstDemo.git
* [new branch] embrace1.0 -> embrace1.0
Branch embrace1.0 set up to track remote branch embrace1.0 from origin.
localhost:firstDemo mhx$


gitblit安装使用的更多相关文章
- mac Gitblit安装
jdk下载传送门 gitBlit是java编写的的 第一步 需要安装java jdk 传送门 JDK6的下载地址: http://www.oracle.com/technetwork/java/jav ...
- Linux(Contos7.5)环境搭建之Gitblit安装(三)
1.yum安装git(这一步暂时不清楚是否必要,因为在window上搭建并不需要)
- (转)GitBlit安装
转:https://blog.csdn.net/qq_32599479/article/details/90748371 GitBlit的安装本文是基于Windows 10系统环境,安装和测试GitB ...
- GitBlit (1)-- 在linux 安装 GitBlit 并运行
Git是一款注重速度.数据完整性.分布式支持和非线性工作流的分布式版本控制工具.Git最初由Linus Torvalds在2005年为Linux内核开发而设计,如今已经成为被广泛接受的版本控制系统. ...
- 如何在Linux下使用Gitblit工具创建Git仓库服务
嗨!朋友,今天我们将学习如何在你的Linux服务器或者PC上安装Gitblit工具.首先,我们看看什么是Git,它的功能以及安装Gitblit的步骤.Git是分布式版本控制系统,它强调速度.数据一致性 ...
- 【大话QT之十七】Jenkins介绍及安装使用文档(与Git集成)
文章文件夹结构例如以下: 1> Jenkins与Git相关介绍 2> Jenkins部署安装 3> Gitblit部署安装 4> Jenkins与Git集成使用 5> 项 ...
- Gitblit配置
Gitblit的安装配置及访问-windows (2013-09-11 11:52:31) 转载▼ 分类: android基础 Git 是现在很流行的分布式版本控制工具,github更是人人皆知. ...
- 创建Gitblit本地服务器(For windows )01
1.先下载gitblit 貌似需要FQ,百度云链接https://pan.baidu.com/s/1WUtBswj5TkFFcd_hiFFCcw,提取码: xr9n .因为gitblit是基于jav ...
- 使用Gitblit 搭建Windows Git服务器
使用Gitblit 搭建Windows Git服务器 整理使用Gitblit搭建Git服务器的步骤. 目录 使用Gitblit 搭建Windows Git服务器 目录 下载安装 配置 运行 客户端运行 ...
随机推荐
- xamarin.android pullToRefresharp.Android下拉刷新样式、侧滑删除功能
如果你正则使用xamarin.From开发项目,那么listview一定是你比不可少的控件.但是由于xamarin的listview在安卓上的功能有限,所以经常需要使用Renderers来改写平台实现 ...
- 3.环境搭建-Hadoop(CDH)集群搭建
目录 目录 实验环境 安装 Hadoop 配置文件 在另外两台虚拟机上搭建hadoop 启动hdfs集群 启动yarn集群 本文主要是在上节CentOS集群基础上搭建Hadoop集群. 实验环境 Ha ...
- python+OpenCV进行人脸检测【转】
OpenCV的人脸检测功能在一般场合还是不错的.而ubuntu正好提供了python-opencv这个包,用它可以方便地实现人脸检测的代码. 写代码之前应该先安装python-opencv: $ su ...
- python 工具 二进制文件处理之——大小端变换
大端换小端 16位: import struct import sys # main body if sys.argv.__len__() > 1: # 参数获取 src_file = sys. ...
- Ural 2018The Debut Album(DP)
题目地址:Ural 2018 简单DP.用滚动数组. 代码例如以下: #include <iostream> #include <cstdio> #include <st ...
- python(35)- 异常处理
一 错误和异常 part1:程序中难免出现错误,而错误分成两种 1.语法错误(这种错误,根本过不了python解释器的语法检测,必须在程序执行前就改正) #语法错误示范一 if #语法错误示范二 ...
- mysql: expire_logs_days设置后无效问题
Sina blog - MySQL的 expire_logs_days 和 PURGE MASTER LOGS 无效问题
- 轻松搞定RabbitMQ(三)——消息应答与消息持久化
转自 http://blog.csdn.net/xiaoxian8023/article/details/48710653 这个官网的第二个例子中的消息应答和消息持久化部分.我把它摘出来作为单独的一块 ...
- 基于Django做权限控制
一.权限信息初始化 二.中间件操作 三.自定义标签 补充:数据表设计,源码下载,其它
- 关于angular JS 中$timeOut 的一些不正常情况下的$destory
最近项目中存在的问题头疼脑热了好一会. 我先简单说明下问题是由,使用$timeOut循环调用的时候由于页面存在异步加载会出现反复执行循环反复调用$timeOut,怎么清除跳出循环都不管用.于是查到了如 ...