ELK初学搭建
目录:基础准备
- 修改相关系统配置
安装elasticsearch
安装 kibana
安装logstash
X-pack插件的安装
登录网页查看
ELK名字解释
ELK就是ElasticSearch + LogStash + Kibana,这三者是核心套件,但并非全部。
Elasticsearch是个开源分布式搜索引擎,它的特点有:分布式,零配置,自动发现,索引自动分片,索引副本机制,restful风格接口,多数据源,自动搜索负载等。
Logstash是一个完全开源的工具,他可以对你的日志进行收集、过滤,并将其存储供以后使用(如,搜索)。
Kibana 也是一个开源和免费的工具,它Kibana可以为 Logstash 和 ElasticSearch 提供的日志分析友好的 Web 界面,可以帮助您汇总、分析和搜索重要数据日志。
系统环境信息:
CentOS Linux release 7.3.1611 (Core)
基础环境准备:
关闭防火墙:systemctl stop firewalld
SeLinux设为disabled: setenforce 0
jdk版本:jdk_1.8
本次搭建使用了三个节点,分别是:node1(ElasticSearch + LogStash + Kibana + x-pack)
node2(ElasticSearch + x-pack)
node3(ElasticSearch + x-pack)
本次使用的安装包已经提前下载好了,如有需要自行去官网下载,官方下载地址:https://www.elastic.co/cn/products
$ll /apps/tools/

total

-rw-r--r--  root root   Feb  : elasticsearch-6.2..tar.gz

-rw-r--r--  root root   Jun   : filebeat-6.2.-linux-x86_64.tar.gz

-rw-r--r--  root root   Feb  : kibana-6.2.-linux-x86_64.tar.gz

-rw-r--r--  root root  Feb  : logstash-6.2..tar.gz

-rw-r--r--  root root  Jun   : x-pack-6.2..zip
一、修改相关系统配置
1. 修改 /etc/security/limits.conf 文件,添加如下所示内容
es hard nofile

es soft nofile 65536              # 最大文件句柄数

es soft memlock unlimited           # 内存锁不限制

es hard memlock unlimited
2. 修改 /etc/sysctl.conf 文件,添加如下所示内容
vm.max_map_count=262144 # 一个进程能拥有的最多的内存区域
二、安装elasticsearch
elasticsearch是本次部署三个节点同时安装,配置全部一样
1. 解压安装包
tar xf elasticsearch-6.2..tar.gz
2. 修改配置文件 elasticsearch.yml
cluster.name: ctelk                                             # 集群名称,各个节点的集群名称都要一样

node.name: node-                                               # 节点名称

bootstrap.memory_lock: true                                     # 是否允许内存swapping

network.host: IP                                                # 提供服务的ip,通常是本机ip

http.port:                                                  # 服务端口

discovery.zen.ping.unicast.hosts: ["IP", "IP", "IP"]            # 服务发现,集群中的主机

discovery.zen.minimum_master_nodes:                            # 决定了有资格作为master的节点的最小数量,官方推荐N/ +

gateway.recover_after_nodes:                                   # 少于三台的时候,recovery
3. 修改 jvm.options 配置
-Xms8g                                  # 最大内存

-Xmx8g                                  # 最小内存
4. es必须用非root用户启动,所以我们在此其创建一个普通用户,用来管理es
groupadd es

useradd -g es es

chown –R es.es elasticsearch-6.2./

bin/elasticsearch –d
三、安装 kibana
kibana部署在任意一个节点都可以,只需要一个。
1. 解压安装包
tar xf kibana-6.2.-linux-x86_64.tar.gz
2. 修改配置文件 kibana.yml
server.port:                                                        # Kibana端口号

server.host: "IP"                                                       # KibanaIP

elasticsearch.url: "http://esIP:port"                                   # es的IP地址及端口号
3. 启动程序
./bin/kibana -l /apps/product/kibana-6.2.-linux-x86_64/logs/kibana.log & # 自己创建一个logs目录用来记录日志
四、安装logstash
logstash部署在任意一个节点都可以,只需要一个。
1. 解压安装包
tar xf logstash-6.2..tar.gz
2. 启动程序
./bin/logstash -f /apps/product/logstash-6.2./config/logstash.conf &
五、X-pack插件的安装
本次使用的安装包已经全部全部下载至本地,只需要离线安装即可。
1. es、kibana、logstatic安装x-pack
es安装x-pack,中途会要你选择 y就行了。
./bin/elasticsearch-plugin install file:///apps/product/x-pack-6.2.2.zip                        # es安装插件

-> Downloading file:///apps/product/x-pack-6.2.2.zip

[=================================================] %

@@@@@@@@@@@@@@@@@@@@@@@@@@@@@@@@@@@@@@@@@@@@@@@@@@@@@@@@@@@

@ WARNING: plugin requires additional permissions @

@@@@@@@@@@@@@@@@@@@@@@@@@@@@@@@@@@@@@@@@@@@@@@@@@@@@@@@@@@@

* java.io.FilePermission \\.\pipe\* read,write

* java.lang.RuntimePermission accessClassInPackage.com.sun.activation.registries

* java.lang.RuntimePermission getClassLoader

* java.lang.RuntimePermission setContextClassLoader

* java.lang.RuntimePermission setFactory

* java.net.SocketPermission * connect,accept,resolve

* java.security.SecurityPermission createPolicy.JavaPolicy

* java.security.SecurityPermission getPolicy

* java.security.SecurityPermission putProviderProperty.BC

* java.security.SecurityPermission setPolicy

* java.util.PropertyPermission * read,write

See http://docs.oracle.com/javase/8/docs/technotes/guides/security/permissions.html

for descriptions of what these permissions allow and the associated risks.

Continue with installation? [y/N]y

@@@@@@@@@@@@@@@@@@@@@@@@@@@@@@@@@@@@@@@@@@@@@@@@@@@@@@@@@@@

@ WARNING: plugin forks a native controller @

@@@@@@@@@@@@@@@@@@@@@@@@@@@@@@@@@@@@@@@@@@@@@@@@@@@@@@@@@@@

This plugin launches a native controller that is not subject to the Java

security manager nor to system call filters.

Continue with installation? [y/N]y

Elasticsearch keystore is required by plugin [x-pack-security], creating...

-> Installed x-pack with: x-pack-core,x-pack-deprecation,x-pack-graph,x-pack-logstash,x-pack-ml,x-pack-monitoring,x-pack-security,x-pack-upgrade,x-pack-watcher
本次下载的为未破解版本,需要破解,次破解过程由同事完成,此时秩序更改已破解jar包即可。
[root@dev161 product]# find ./ -name x-pack-core-6.2..jar

./elasticsearch-6.2./plugins/x-pack/x-pack-core/x-pack-core-6.2..jar                    # 将下边已破解的 jar包替换过来即可

./x-pack-core-6.2..jar
es配置自动创建索引权限,在 elasticsearch.yml 文件中添加
action.auto_create_index: .security,.monitoring*,.watches,.triggered_watches,.watcher-history*,.ml*,*
kibanak安装x-pack
./bin/kibana-plugin install file:///apps/product/x-pack-6.2.2.zip

Attempting to transfer from file:///apps/product/x-pack-6.2.2.zip

Transferring  bytes....................

Transfer complete

Retrieving metadata from plugin archive

Extracting plugin archive

Extraction complete

Optimizing and caching browser bundles...

Plugin installation complete
logstash安装x-pack
./bin/logstash-plugin install file:///apps/product/x-pack-6.2.2.zip

Installing file: /apps/product/x-pack-6.2..zip

Install successful
2. 设置修改密码,第一次初始化使用setup-passwords interactive,之后修改使用setup-passwords auto
./binx-pack/setup-passwords interactive                                                                 # 初始化密码
Initiating the setup of passwords for reserved users elastic,kibana,logstash_system.
You will be prompted to enter passwords as the process progresses.
Please confirm that you would like to continue [y/N]y

Enter password for [elastic]:                                                                           # 修改es密码
Reenter password for [elastic]:
Enter password for [kibana]:                                                                            # 修改kibana密码
Reenter password for [kibana]:
Enter password for [logstash_system]:                                                                   # 修改logstash密码
Reenter password for [logstash_system]:
Changed password for user [kibana]
Changed password for user [logstash_system]
Changed password for user [elastic]
3. 配置集群内部通讯的TLS/SSL
生成CA文件:./bin/x-pack/certutil ca
./bin/x-pack/certutil ca

This tool assists you in the generation of X. certificates and certificate

signing requests for use with SSL/TLS in the Elastic stack.

The 'ca' mode generates a new 'certificate authority'

This will create a new X. certificate and private key that can be used

to sign certificate when running in 'cert' mode.

Use the 'ca-dn' option if you wish to configure the 'distinguished name'

of the certificate authority

By default the 'ca' mode produces a single PKCS# output file which holds:

    * The CA certificate

    * The CA's private key

If you elect to generate PEM format certificates (the -pem option), then the output will

be a zip file containing individual files for the CA certificate and private key

Please enter the desired output file [elastic-stack-ca.p12]: es-oldwang-ca.p12                                                         # 输出文件名称

Enter password for es-oldwang-ca.p12 :                                                            # 文件密码(123456)
使用CA文件生成密钥文件: ./bin/x-pack/certutil cert --ca es-oldwang-ca.p12
./certutil cert --ca es-oldwang-ca.p12

This tool assists you in the generation of X. certificates and certificate

signing requests for use with SSL/TLS in the Elastic stack.

The 'cert' mode generates X. certificate and private keys.

    * By default, this generates a single certificate and key for use

       on a single instance.

    * The '-multiple' option will prompt you to enter details for multiple

       instances and will generate a certificate and key for each one

    * The '-in' option allows for the certificate generation to be automated by describing

       the details of each instance in a YAML file

    * An instance is any piece of the Elastic Stack that requires a SSL certificate.

      Depending on your configuration, Elasticsearch, Logstash, Kibana, and Beats

      may all require a certificate and private key.

    * The minimum required value for each instance is a name. This can simply be the

      hostname, which will be used as the Common Name of the certificate. A full

      distinguished name may also be used.

    * A filename value may be required for each instance. This is necessary when the

      name would result in an invalid file or directory name. The name provided here

      is used as the directory name (within the zip) and the prefix for the key and

      certificate files. The filename is required if you are prompted and the name

      is not displayed in the prompt.

    * IP addresses and DNS names are optional. Multiple values can be specified as a

      comma separated string. If no IP addresses or DNS names are provided, you may

      disable hostname verification in your SSL configuration.

    * All certificates generated by this tool will be signed by a certificate authority (CA).

    * The tool can automatically generate a new CA for you, or you can provide your own with the

         -ca or -ca-cert command line options.

By default the 'cert' mode produces a single PKCS# output file which holds:

    * The instance certificate

    * The private key for the instance certificate

    * The CA certificate

If you elect to generate PEM format certificates (the -pem option), then the output will

be a zip file containing individual files for the instance certificate, the key and the CA certificate

If you elect to generate multiple instances certificates, the output will be a zip file

containing all the generated certificates

Enter password for CA (es-oldwang-ca.p12) :                                                          # 输入es-oldwang-ca.p12文件密码

Please enter the desired output file [elastic-certificates.p12]: es-oldwang.p12                      # 输出文件名称

Enter password for es-oldwang.p12 :                                                                  # 输入本文件密码

Certificates written to /apps/product/elasticsearch-6.2./bin/x-pack/es-oldwang.p12

This file should be properly secured as it contains the private key for

your instance.

This file is a self contained file and can be copied and used 'as is'

For each Elastic product that you wish to configure, you should copy

this '.p12' file to the relevant configuration directory

and then follow the SSL configuration instructions in the product guide.

For client applications, you may only need to copy the CA certificate and

configure the client to trust this certificate.
将生成的两个文件迁移至config目录下,创建新目录ssl
ll ssl/

total

-rw-------  es es  Jun   : es-oldwang-ca.p12

-rw-------  es es  Jun   : es-oldwang.p12
修改各个节点配置文件 elasticsearch.yml ,将以下四行添加至文件末尾
xpack.security.transport.ssl.enabled: true

xpack.security.transport.ssl.verification_mode: certificate

xpack.security.transport.ssl.keystore.path: /apps/product/elasticsearch-6.2./config/ssl/es-oldwang.p12

xpack.security.transport.ssl.truststore.path: /apps/product/elasticsearch-6.2./config/ssl/es-oldwang.p12
将SSL证书信息导入
./bin/elasticsearch-keystore add xpack.security.transport.ssl.keystore.secure_password

Enter value for xpack.security.transport.ssl.keystore.secure_password:

./bin/elasticsearch-keystore add xpack.security.transport.ssl.truststore.secure_password

Enter value for xpack.security.transport.ssl.truststore.secure_password:
4. 导入license文件
本次实验,license文件已经上传至服务器,存放至es根目录,文件名:license.json
修改各个节点配置文件 elasticsearch.yml ,文件末尾添加,并重启集群
xpack.security.enabled:false
导入license文件,需要elastic用户的密码,导入完成后会提示导入成功。
curl -XPUT -u elastic 'http://10.20.88.161:9200/_xpack/license' -H "Content-Type: application/json" -d @license.json

Enter host password for user 'elastic':

{"acknowledged":true,"license_status":"valid"}
导入完成后注释掉配置文件elasticsearch.yml 中的,并重启集群
# xpack.security.enabled:false
六、登录网页查看
网页登录集群查看
修改kibana配置文件 kibana.yml,修改登录用户密码
elasticsearch.username: "elastic"                      # es用户

elasticsearch.password: "elastic"                      # 之前修改过的es密码
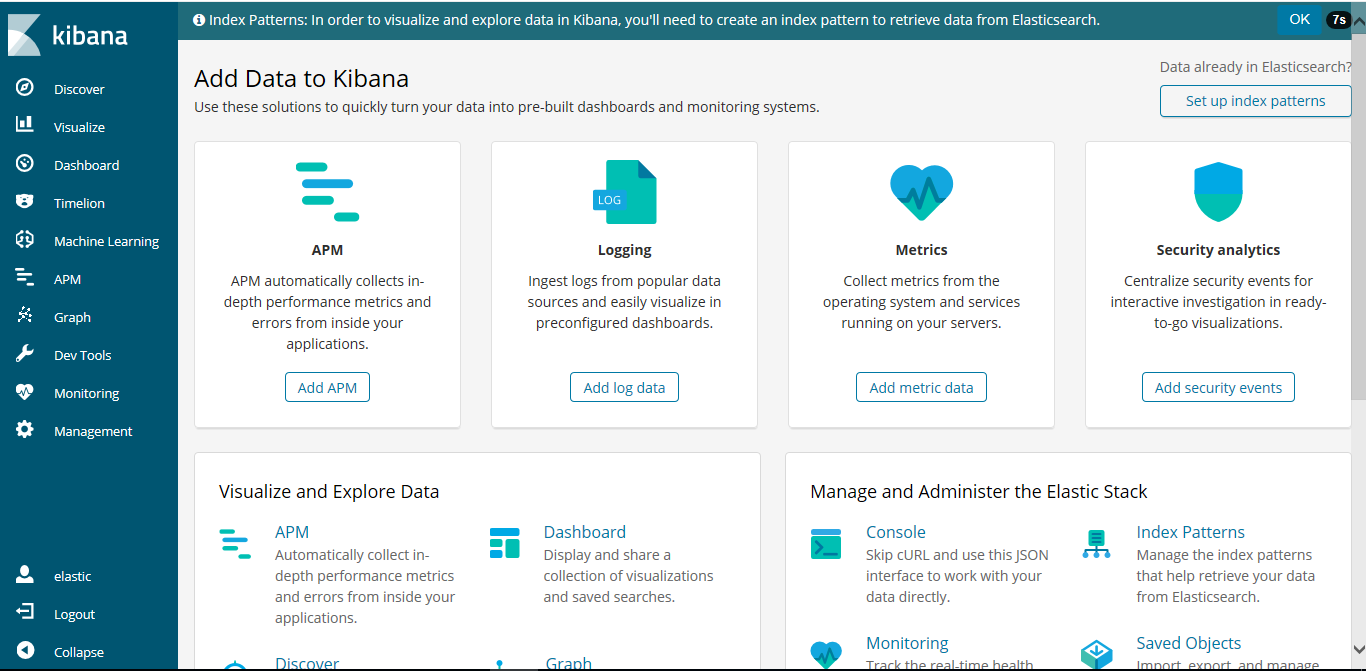
网页登录查看kibana

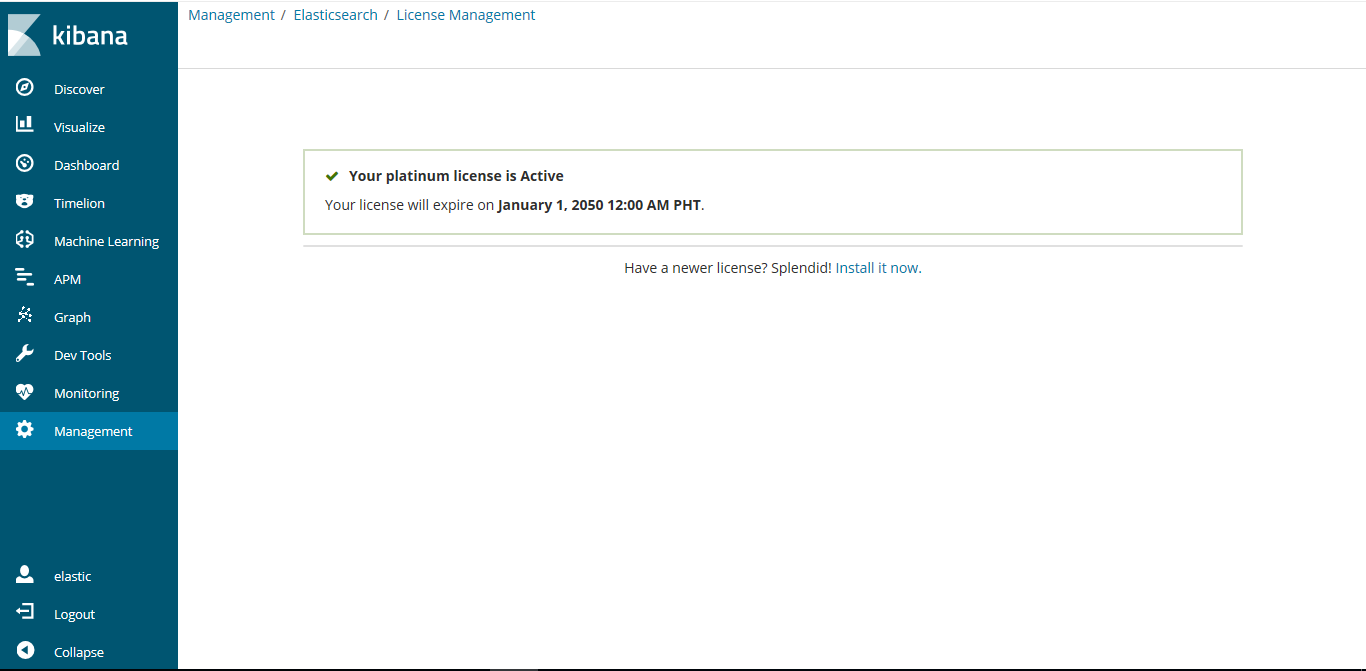
从kibana端也可看到,licence修改过后过期时间为2050年


彩蛋:
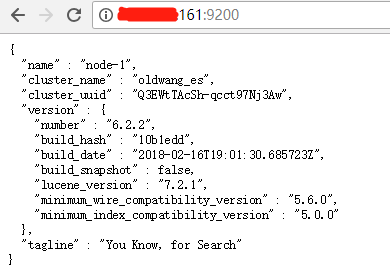
http://IP:/_cluster/health?pretty                     # 集群用户检查
http://IP:9200/_cat/health
http://10.20.88.161:9200/_cat/health?v
ELK初学搭建的更多相关文章
- ELK初学搭建(kibana)
ELK初学搭建(kibana) elasticsearch logstash kibana ELK初学搭建 kibana 1.环境准备 centos6.8_64 mini IP:192.168.10. ...
- ELK初学搭建(elasticsearch)
ELK初学搭建(elasticsearch) elasticsearch logstash kibana ELK初学搭建 elasticsearch 1.环境准备 centos6.8_64 mini ...
- ELK初学搭建(logstash)
ELK初学搭建(logstash) elasticsearch logstash kibana ELK初学搭建 logstash 1.环境准备 centos6.8_64 mini IP:192.168 ...
- ELK+redis搭建nginx日志分析平台
ELK+redis搭建nginx日志分析平台发表于 2015-08-19 | 分类于 Linux/Unix | ELK简介ELKStack即Elasticsearch + Logstas ...
- 使用elk+redis搭建nginx日志分析平台
elk+redis 搭建nginx日志分析平台 logstash,elasticsearch,kibana 怎么进行nginx的日志分析呢?首先,架构方面,nginx是有日志文件的,它的每个请求的状态 ...
- linux下利用elk+redis 搭建日志分析平台教程
linux下利用elk+redis 搭建日志分析平台教程 http://www.alliedjeep.com/18084.htm elk 日志分析+redis数据库可以创建一个不错的日志分析平台了 ...
- ELK平台搭建(上)
一.目的 为指导在Centos6.8系统下搭建标准ELK平台的工作. 二.定义 Elasticsearch Logstash Kibana结合Redis协同工作. 三.适用范围 适用于运营维护组运维工 ...
- ELK 环境搭建4-Kafka + zookeeper
一.安装前准备 1.节点 192.168.30.41 192.168.30.42 192.168.30.43 2.操作系统: Centos7.5 3.安装包 a.java8: jdk-8u181-li ...
- ELK 环境搭建3-Logstash
一.Logstash是一款轻量级的日志搜集处理框架,可以方便的把分散的.多样化的日志搜集起来,并进行自定义的处理,然后传输到指定的位置,比如某个服务器或者文件或者中间件. 二.搭建 1.因为要涉及到收 ...
随机推荐
- CSS设计模式之三权分立模式篇 ( 转)
转自 海玉的博客 市面上我们常常会看到各种各样的设计模式书籍,Java设计模式.C#设计模式.Ruby设计模式等等.在众多的语言设计模式中我唯独找不到关于CSS设计模式的资料,即使在网上找到类似内容, ...
- 阿里云服务器Linux常用命令
系统信息 arch 显示机器的处理器架构(1) uname -m 显示机器的处理器架构(2) uname -r 显示正在使用的内核版本 dmidecode -q 显示硬件系统部件 - (SMBIOS ...
- 最新机动车行驶证模板PSD可编辑分层文件下载
机动车行驶证PSD模板下载地址: http://www.qijieworld.com/thread-1834752-1-1.html 模板为psd格式,内容可编辑修改,需使用 Photoshop CS ...
- 【转载】图解MySQL MSI方式安装方法
********************************** 后来发现图片是百度的被封了.有空再换下吧. 一般百度经验这样的链接是不会失效的,大家可以百度查看. *************** ...
- 使用 Python 设置数据的路径
使用 Python 设置数据的路径 编程语言(如 Python)将反斜线 (\) 用作转义字符.例如,\n 表示换行符,\t 表示制表符.指定路径时,可使用正斜线 (/) 代替反斜线.使用两条反斜线( ...
- arcgis C#判断点在线段的左右侧
要判断一个点在一条线段的左侧还是右侧,从网上查到了这样一个算法.其实本质上就是一个sin角度的计算问题. 设线段端点为从A(x1,y1)到B(x2,y2),线外一点P(x0,y0),判断该点位于有向线 ...
- Ubuntu setup ftp server.
http://www.cnblogs.com/bcsflilong/p/4200139.html Steps 1. Install vsftpd sudo apt-get install vsftpd ...
- alter table fx.pet modify column `species` varchar(20) binary;
alter table fx.pet modify column `species` varchar(20) binary;
- PHP json数据的运用
今天这里总结一下json数据的使用实例,从5.2版本开始,PHP原生提供json_encode()和json_decode()函数,前者用于编码,后者用于解码. 一.json_encode() 1 2 ...
- broadcastemit
http://code.angularjs.org/1.0.2/docs/api/ng.$rootScope.Scope#$broadcast scope可以以类似于DOM事件的方式进行事件传播.事件 ...