
Swift - UITableView的用法
因为倾向于纯代码编码,所以不太喜欢可视化编程,不过也略有研究,所以项目里面的所有界面效果,全部都是纯代码编写!
终于到了重中之重的tableview的学习了,自我学习ios编程以来,工作中用得最多的就她了,所以不管是以前学习和现在学习,我都把对tableview的学习放在重点!
闲话少叙,代码如下:
一、先谈自定义cell,以及自定义cell上控件的自定义
cell是直接用xib拖拽的,很方便有木有
import UIKit

class MyCell: UITableViewCell {

    override func awakeFromNib() {

        super.awakeFromNib()

        // Initialization code

    }

    @IBOutlet weak var headerImg: UIImageView!

    @IBOutlet weak var fileLab: UILabel!

    override func setSelected(_ selected: Bool, animated: Bool) {

        super.setSelected(selected, animated: animated)

        // Configure the view for the selected state

    }

}
二、在控制器里面的调用
1)声明及初始化
class SeventViewController: UIViewController,UITableViewDelegate,UITableViewDataSource

    var myTableView:UITableView?

    var imgAry = [String]()

    var fileAry = [String]()
func creatTableView() {

        self.myTableView = UITableView(frame:self.view.frame,style:.plain)

        self.myTableView?.delegate = self

        self.myTableView?.dataSource = self

        self.myTableView?.tableFooterView = UIView()

        self.myTableView?.register(UINib.init(nibName: "MyCell", bundle: nil), forCellReuseIdentifier: "MyCell")

        self.myTableView?.rowHeight =

        self.view.addSubview(self.myTableView!)

    }
2)添加了一个表头,具体如下
//创建一个表头标签

        let headerLab = UILabel()

        headerLab.frame = CGRectMake(, , SCREEN_WIDTH, )

        headerLab.backgroundColor = UIColor.orangeColor()

        headerLab.textColor = UIColor.whiteColor()

        headerLab.numberOfLines =

        headerLab.lineBreakMode = NSLineBreakMode.ByWordWrapping //换行方式

        headerLab.text = "常见 UIKIT 控件"

        headerLab.font = UIFont.systemFontOfSize()

        self.tableView.tableHeaderView = headerLab
3)创建内容数组
self.imgAry = ["1.jpeg","1.jpeg","1.jpeg","1.jpeg","1.jpeg","1.jpeg",]
4)代理方法的实现
有2个代理方法是必须实现的
(1)返回行数
func tableView(_ tableView: UITableView, numberOfRowsInSection section: Int) -> Int {

        return self.imgAry.count

    }
(2)cell的初始化
func tableView(_ tableView: UITableView, cellForRowAt indexPath: IndexPath) -> UITableViewCell {

        let cell:MyCell = tableView.dequeueReusableCell(withIdentifier: "MyCell") as! MyCell

        cell.headerImg.image = UIImage(named:self.imgAry[indexPath.row])

        cell.fileLab.text = "\(indexPath.row)"

        return cell

    }
(3)cell的点击方法
func tableView(_ tableView: UITableView, didSelectRowAt indexPath: IndexPath) {

        switch indexPath.row {

        case :

            self.creatAlertView(title: "", msg: "\(indexPath.row)")

            break

        case :

            self.creatAlertView(title: "", msg: "\(indexPath.row)")

            break

        case :

            self.creatAlertView(title: "", msg: "\(indexPath.row)")

            break

        case :

            self.creatAlertView(title: "", msg: "\(indexPath.row)")

            break

        case :

            self.creatAlertView(title: "", msg: "\(indexPath.row)")

            break

        case :

            self.creatAlertView(title: "", msg: "\(indexPath.row)")

            break

        default:

            break

        }

    }

    func creatAlertView(title:String,msg:String){

        let hAlertView = UIAlertController(title:"温馨提示",message:"你点击了\(msg)",preferredStyle:.alert)

        let cancelAction = UIAlertAction(title:"取消",style:.cancel,handler:nil)

        let okAction = UIAlertAction(title:"好的",style:.default)

        hAlertView.addAction(cancelAction)

        hAlertView.addAction(okAction)

        self.present(hAlertView, animated: true, completion: nil)

    }
最终效果如下:
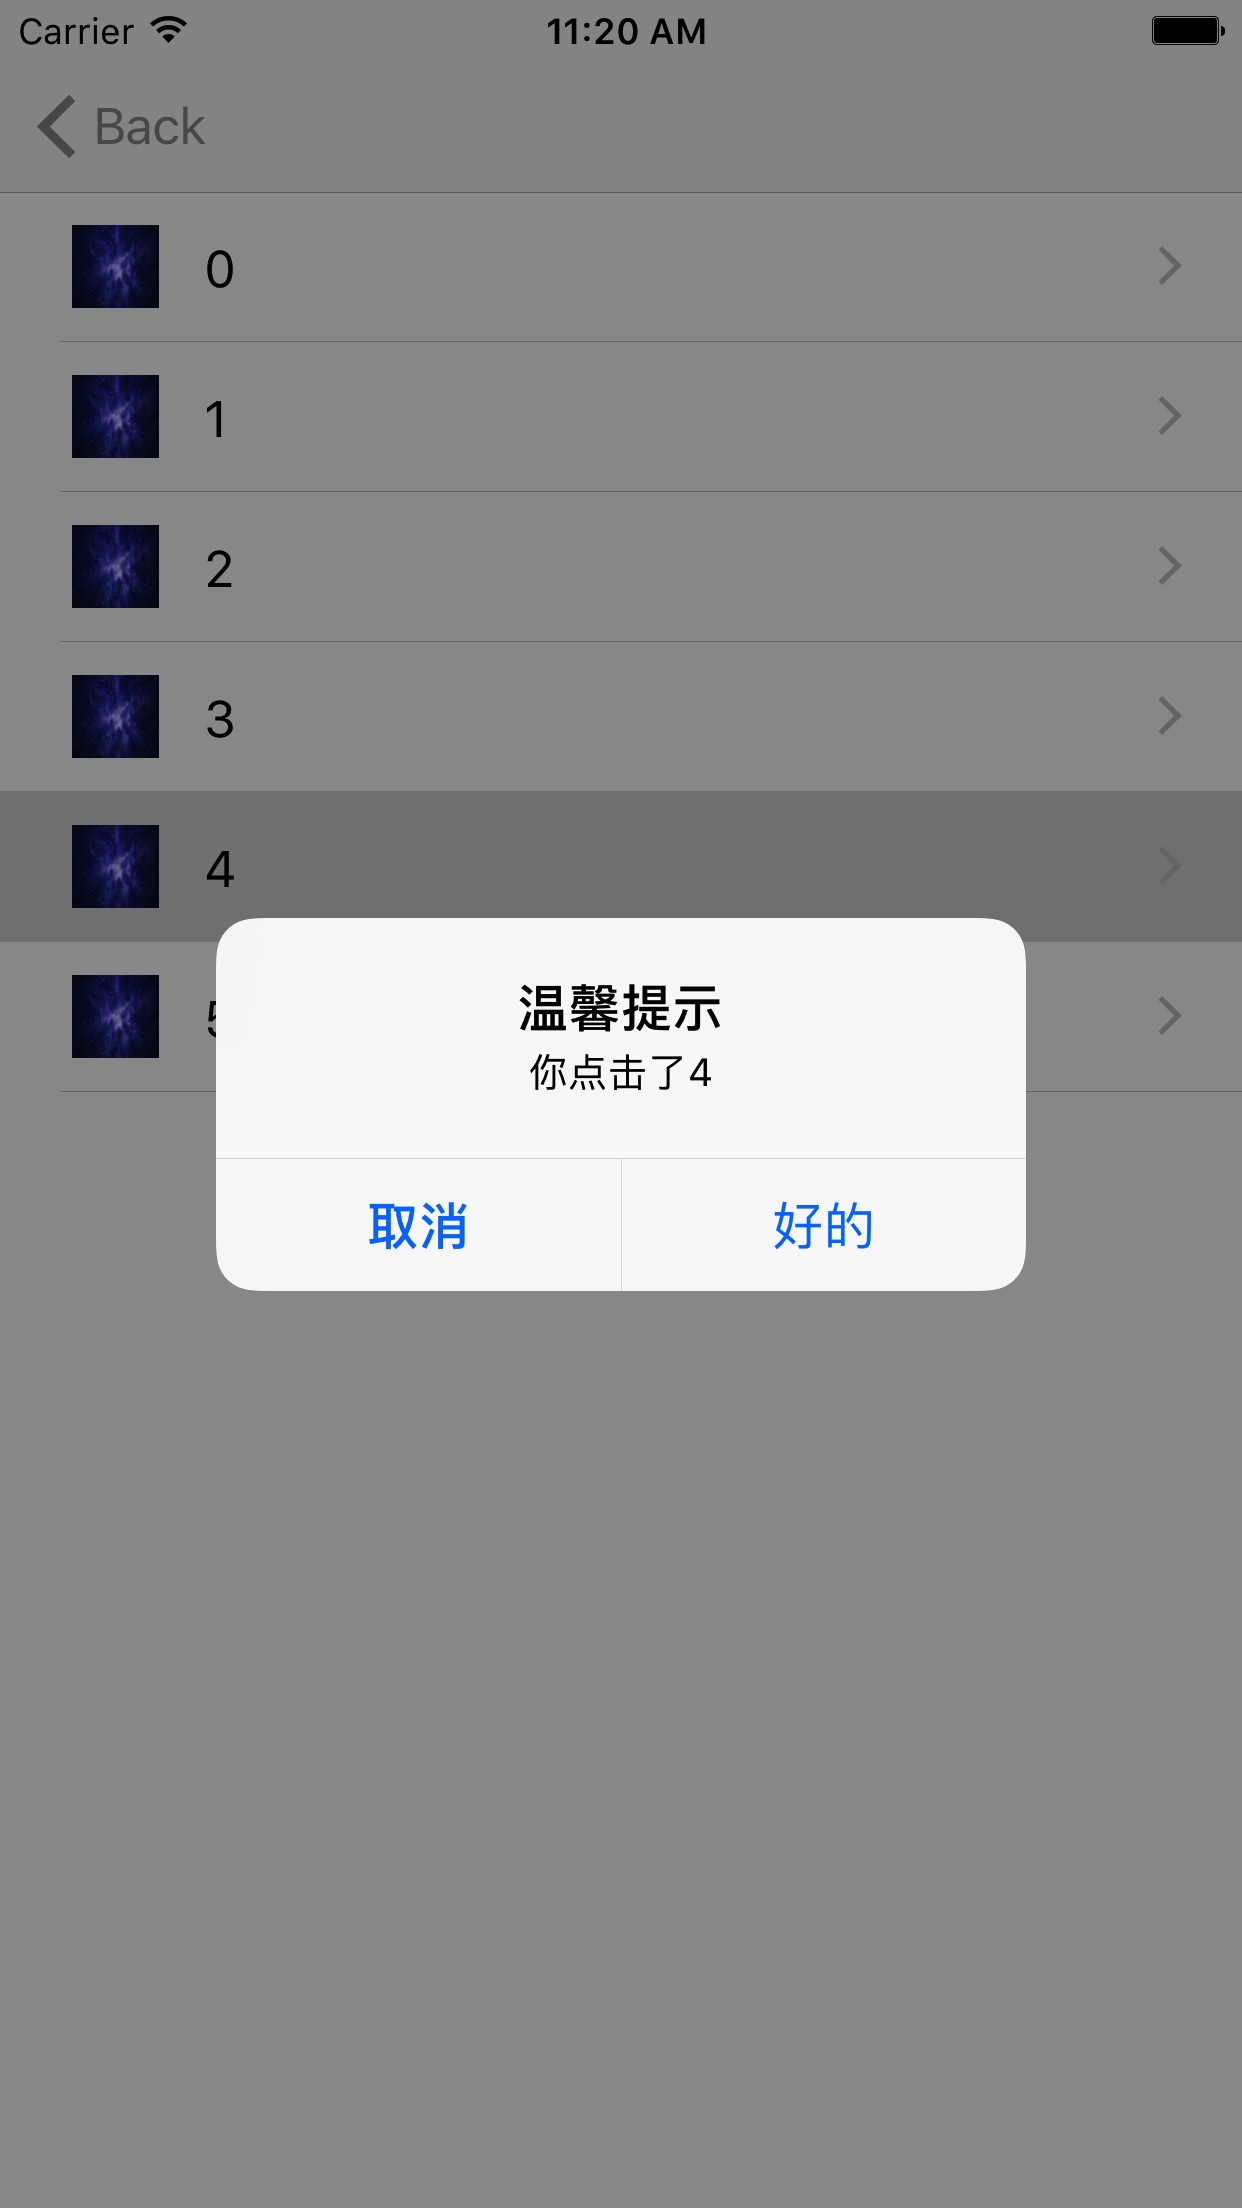
注:当然了,还有很多其他的方法,如果用到了,可以自己看一下!
三、在这里为tableview做一个分组,代码如下
1)声明
self.imgAry1 = ["2.jpeg","2.jpeg","2.jpeg","2.jpeg","2.jpeg","2.jpeg",]
2)添加并修改相关代理方法
 func numberOfSections(in tableView: UITableView) -> Int {

            return

    }

    func tableView(_ tableView: UITableView, numberOfRowsInSection section: Int) -> Int {

        if section ==  {

            return self.imgAry.count

        }

        return self.imgAry1.count

    }

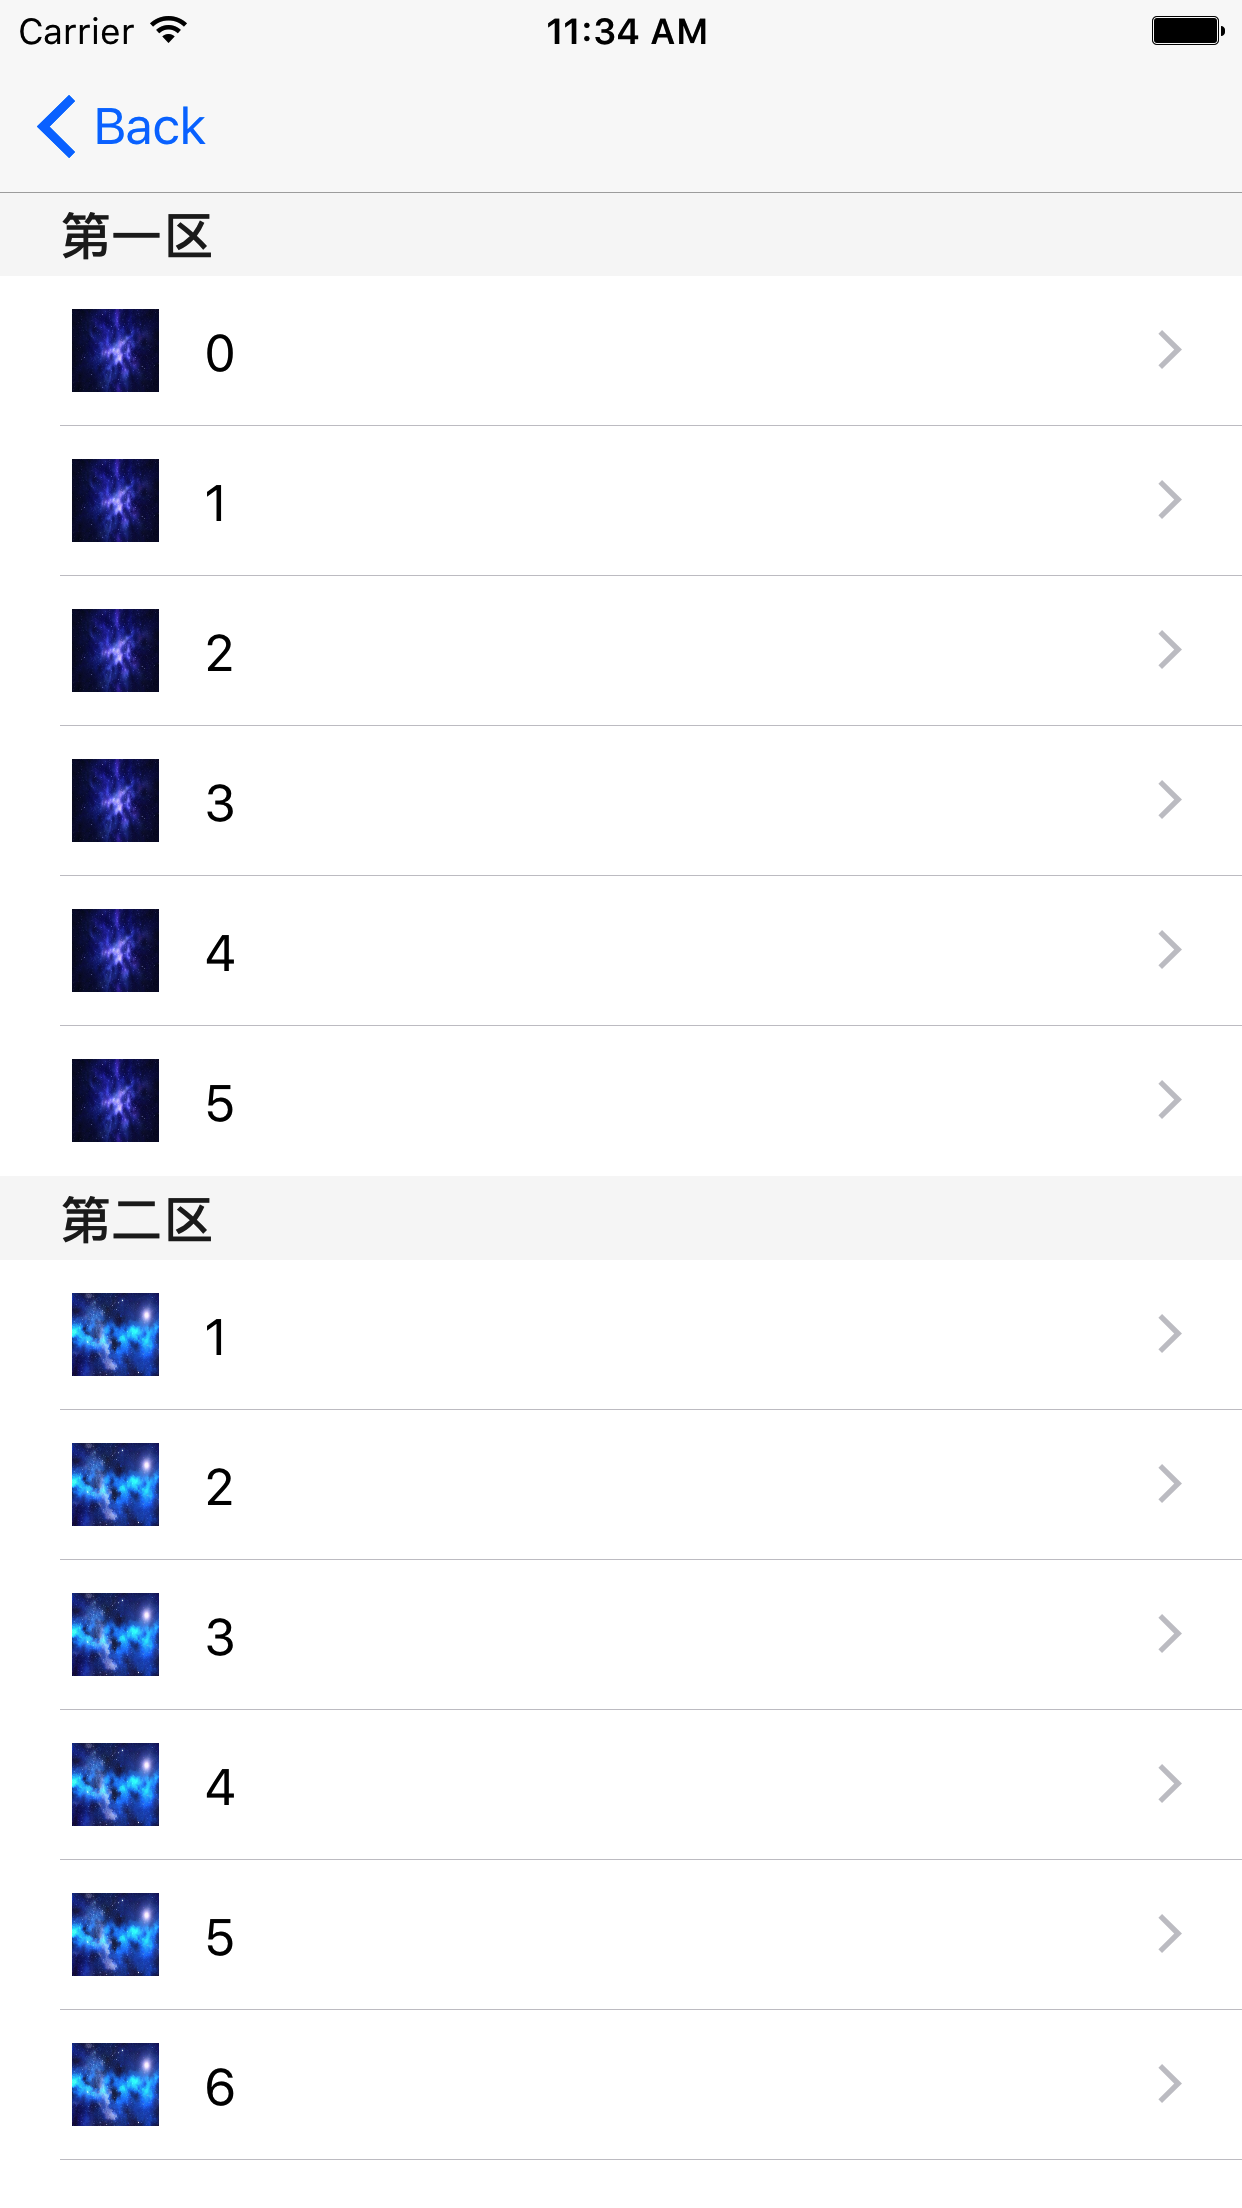
    func tableView(_ tableView: UITableView, titleForHeaderInSection section: Int) -> String? {

        var header = NSArray()

        header = ["第一区","第二区"]

        return header[section] as? String

    }

    func tableView(_ tableView: UITableView, cellForRowAt indexPath: IndexPath) -> UITableViewCell {

        let cell:MyCell = tableView.dequeueReusableCell(withIdentifier: "MyCell") as! MyCell

        if indexPath.section ==  {

            cell.headerImg.image = UIImage(named:self.imgAry[indexPath.row])

            cell.fileLab.text = "\(indexPath.section+indexPath.row)"

        }else

        {

            cell.headerImg.image = UIImage(named:self.imgAry1[indexPath.row])

            cell.fileLab.text = "\(indexPath.section+indexPath.row)"

        }

        return cell

    }
这样的话,一个简单的分组就完成了,不过tableview博大精深,还得继续钻研啊!
效果图如下:
Swift - UITableView的用法的更多相关文章
- Swift - UITableView展开缩放动画
Swift - UITableView展开缩放动画 效果 源码 https://github.com/YouXianMing/Swift-Animations // // HeaderViewTapA ...
- Swift - UITableView状态切换效果
Swift - UITableView状态切换效果 效果 源码 https://github.com/YouXianMing/Swift-Animations // // TableViewTapAn ...
- SWIFT UITableView的基本用法
import UIKit @UIApplicationMain class AppDelegate: UIResponder, UIApplicationDelegate { var window: ...
- UITableView类用法大全:UITableView属性
[storyboard创建tableView步骤] 1.设置根视图 2.选中视图,设置导航栏editor/embed in/navigationcontroller 3.cell设置Identifie ...
- IOS SWIFT UITableView 实现简单微博列表
// // Weibo.swift // UITableViewCellExample // // Created by XUYAN on 15/8/15. // Copyright (c) 2015 ...
- Swift - UITableView里的cell底部分割线左侧靠边
override func viewDidLoad() { super.viewDidLoad() // Do any additional setup after loading the view, ...
- Swift - enumerateObjectsUsingBlock的用法
enumerateobjectsusingblock:不是Array的方法在NSArray使用.如果你想使用它,你需要一个实例NSArray而不是Array. import Foundation va ...
- swift函数的用法,及其嵌套实例
import Foundation //swift函数的使用 func sayHello(name userName:String ,age:Int)->String{ return " ...
- Swift继承的用法
一个类可以继承另一个类的方法,属性和其它特性.当一个类继承其它类,继承类叫子类,被继承类叫超类(或父类).在Swift中,继承是区分「类」与其它类型的一个基本特征. 在Swift中,类可以调用和访问超 ...
随机推荐
- Django 用ModelForm批量保存form表单(非常实用的方法) mfor_verity项目
1.先看一下 Model 非常多 from django.db import models from users.models import UserProfile # Create your mod ...
- Android开发日记(四)
在服务器端数据库新建一个表ad 在DataInfo.edxm模型中点击从数据库更新模型,发布. 就新建了一个实体ad 然后新建cs文件 using System; using System.Colle ...
- jfinal视频目录
目录-----------------------------------------------------------第一章 简介第二章 JFine2.0 maven demo第三章番外篇 JFi ...
- 解决libstdc++.so.5问题
./bowtie2-buildbowtie2-build: error while loading shared libraries: libtinfo.so.5: cannot open share ...
- Android——TextView属性XML详解
Android_TextView属性XML详解 博客分类: android 属性名称 描述 android:autoLink 设置是否当文本为URL链接/email/电话号码/map时 ...
- Remote Desktop Connection没法全屏解决方案
Remote Desktop Connection无法全屏解决方案Sometimes, Remote Desktop Connection总是一个窗口,不自动全屏,任务栏不能自动隐藏起来,要拖动滚动条 ...
- 也许,这样理解HTTPS更容易(今天看到的, 对https总结最好的一篇)
摘要:本文尝试一步步还原HTTPS的设计过程,以理解为什么HTTPS最终会是这副模样.但是这并不代表HTTPS的真实设计过程.在阅读本文时,你可以尝试放下已有的对HTTPS的理解,这样更利于" ...
- 关于Cocos2d-x运行项目时弹框崩溃的解决
想要运行工程的时候,跳出一个框说停止cantnot open the window,还提到什么GLVM之类的,这是显卡驱动出现问题,如果是远程连接电脑的话,很有可能就是用来远程连接的那台电脑的显卡驱动 ...
- Resource接口,及资源
Resource介绍 编码的时候,除了代码本身,我们还需要对外部的资源进行处理.例如:URL资源.URI资源.File资源.ClassPath相关资源.服务器相关资源(VFS等)等等. 而这些资源的处 ...
- 第二百九十六节,python操作redis缓存-Hash哈希类型,可以理解为字典类型
第二百九十六节,python操作redis缓存-Hash哈希类型,可以理解为字典类型 Hash操作,redis中Hash在内存中的存储格式如下图: hset(name, key, value)name ...