DelaunayTriangulation_VoronoiDiagram_using_OpenCV的实现
前言
最近project中有关于delaunay的实现问题,查找资料,看到learnopencv这个网站,有很多peoject的实现,本文主要是实现Delaunay Triangulation and Voronoi Diagram using OpenCV这个project,基于Python实现的。
环境
系统环境:win7_64
python版本:python3.5.2
实现过程
1.下载代码和依赖的资源;
github上列出了learnopencv用到的全部代码,非常不错!推荐~
2.基于python的代码;
#!/usr/bin/python

#RE:http://www.learnopencv.com/delaunay-triangulation-and-voronoi-diagram-using-opencv-c-python/

import cv2

import numpy as np

import random

# Check if a point is inside a rectangle

def rect_contains(rect, point) :

    if point[0] < rect[0] :

        return False

    elif point[1] < rect[1] :

        return False

    elif point[0] > rect[2] :

        return False

    elif point[1] > rect[3] :

        return False

    return True

# Draw a point

def draw_point(img, p, color ) :

    #cv2.circle( img, p, 2, color, cv2.cv.CV_FILLED, cv2.CV_AA, 0 )

    cv2.circle( img, p, 2, color, cv2.FILLED, 0 )

# Draw delaunay triangles

def draw_delaunay(img, subdiv, delaunay_color ) :

    triangleList = subdiv.getTriangleList();

    size = img.shape

    r = (0, 0, size[1], size[0])

    for t in triangleList :

        pt1 = (t[0], t[1])

        pt2 = (t[2], t[3])

        pt3 = (t[4], t[5])

        if rect_contains(r, pt1) and rect_contains(r, pt2) and rect_contains(r, pt3) :

            cv2.line(img, pt1, pt2, delaunay_color, 1, 0)

            cv2.line(img, pt2, pt3, delaunay_color, 1, 0)

            cv2.line(img, pt3, pt1, delaunay_color, 1, 0)

# Draw voronoi diagram

def draw_voronoi(img, subdiv) :

    ( facets, centers) = subdiv.getVoronoiFacetList([])

    for i in range(0,len(facets)) :

        ifacet_arr = []

        for f in facets[i] :

            ifacet_arr.append(f)

        ifacet = np.array(ifacet_arr, np.int)

        color = (random.randint(0, 255), random.randint(0, 255), random.randint(0, 255))

        cv2.fillConvexPoly(img, ifacet, color, 0);

        ifacets = np.array([ifacet])

        cv2.polylines(img, ifacets, True, (0, 0, 0), 1, 0)

        cv2.circle(img, (centers[i][0], centers[i][1]), 3, (0, 0, 0), cv2.FILLED, 0)

if __name__ == '__main__':

    # Define window names

    win_delaunay = "Delaunay Triangulation"

    win_voronoi = "Voronoi Diagram"

    # Turn on animation while drawing triangles

    animate = True

    # Define colors for drawing.

    delaunay_color = (255,255,255)

    points_color = (0, 0, 255)

    # Read in the image.

    img = cv2.imread("obama.jpg");

    # Keep a copy around

    img_orig = img.copy();

    # Rectangle to be used with Subdiv2D

    size = img.shape

    rect = (0, 0, size[1], size[0])

    # Create an instance of Subdiv2D

    subdiv = cv2.Subdiv2D(rect);

    # Create an array of points.

    points = [];

    # Read in the points from a text file

    with open("obama.txt") as file :

        for line in file :

            x, y = line.split()

            points.append((int(x), int(y)))

    # Insert points into subdiv

    for p in points :

        subdiv.insert(p)

        # Show animation

        if animate :

            img_copy = img_orig.copy()

            # Draw delaunay triangles

            draw_delaunay( img_copy, subdiv, (255, 255, 255) );

            cv2.imshow(win_delaunay, img_copy)

            cv2.waitKey(100)

    # Draw delaunay triangles

    draw_delaunay( img, subdiv, (255, 255, 255) );

    # Draw points

    for p in points :

        draw_point(img, p, (0,0,255))

    # Allocate space for Voronoi Diagram

    img_voronoi = np.zeros(img.shape, dtype = img.dtype)

    # Draw Voronoi diagram

    draw_voronoi(img_voronoi,subdiv)

    # Show results

    cv2.imshow(win_delaunay,img)

    cv2.imshow(win_voronoi,img_voronoi)

    cv2.waitKey(0)
注意:官网上的代码由于版本的不同不能正常运行,需要调试通过;
3.代码调试;
调试代码的过程中遇到较多的问题,针对出现的问题一一进行解决;
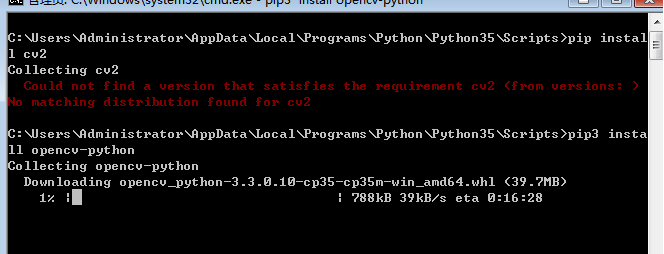
3.1)ImportError: No module named 'cv2'

原因:没有安装cv2第三方库;
解决方法:
在Python的安装目录下打开.\Scripts路径,再次目录下打开cmd,使用以下命令安装cv2
pip3 install opencv-python
尝试过的方法
第一次安装使用的命令是
pip install cv2
但是没有正确安装;
后来找到另一个方法,刚看的时候觉得很不错,不过仔细看发现主要是针对python2.7版本的,之后就放弃了;
3.2)忘记加载资源文件;

原因:程序代码中需要用到图片和txt文件,将其加载到合适的路径下即可;
3.3)版本有关;

解决方法:直接将cv2.CV_AA remove即可;
3.4)版本问题;
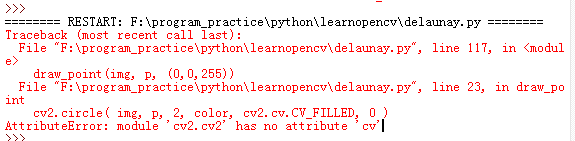
解决方法:将cv2.cv.CV_FILLED替换为cv2.CV_FILLED即可;
3.5)版本问题;
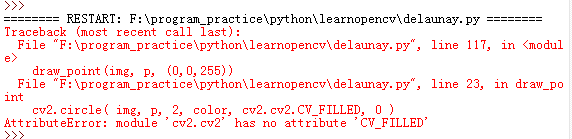
解决方法:直接将cv2.CV_FILLED替换为cv2.FILLED即可;
3.6)不同版本的语法问题;

解决方法:将xrange替换为range即可;
之前也遇到过这个问题,现在想想应该是不同版本的Python的语法不同造成的;
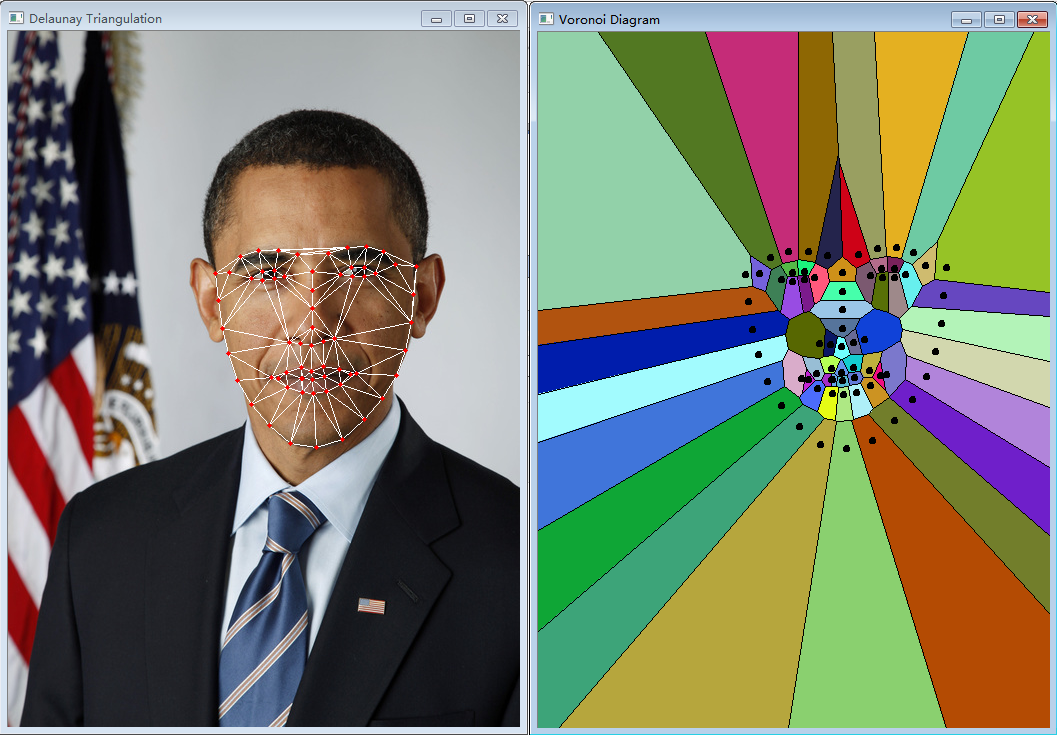
4.运行结果;
参考
完
DelaunayTriangulation_VoronoiDiagram_using_OpenCV的实现的更多相关文章
随机推荐
- 如何优化myeclipse.
1.去除不需要加载的模块 一个系统20%的功能往往能够满足80%的需求,MyEclipse也不例外,我们在大多数时候只需要20%的系统功能,所以可以将一些不使用的 模块禁止 加载启动.通过Window ...
- Topless eclipse导入myeclipse的web项目没法识别问题解决
1.进入项目目录,找到.project文件,打开. 2.找到<natures>...</natures>代码段. 3.在第2步的代码段中加入如下标签内容并保存: <nat ...
- 小行星碰撞 Asteroid Collision
2018-08-07 11:12:01 问题描述: 问题求解: 使用一个链表模拟栈,最后的状态一定是左侧全部是负值,表示的是向左飞行,右侧的全部是正值,表示的是向右飞行. 遍历整个数组,对于每个读到的 ...
- Redis之无序集合类型命令
Redis 集合(Set) Redis 的 Set 是 String 类型的无序集合.集合成员是唯一的,这就意味着集合中不能出现重复的数据. Redis 中集合是通过哈希表实现的,所以添加,删除,查找 ...
- 利用 AttachThreadInput 改变其它进程的输入法状态
利用 AttachThreadInput 和 WM_INPUTLANGCHANGEREQUEST 消息 改变 其它 进程 的 输入 状态 ? 众所周知,通过 ActivateKeyboardLayou ...
- Confluence 6 连接一个目录
你可以添加下面类型的目录服务器和目录管理器: Confluence 的内部目录(Configuring the Internal Directory). Microsoft Active Direct ...
- Working routine CodeForces - 706E (链表)
大意: 给定矩阵, q个操作, 每次选两个子矩阵交换, 最后输出交换后的矩阵 双向十字链表模拟就行了 const int N = 1500; int n, m, q; struct _ { int v ...
- UVA-242 Stamps and Envelope Size (DP)
题目大意:给一些邮票的面值组合,找出在限定的张数范围内能组合出连续最大值得那个组合. 题目分析:状态可以这样定义:dp(k,u)表示u能否用k张邮票组合成.状态转移方程很显然了. 代码如下: # in ...
- 数据库,ADO.NET(ADO),Oledb(Odbc)和编程语言关系框架图
---恢复内容开始--- ---恢复内容结束---
- OAF Sample Code(转)
原文地址: OAF Sample Code