SpringBoot+Vue+WebSocket 实现在线聊天
一、前言
本文将基于 SpringBoot + Vue + WebSocket 实现一个简单的在线聊天功能
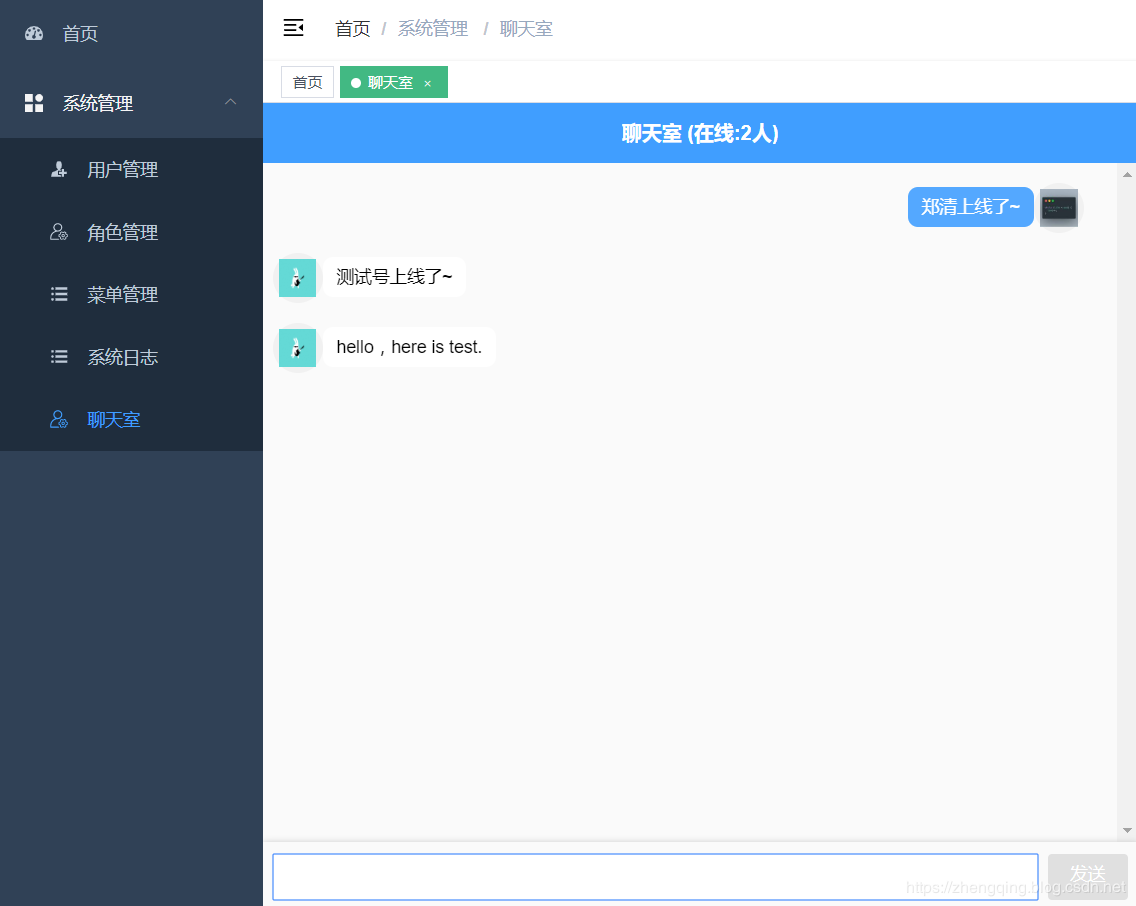
页面如下:
在线体验地址:http://www.zhengqingya.com:8101
二、SpringBoot + Vue + WebSocket 实现在线聊天
1、引入websocket依赖
<dependency>

    <groupId>org.springframework.boot</groupId>

    <artifactId>spring-boot-starter-websocket</artifactId>

</dependency>
2、websocket 配置类
@Configuration

public class WebSocketConfig {

    @Bean

    public ServerEndpointExporter serverEndpointExporter() {

        return new ServerEndpointExporter();

    }

}
3、websocket 处理类Controller
@Slf4j

@Component

@ServerEndpoint("/groupChat/{sid}/{userId}")

public class WebSocketServerController {

    /**

     * 房间号 -> 组成员信息

     */

    private static ConcurrentHashMap<String, List<Session>> groupMemberInfoMap = new ConcurrentHashMap<>();

    /**

     * 房间号 -> 在线人数

     */

    private static ConcurrentHashMap<String, Set<Integer>> onlineUserMap = new ConcurrentHashMap<>();

    /**

     * 收到消息调用的方法,群成员发送消息

     *

     * @param sid:房间号

     * @param userId:用户id

     * @param message:发送消息

     */

    @OnMessage

    public void onMessage(@PathParam("sid") String sid, @PathParam("userId") Integer userId, String message) {

        List<Session> sessionList = groupMemberInfoMap.get(sid);

        Set<Integer> onlineUserList = onlineUserMap.get(sid);

        // 先一个群组内的成员发送消息

        sessionList.forEach(item -> {

            try {

                // json字符串转对象

                MsgVO msg = JSONObject.parseObject(message, MsgVO.class);

                msg.setCount(onlineUserList.size());

                // json对象转字符串

                String text = JSONObject.toJSONString(msg);

                item.getBasicRemote().sendText(text);

            } catch (IOException e) {

                e.printStackTrace();

            }

        });

    }

    /**

     * 建立连接调用的方法,群成员加入

     *

     * @param session

     * @param sid

     */

    @OnOpen

    public void onOpen(Session session, @PathParam("sid") String sid, @PathParam("userId") Integer userId) {

        List<Session> sessionList = groupMemberInfoMap.computeIfAbsent(sid, k -> new ArrayList<>());

        Set<Integer> onlineUserList = onlineUserMap.computeIfAbsent(sid, k -> new HashSet<>());

        onlineUserList.add(userId);

        sessionList.add(session);

        // 发送上线通知

        sendInfo(sid, userId, onlineUserList.size(), "上线了~");

    }

    public void sendInfo(String sid, Integer userId, Integer onlineSum, String info) {

        // 获取该连接用户信息

        User currentUser = ApplicationContextUtil.getApplicationContext().getBean(UserMapper.class).selectById(userId);

        // 发送通知

        MsgVO msg = new MsgVO();

        msg.setCount(onlineSum);

        msg.setUserId(userId);

        msg.setAvatar(currentUser.getAvatar());

        msg.setMsg(currentUser.getNickName() + info);

        // json对象转字符串

        String text = JSONObject.toJSONString(msg);

        onMessage(sid, userId, text);

    }

    /**

     * 关闭连接调用的方法,群成员退出

     *

     * @param session

     * @param sid

     */

    @OnClose

    public void onClose(Session session, @PathParam("sid") String sid, @PathParam("userId") Integer userId) {

        List<Session> sessionList = groupMemberInfoMap.get(sid);

        sessionList.remove(session);

        Set<Integer> onlineUserList = onlineUserMap.get(sid);

        onlineUserList.remove(userId);

        // 发送离线通知

        sendInfo(sid, userId, onlineUserList.size(), "下线了~");

    }

    /**

     * 传输消息错误调用的方法

     *

     * @param error

     */

    @OnError

    public void OnError(Throwable error) {

        log.info("Connection error");

    }

}
4、websocket 消息显示类
@Data

@ApiModel(description = "websocket消息内容")

public class MsgVO {

    @ApiModelProperty(value = "用户id")

    private Integer userId;

    @ApiModelProperty(value = "用户名")

    private String username;

    @ApiModelProperty(value = "用户头像")

    private String avatar;

    @ApiModelProperty(value = "消息")

    private String msg;

    @ApiModelProperty(value = "在线人数")

    private int count;

}
5、前端页面
温馨小提示:当用户登录成功之后,可以发起websocket连接,存在store中...
下面只是单页面的简单实现
<template>

  <div class="chat-box">

    <header>聊天室 (在线:{{count}}人)</header>

    <div class="msg-box" ref="msg-box">

      <div

        v-for="(i,index) in list"

        :key="index"

        class="msg"

        :style="i.userId == userId?'flex-direction:row-reverse':''"

      >

        <div class="user-head">

          <img :src="i.avatar" height="30" width="30" :title="i.username">

        </div>

        <div class="user-msg">

          <span :style="i.userId == userId?' float: right;':''" :class="i.userId == userId?'right':'left'">{{i.content}}</span>

        </div>

      </div>

    </div>

    <div class="input-box">

      <input type="text" ref="sendMsg" v-model="contentText" @keyup.enter="sendText()" />

      <div class="btn" :class="{['btn-active']:contentText}" @click="sendText()">发送</div>

    </div>

  </div>

</template>

<script>

  export default {

    data() {

      return {

        ws: null,

        count: 0,

        userId: this.$store.getters.id, // 当前用户ID

        username: this.$store.getters.name, // 当前用户昵称

        avatar: this.$store.getters.avatar, // 当前用户头像

        list: [], // 聊天记录的数组

        contentText: "" // input输入的值

      };

    },

    mounted() {

      this.initWebSocket();

    },

    destroyed() {

      // 离开页面时关闭websocket连接

      this.ws.onclose(undefined);

    },

    methods: {

      // 发送聊天信息

      sendText() {

        let _this = this;

        _this.$refs["sendMsg"].focus();

        if (!_this.contentText) {

          return;

        }

        let params = {

          userId: _this.userId,

          username: _this.username,

          avatar: _this.avatar,

          msg: _this.contentText,

          count: _this.count

        };

        _this.ws.send(JSON.stringify(params)); //调用WebSocket send()发送信息的方法

        _this.contentText = "";

        setTimeout(() => {

          _this.scrollBottm();

        }, 500);

      },

      // 进入页面创建websocket连接

      initWebSocket() {

        let _this = this;

        // 判断页面有没有存在websocket连接

        if (window.WebSocket) {

          var serverHot =  window.location.hostname;

          let sip = '房间号'

          // 填写本地IP地址 此处的 :9101端口号 要与后端配置的一致!

          var url = 'ws://' + serverHot + ':9101' + '/groupChat/' + sip + '/' + this.userId; // `ws://127.0.0.1/9101/groupChat/10086/聊天室`

          let ws = new WebSocket(url);

          _this.ws = ws;

          ws.onopen = function(e) {

            console.log("服务器连接成功: " + url);

          };

          ws.onclose = function(e) {

            console.log("服务器连接关闭: " + url);

          };

          ws.onerror = function() {

            console.log("服务器连接出错: " + url);

          };

          ws.onmessage = function(e) {

            //接收服务器返回的数据

            let resData = JSON.parse(e.data)

            _this.count = resData.count;

            _this.list = [

              ..._this.list,

              { userId: resData.userId, username: resData.username, avatar: resData.avatar, content: resData.msg }

            ];

          };

        }

      },

      // 滚动条到底部

      scrollBottm() {

          let el = this.$refs["msg-box"];

          el.scrollTop = el.scrollHeight;

      }

    }

  };

</script>

<style lang="scss" scoped>

  .chat-box {

    margin: 0 auto;

    background: #fafafa;

    position: absolute;

    height: 100%;

    width: 100%;

    max-width: 700px;

  header {

    position: fixed;

    width: 100%;

    height: 3rem;

    background: #409eff;

    max-width: 700px;

    display: flex;

    justify-content: center;

    align-items: center;

    font-weight: bold;

    color: white;

    font-size: 1rem;

  }

  .msg-box {

    position: absolute;

    height: calc(100% - 6.5rem);

    width: 100%;

    margin-top: 3rem;

    overflow-y: scroll;

  .msg {

    width: 95%;

    min-height: 2.5rem;

    margin: 1rem 0.5rem;

    position: relative;

    display: flex;

    justify-content: flex-start !important;

  .user-head {

    min-width: 2.5rem;

    width: 20%;

    width: 2.5rem;

    height: 2.5rem;

    border-radius: 50%;

    background: #f1f1f1;

    display: flex;

    justify-content: center;

    align-items: center;

  .head {

    width: 1.2rem;

    height: 1.2rem;

  }

  // position: absolute;

  }

  .user-msg {

    width: 80%;

  // position: absolute;

    word-break: break-all;

    position: relative;

    z-index: 5;

  span {

    display: inline-block;

    padding: 0.5rem 0.7rem;

    border-radius: 0.5rem;

    margin-top: 0.2rem;

    font-size: 0.88rem;

  }

  .left {

    background: white;

    animation: toLeft 0.5s ease both 1;

  }

  .right {

    background: #53a8ff;

    color: white;

    animation: toright 0.5s ease both 1;

  }

  @keyframes toLeft {

    0% {

      opacity: 0;

      transform: translateX(-10px);

    }

    100% {

      opacity: 1;

      transform: translateX(0px);

    }

  }

  @keyframes toright {

    0% {

      opacity: 0;

      transform: translateX(10px);

    }

    100% {

      opacity: 1;

      transform: translateX(0px);

    }

  }

  }

  }

  }

  .input-box {

    padding: 0 0.5rem;

    position: absolute;

    bottom: 0;

    width: 100%;

    height: 3.5rem;

    background: #fafafa;

    box-shadow: 0 0 5px #ccc;

    display: flex;

    justify-content: space-between;

    align-items: center;

  input {

    height: 2.3rem;

    display: inline-block;

    width: 100%;

    padding: 0.5rem;

    border: none;

    border-radius: 0.2rem;

    font-size: 0.88rem;

  }

  .btn {

    height: 2.3rem;

    min-width: 4rem;

    background: #e0e0e0;

    padding: 0.5rem;

    font-size: 0.88rem;

    color: white;

    text-align: center;

    border-radius: 0.2rem;

    margin-left: 0.5rem;

    transition: 0.5s;

  }

  .btn-active {

    background: #409eff;

  }

  }

  }

</style>
本文案例demo源码
https://gitee.com/zhengqingya/xiao-xiao-su
SpringBoot+Vue+WebSocket 实现在线聊天的更多相关文章
- SpringBoot 使用WebSocket打造在线聊天室
教程: https://www.jianshu.com/p/55cfc9fcb69e https://wallimn.iteye.com/blog/2425666 关于websocket基础普及见:h ...
- SpringBoot基于websocket的网页聊天
一.入门简介正常聊天程序需要使用消息组件ActiveMQ或者Kafka等,这里是一个Websocket入门程序. 有人有疑问这个技术有什么作用,为什么要有它?其实我们虽然有http协议,但是它有一个缺 ...
- vue实现简单在线聊天
vue实现简单在线聊天 引用mui的ui库,ES6的 fetch做网络请求 //html <!DOCTYPE html> <html> <head> <met ...
- 使用websocket实现在线聊天功能
很早以前为了快速达到效果,使用轮询实现了在线聊天功能,后来无意接触了socket,关于socket我的理解是进程间通信,首先要有服务器跟客户端,服务的启动监听某ip端口定位该进程,客户端开启socke ...
- 三分钟搭建websocket实时在线聊天,项目经理也不敢这么写
我们先看一下下面这张图: 可以看到这是一个简易的聊天室,两个窗口的消息是实时发送与接收的,这个主要就是用我们今天要讲的websocket实现的. websocket是什么? websocket是一种网 ...
- .NET Core 基于Websocket的在线聊天室
什么是Websocket 我们在传统的客户端程序要实现实时双工通讯第一想到的技术就是socket通讯,但是在web体系是用不了socket通讯技术的,因为http被设计成无状态,每次跟服务器通讯完成后 ...
- 使用WebSocket实现简单的在线聊天室
前言:我自已在网上找好了好多 WebSocket 制作 在线聊天室的案列,发现大佬们写得太高深了 我这种新手看不懂,所以就自已尝试写了一个在线简易聊天室 (我只用了js 可以用jq ) 话不多说,直接 ...
- vue+websocket+express+mongodb实战项目(实时聊天)
继上一个项目用vuejs仿网易云音乐(实现听歌以及搜索功能)后,发现上一个项目单纯用vue的model管理十分混乱,然后我去看了看vuex,打算做一个项目练练手,又不想做一个重复的项目,这次我就放弃颜 ...
- vue+websocket+express+mongodb实战项目(实时聊天)(二)
原项目地址:[ vue+websocket+express+mongodb实战项目(实时聊天)(一)][http://blog.csdn.net/blueblueskyhua/article/deta ...
随机推荐
- python实现输入任意一个大写字母生成金字塔的示例
输入任意一个大写字母,生成金字塔图形 def GoldTa(input): L = [chr(i) for i in range(65, 91)] # 大写字母A--Z idA = 65 # 从A开始 ...
- Java 生成在线二维码 以Base64返回前端、或者写入到本地磁盘
思路 现阶段遇到这样一个问题,在原有的产品上加入线下优惠券模式,用户领取优惠券以后,获取到一个唯一的ID作为领取凭证,但是在线下用扫码枪进行扫码的时候,总不能让人手动输入吧 于是乎就想出了一个办法,后 ...
- Mysql用户管理及权限分配
早上到公司,在服务器上Mysql的数据库里新建了个database,然后本地的系统里用原来连接Mysql账号admin连这个数据库.结果报错了,大概是这样子的: Access denied for u ...
- 《Effective Java》 读书笔记(五)使用依赖注入取代原本的资源依赖
相信接触过Spring的同学,对于依赖注入并不陌生. 刚开始在听说这个名字的时候,一直不明白到底什么叫依赖注入,后来才发现,依赖注入一直都存在我们日常代码中,只是我们没有刻意的把它提出来,然后再取这样 ...
- 学习笔记66_DBSCAN聚类算法
- 安装requests遇到的坑
通过pip install requests命令安装,报错,提示“SSL: CERTIFICATE_VERIFY_FAILED] certificate verify failed”.百思不得其解,后 ...
- postman-接口间数据传递
接口间数据传递 在我们做接口测试过程中会经常碰到使用上一个接口返回数据的情况,jmeter中可通过正则表达式提取,postman中如何提取呢?我们来看实例,这里使用的同一个接口来演示. 我们提取出 ...
- 小白学 Python(21):生成器基础
人生苦短,我选Python 前文传送门 小白学 Python(1):开篇 小白学 Python(2):基础数据类型(上) 小白学 Python(3):基础数据类型(下) 小白学 Python(4):变 ...
- jquery 数字滚动方法
jquery 数字滚动方法用的是countUp.js这个插件 target = 目标元素的 ID:startVal = 开始值:endVal = 结束值:decimals = 小数位数,默认值是0:d ...
- Laravel上传文件(单文件,多文件)
为了方便,先修改一个配置文件,再laravel框架中config配置中找到 filesystems.php 文件 修改代码如下 'local' => [ 'driver' => 'loc ...