Git+Gitlab+Ansible剧本实现一键部署动态网站(5)
项目前言
之前已经写了一篇关于git和ansible的博客《Git+Gitlab+Ansible剧本实现一键部署Nginx–技术流ken》。关于git,gitliab,ansible在我以往的博客中都已经详细介绍,这里就不再赘述。
上一篇部署的nginx是一个静态的网站,本篇博客将使用这三个工具部署一个动态网站。
本项目将使用wordpress为例。

项目需求
需求一.、使用gitlab创建项目
需求二、 使用ansible的roles实现一键化部署wordpress
每次部署需要备份之前的网站数据
使用roles
使用templates
脚本对网站监控检测
需求三、 完成之后项目上传至gitlab
项目部署环境
centos7
Gitlab服务器: 10.220.5.137
Ansible服务器: 10.220.5.138
wordpress服务器1: 10.220.5.139
防火墙以及selinux关闭状态
创建gitlab项目
使用gitlab创建一个项目
相信大家对这个已经很熟悉了,所以我就不再详细演示该过程
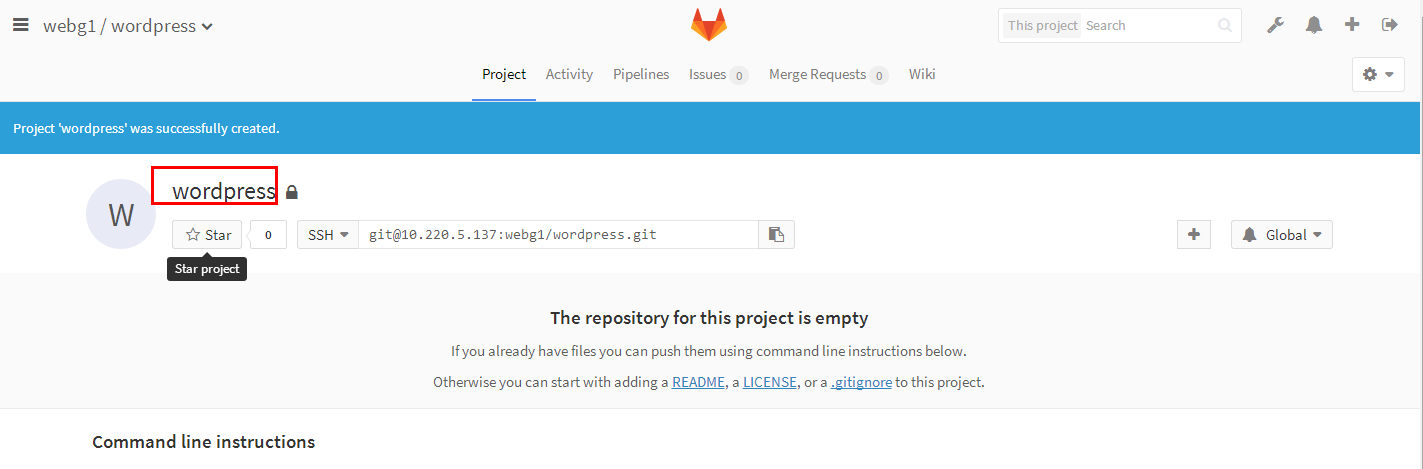
第一步:打开浏览器创建项目
这里我创建了一个wordpress的项目
上传安装包到远程仓库
上传wordpress到gitlab
第一步:创建目录
[root@ken ~]# mdkir /k

[root@ken ~]# cd /k
第二步:找到远程仓库的位置
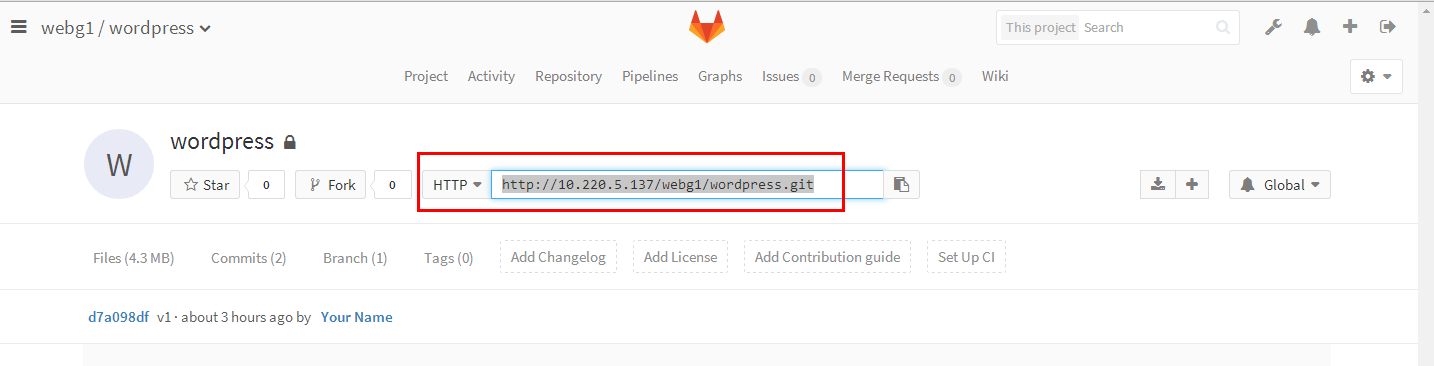

第三步:下载远程仓库项目

[root@ken k]# git clone http://10.220.5.137/webg1/wordpress.git

Cloning into 'wordpress'...

Username for 'http://10.220.5.137': root

Password for 'http://root@10.220.5.137':

remote: Counting objects: 1045, done.

remote: Compressing objects: 100% (957/957), done.

remote: Total 1045 (delta 68), reused 1042 (delta 68)

Receiving objects: 100% (1045/1045), 4.14 MiB | 0 bytes/s, done.

Resolving deltas: 100% (68/68), done.

[root@ken k]#
第四步:上传本地安装包至远程目录
[root@ken k]# git add wordpress

[root@ken k]# git commit -m "v1"

[root@ken k]# git push
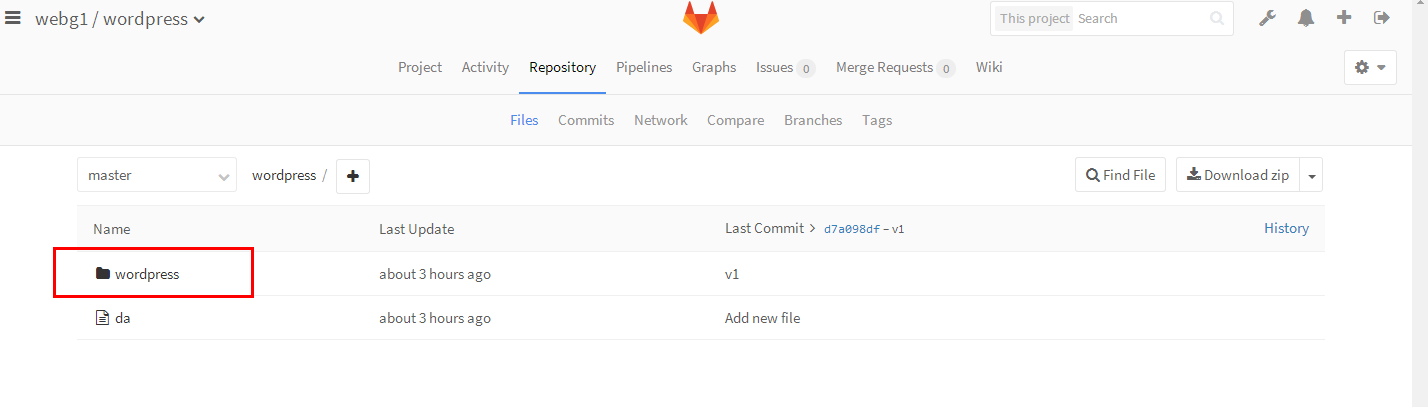
第五步:web端查看

编写ansible剧本
上一篇博客已经详细讲解了有关roles的使用,这里我们依然是使用roles来完成该项目
第一步:创建相关目录
在ansible服务器端操作
[root@ken ~]# mkdir /project/roles/wordpress/{vars,tasks,files,templates} -pv
第二步:编写templates模版
  [root@ken ~]# cp /etc/httpd/conf/httpd.conf /project/roles/wordpress/templates/httpd.conf.j2

  [root@ken ~]# grep -v -E '^#|^$| +#' /project/roles/wordpress/templates/httpd.conf.j2

  ServerRoot "/etc/httpd"

  Listen {{ port }}    #定义成变量

  Include conf.modules.d/*.conf

  User {{ user }}       #定义成变量

  Group apache

  ServerAdmin root@localhost

  ServerName {{ ansible_eth0.ipv4.address }}  #引用内置变量

  DocumentRoot {{ root }}               #定义成变量
第三步:编辑hosts配置文件
[root@ken project]# vim /etc/ansible/hosts

[devser]

10.220.5.139
第四步:编写测试文件
[root@ken project]# vim roles/wordpress/files/index.php

<?php

phpinfo();

?>
第五步:编写网站健康监测脚本
[root@ken project]# cd roles/wordpress/files/

[root@ken files]# ls

[root@ken files]# vim check.sh

[root@ken files]# cat check.sh

#!/bin/bash

URL=$1

PORT=$2

curl -I http://$1:$2/index.php | grep "200 OK" &>/dev/null

if [ $? -eq 0 ];then

    echo "$1 status is ok"

else

    echo "$1 status is not ok"

fi
第六步:编写tasks下的文件
[root@ken wordpress]# cat tasks/main.yml

######## 安装 httpd php mysql ###############

- name: install httpd

  yum: name=httpd state=present

- name: install mysql

  yum: name=mariadb-server state=present

- name: install php

  shell: yum install php php-mysql -y

######## 配置httpd #########################

- name: make configrantion file

  template: src=httpd.conf.j2 dest=/etc/httpd/conf/httpd.conf

- name: install test page

  copy: src=index.php dest={{ root }}

######## 启动服务 ####################

- name: start httpd

  service: name=httpd state=restarted

- name: start mysql

  service: name=mariadb state=restarted

######### 检查部署结果是否正常 ##########

- name: make health check

  shell: sh roles/wordpress/files/check.sh {{ ansible_eth0.ipv4.address }} {{ port }}

  delegate_to: localhost

  register: health_status

- debug: msg="{{ health_status.stdout }}"

########## 从gitlab拉取代码 #################

- name: backup old files

  shell: mv {{ root }} {{ backup_to }}

- name: close ssl authtication

  shell: git config --global http.sslVerify false

- name: git clone wordpress from gitlab

  git: "repo=http://{{ gitlab_user }}:{{ gitlab_pass }}@10.220.5.137/webg1/wordpress.git dest={{ root }} version=master"
第七步:编写vars下的文件
[root@ken ~] # cat /project/roles/wordpress/vars/main.yml

port: 82

user: apache

root: /var/www

gitlab_user: root

gitlab_pass: 12345678
第八步:编辑剧本
剧本一定要和roles在同一个目录之中
执行剧本的时候也要在roles同级目录下执行
[root@ken ~]# vim /project/wordpress.yaml

- hosts: all

  vars:

     backup_to: "{{ root }}_{{ ansible_date_time.epoch }}"

  roles:

   - wordpress
第九步:一键部署wordpress
[root@ken ~]# cd /project/

[root@ken project]# ansible-playbook -i wordpress.yaml
第十步:查看执行过程
可以发现没有报错
第一个警告是提示我们port这个我们定义的变量是保留变量
第二个警告是提示我们应当使用yum来安装软件,我们是使用了shell
这两个警告都可以忽略
[root@ken project]# ansible-playbook dev.yaml

 [WARNING]: Found variable using reserved name: port

PLAY [all] ************************************************************************************

TASK [Gathering Facts] ************************************************************************

ok: [10.220.5.139]

TASK [wordpress : install httpd] **************************************************************

ok: [10.220.5.139]

TASK [wordpress : install mysql] **************************************************************

ok: [10.220.5.139]

TASK [wordpress : install php] ****************************************************************

 [WARNING]: Consider using the yum module rather than running yum.  If you need to use command

because yum is insufficient you can add warn=False to this command task or set

command_warnings=False in ansible.cfg to get rid of this message.

changed: [10.220.5.139]

TASK [wordpress : make configrantion file] ****************************************************

ok: [10.220.5.139]

TASK [wordpress : install test page] **********************************************************

changed: [10.220.5.139]

TASK [wordpress : start httpd] ****************************************************************

changed: [10.220.5.139]

TASK [wordpress : start mysql] ****************************************************************

ok: [10.220.5.139]

TASK [wordpress : make health check] **********************************************************

changed: [10.220.5.139 -> localhost]

TASK [wordpress : debug] **********************************************************************

ok: [10.220.5.139] => {

    "msg": "10.220.5.139 status is ok"

}

TASK [wordpress : backup old files] ***********************************************************

changed: [10.220.5.139]

TASK [wordpress : close ssl authtication] *****************************************************

changed: [10.220.5.139]

TASK [wordpress : git clone wordpress from gitlab] ********************************************

changed: [10.220.5.139]

PLAY RECAP ************************************************************************************

10.220.5.139               : ok=13   changed=7    unreachable=0    failed=0
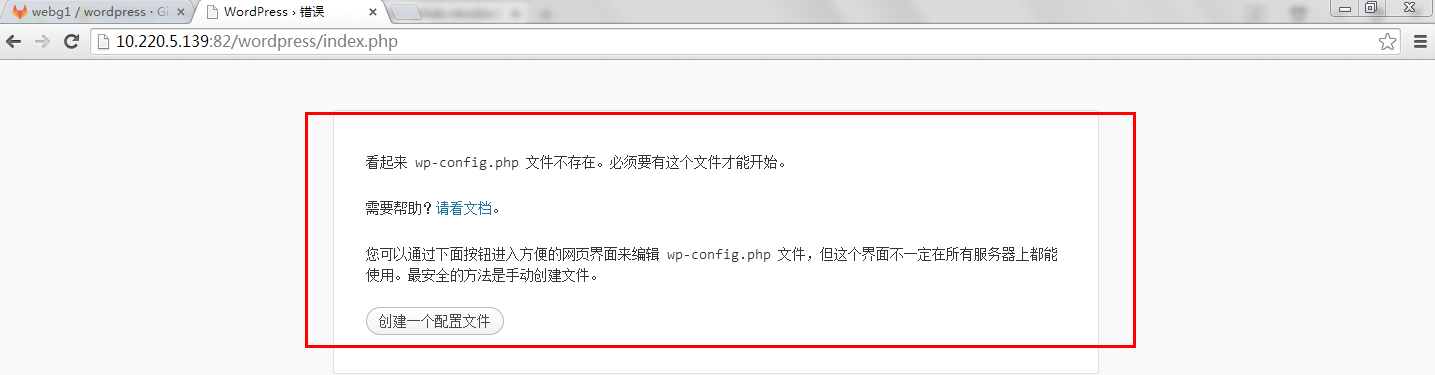
第十一步:浏览器查查
访问成功!
接下来就可以进行数据库的配置了

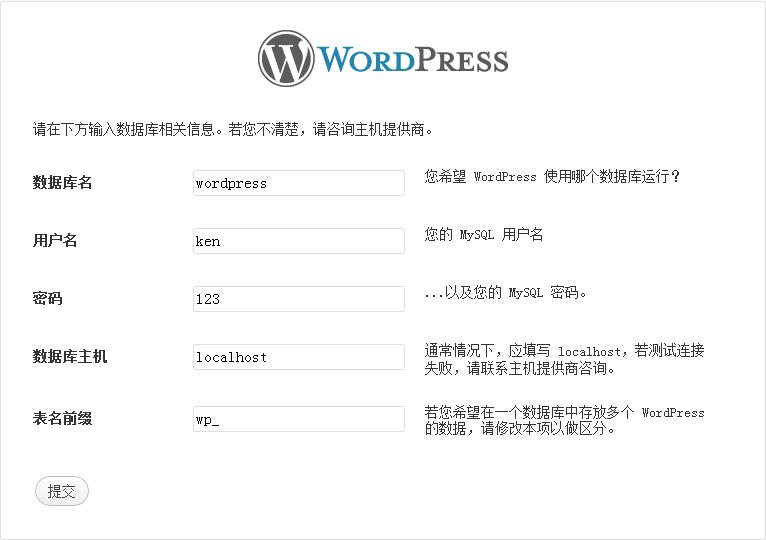
第十二步:配置数据库
因为数据很重要,建议不要写在剧本,还是自己手动设置吧!
第一步:创建库和用户
[root@ken ~]# mysql -uroot -p123

Welcome to the MariaDB monitor.  Commands end with ; or \g.

Your MariaDB connection id is 4

Server version: 5.5.60-MariaDB MariaDB Server

Copyright (c) 2000, 2018, Oracle, MariaDB Corporation Ab and others.

Type 'help;' or '\h' for help. Type '\c' to clear the current input statement.

MariaDB [(none)]> create database wordpress;

Query OK, 1 row affected (0.02 sec)

MariaDB [(none)]> grant all on wordpress.* to ken@'localhost' identified by '123';

Query OK, 0 rows affected (0.03 sec)

MariaDB [(none)]> flush privileges;

Query OK, 0 rows affected (0.02 sec)

MariaDB [(none)]> exit

Bye
第二步:浏览器访问
填写你刚才创建数据库的信息
点击提交即可

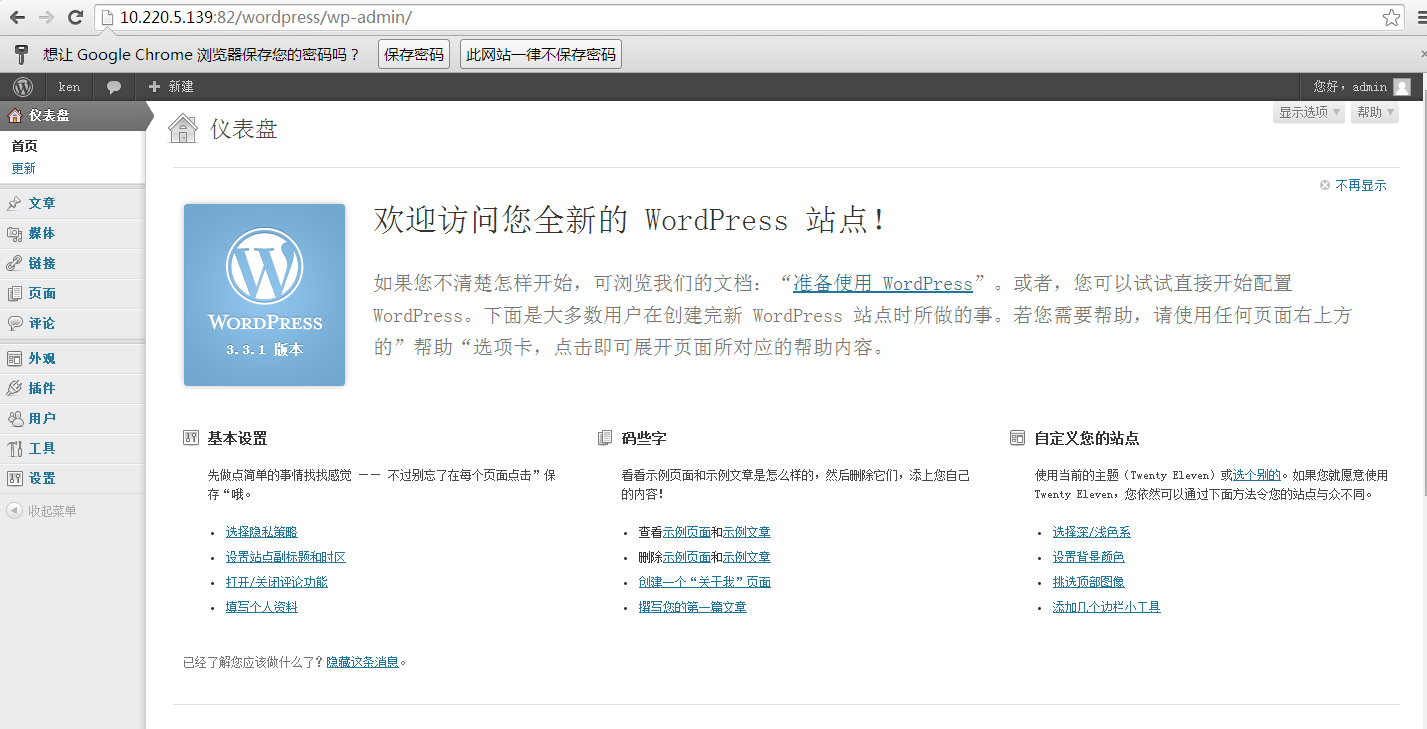
第三步:网站部署成功

代码提交
第一步:创建目录
[root@ken project]# mkdir /ke

[root@ken project]# cd /ke
第二步:下载仓库
[root@ken ke]# git clone http://10.220.5.137/webg1/wordpress.git

[root@ken ke]# cd wordpress/
第三步:代码提交
[root@ken wordpress]# cp /project -a ./

[root@ken wordpress]# git add project

[root@ken wordpress]# git commit -m "v2"

[root@ken wordpress]# git push
第四步:web端查看
可以发现v2的版本已经被提交上来了


Git+Gitlab+Ansible剧本实现一键部署动态网站(5)的更多相关文章
- Git+Gitlab+Ansible剧本实现一键部署动态网站(二)--技术流ken
项目前言 之前已经写了一篇关于git和ansible的博客<Git+Gitlab+Ansible剧本实现一键部署Nginx--技术流ken>.关于git,gitliab,ansible在我 ...
- Jenkins+Git+Gitlab+Ansible实现持续集成自动化部署动态网站(二)--技术流ken
项目前言 在上一篇博客<Jenkins+Git+Gitlab+Ansible实现持续化集成一键部署静态网站(一)--技术流ken>中已经详细讲解了如何使用这四个工具来持续集成自动化部署一个 ...
- Jenkins+Git+Gitlab+Ansible实现持续集成自动化部署动态网站(7)
项目前言 在上一篇博客<Jenkins+Git+Gitlab+Ansible实现持续化集成一键部署静态网站(一)–技术流ken>中已经详细讲解了如何使用这四个工具来持续集成自动化部署一个静 ...
- Jenkins+Git+Gitlab+Ansible实现持续集成自动化部署静态网站(一)--技术流ken
前言 在之前已经写了关于Git,Gitlab以及Ansible的两篇博客<Git+Gitlab+Ansible剧本实现一键部署Nginx--技术流ken>,<Git+Gitlab+A ...
- Jenkins+Git+Gitlab+Ansible实现持续集成自动化部署静态网站(一)
在之前已经写了关于Git,Gitlab以及Ansible的两篇博客<Git+Gitlab+Ansible剧本实现一键部署Nginx--技术流ken>,<Git+Gitlab+Ansi ...
- Jenkins+Git+Gitlab+Ansible实现持续集成自动化部署静态网站(6)
前言 在之前已经写了关于Git,Gitlab以及Ansible的两篇博客<Git+Gitlab+Ansible剧本实现一键部署Nginx–技术流ken>,<Git+Gitlab+An ...
- jenkins+Git+Gitlab+Ansible实现持续集成自动化部署静态网站(二)
引言:首先我们可以实现一键部署网站,但在实际生产环境网站部署完成之后,我们的开发隔三差五要修改下网站的内容,难道都要我们运维手动执行命令吗?没有一种方法使得开发人员修改完代码自己测试,部署上线呢,那这 ...
- Jenkins+Git+Gitlab+Ansible实现持续集成自动化部署静态网站
环境准备 三台主机: 一台主机部署jenkins和作为ansible的管理主机 一台主机部署gitlab和ansible的节点1 一台主机为ansible的节点2 防火墙和apache服务关闭 第一步 ...
- jenkins+git+gitlab+ansible实现持续集成自动化部署
一.环境配置 192.168.42.8部署gitlab,节点一 192.168.42.9部署git,Jenkins,ansible服务器 192.168.42.10节点二 二.操作演示 ①gitlab ...
随机推荐
- PYTHON-anaconda-安装
1.下载: 官网地址:https://www.anaconda.com/products/individual/get-started 镜像地址(推荐):https://mirrors.tuna.ts ...
- 读取topic数据存储到文件内
基于python3.6 from pykafka import KafkaClient import logging logging.basicConfig(level=logging.INFO) d ...
- 致敬学长!J20航模遥控器开源项目计划【开局篇】 | 先做一个开机界面 | MATLAB图像二值化 | Img2Lcd图片取模 | OLED显示图片
我们的开源宗旨:自由 协调 开放 合作 共享 拥抱开源,丰富国内开源生态,开展多人运动,欢迎加入我们哈~ 和一群志同道合的人,做自己所热爱的事! 项目开源地址:https://github.com/C ...
- Redis高级项目实战,都0202年了,还不会Redis?
导读 大家都听过1万小时定律,可事实真的是这样吗?做了1万小时的CRUD,不还只会CRUD吗,这年头不适当的更新自身下技术栈,出门和别人聊天吹牛的时候,都没拿不出手,(⊙o⊙)…Redis没入门的童鞋 ...
- 【转】Linux环境搭建FTP服务器与Python实现FTP客户端的交互介绍
Linux环境搭建FTP服务器与Python实现FTP客户端的交互介绍 FTP 是File Transfer Protocol(文件传输协议)的英文简称,它基于传输层协议TCP建立,用于Interne ...
- [Window编程][VC6.0++][error LNK2001: unresolved external symbol __imp__PlaySoundA@12]
错误情况 这几天看<Windows游戏编程大师技巧>,在看第三章的时候,把书上的例子敲了一边,但是出现了下述错误,最后在网上找到了解决方法. 错误截图 解决方法 在main.cpp头文件下 ...
- 读取手机中的联系人信息(android.provider.ContactsContract)
本篇开始讲如何从Android中得到本机联系人的信息.由于Android较快的版本升级,部分API已经发生了变化.本篇探究的通过ContentProvider机制获取联系人的API从Android2. ...
- python123期末四题编程题 -无空隙回声输出-文件关键行数-字典翻转输出-《沉默的羔羊》之最多单词
1. 无空隙回声输出 描述 获得用户输入,去掉其中全部空格,将其他字符按收入顺序打印输出. ...
- Lua_C_C#
lua调用c函数 https://www.cnblogs.com/etangyushan/p/4384368.html Lua中调用C函数 https://www.cnblogs.com/sifenk ...
- echarts 画折线的一些需要去改动的地方
1.客户想要去要制定特定线条的样式(比如:颜色) 2.要去自定义改变后端传 的数值不合理的地方,在tooltiop中去展示出来 后续持更.....