Enjoy coding
Enjoy coding
iTerm配置
主题选择
- Solarized Dark
- LiquidCarbon
字体选择
- Cousine for Powerline(需要安装Powerline字体库), 18pt, Regular
Powerline 字体安装
- 官方: Powershell github: https://github.com/powerline/fonts
- 这里也已经给出了安装步骤
git clone https://github.com/powerline/fonts.git --depth=1cd fonts./install.shcd ..rm -rf fonts
oh-my-zsh安装与配置
前提条件
- oh-my-zsh依赖zsh, 如果计算机中没有则使用
brew install zsh安装zsh
安装oh-my-zsh
- 官方: oh-my-zsh: https://github.com/robbyrussell/oh-my-zsh
- 这里也已经给出了安装步骤
sh -c "$(wget https://raw.githubusercontent.com/robbyrussell/oh-my-zsh/master/tools/install.sh -O -)"
配置oh-my-zsh
- 安装bunnyruni主题(oh-my-zsh自带了很多主题但是没有这个主题)
- 官方: bunnyruni: https://github.com/jopcode/oh-my-zsh-bunnyruni-theme
- 这里也已经给出了安装步骤
mkdir -p $ZSH_CUSTOM/themes && curl https://raw.githubusercontent.com/jopcode/oh-my-zsh-bunnyruni-theme/master/bunnyruni.zsh-theme -L -o $ZSH_CUSTOM/themes/bunnyruni.zsh-theme- 修改.zshrc配置文件
- 打开配置文件.zshrc
- 修改ZSH_THEME为ZSH_THEME="bunnyruni", 大约是在第10行
- 执行
exec $SHELL使配置生效
终端命令行高亮
- 安装zsh-syntax-highlighting
- 官网: zsh-syntax-highlighting: https://github.com/zsh-users/zsh-syntax-highlighting/blob/master/INSTALL.md
- 这里也给出了安装步骤
git clone https://github.com/zsh-users/zsh-syntax-highlighting.gitecho "source ${(q-)PWD}/zsh-syntax-highlighting/zsh-syntax-highlighting.zsh" >> ${ZDOTDIR:-$HOME}/.zshrcsource ./zsh-syntax-highlighting/zsh-syntax-highlighting.zsh
终端命令提示
- 安装zsh-autosuggestions
- 官网: zsh-autosuggestions
: https://github.com/zsh-users/zsh-autosuggestions/blob/master/INSTALL.md - 这里也给出了安装步骤
git clone https://github.com/zsh-users/zsh-autosuggestions ${ZSH_CUSTOM:-~/.oh-my-zsh/custom}/plugins/zsh-autosuggestions- 在.zshrc配置文件中找到plugins所在的那一行, 该为
plugins=(git zsh-autosuggestions)
在终端打开github
- 安装git-open
- 官网: git-open: https://github.com/paulirish/git-open
- 这里也给出了安装步骤
git clone https://github.com/paulirish/git-open.git $ZSH_CUSTOM/plugins/git-open- 在.zshrc配置文件中找到plugins所在的那一行, 该为
plugins=(git zsh-autosuggestions git-open)
VIM 配置
安装VIM
- macOS 自带的vim版本太低, 要下载最新版本的VIM
brew install macvim --with-override-system, 关于brew源的配置请看homebrew配置: https://www.cnblogs.com/megachen/p/9156811.html- 执行
vim --version是否为8.*的, 如果是则表示安装成功
配置文件(在这之前先安装并配置Vundle)
- 已经给出了配置文件, 在配置文件中也给出了说明, 直接拷贝即可, 但是建议不要删除配置文件中的内容而是不断地在对应的位置(在配置文件中已经注释了哪种配置要写到哪里)追加
" ************************** Basic Settings *************************

set nocompatible              " required, so don't remove it.

filetype off                  " required, so don't remove it.

syntax on

set hlsearch

set ts=4                      " set tab space

set expandtab

set sw=4

set ic                        " ignore case

set ai

set ci

set nu                        " show line number

set ruler

set wildmenu

set showcmd

hi Pmenu ctermbg=lightblue

set nofoldenable

set encoding=utf8

" set foldmethod=indent

set clipboard=unnamed       " let vim share the clipboard with system -> really useful.

set completeopt-=preview

set completeopt=longest,menu

set relativenumber

au BufWinLeave * silent mkview  "

au BufRead * silent loadview    "

" ******************* Customized Keyboard Mapping ***********************

nnoremap <space> za             " open/close code folding.

let mapleader = "@"

" ******************* Keyboard Mapping For CompleteParameter.vim Plugin ***************

" ************* Github: https://github.com/tenfyzhong/CompleteParameter.vim **********

inoremap <silent><expr> ( complete_parameter#pre_complete("()")

smap <c-j> <Plug>(complete_parameter#goto_next_parameter)

imap <c-j> <Plug>(complete_parameter#goto_next_parameter)

smap <c-k> <Plug>(complete_parameter#goto_previous_parameter)

imap <c-k> <Plug>(complete_parameter#goto_previous_parameter)

" *** Warning area(You'd better don't modify anything here) **

" It's necessary to set ycm_global_ycm_extra_conf variable here so that the YCM can work.

let g:ycm_global_ycm_extra_conf='~/.vim/bundle/YouCompleteMe/third_party/ycmd/.ycm_extra_conf.py'

let g:ycm_key_invoke_completion = '<c-k>' " code hint

" auto complete when you input 2 characters

let g:ycm_semantic_triggers =  {

            \ 'c,cpp,python,java,go,erlang,perl': ['re!\w{2}'],

            \ 'cs,lua,javascript': ['re!\w{2}'],

            \ }

" close code syntax checking

let g:ycm_show_diagnostics_ui = 0

let g:ycm_min_num_of_chars_for_completion=1

let g:indentLine_char = "┆"

let g:indentLine_enabled = 1

let g:autopep8_disable_show_diff=1

" ================ Setting for vim status line ===============

set rtp+=~/.vim/bundle/powerline/powerline/bindings/vim

set guifont=Sauce\ Code\ Powerline:h14.5

set laststatus=2

set encoding=utf-8

set t_Co=256

set number

set fillchars+=stl:\ ,stlnc:\

set term=xterm-256color

set termencoding=utf-8

set background=light

" ============================================================

set rtp+=~/.vim/bundle/Vundle.vim

set rtp+=~/.vim/bundle/CompleteParameter.vim

call vundle#begin()

" different from other Plugins, this `Plugin 'gmarik/Vundle.vim'` statement should

" be written here.

Plugin 'gmarik/Vundle.vim'

call vundle#end()            " required, so don't remove it.

filetype plugin indent on    " required, so don't remove it.

" ********************** Plugin Area ************************

" Install Plugin

" autocmd vimenter * NERDTree

Plugin 'tmhedberg/SimpylFold'

Plugin 'Valloric/YouCompleteMe'

Plugin 'scrooloose/nerdtree'

Plugin 'kien/ctrlp.vim'         " use ctrl + p to search files

Plugin 'scrooloose/nerdcommenter'   " commenter: \cc \cu -> use `\cc` to comment code, use `\cu` to uncomment code

Plugin 'Yggdroot/indentLine'

Plugin 'powerline/powerline'
如果已经将上面的配置文件拷贝到了.vimrc中
- 执行
vim - 在normal模式下执行
PluginInstall安装插件, 注意在安装YCM的时候非常地慢, 请耐心等待
- 文件中的
hi Pmenu ctermbg=lightblue语句是这是VIM弹出菜单的背景颜色, 通过normal模式下:hi查看, 颜色的值为0-255, 每一个字符表示的颜色都可以添加前缀light和dark - 使用ctrl + p键可以在当前目录下进行全局搜索
- \cc注释一行, \cu取消注释
- 在normal模式下, 使用:NERDTree打开目录
- 在normal模式下, 使用za可以折叠和打开代码
- 执行
关于YCM的配置
- 官网: YCM: https://github.com/Valloric/YouCompleteMe/blob/master/README.md#mac-os-x
- 执行的命令
cd ~/.vim/bundle/YouCompleteMe ./install.py --clang-completer
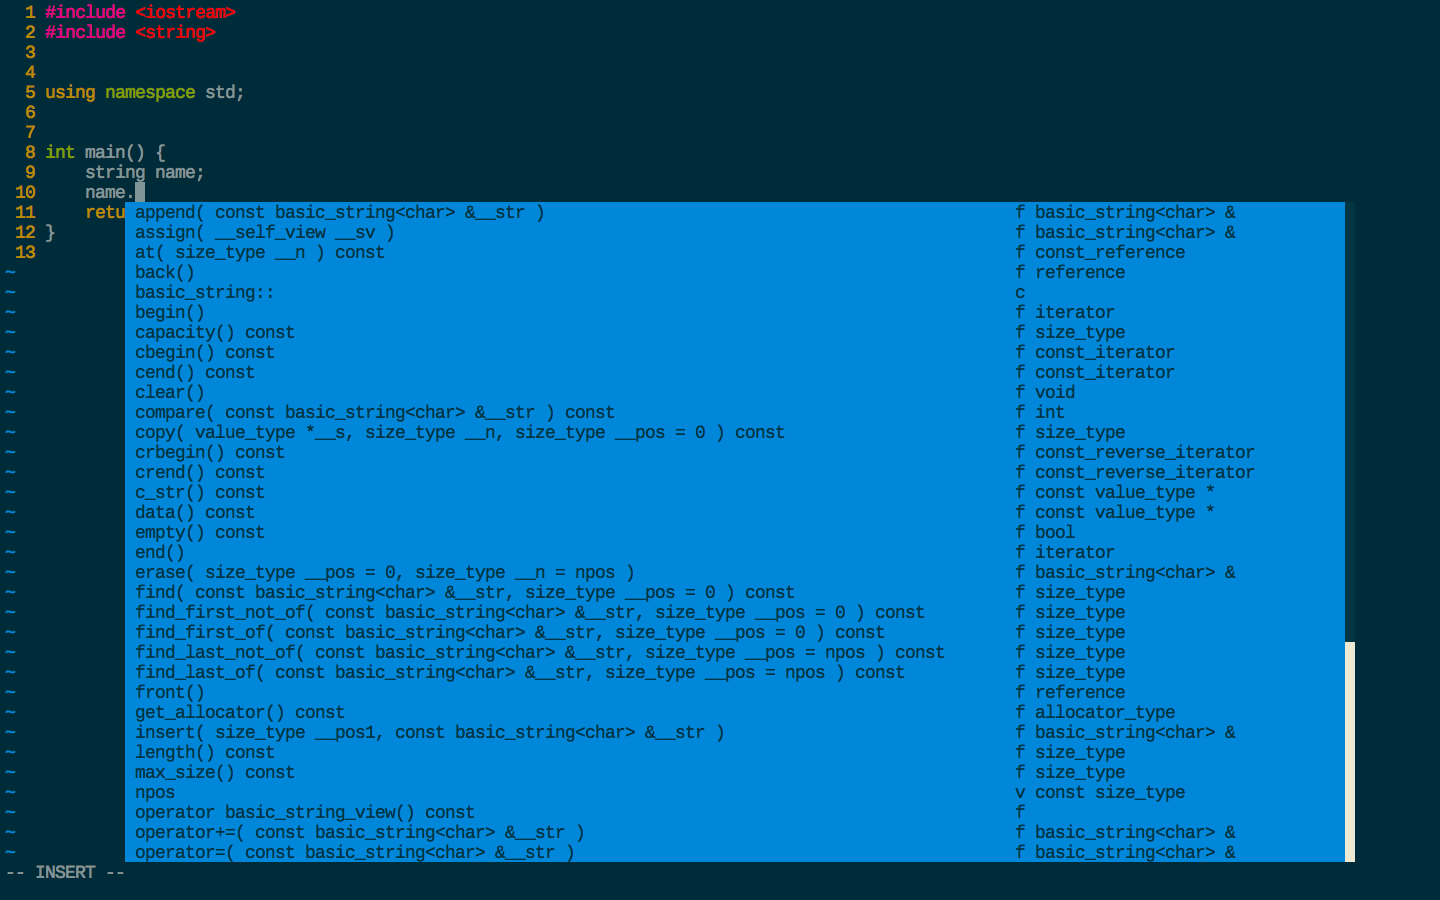
效果图
- 如果要更美观的VIM配置, 请看VIM配置篇
Enjoy coding的更多相关文章
- async & await 的前世今生(Updated)
async 和 await 出现在C# 5.0之后,给并行编程带来了不少的方便,特别是当在MVC中的Action也变成async之后,有点开始什么都是async的味道了.但是这也给我们编程埋下了一些隐 ...
- async & await 的前世今生
async 和 await 出现在C# 5.0之后,给并行编程带来了不少的方便,特别是当在MVC中的Action也变成async之后,有点开始什么都是async的味道了.但是这也给我们编程埋下了一些隐 ...
- 我的github代码库
我的github代码库地址:https://github.com/gooree.Enjoy coding,enjoy sharing.
- 【转载】async & await 的前世今生(Updated)
async 和 await 出现在C# 5.0之后,给并行编程带来了不少的方便,特别是当在MVC中的Action也变成async之后,有点开始什么都是async的味道了.但是这也给我们编程埋下了一些隐 ...
- JS模块化库seajs体验
seajs http://seajs.org/docs/en.html#intro https://github.com/seajs/seajs/releases Extremely simple e ...
- A little tutorial on CodeFluent Entities with ASP.NET MVC4
/* Author: Jiangong SUN */ CodeFluent Entities is a model-first development tool which creates non-s ...
- 译:在C#中使用LINQ To SQL
译文出处:http://www.codeproject.com/Tips/871938/LINQ-To-SQL-Using-Csharp 今天在这个话题中,我给大家分享一个在c#编程中非常有趣和十分有 ...
- Sublime text2如何设置快捷键让编写的HTML文件在浏览器预览?
著作权归作者所有.商业转载请联系作者获得授权,非商业转载请注明出处.作者:浪人链接:http://www.zhihu.com/question/27219231/answer/43608776来源:知 ...
- JAVASCRIPT的一些知识点梳理
春节闲点,可以安心的梳理一下以前不是很清楚的东东.. 看的是以下几个URL: http://web.jobbole.com/82520/ http://blog.csdn.net/luoweifu/a ...
随机推荐
- 没有为扩展名“.cshtml”注册的生成提供程序
新建的mvc4 项目,然后从其他项目里拷贝shared文件夹和_ViewStart.cshtml文件过去,然后在@符号上出现“没有为扩展名“.cshtml”注册的生成提供程序” 解决方法: 需要在项目 ...
- CENTOS7 使用 Nginx + Uwsgi 部署 Django 项目
写在前面的话 最近总是见到有新学 Django 的朋友在部署自己的项目到 Linux 上面的时候运行不起来,所以就动手写了这篇博客. 对于不会搭建 Python 3 环境的朋友可以参考前面的博客[CE ...
- 杨辉三角的Python实现
杨辉三角的Python实现 1 1 1 1 2 1 1 3 3 1 1 4 6 4 1 1 5 10 10 5 1 Python生成器实现杨辉三角: # python def yanghui_tr ...
- 洛谷P2765 魔术球问题(最大流)
传送门 %%%KSkun大佬 话说明明是网络流……这题竟然还有打表找规律和纯贪心AC的……都是神犇啊…… 来说一下如何建图.首先把每一个点拆成$X_i$和$Y_i$,然后$S$向$X_i$连一条容量为 ...
- 线性可分SVM完全推导过程
- 自定义内核启动后的Logo
1.使用图像GIMP工具 2.详细步骤如下: A.将800x480的图片导入到GIMP工具. B.选中GIMP菜单栏进行以下操作 图像 -->模式 ...
- CentOS 中安装tomcat
1.安装tomcat前,需要安装JDK 2.下载tomcat安装包 wget http://mirrors.hust.edu.cn/apache/tomcat/tomcat-8/v8.5.31/bin ...
- Qt 学习之路 2(31):贪吃蛇游戏(1)
Qt 学习之路 2(31):贪吃蛇游戏(1) 豆子 2012年12月18日 Qt 学习之路 2 41条评论 经过前面一段时间的学习,我们已经了解到有关 Qt 相当多的知识.现在,我们将把前面所讲过的知 ...
- 【算法笔记】B1037 在霍格沃茨找零钱
1037 在霍格沃茨找零钱 (20 分) 如果你是哈利·波特迷,你会知道魔法世界有它自己的货币系统 —— 就如海格告诉哈利的:“十七个银西可(Sickle)兑一个加隆(Galleon),二十九个纳特( ...
- 洛谷 P1800 software_NOI导刊2010提高(06)
题目链接 题解 二分答案+dp 如果我们知道答案,贪心地想,让每个人做尽量多的模块一定不会比最优解差 \(f[i][j]\)表示前\(i\)个人第一个模块做了\(j\)块,第二个模块最多能做多少 然后 ...